
Restoring the Left Side
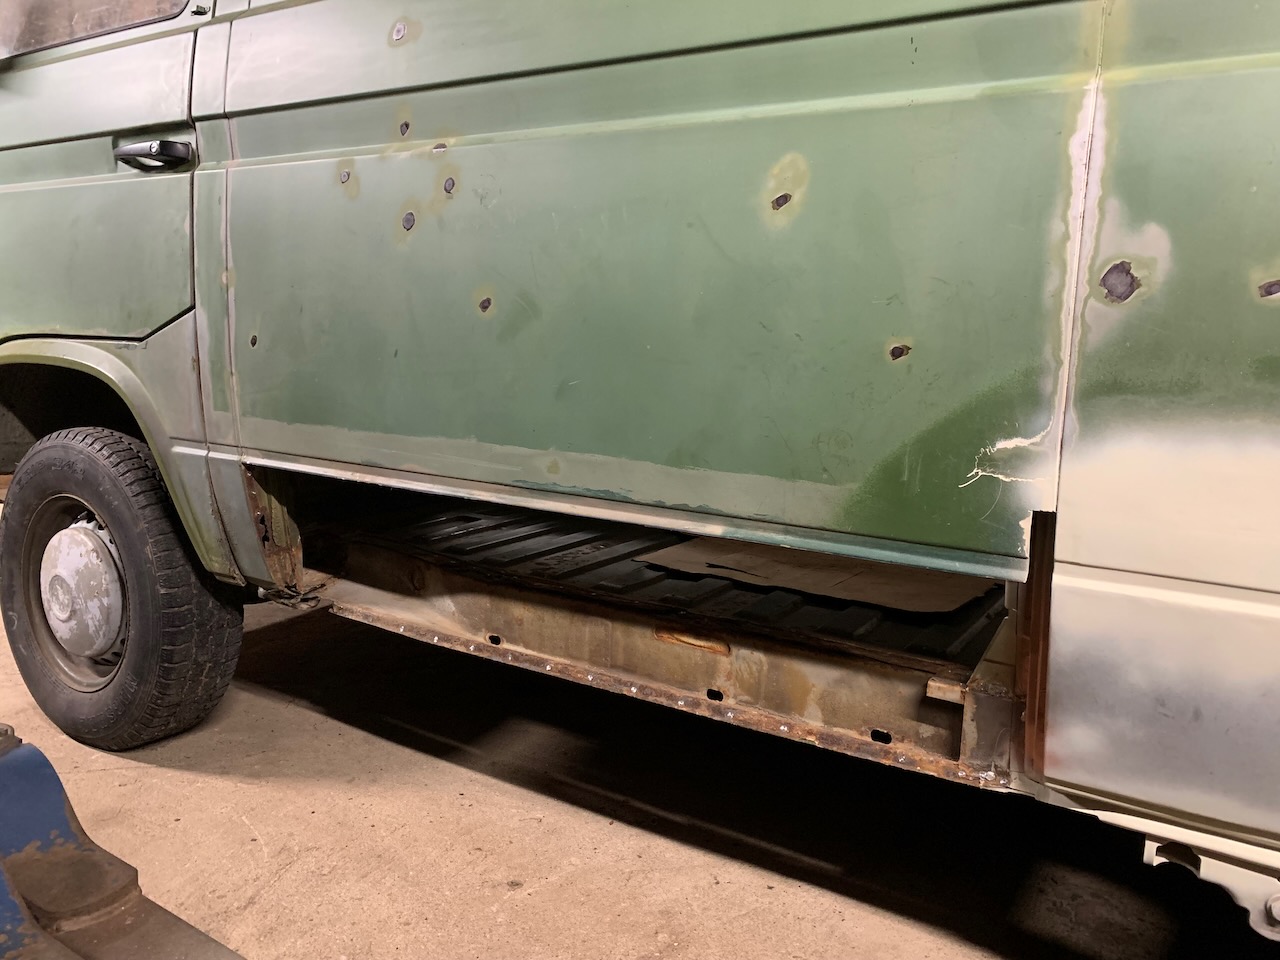
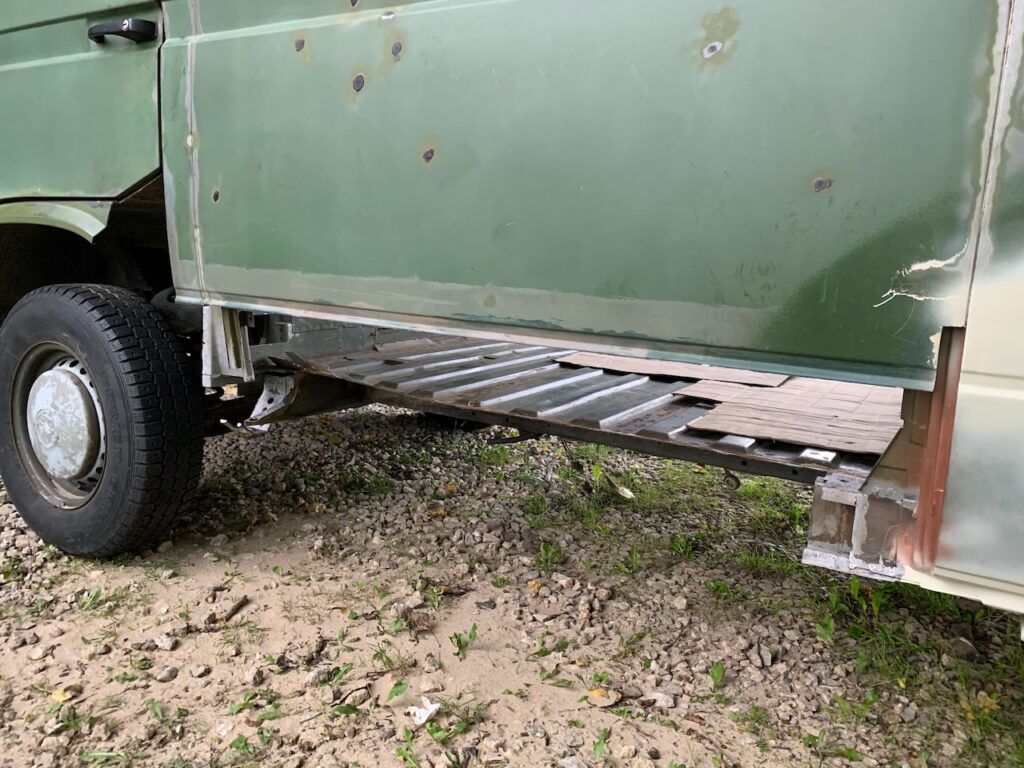
In September 2021 I started to disassemble the left side of the bus. I already knew for sure, that I have to replace the outter sill, weld on a new lower edge to the side panel and rebuild the lower end of the B-pillar. As always, the initial calculation didn’t seem so bad, however, while doing this restoration, I have learned that this bus might as well be called Rusty Surprises.
Removing the Rusted Material and Cleaning the Surfaces
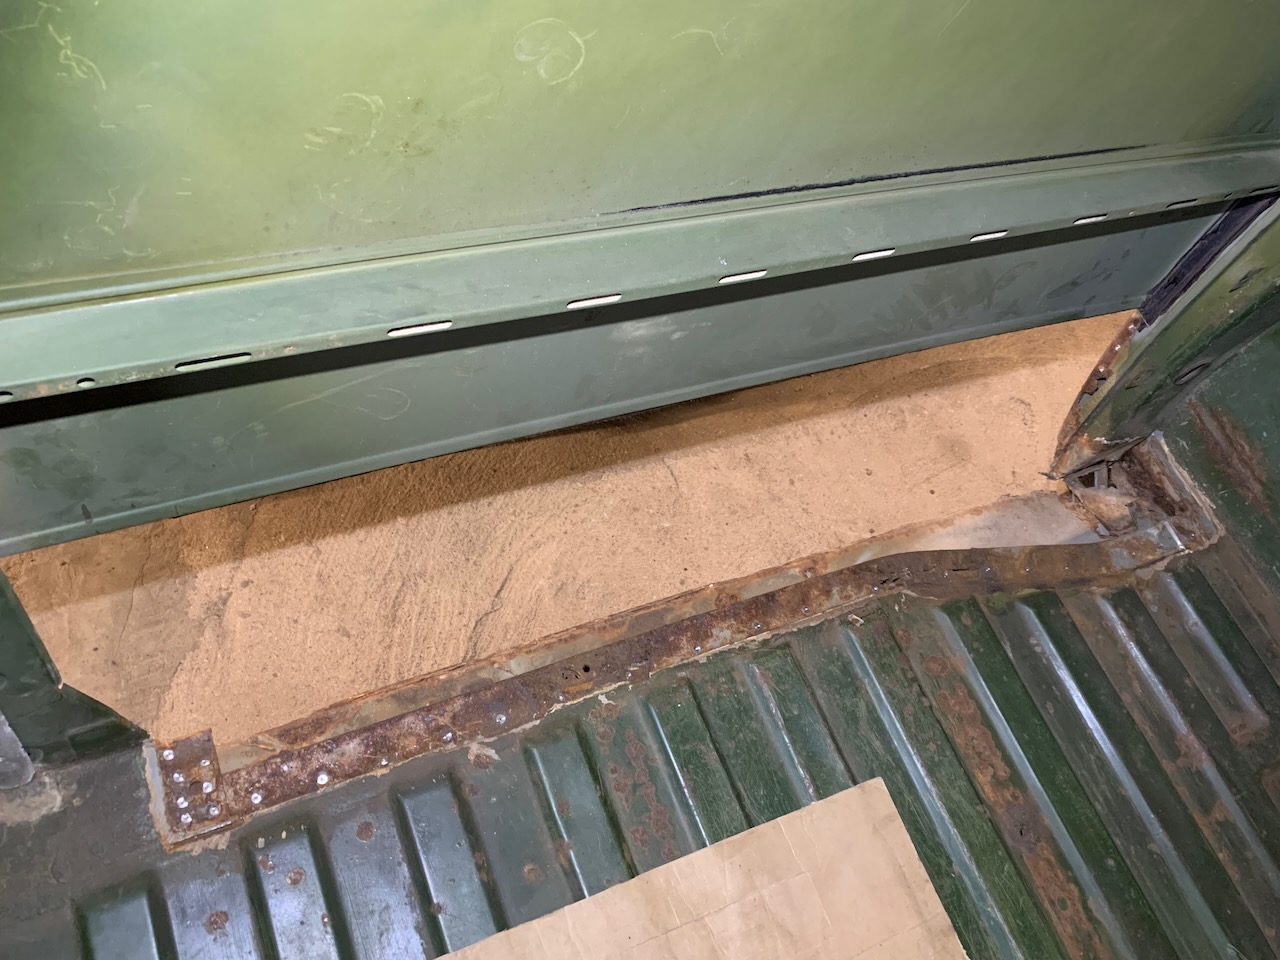
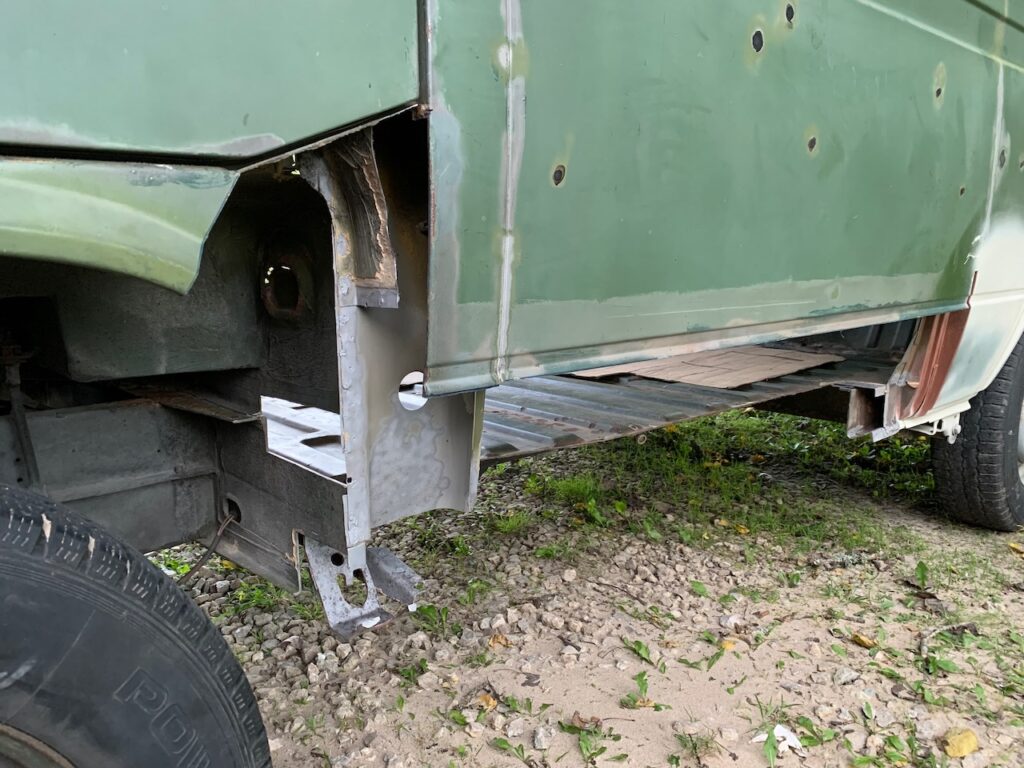
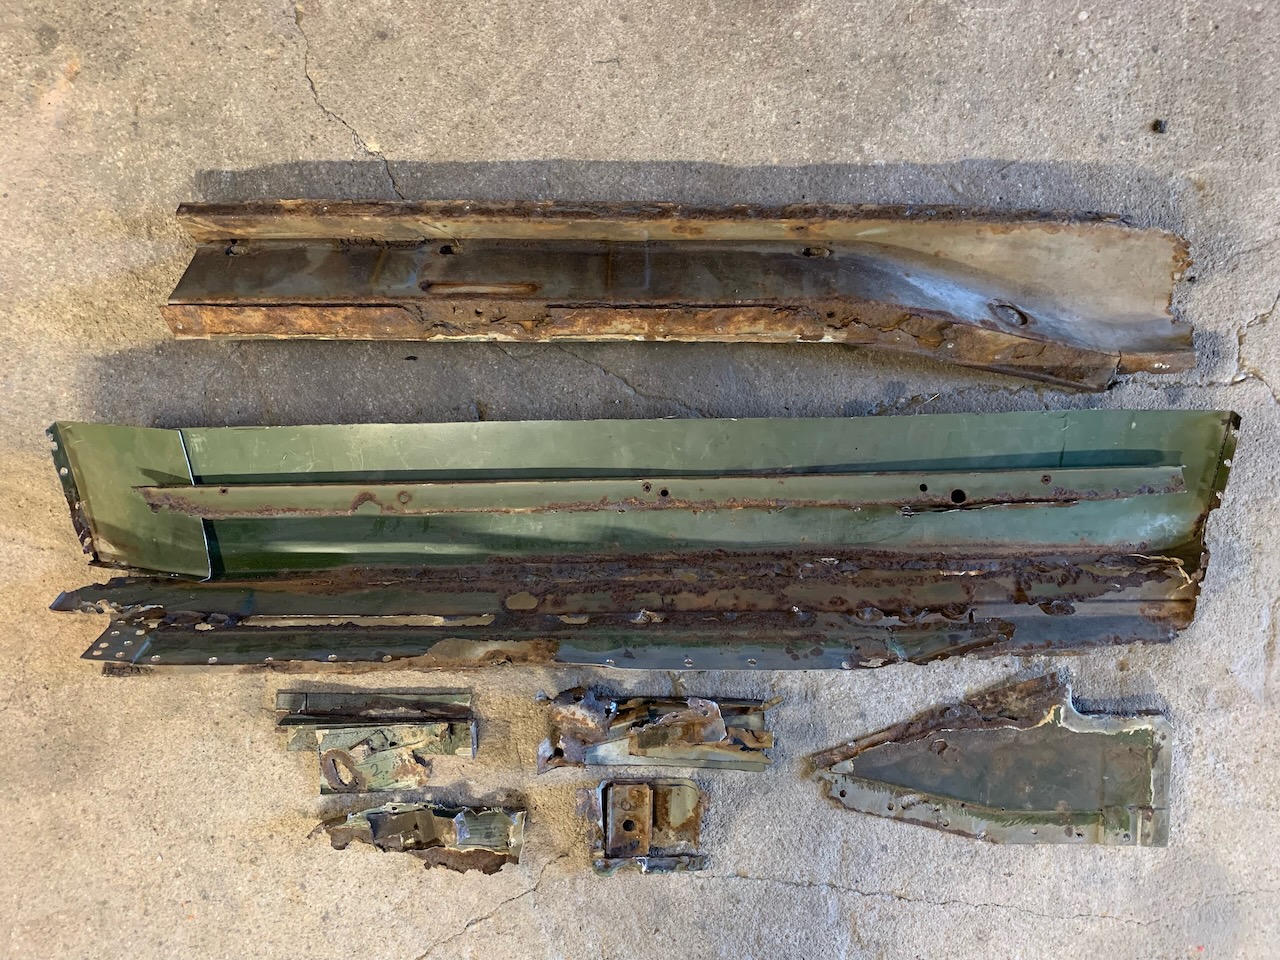
For starters I removed the lower end of the side panel and the outter sill. Having acquainted with the situation before me, it was clear, that the inner sill is not worth restoring and it makes more sense to replace it with a new one. As the cutting continued, some of the floor with deeper rust damage got cut off, too. The last place to get a little trim was B-pillar and also the wheelhouse needed a partial cut, to get rid of the worm holes that the time had drilled in there.
The Wheelhouse
As the end of the year came closer, I figured I should make an effort and get something more done with the bus by the end of the year, even if it’s just a teeny-weeny hole or something of sort. But you know how these things are, once you get started, quite a bit might get done.
The Floor Panel and the Inner Sill
About 5 cm wide strip needed to be removed from the floor panel. Removing it was not a problem, the problem was making a replacement panel that would keep the original look. The new original VW floor panel (VW p/n 253 801 403 C) is still available, but in my situation it wasn’t an option. The floor of our bus was simply not yet rusted enough for this sort of investment :).

Having fixed the floor, next up was the inner sill (VW p/n 253 801 251). I used the JP Group alternate panel (JP p/n 1181001170), which to my mind is pretty expensive for a B-group part, but you know how the saying goes – you get what you pay for. I couldn’t agree more. It is a very well fitting panel that doesn’t need any alterations or modifications, just go ahead and weld it on.
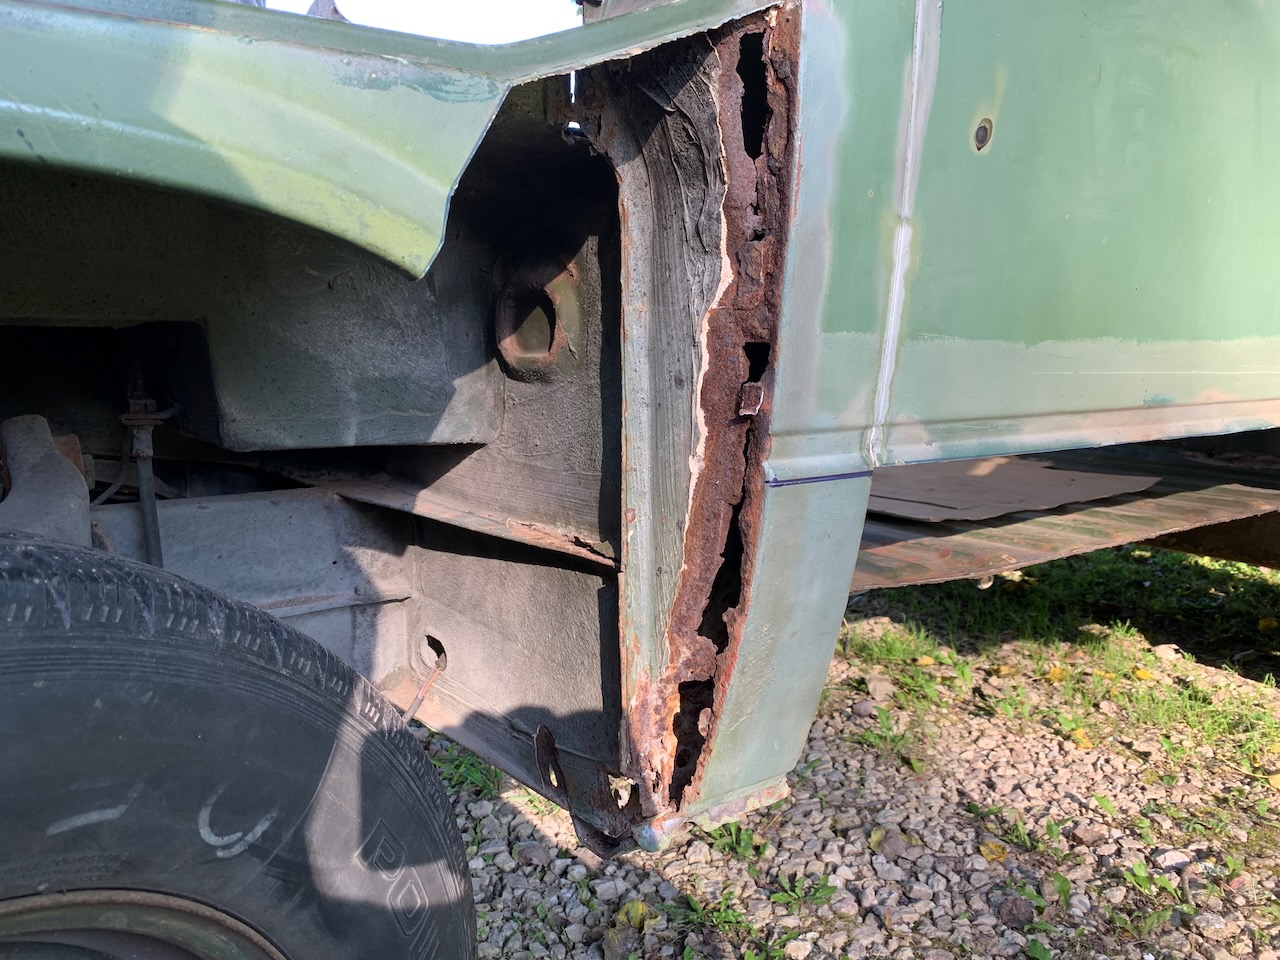
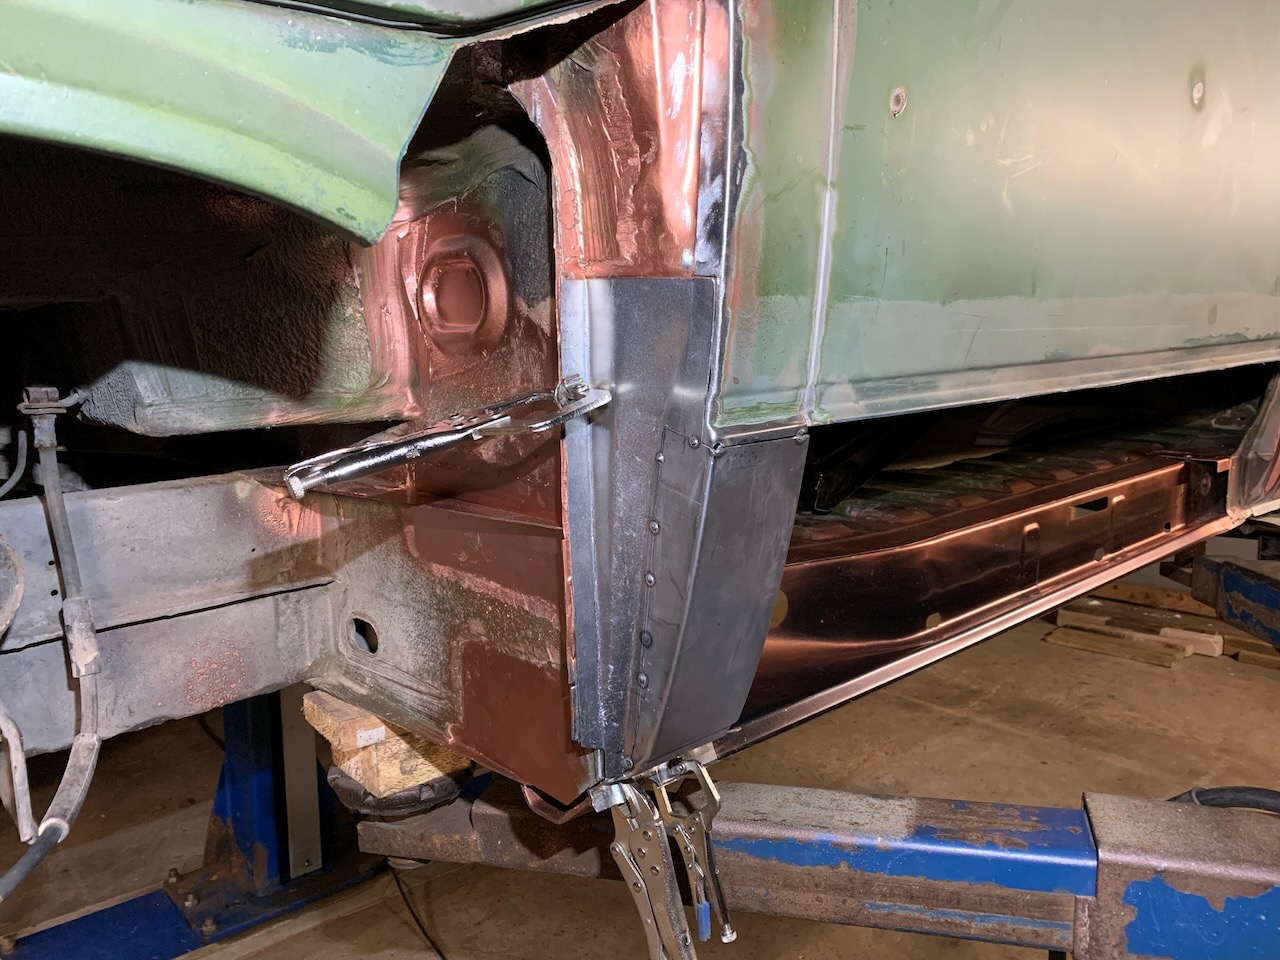
B-pillar
The lower end of the inner and outter sheet of the B-pillar needed a rebuild. To restore the outter sheet (VW p/n 251 809 253) I was able to use the AHSchofield repair panel, but for the inner sheet I made the needed pieces myself.

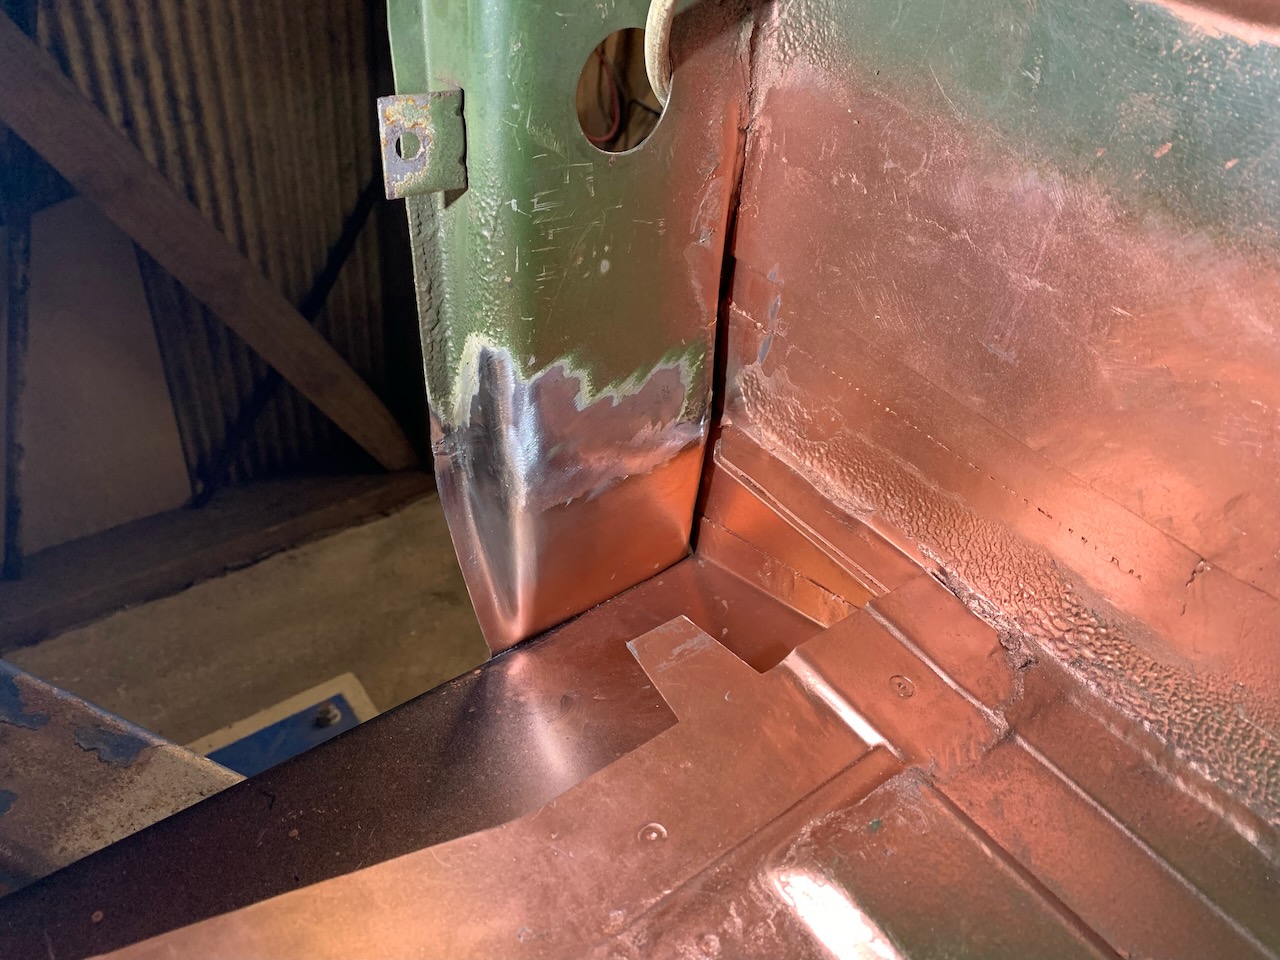
Even though I had bought a repair panel for restoring the outter sheet of the B-pillar, I still had to make some extra details myself. This repair panel is probably a bit more pleasant to use if there is a little bit more of the original panel left.

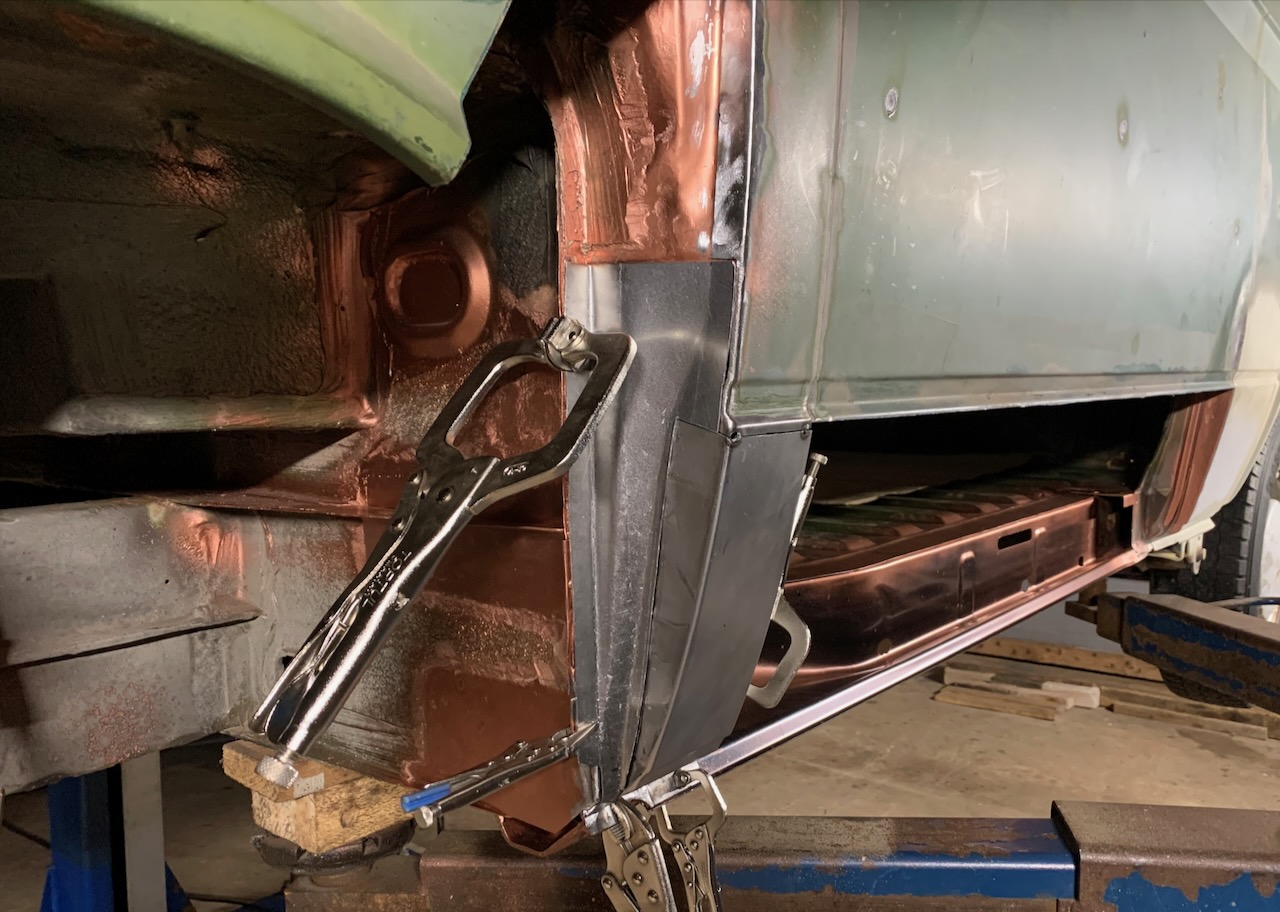
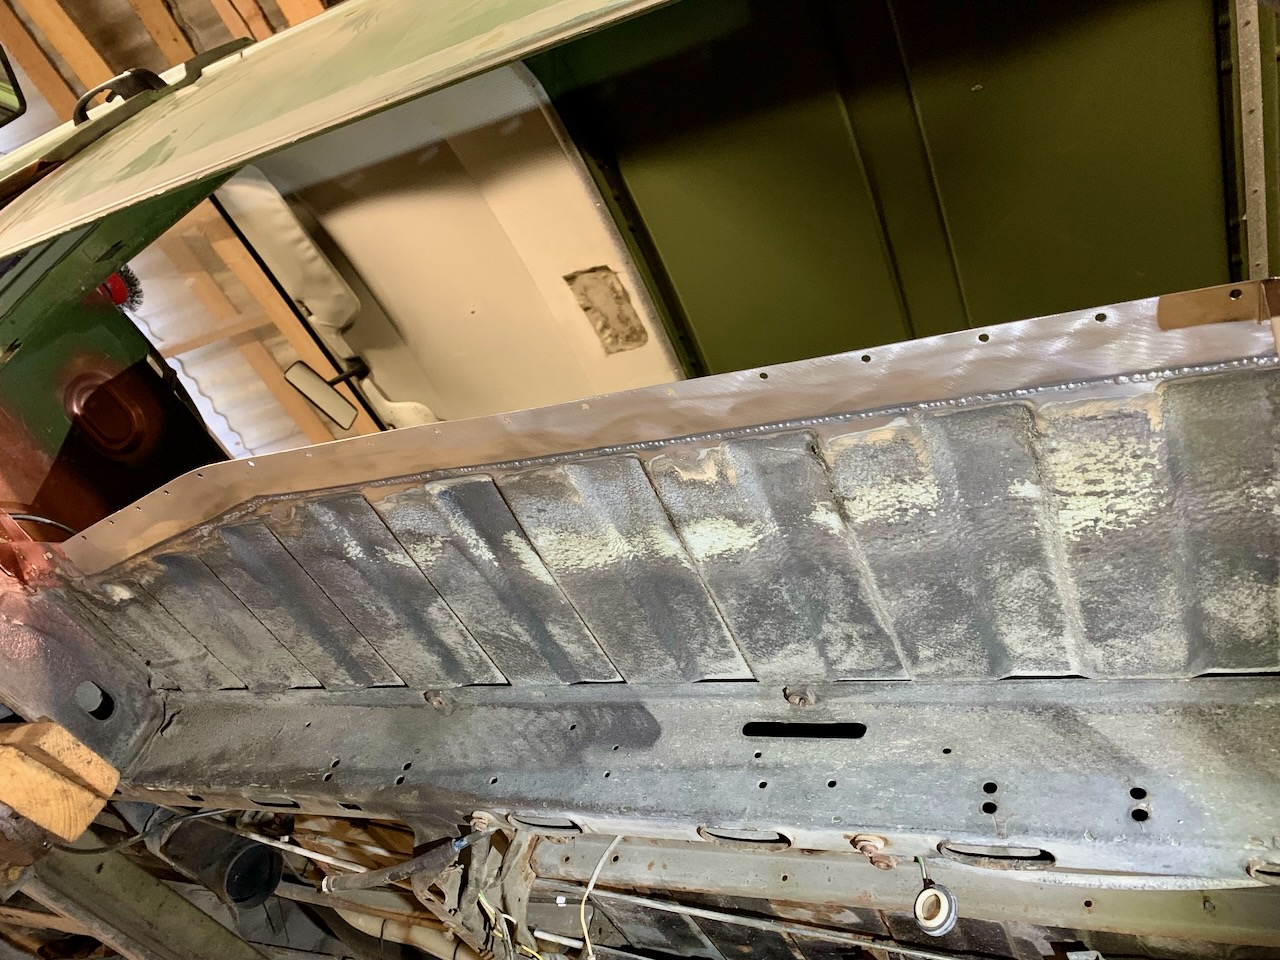
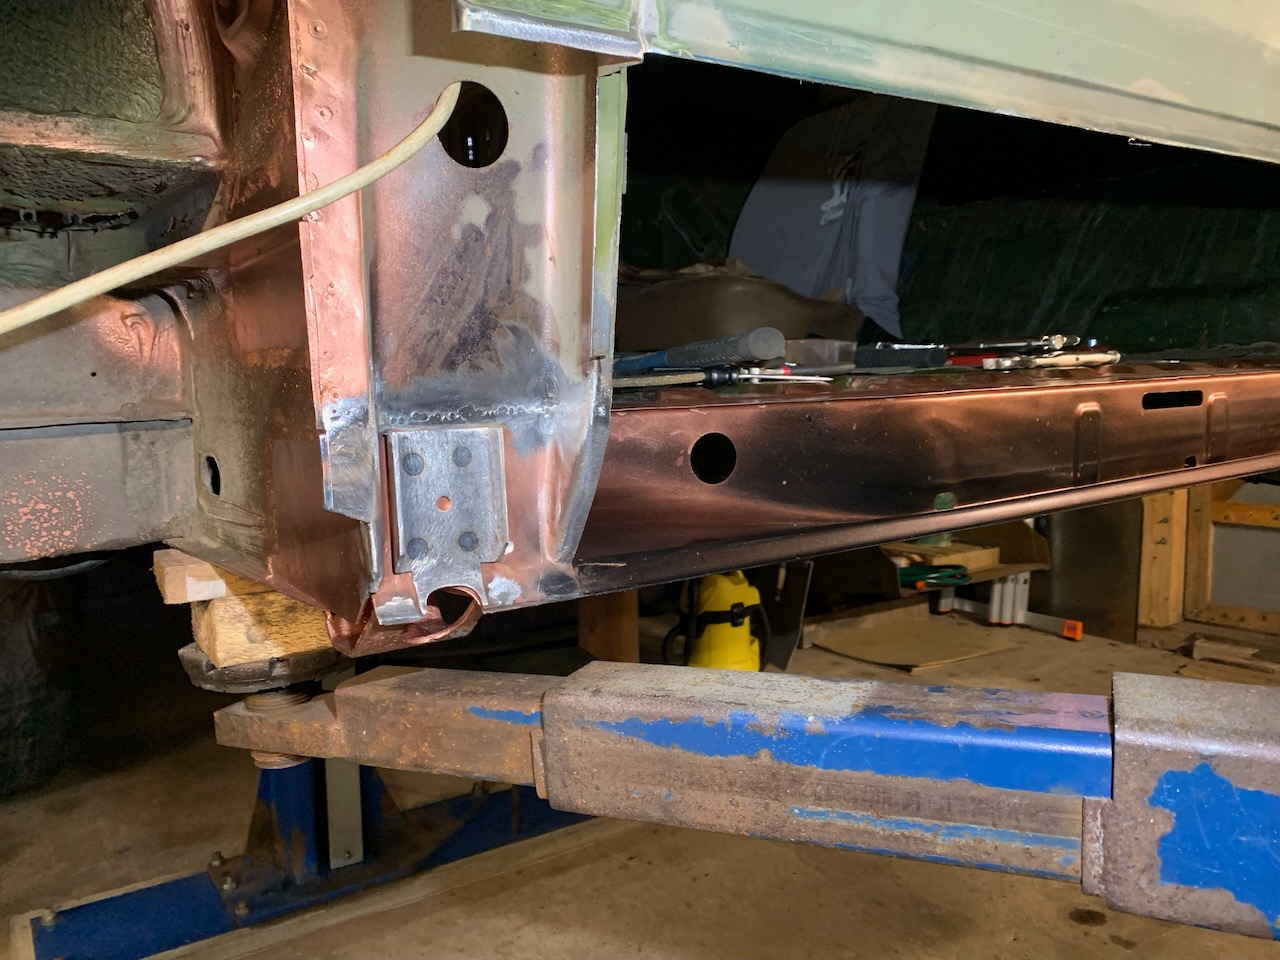
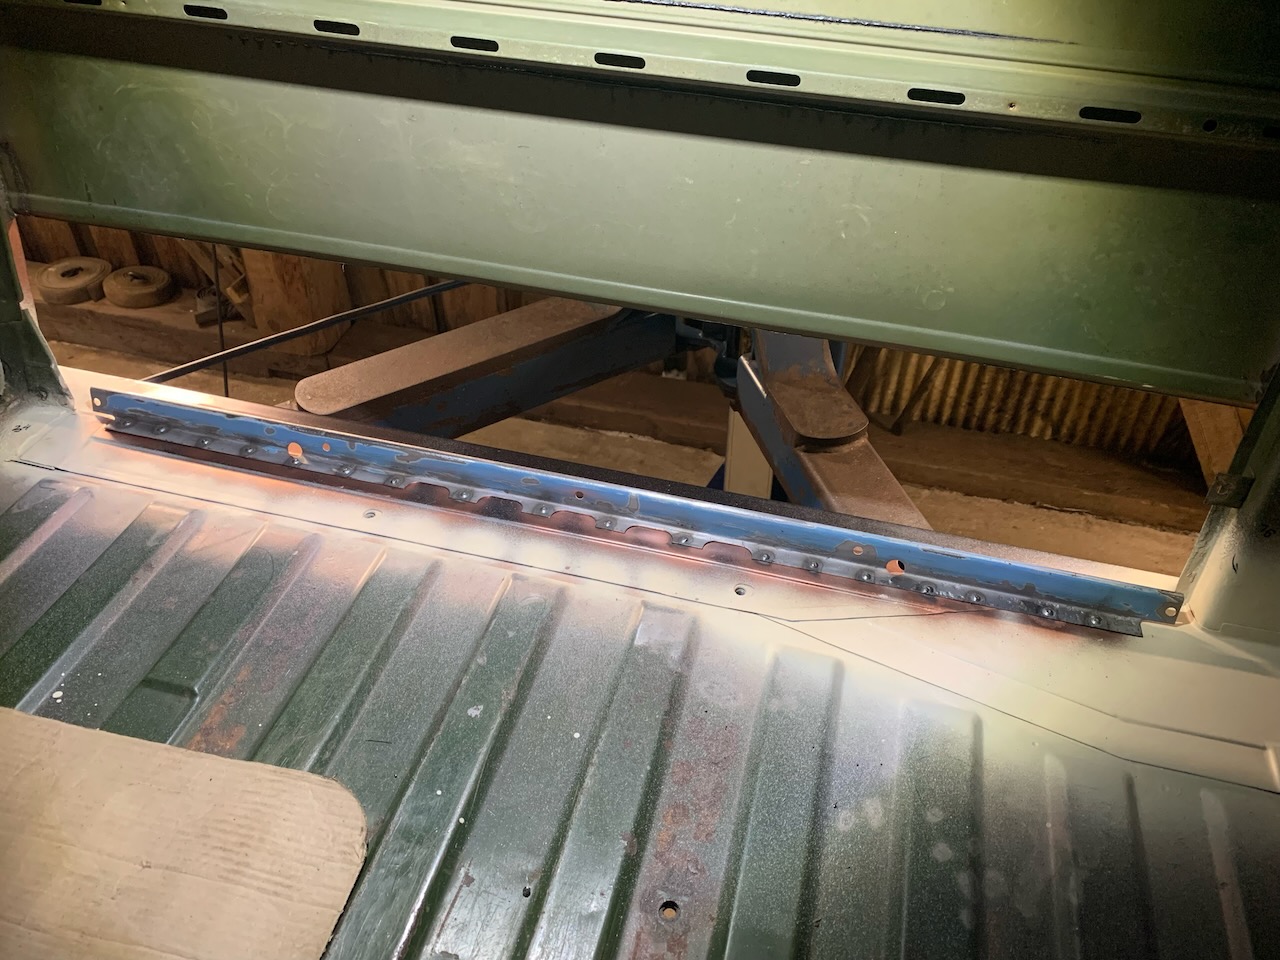
The Outter Sill
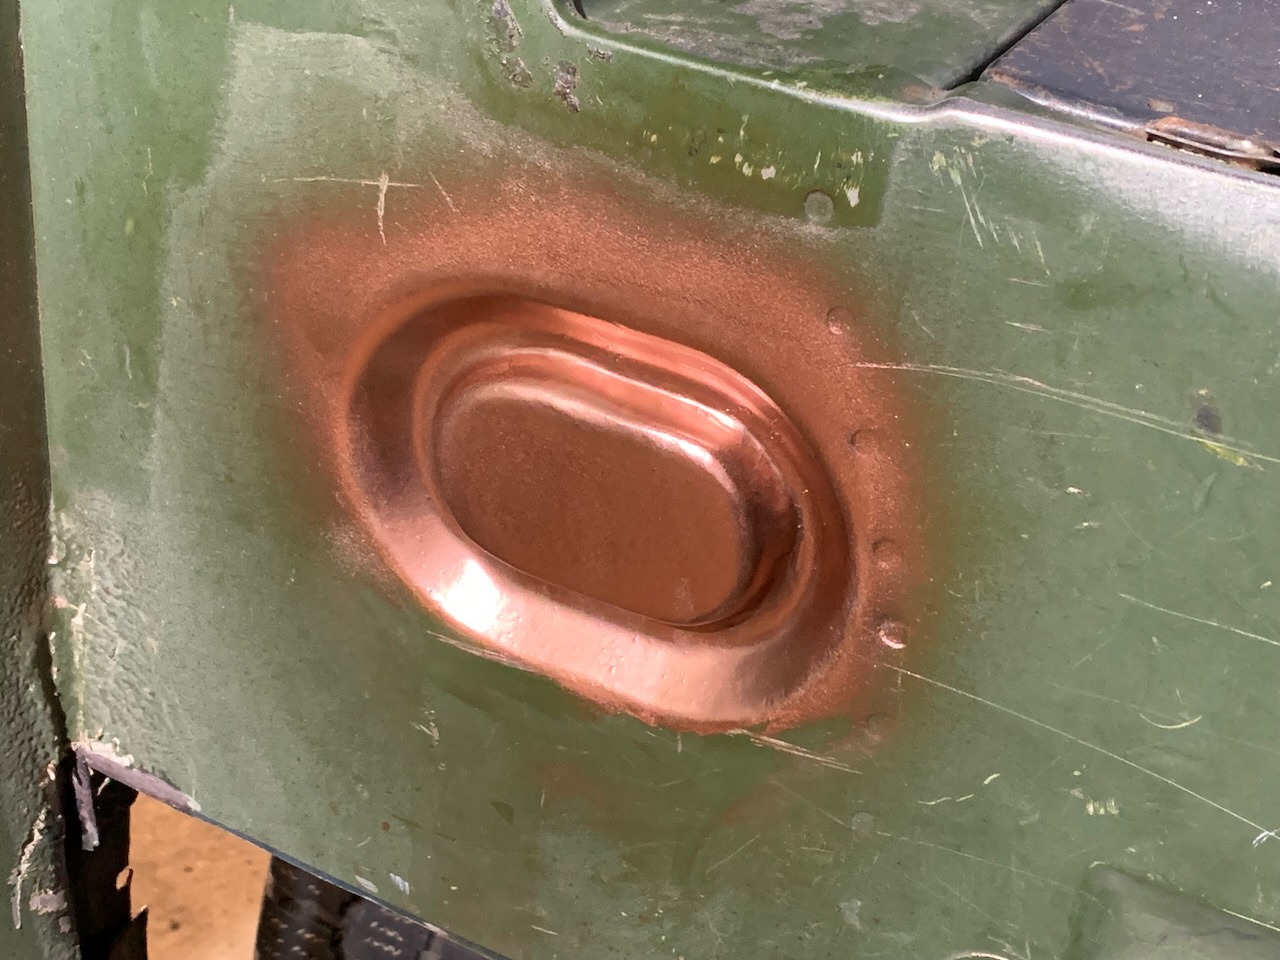
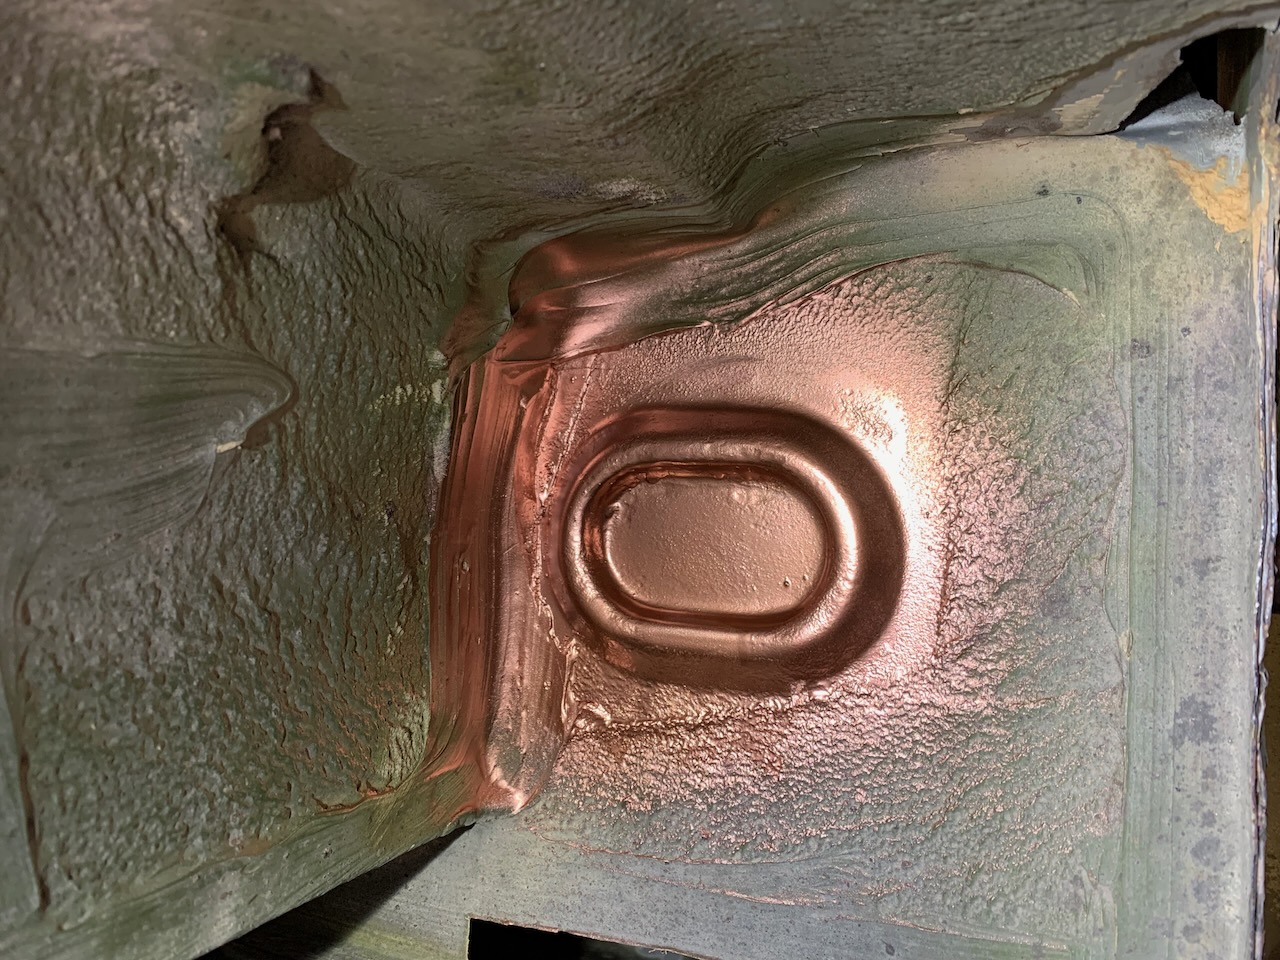
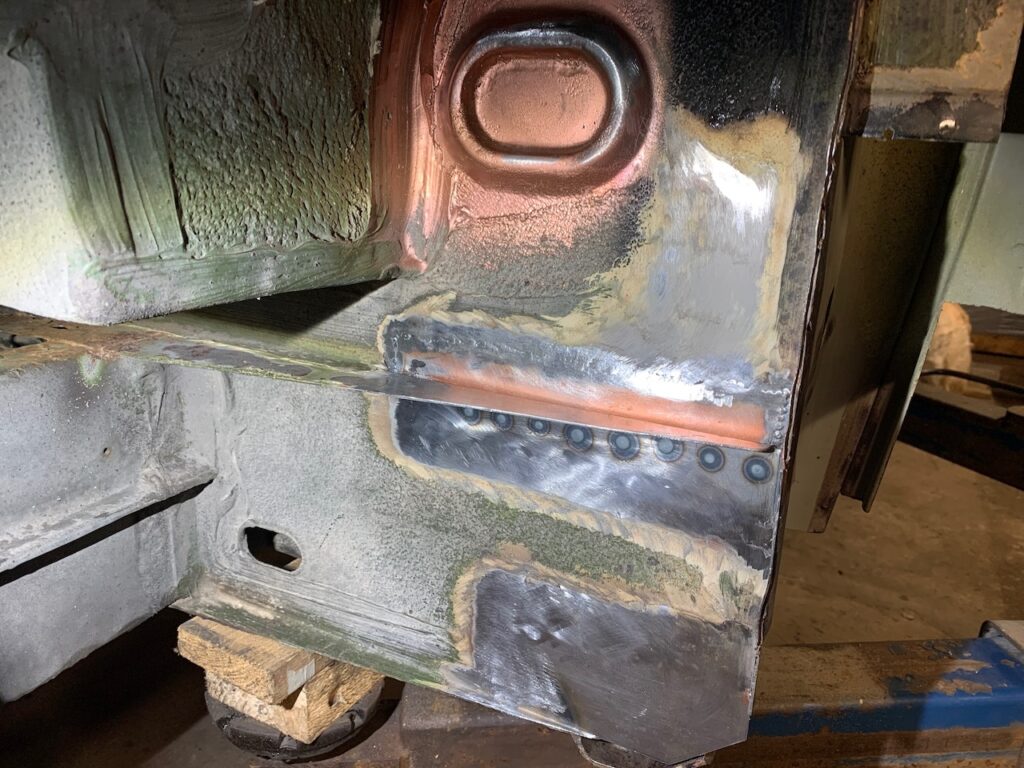
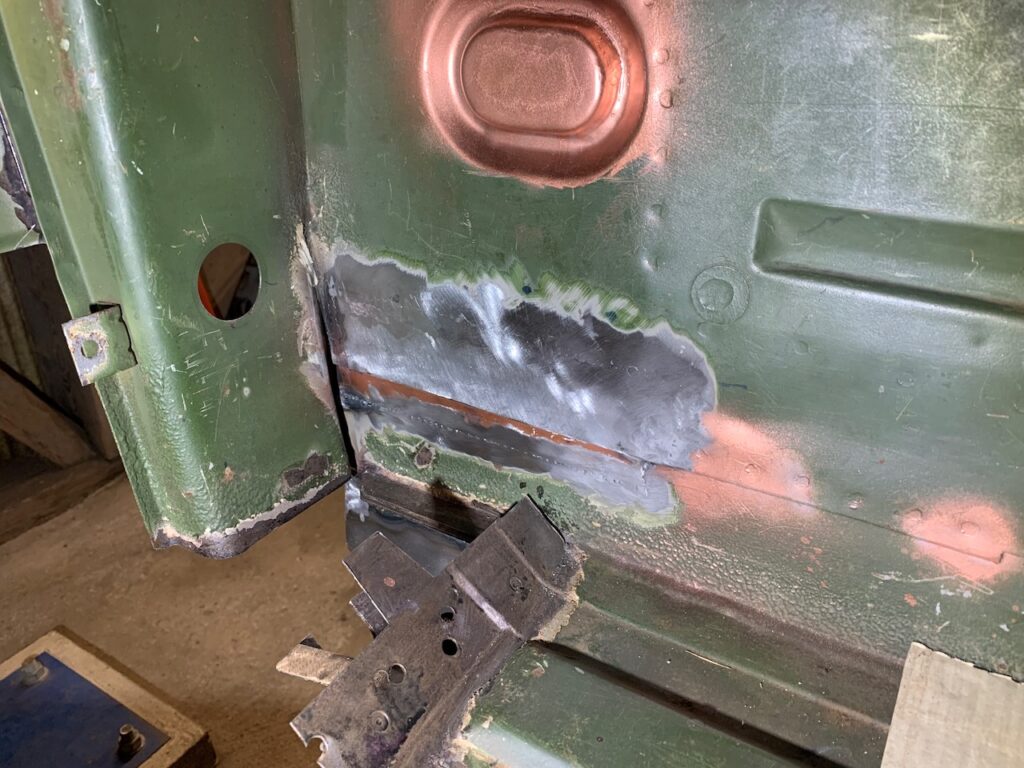
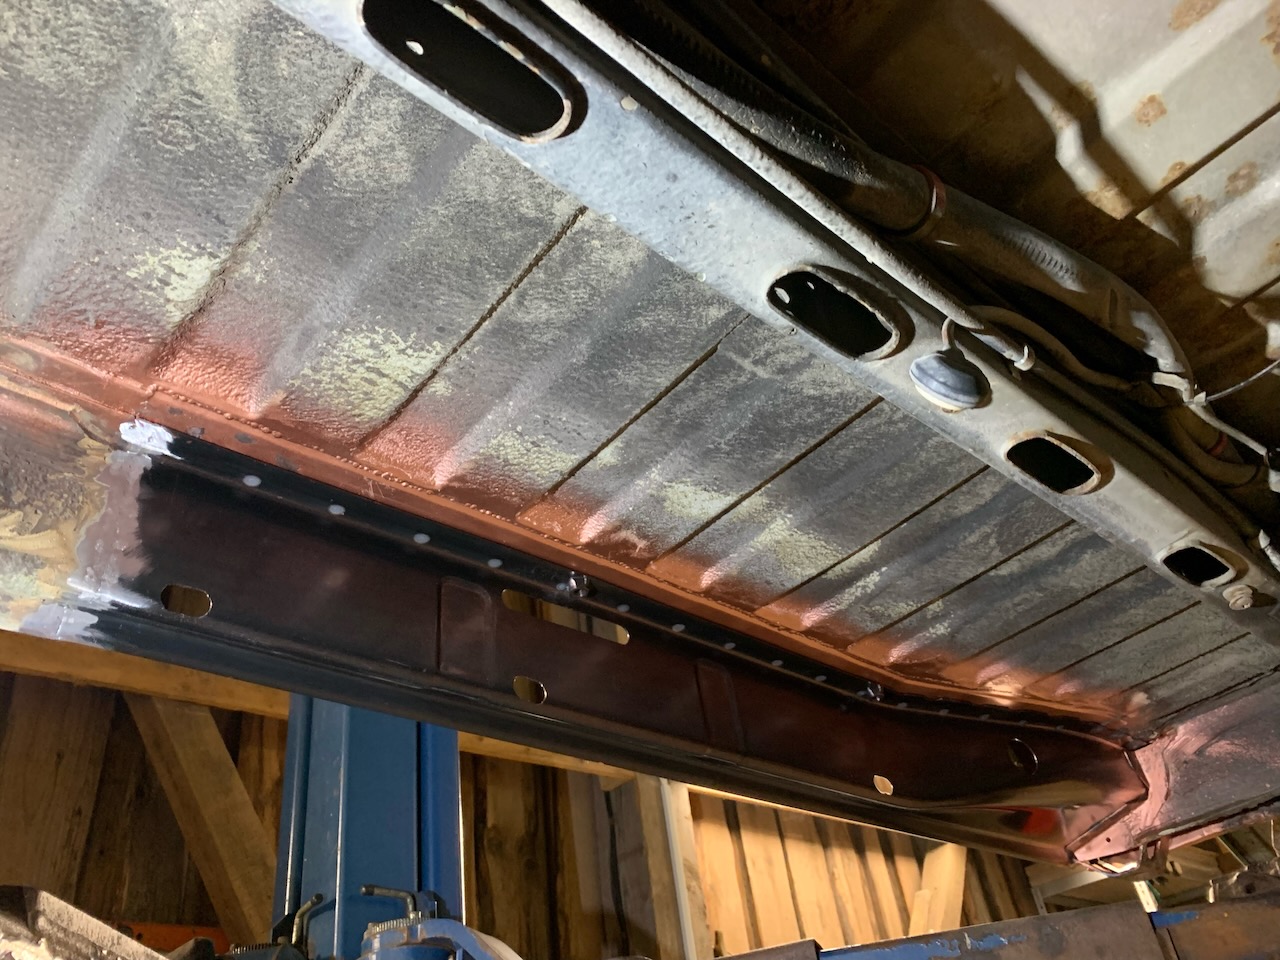
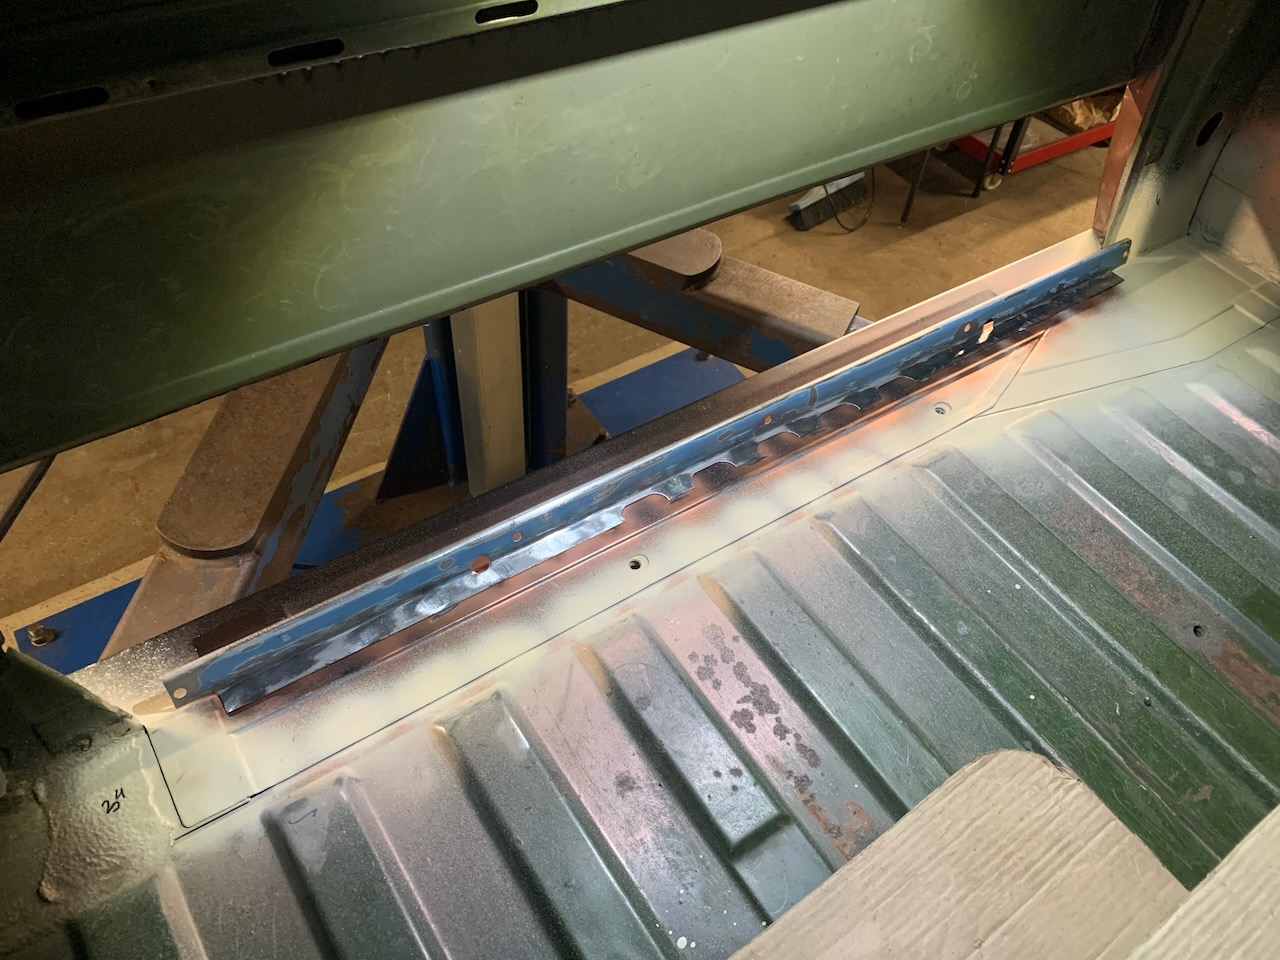
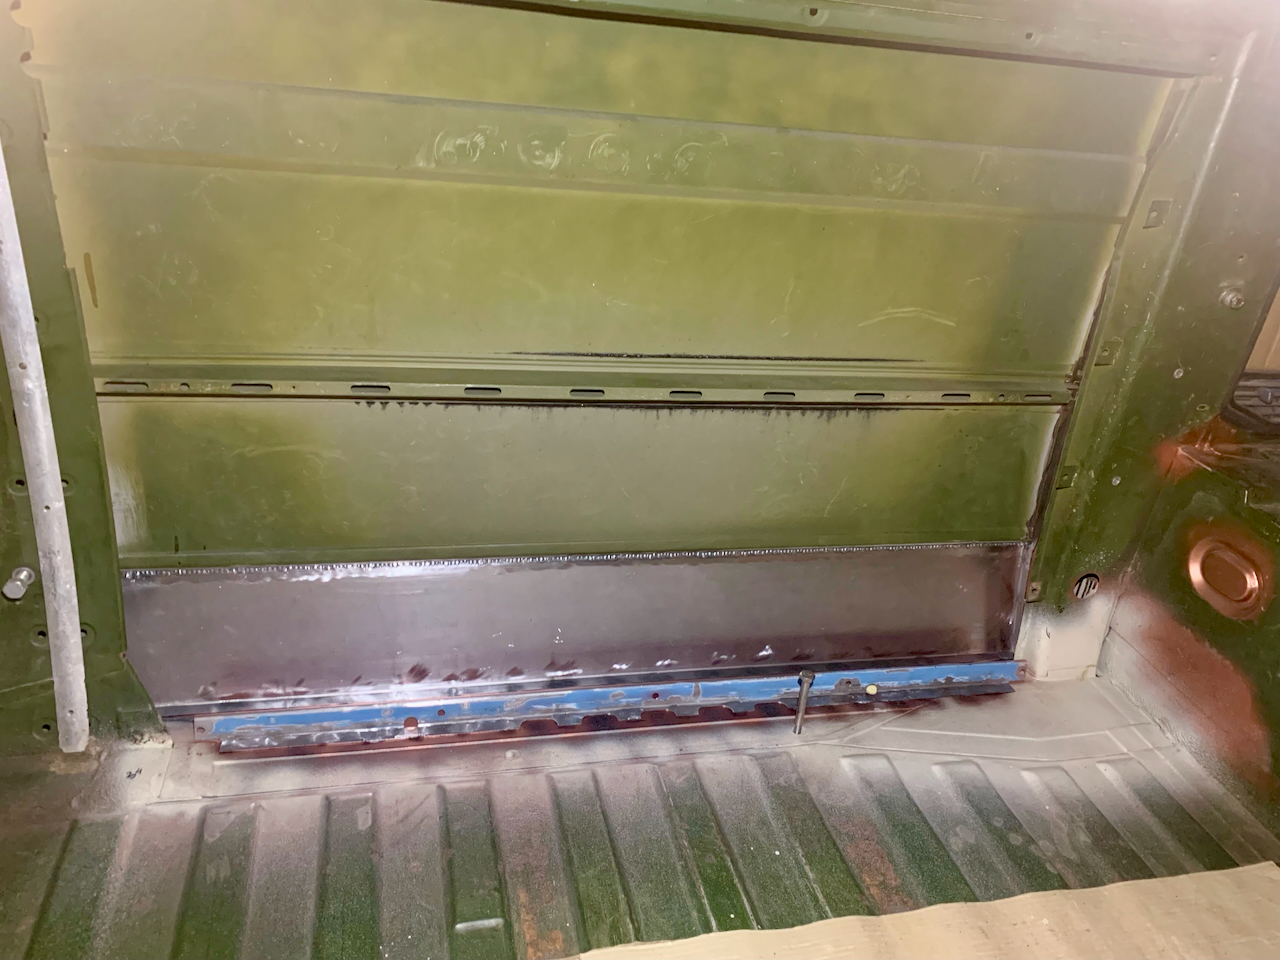
For repairing the outter sill (VW p/n 251 809 293) I had bought a VW original panel. So all I had to do was to prepare the panel for welding and then welding it in place. From the inside I covered the sill with 2K epoxy primer and the areas that I was going to weld, I covered with copper based welding primer.

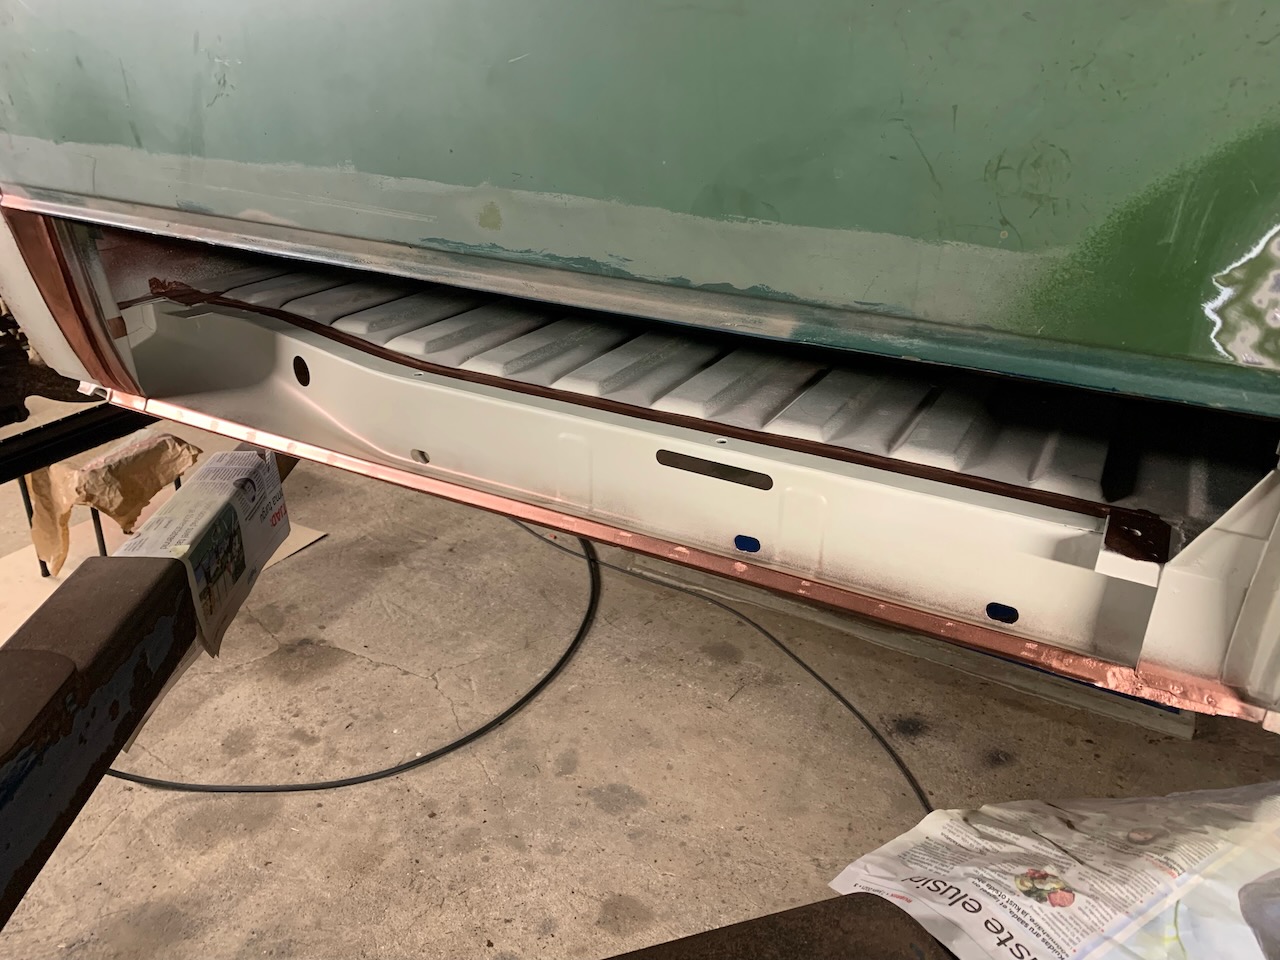
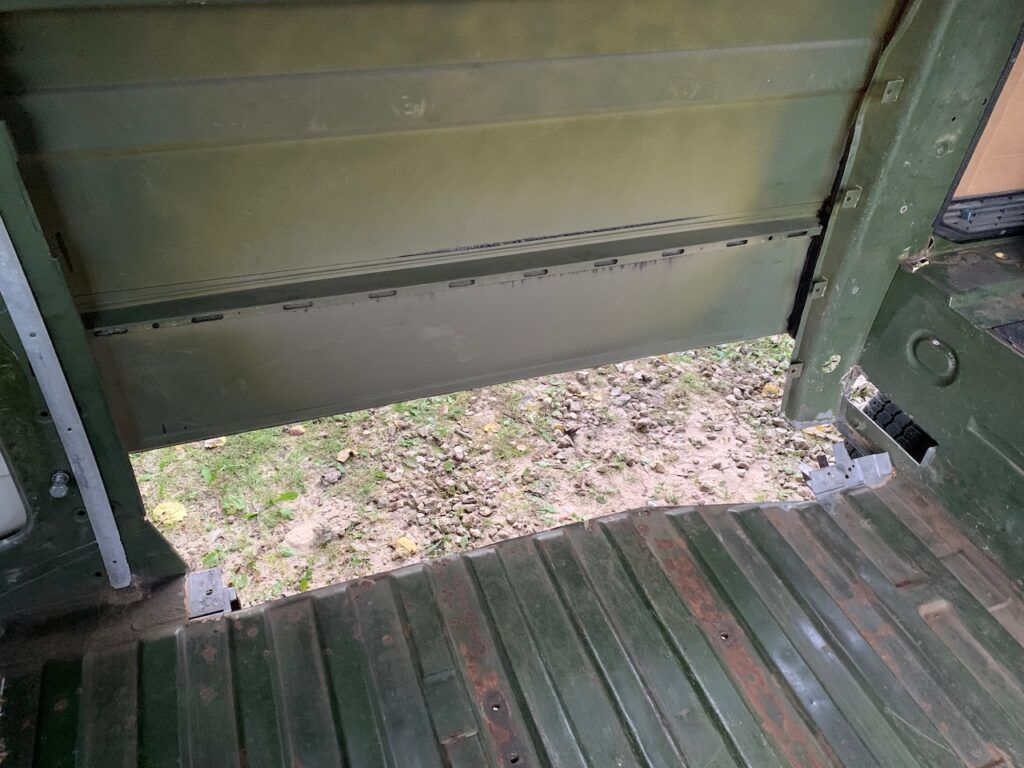
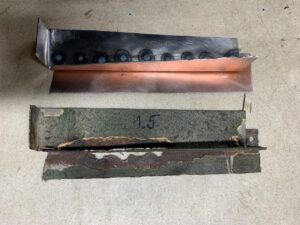
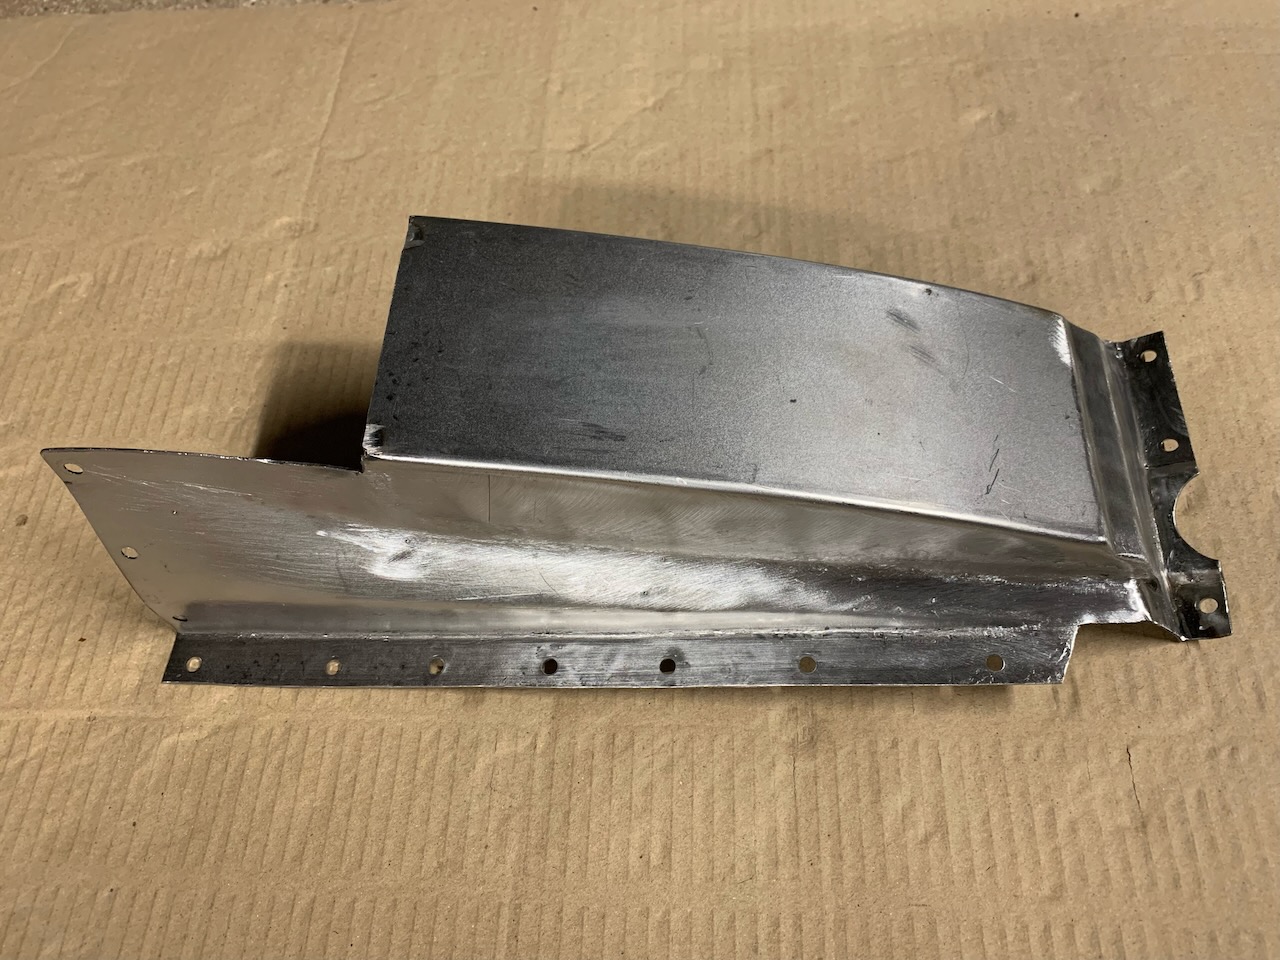
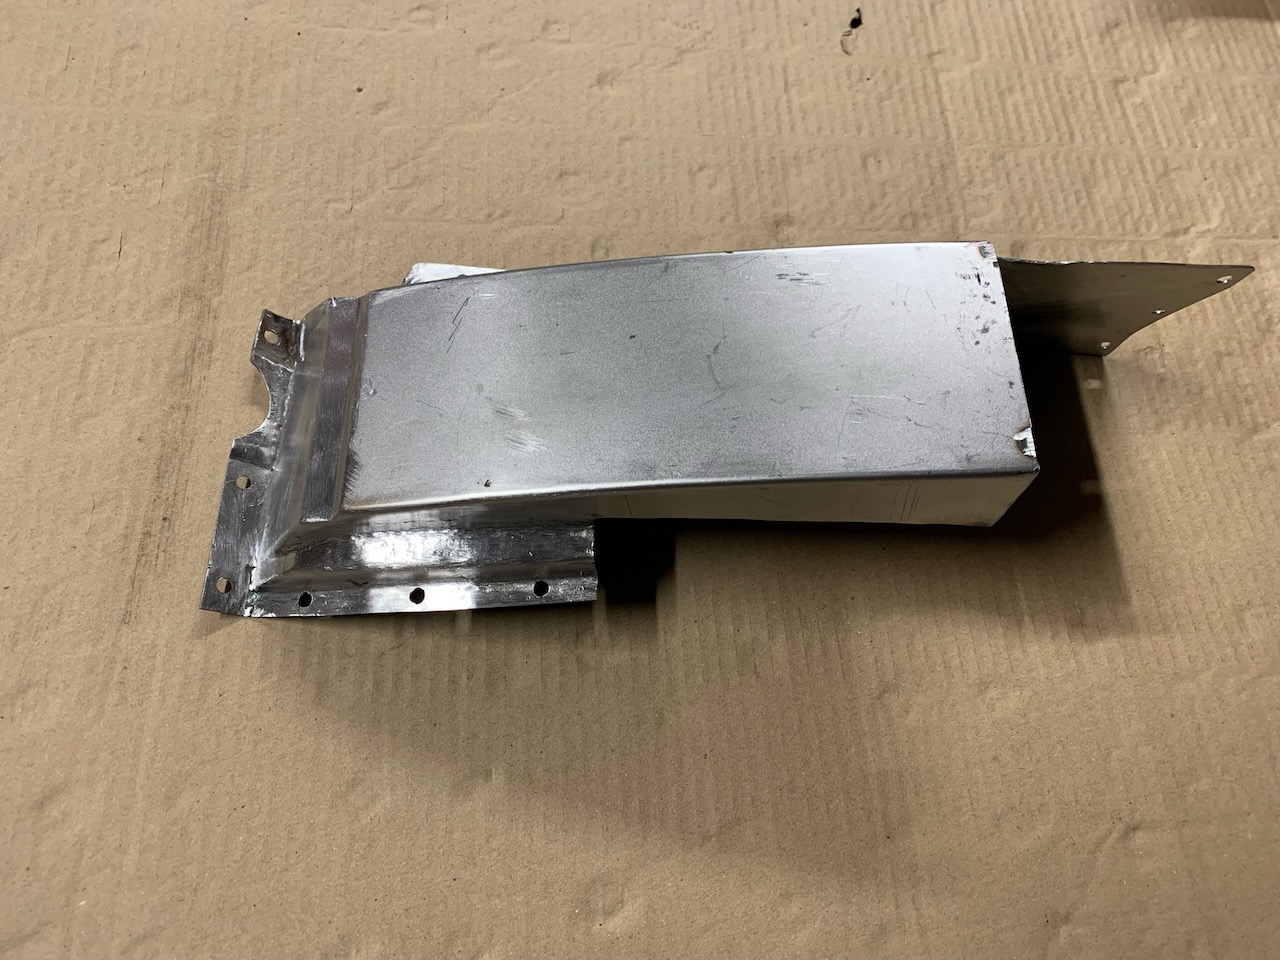
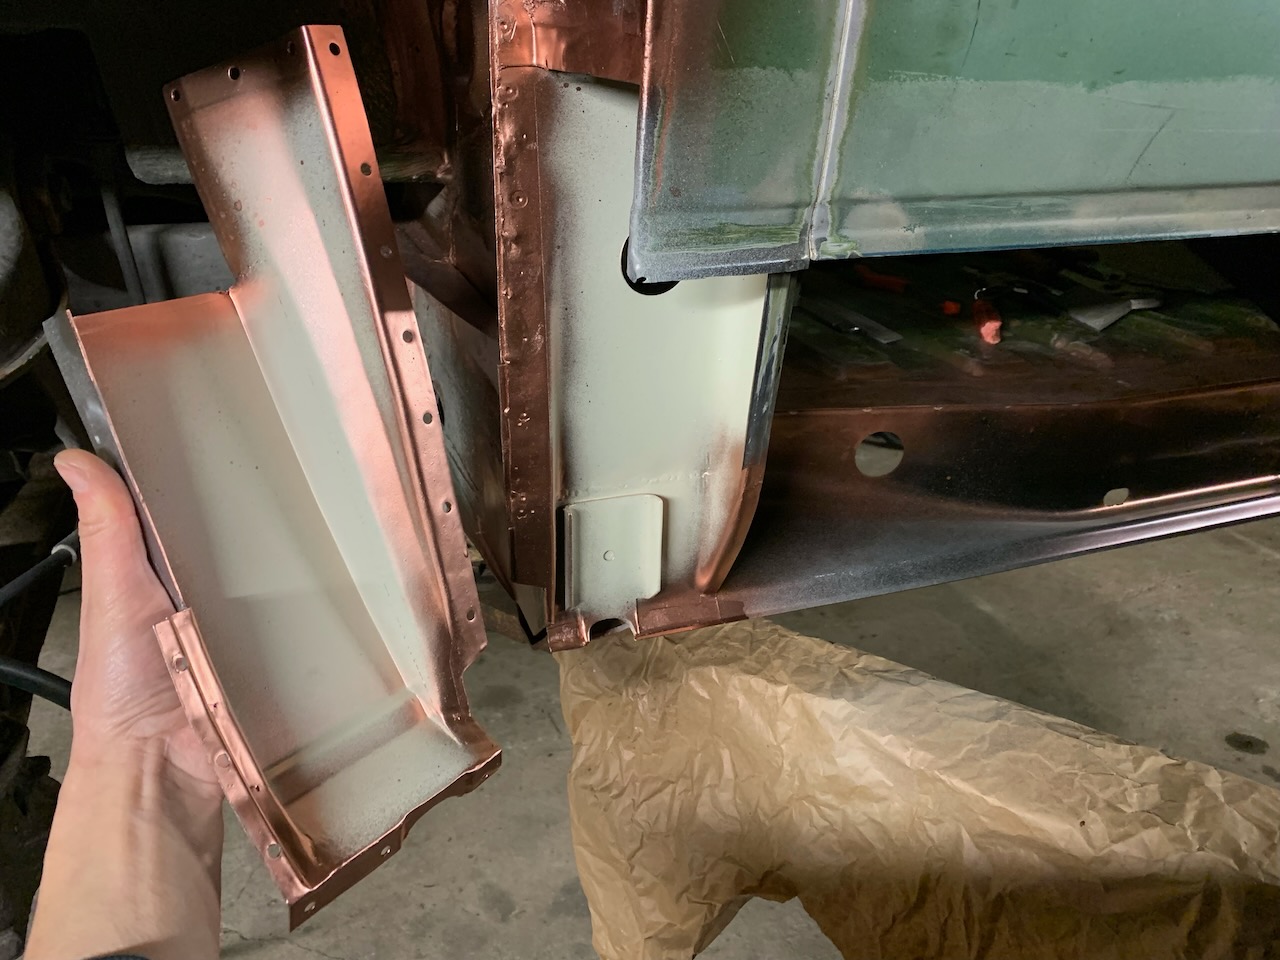
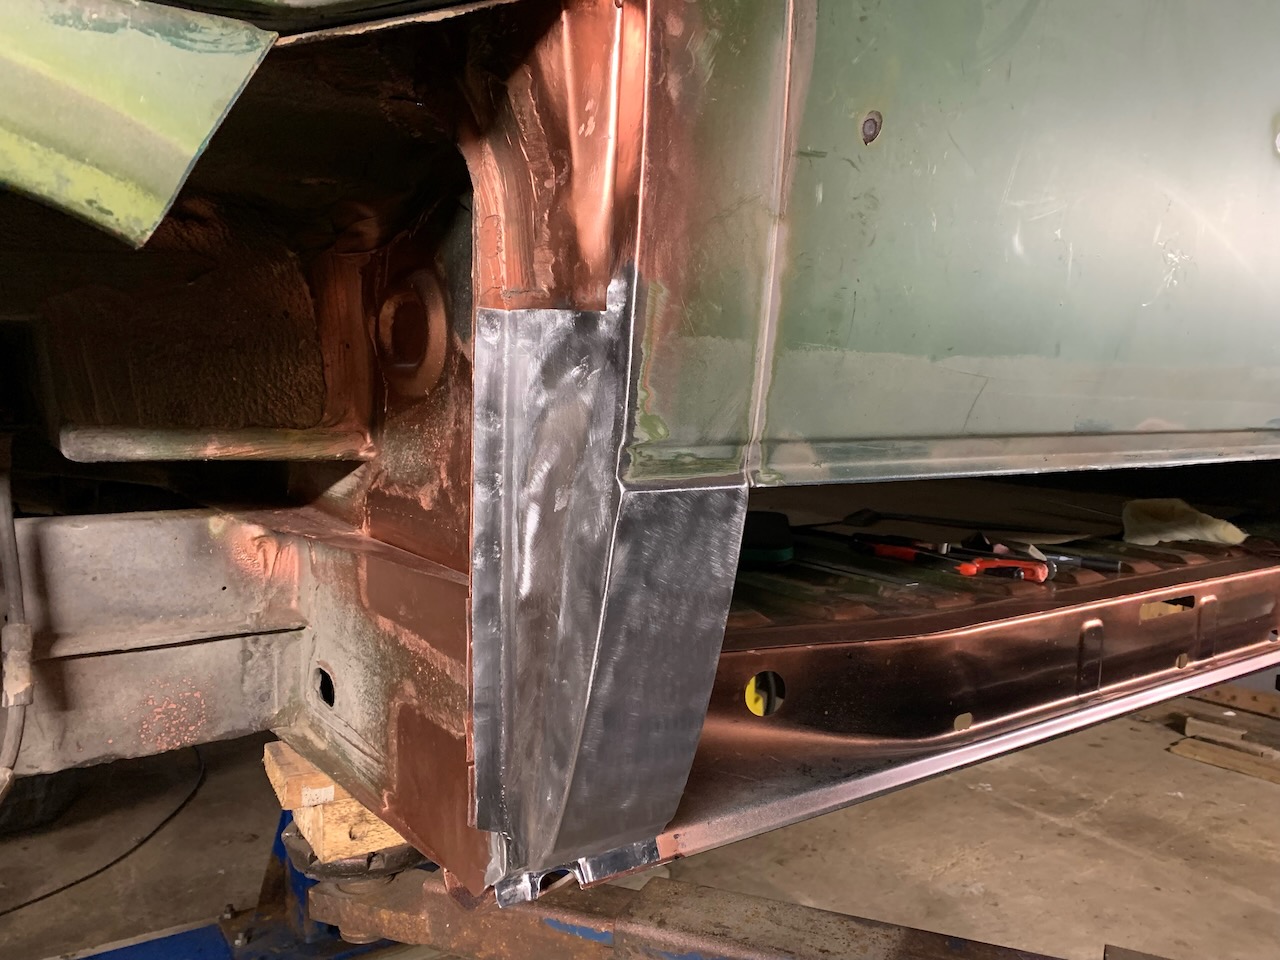
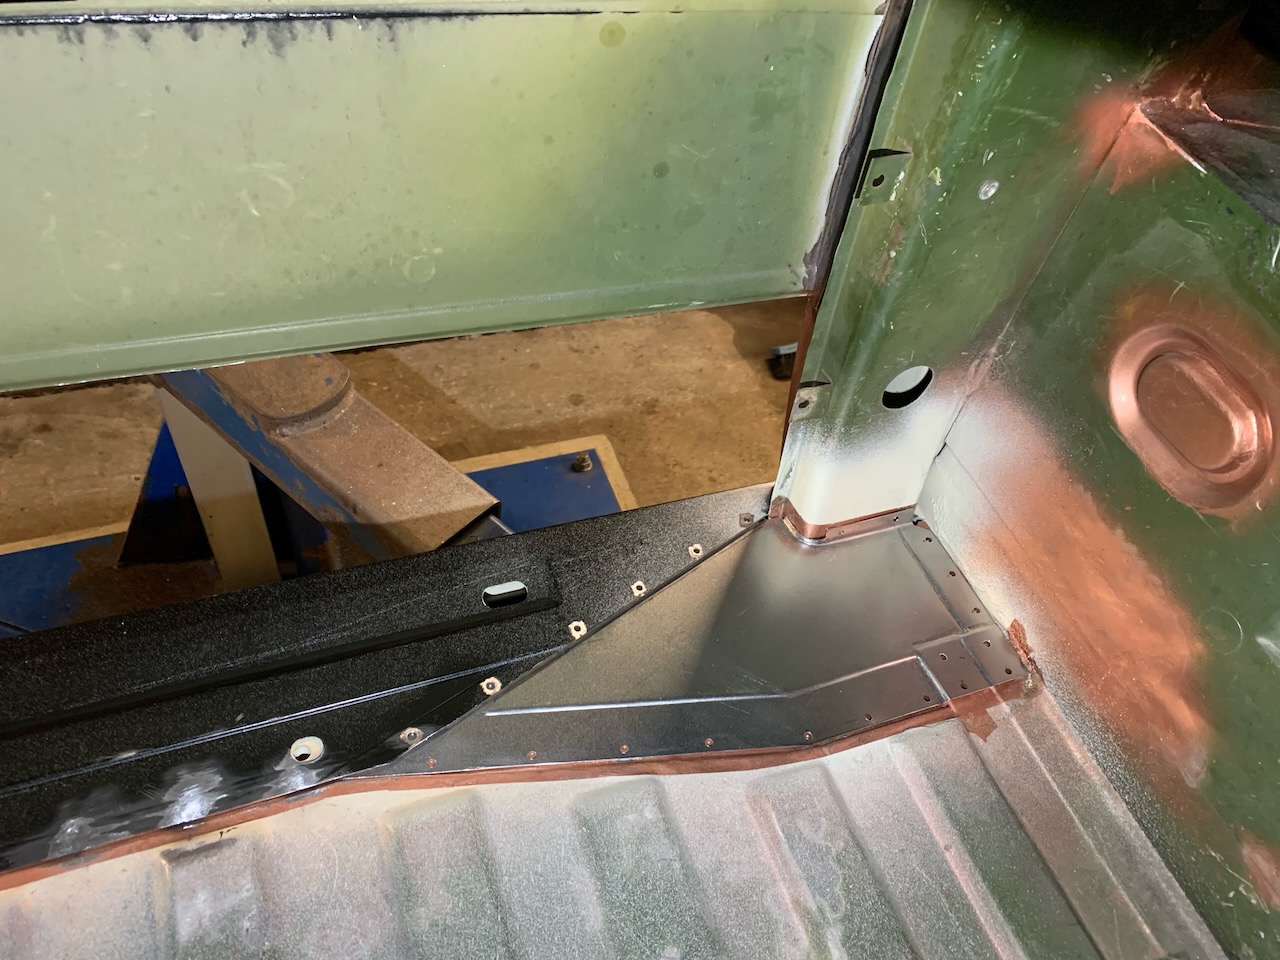
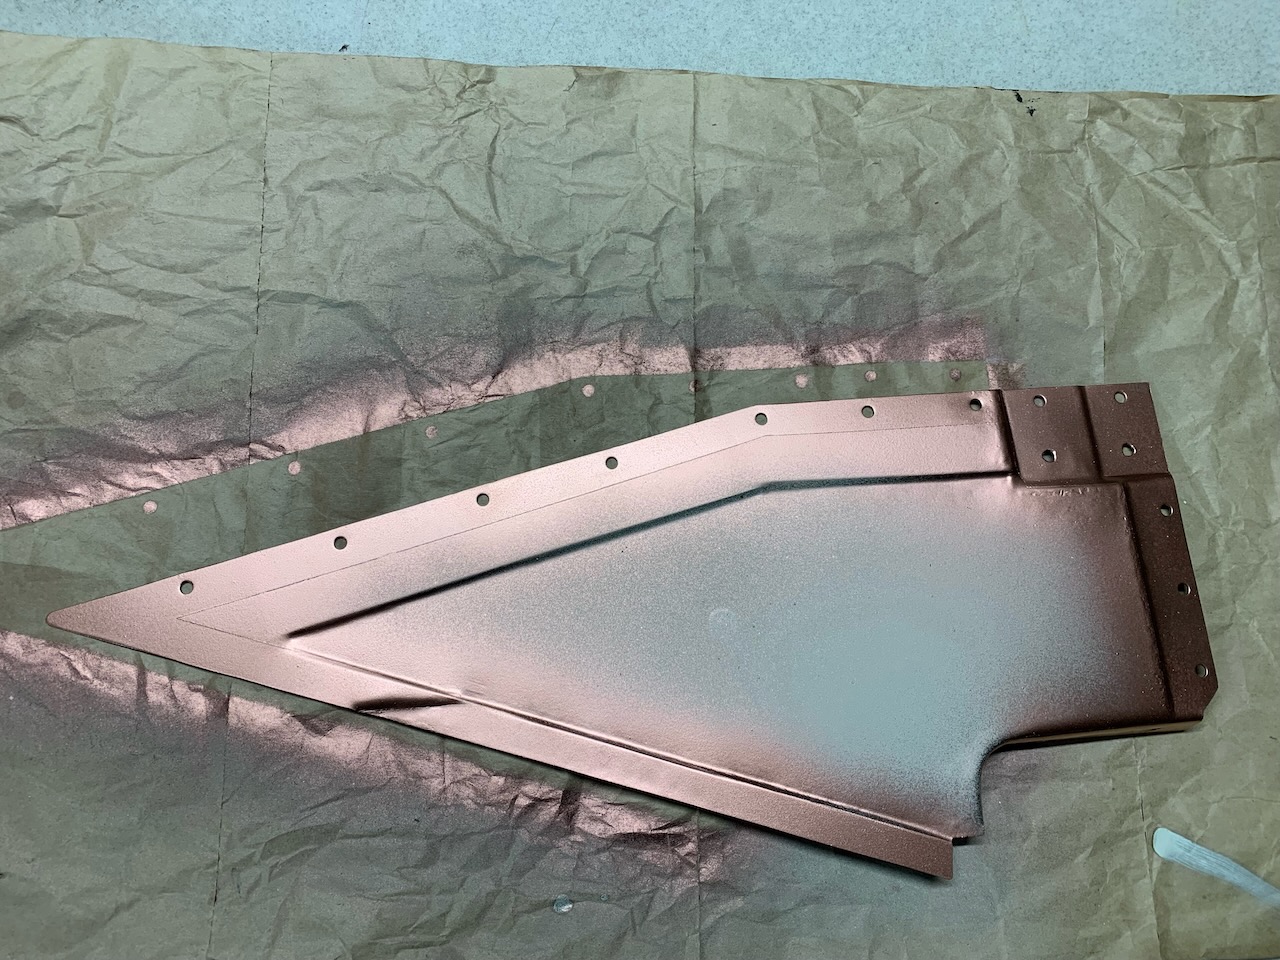
Once the outter sill was in place, it was time for the last panel from this side to be welded on. VW calls it the joint panel between the outter sill and the floor (VW p/n 251 809 277). As for the shape, it’s a nasty panel, but unfortunately it is not available as original or alternative repair panel. The panel on our bus was no longer usable, so the only solution here was to make one myself.
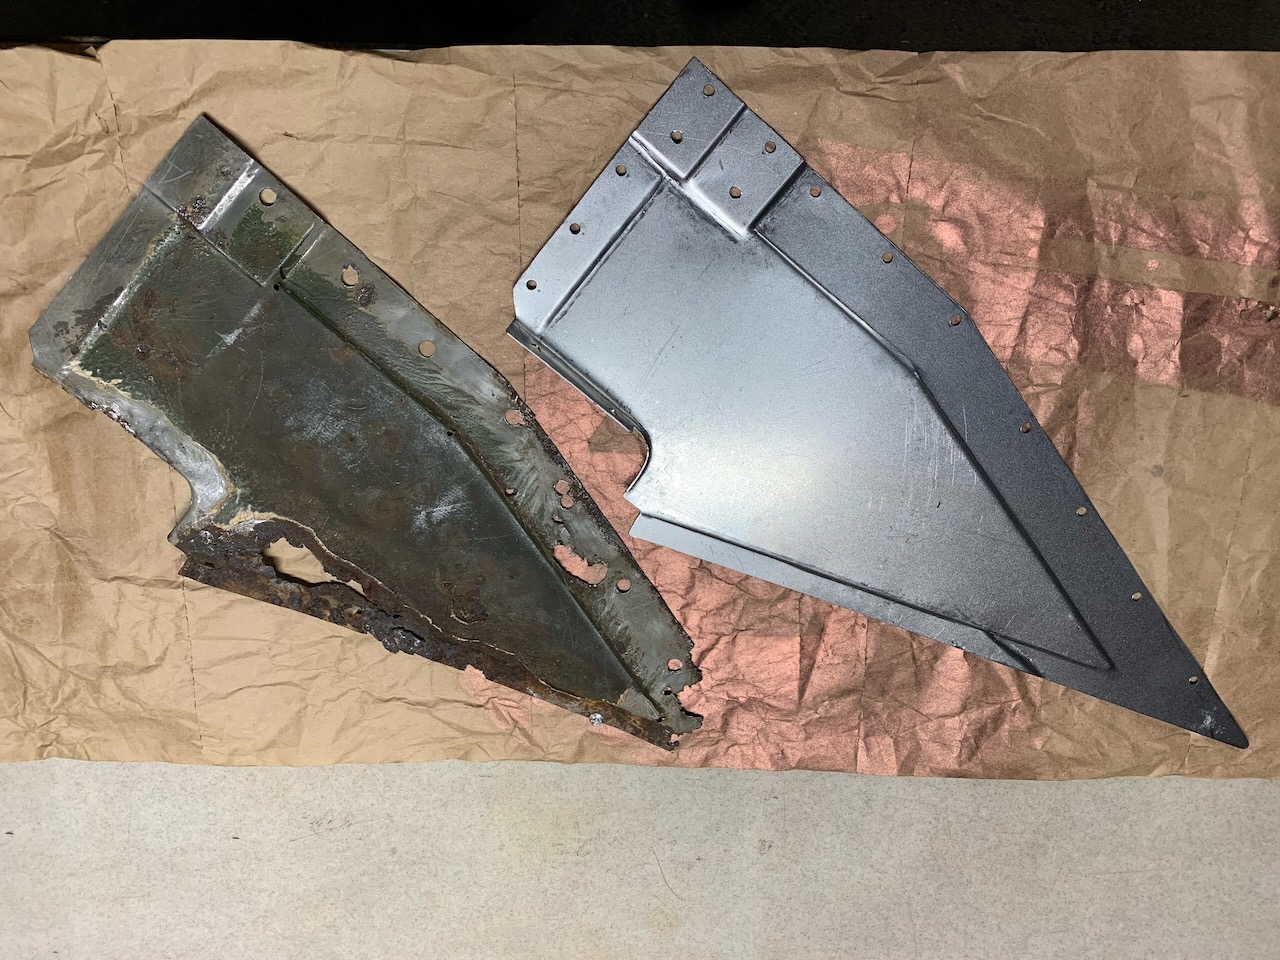
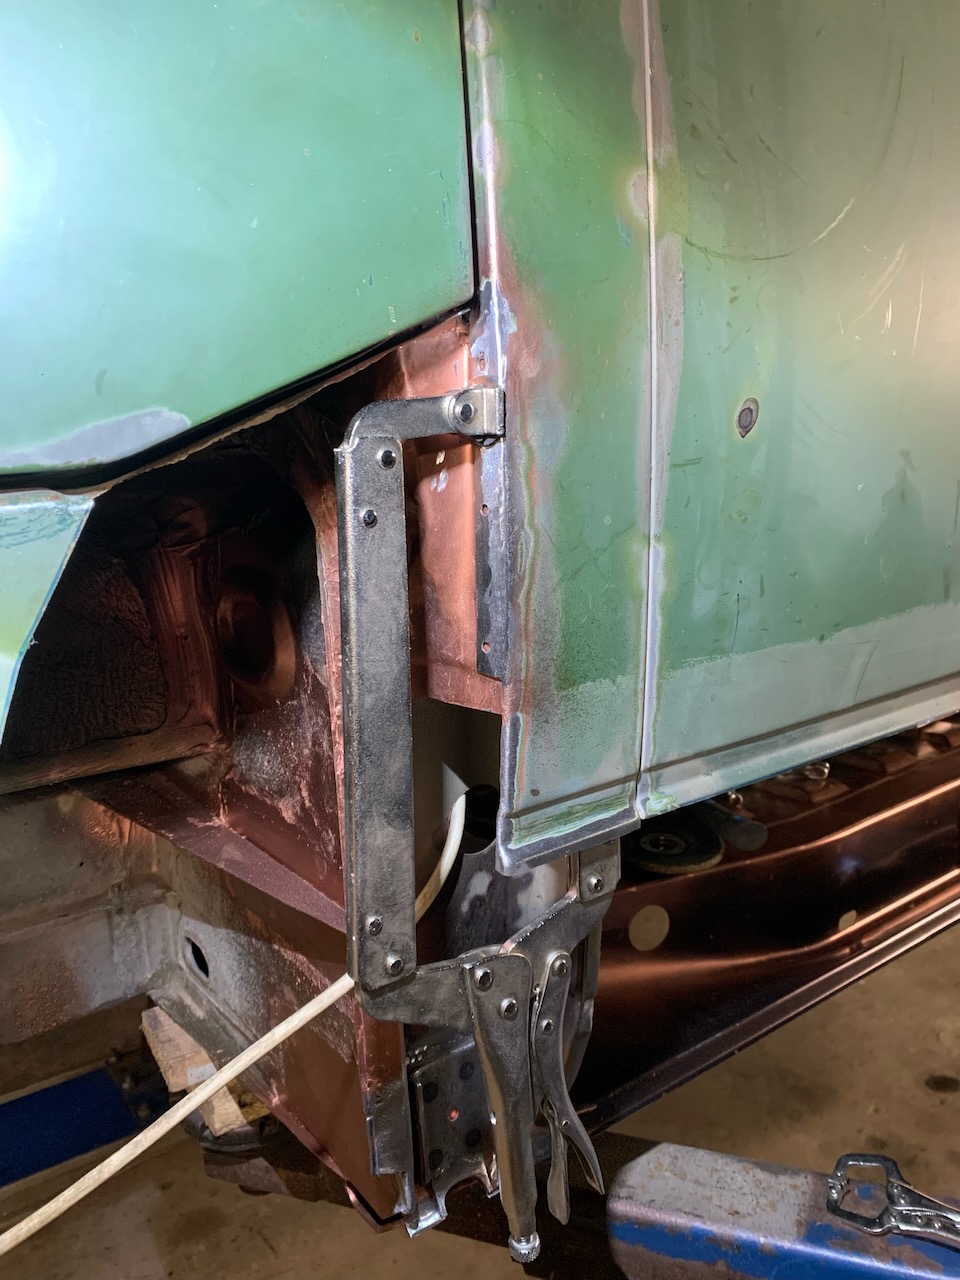
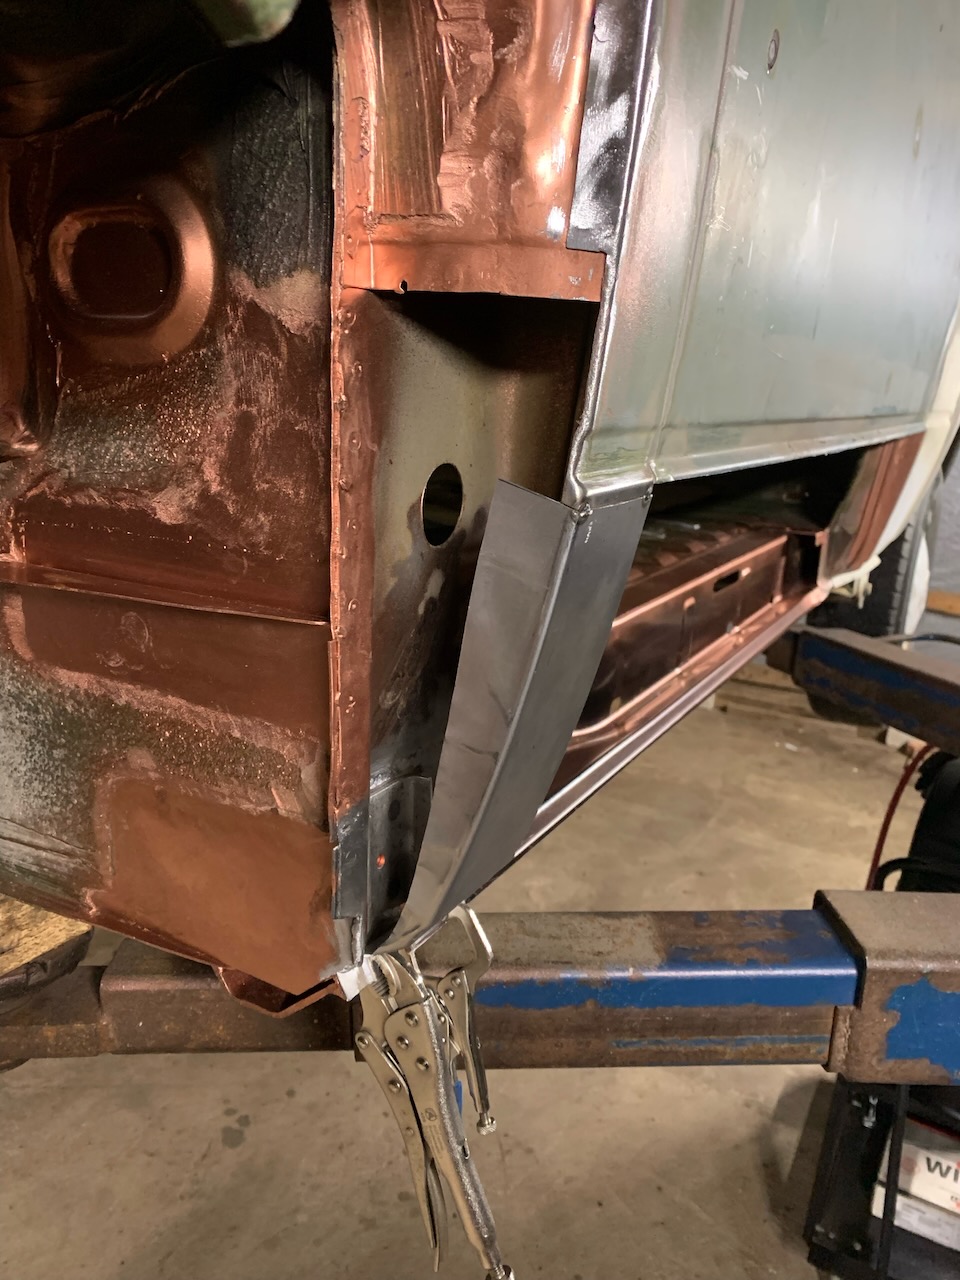
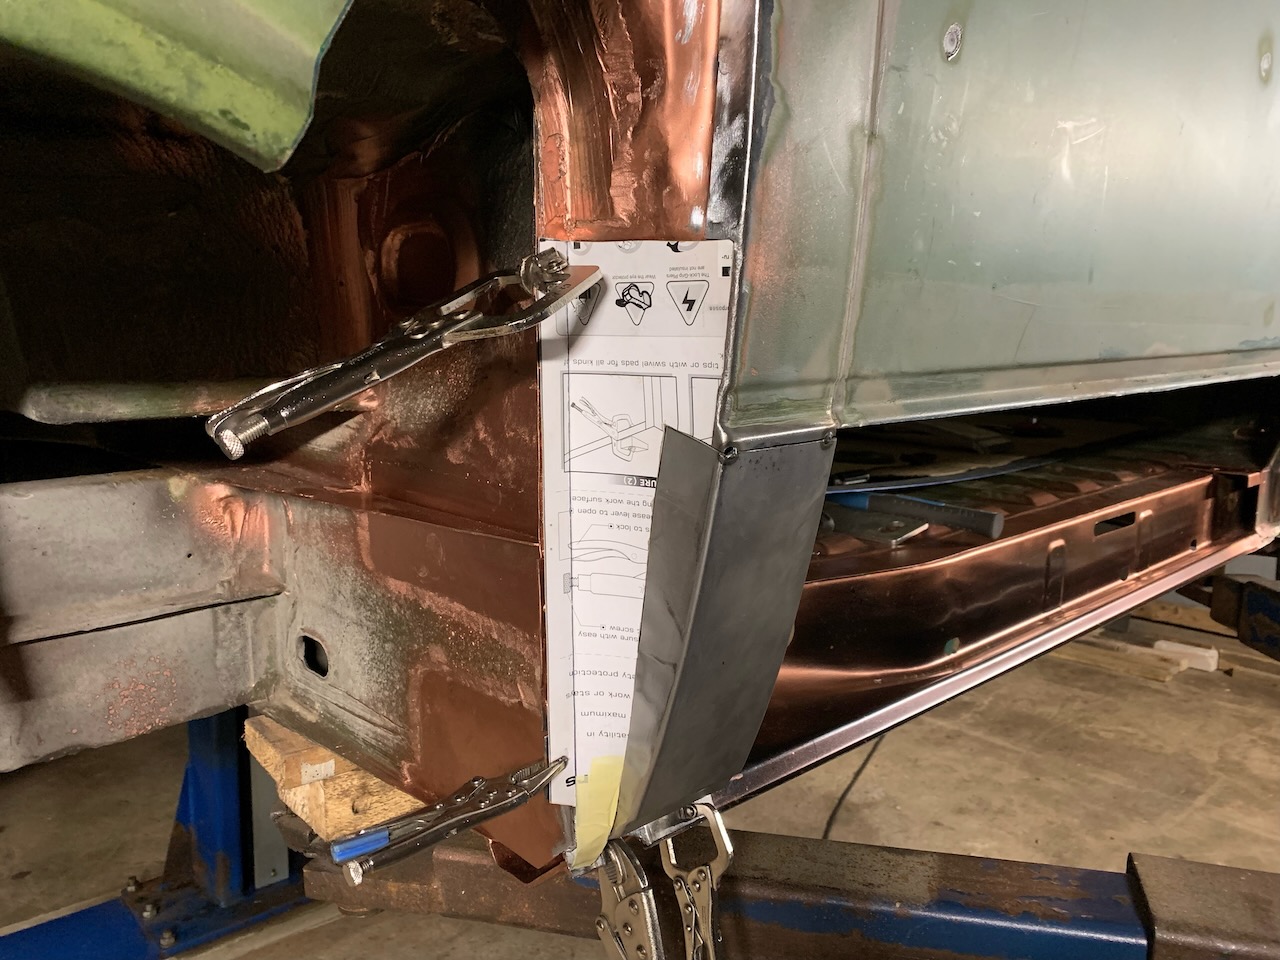
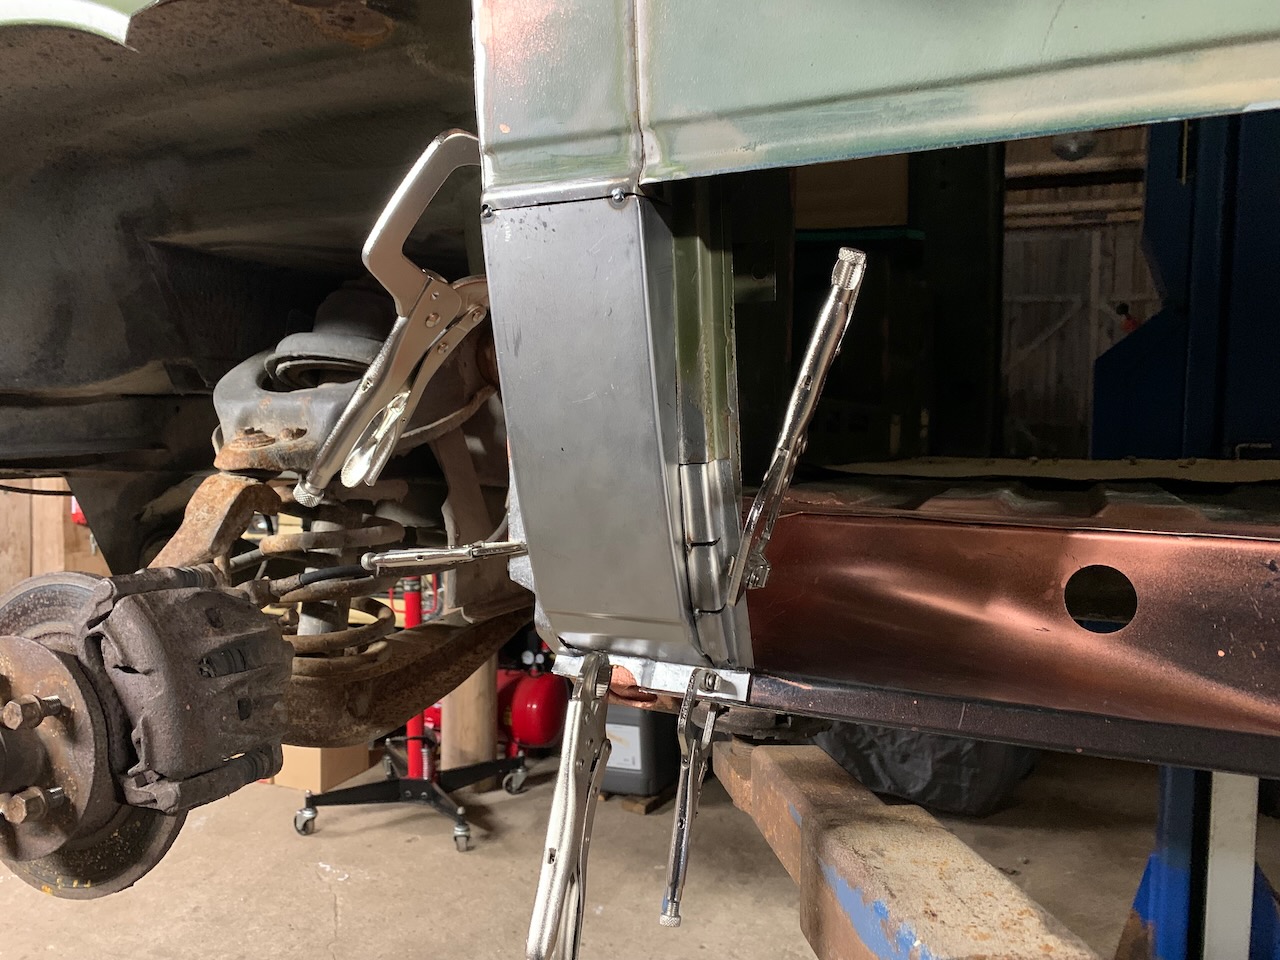
The Lower end of the Side Panel and the Bracket of the Inside Panel
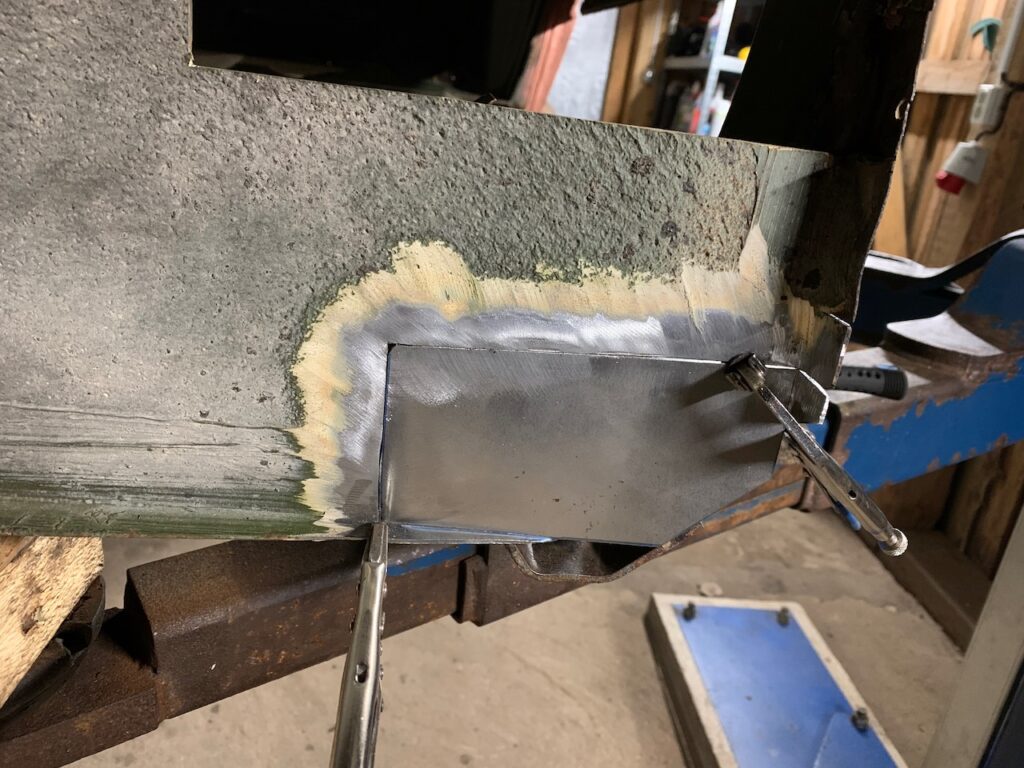
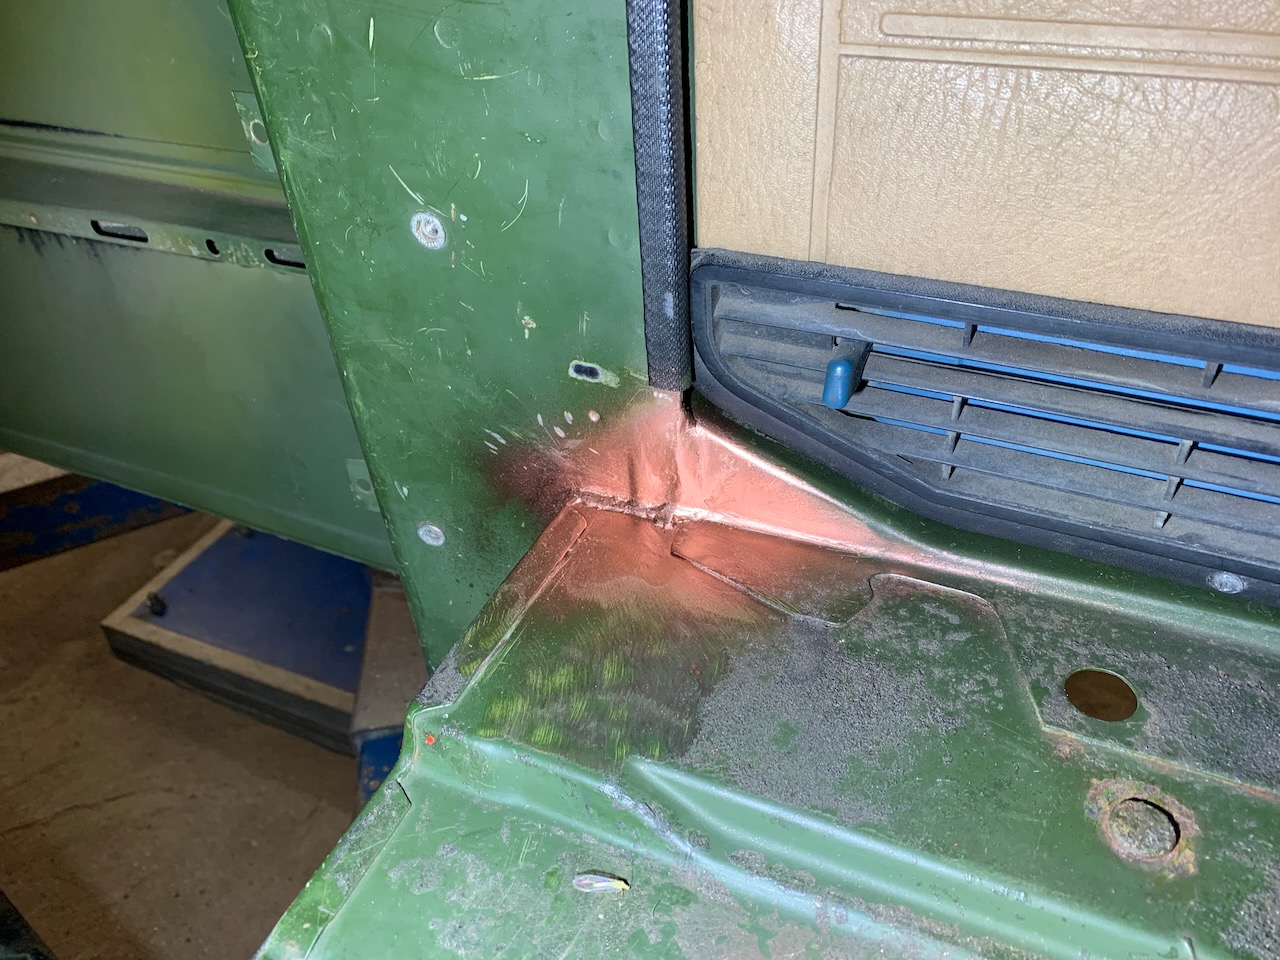
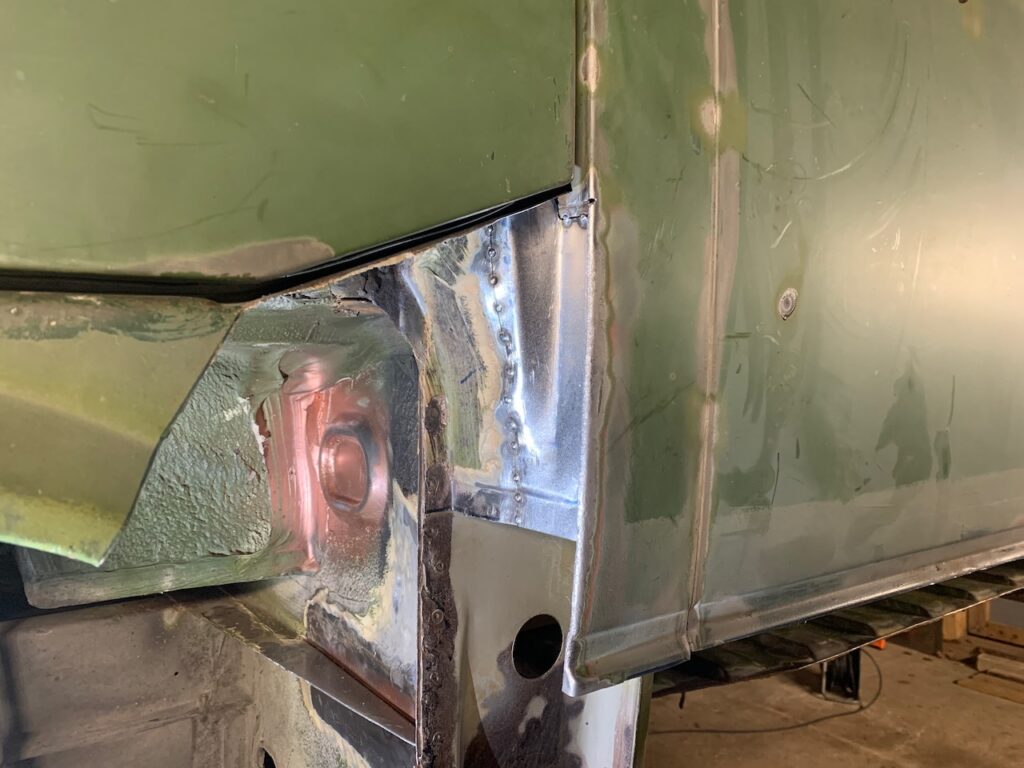
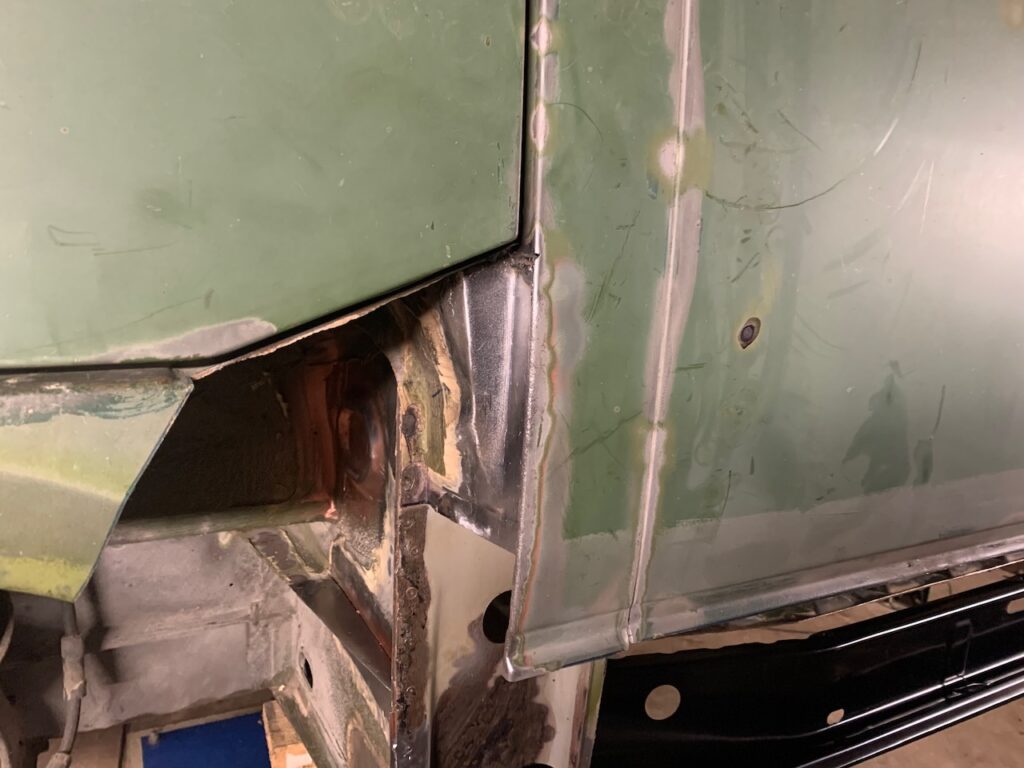
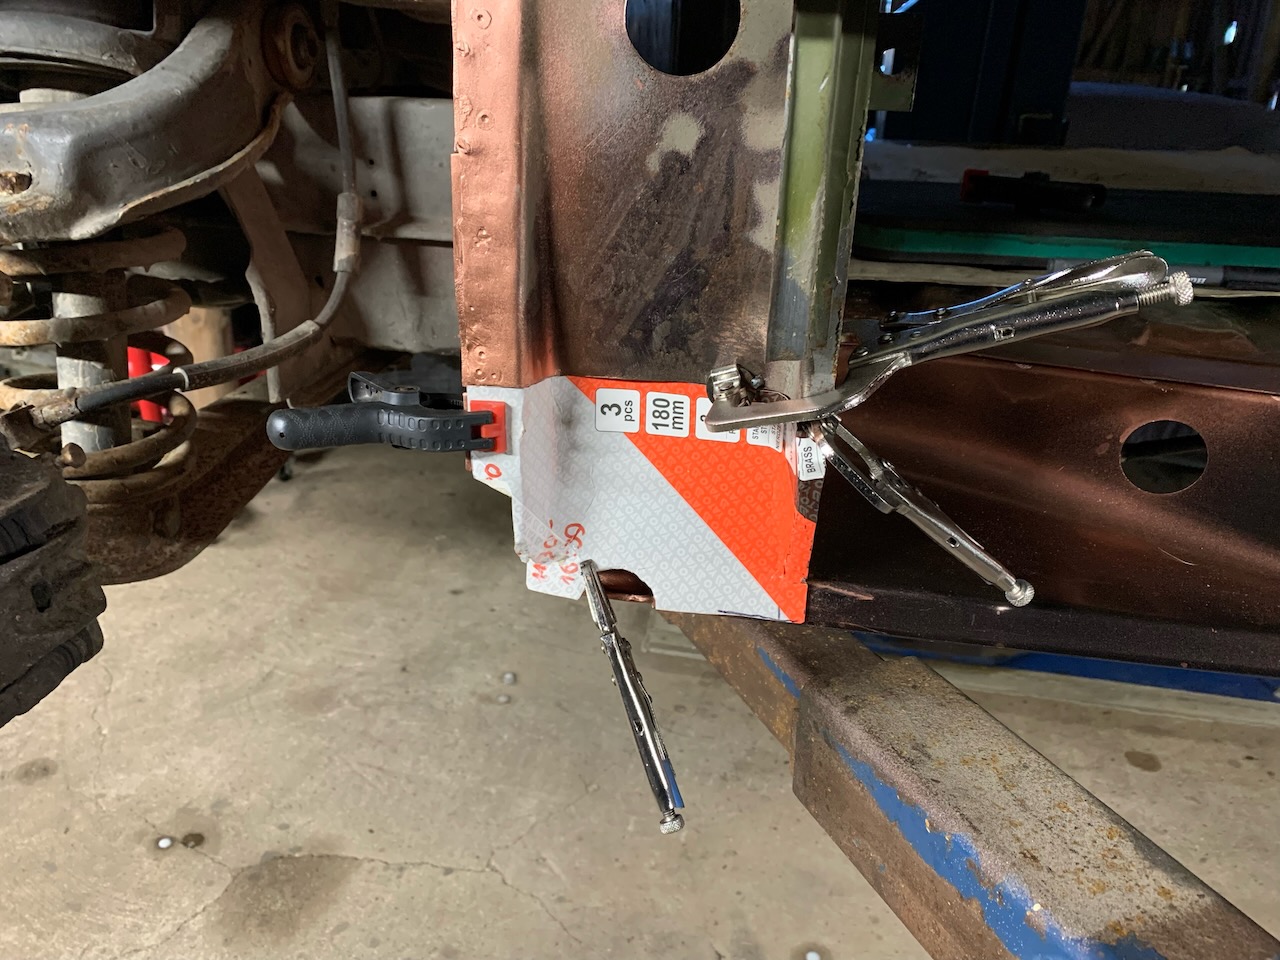
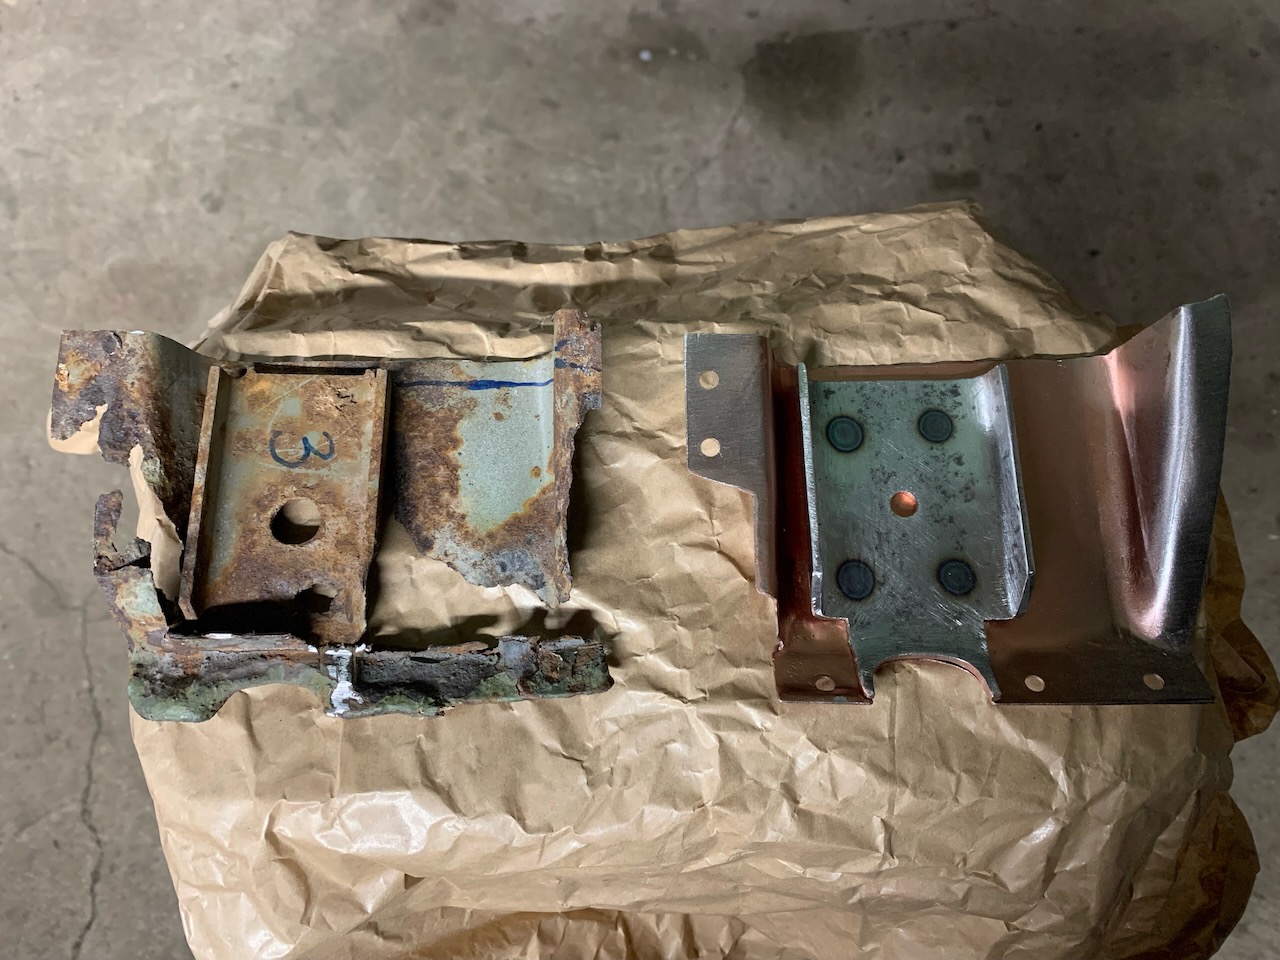
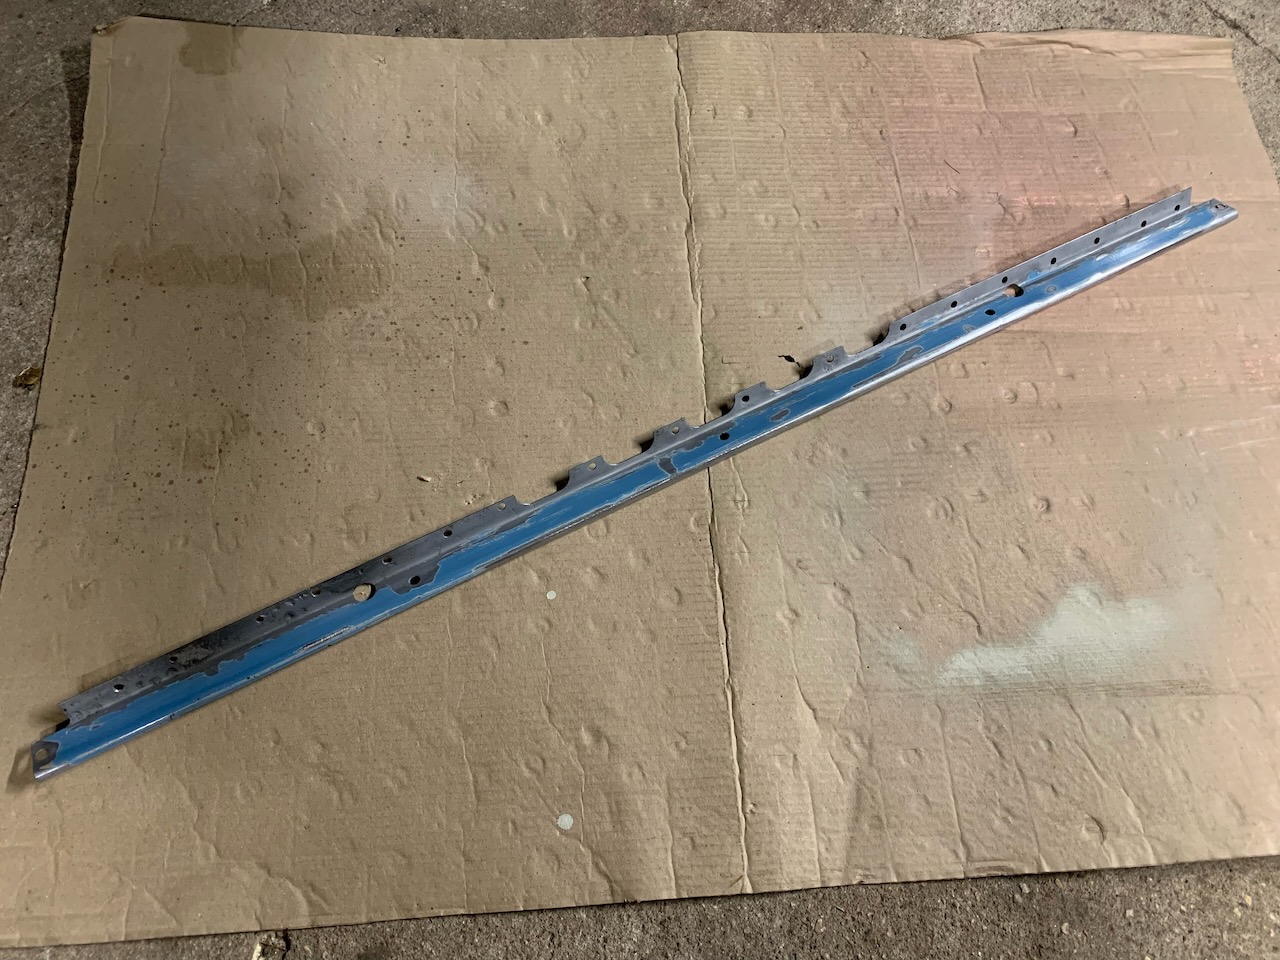
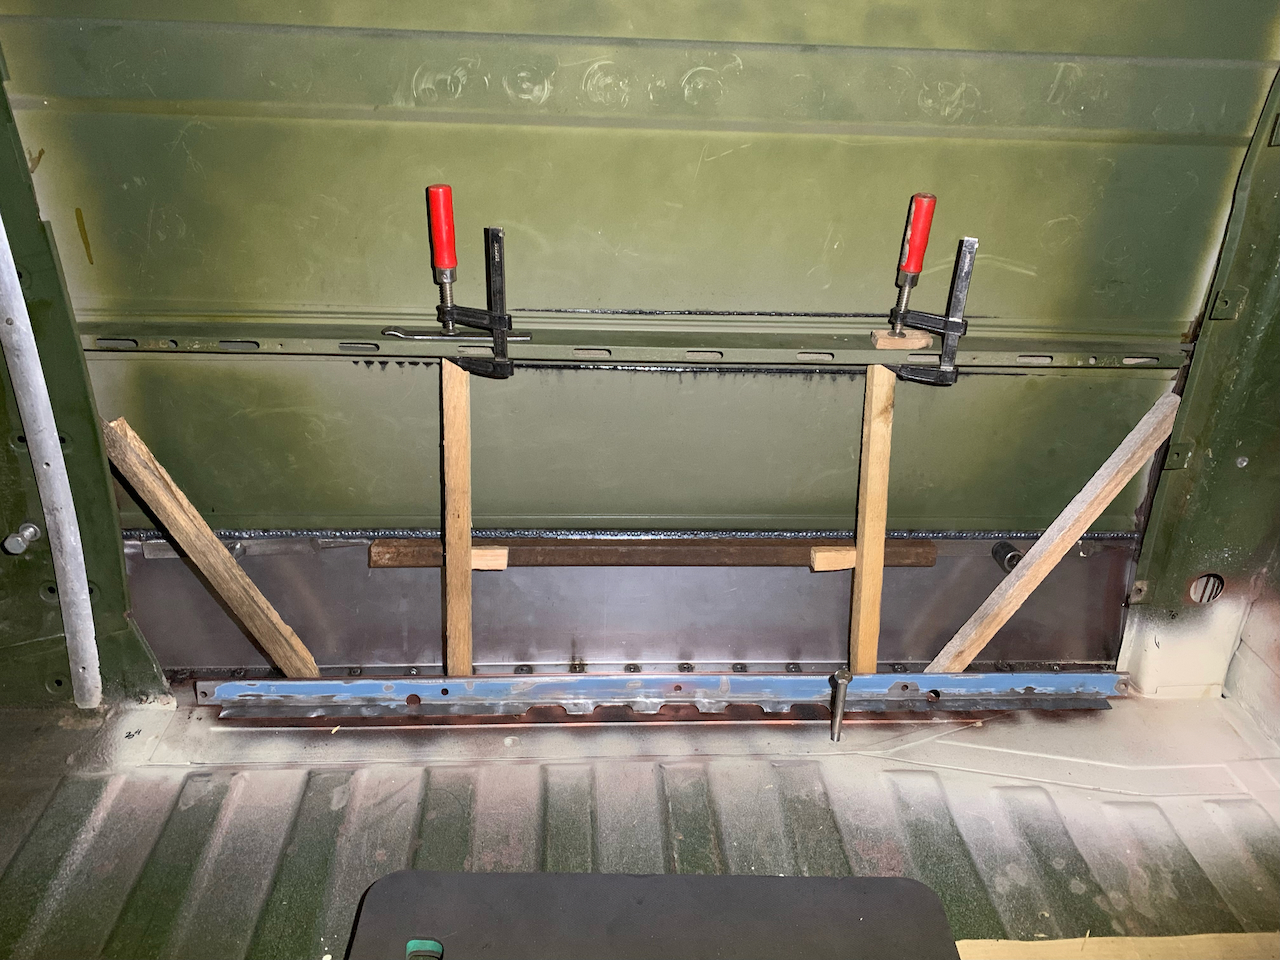
Before I got to the welding of the last panel, which was the lower end of the side panel, I decided to fix the bracket, which holds the lower end of the cardboard panel inside the bus (VW p/n 251 809 335). The bracket in our bus, again, was no longer usable, but luckily the blue donor Transporter, which we had brought home last autumn, helped us out here. I cut out the needed detail from it, sand blasted some a bit more dodgy areas of it, covered the weldable area with the welding primer and basically the piece was ready to be welded on.

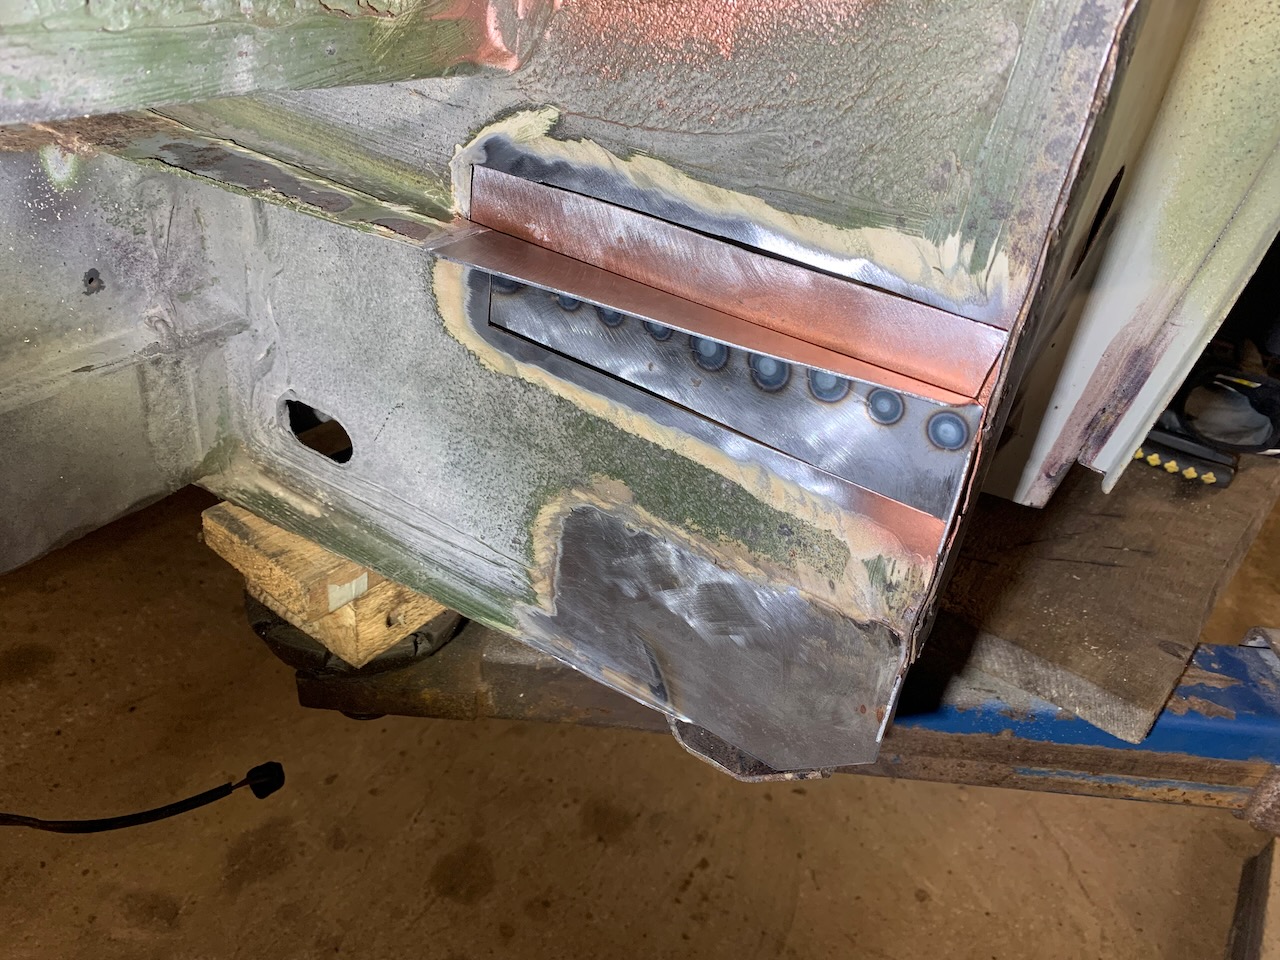
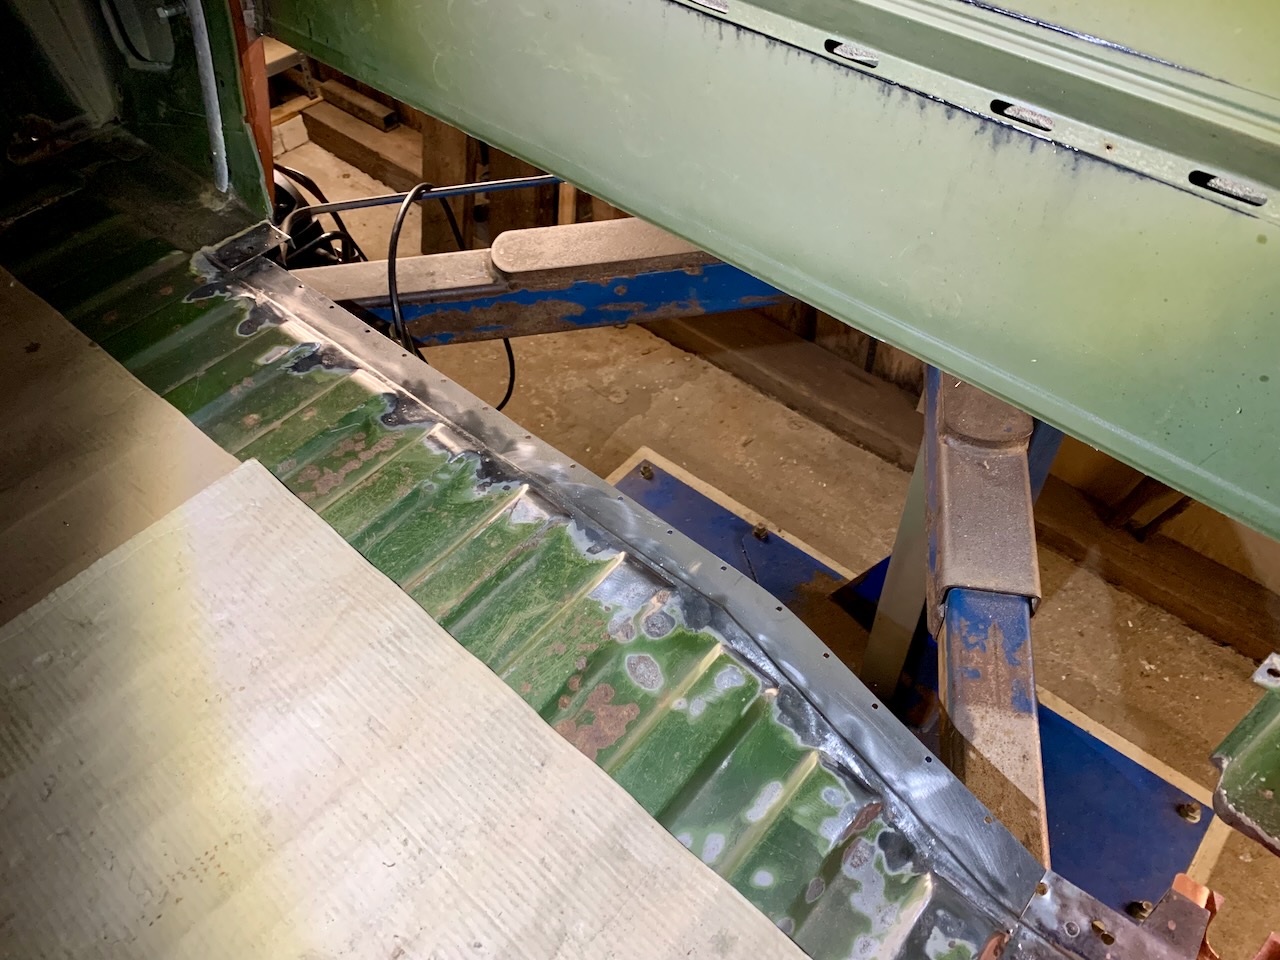
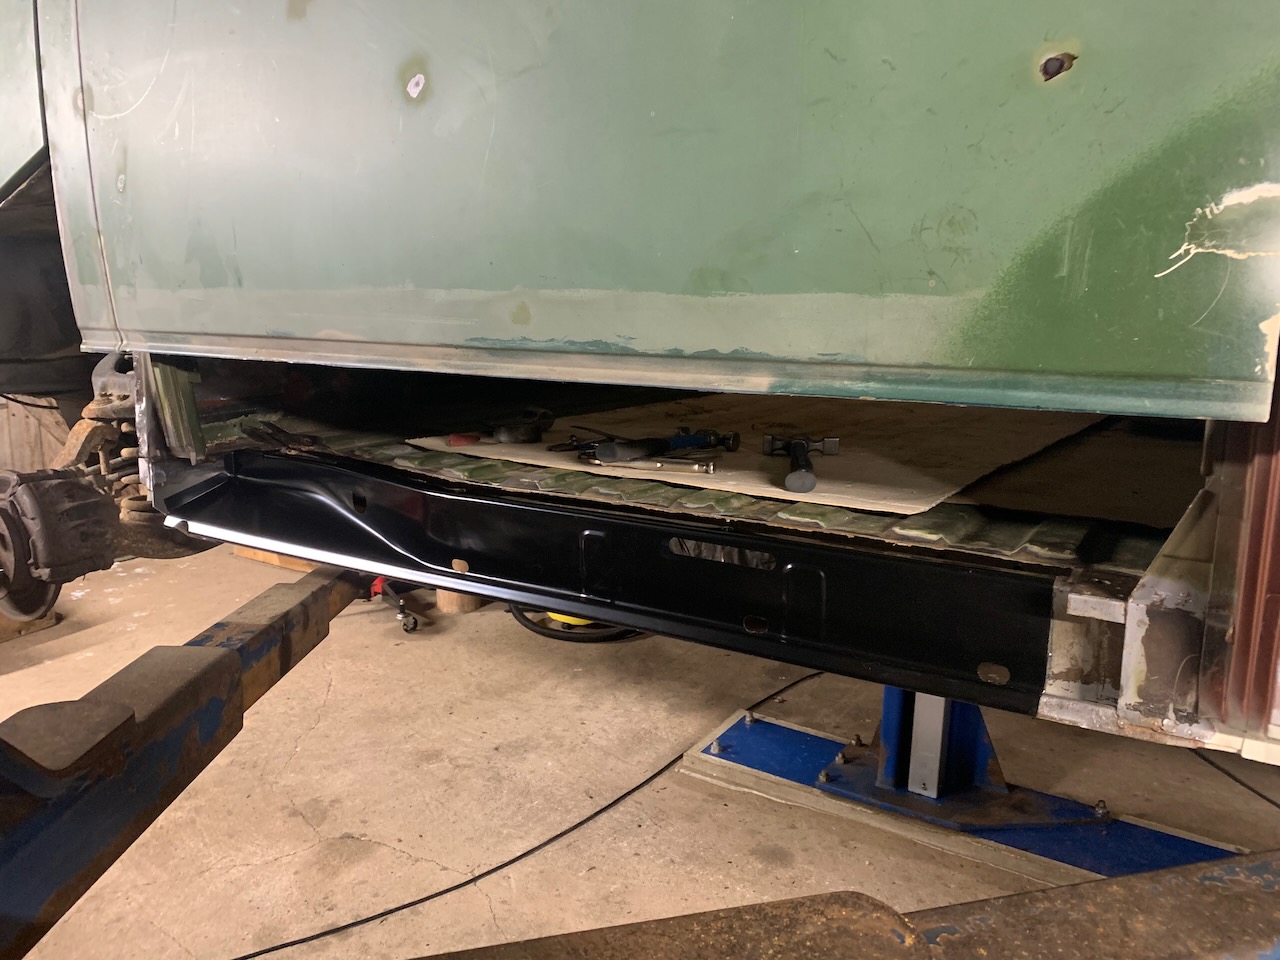
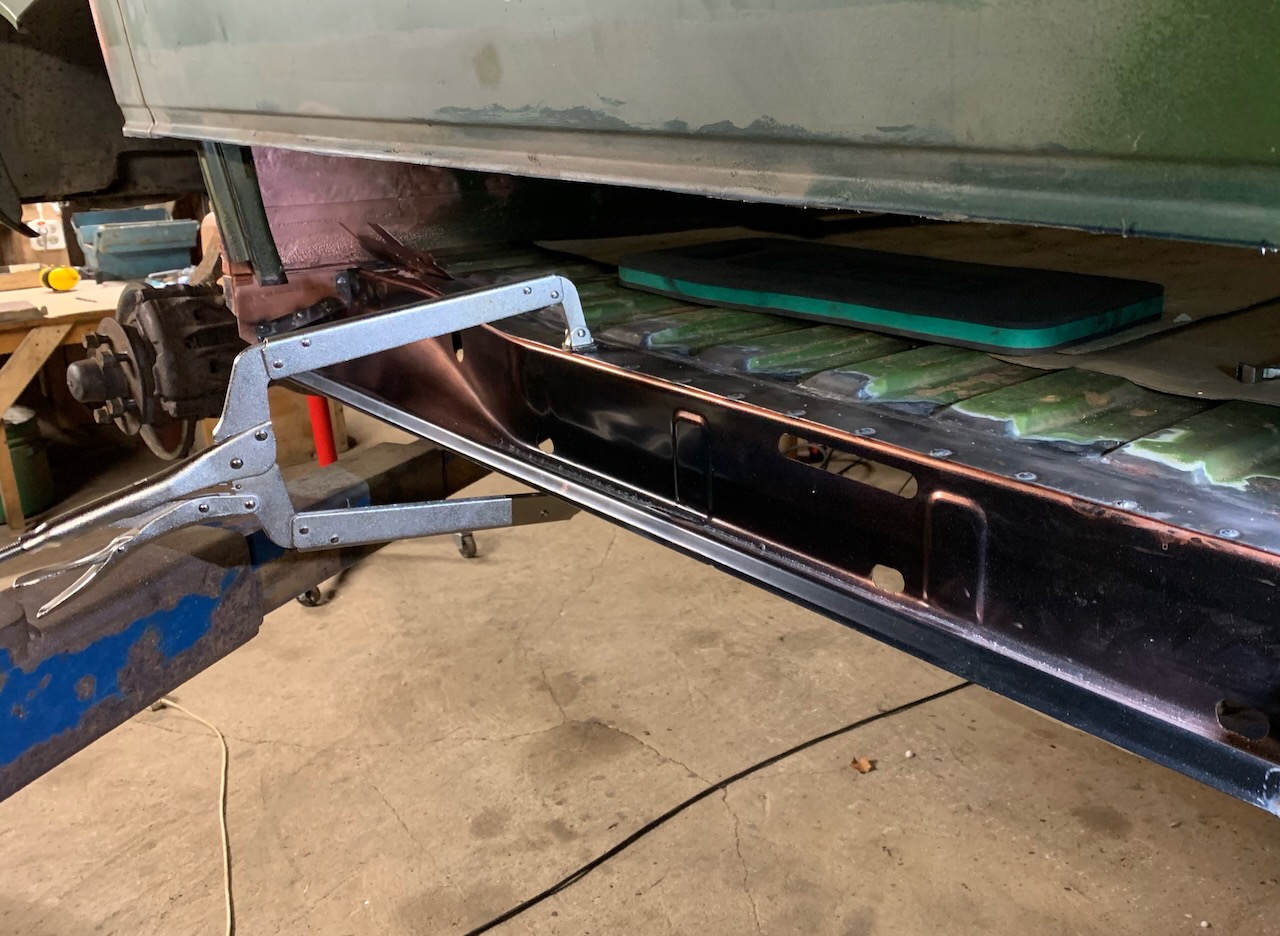
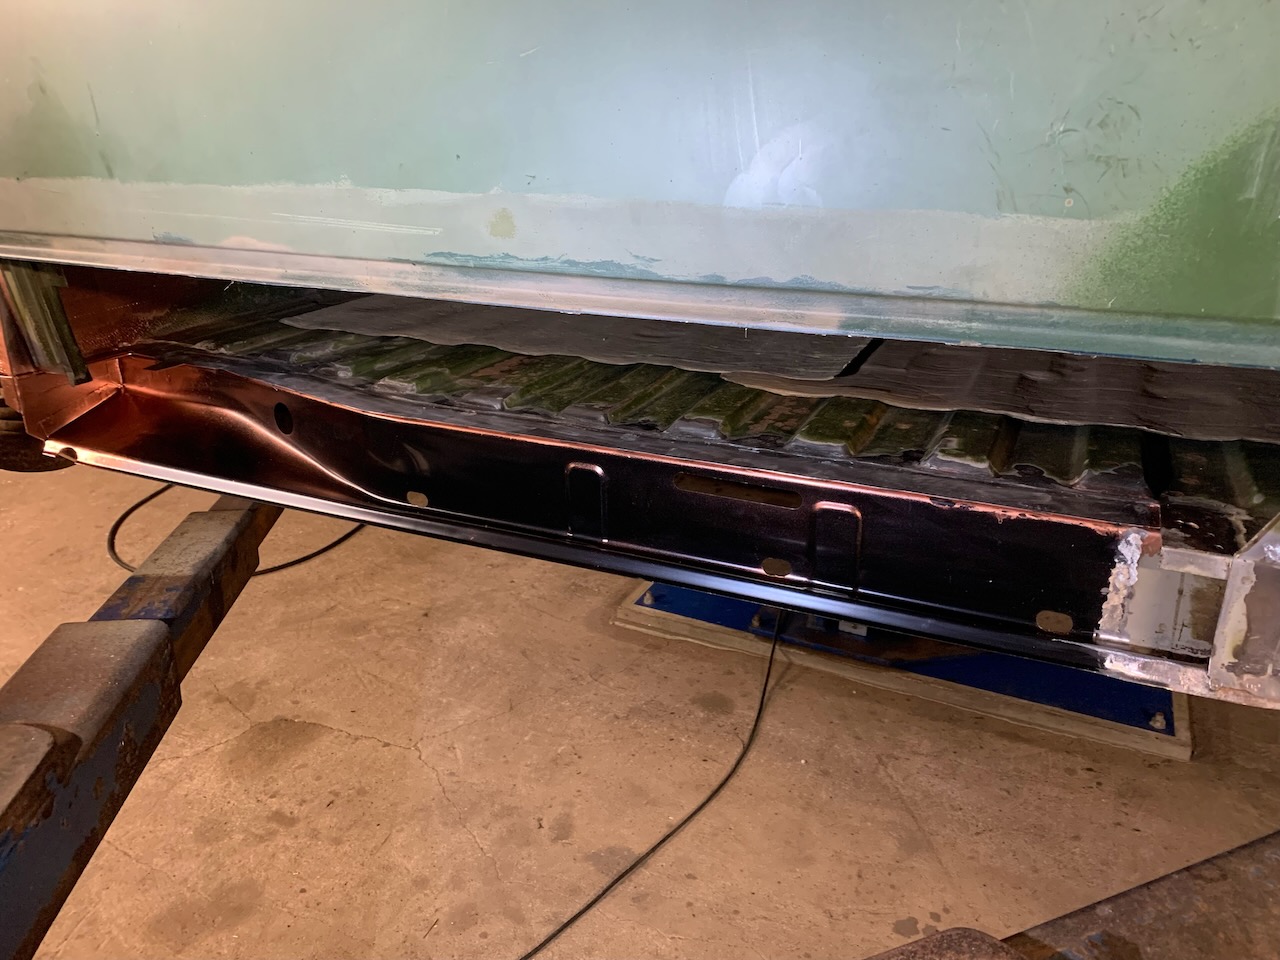
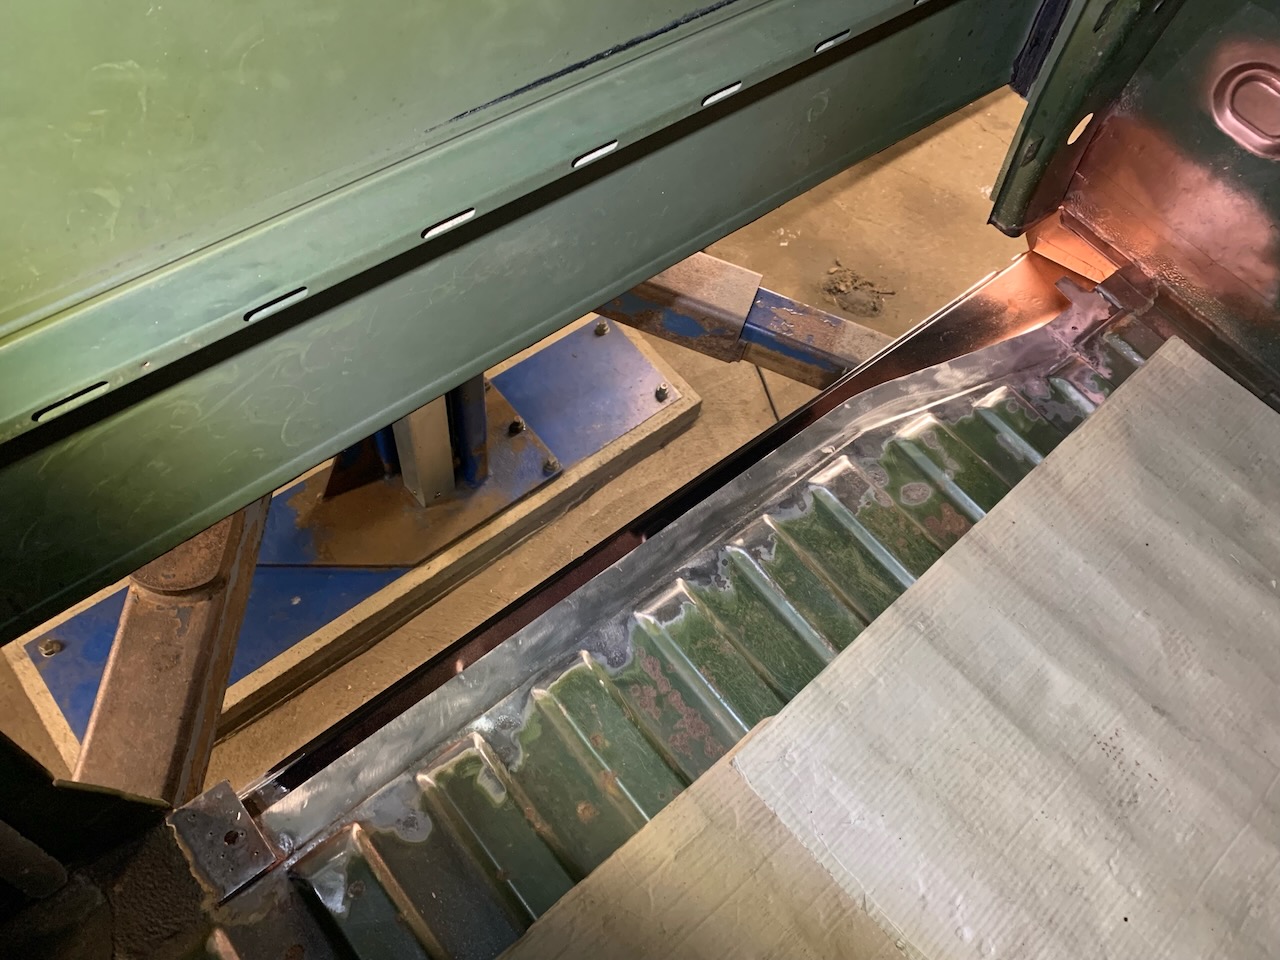
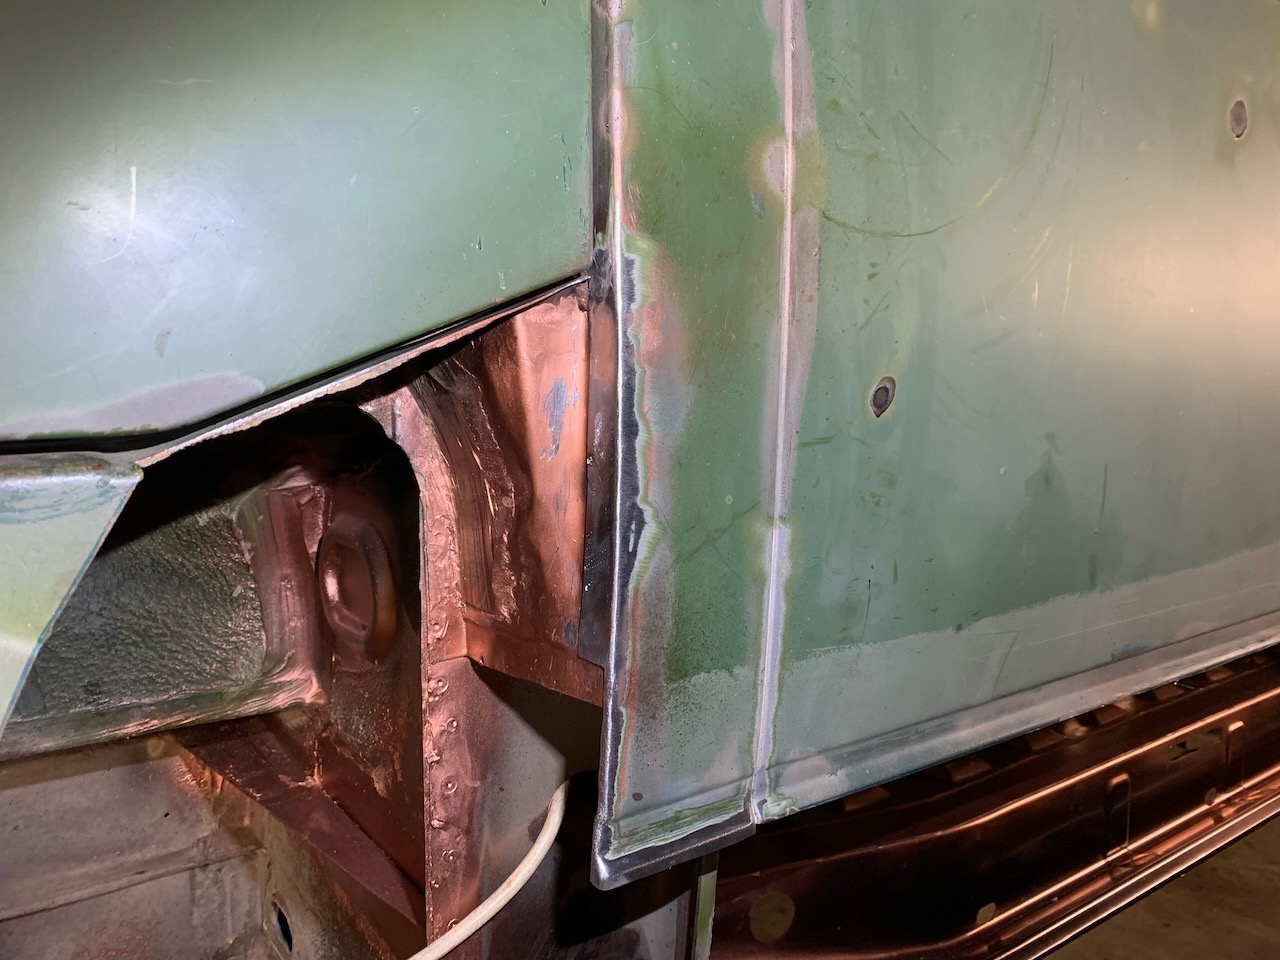
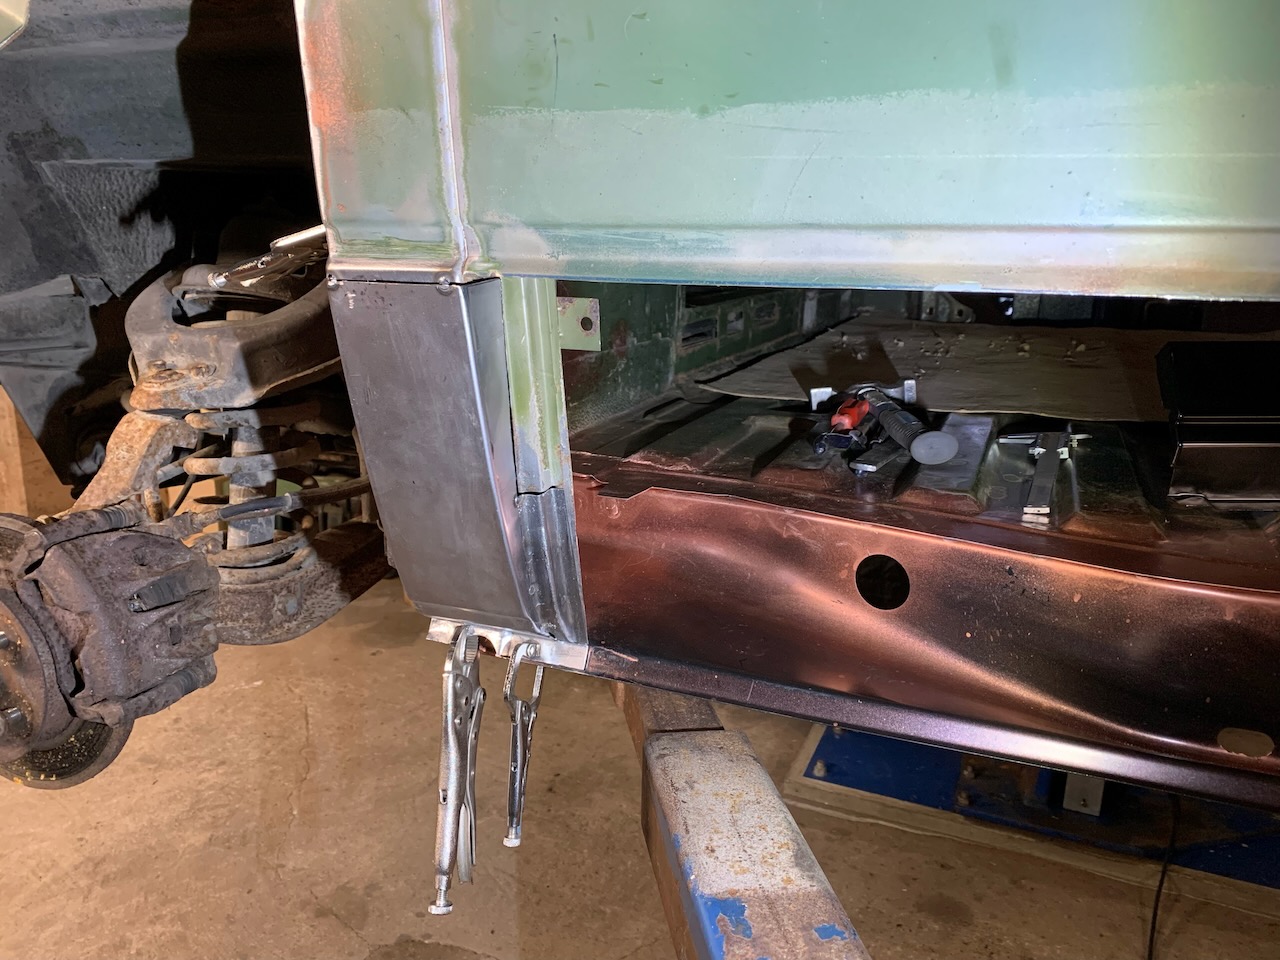
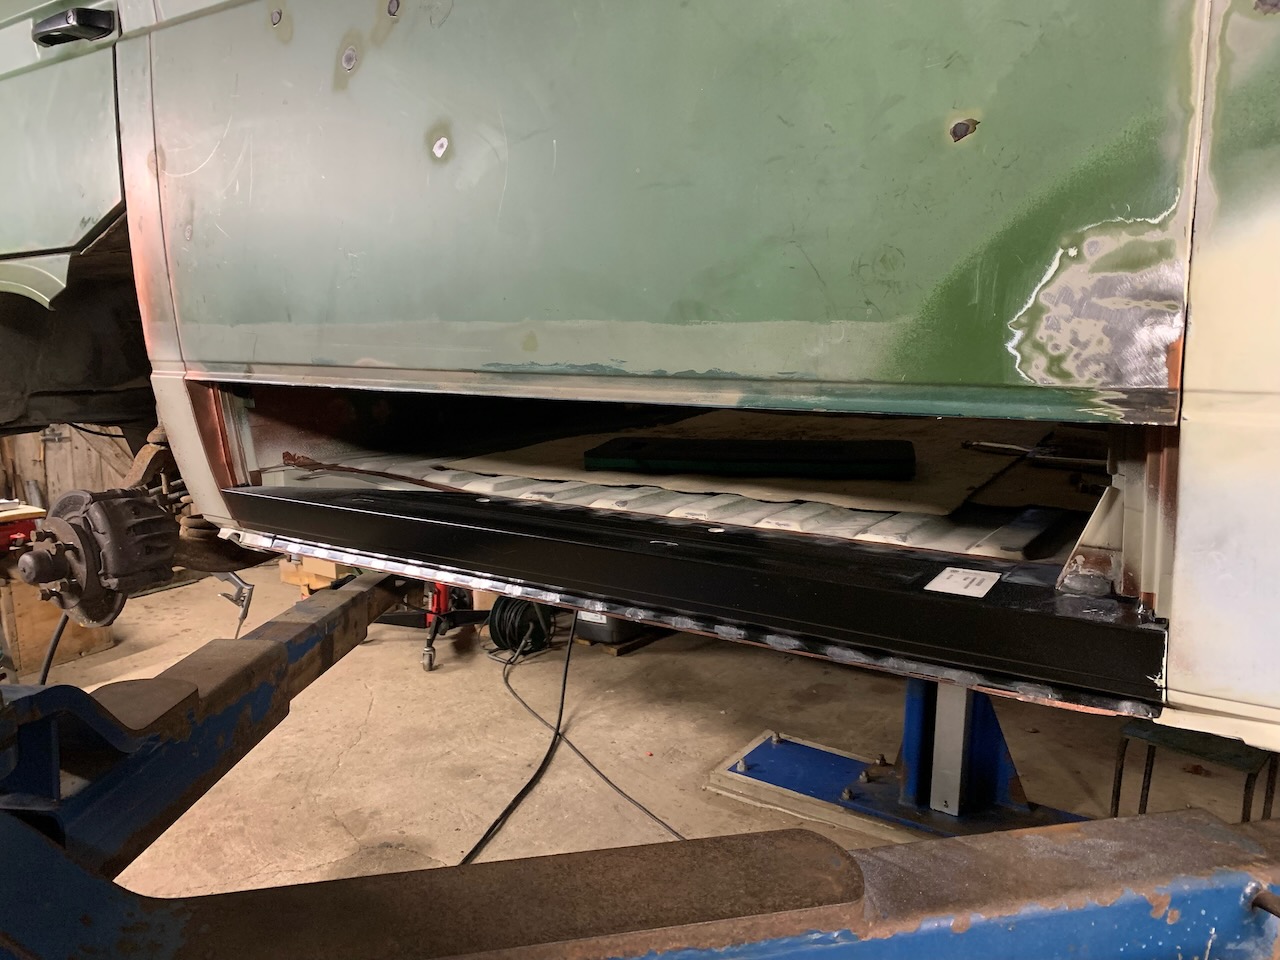
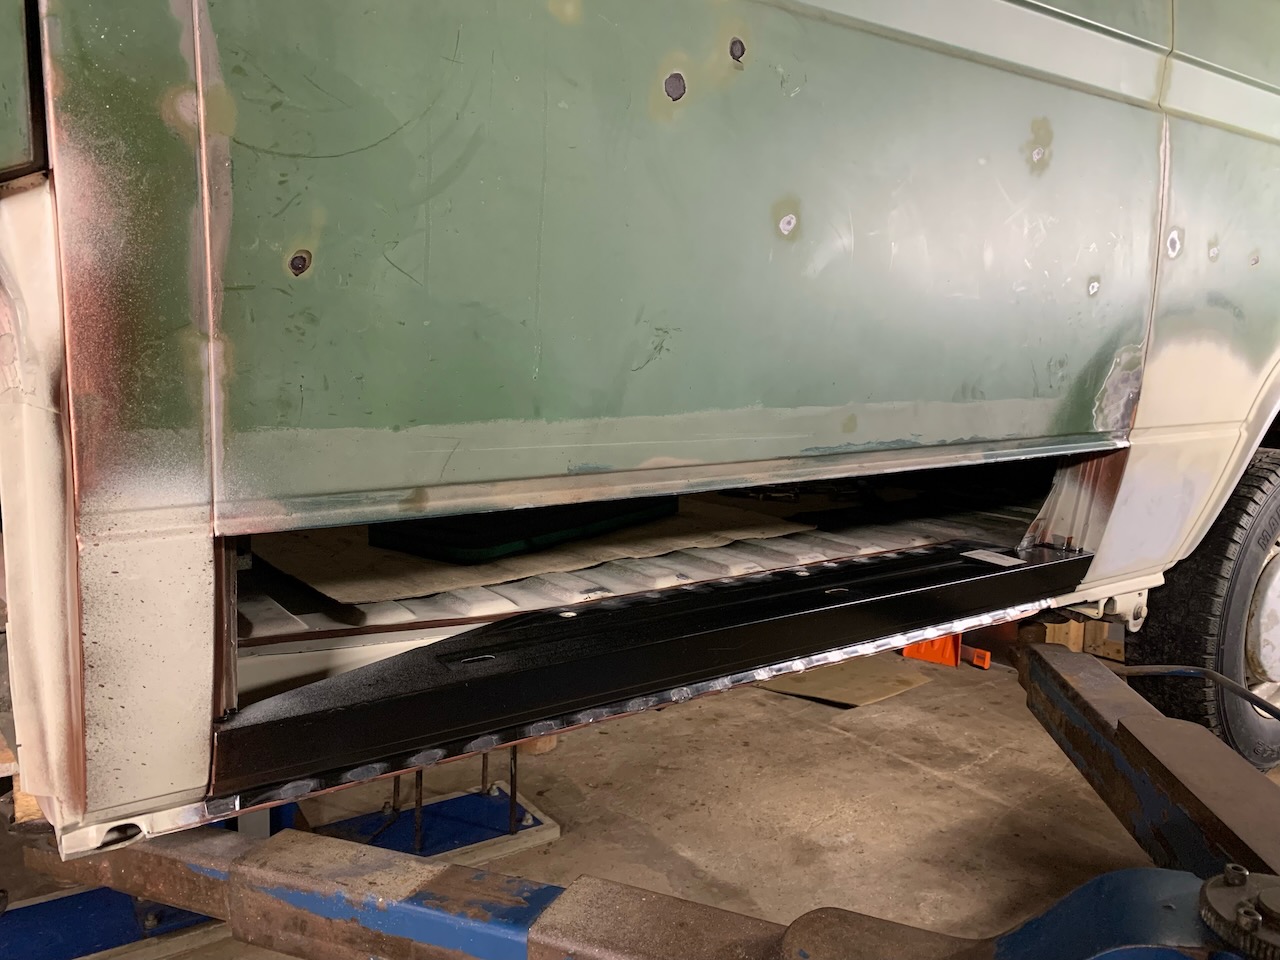
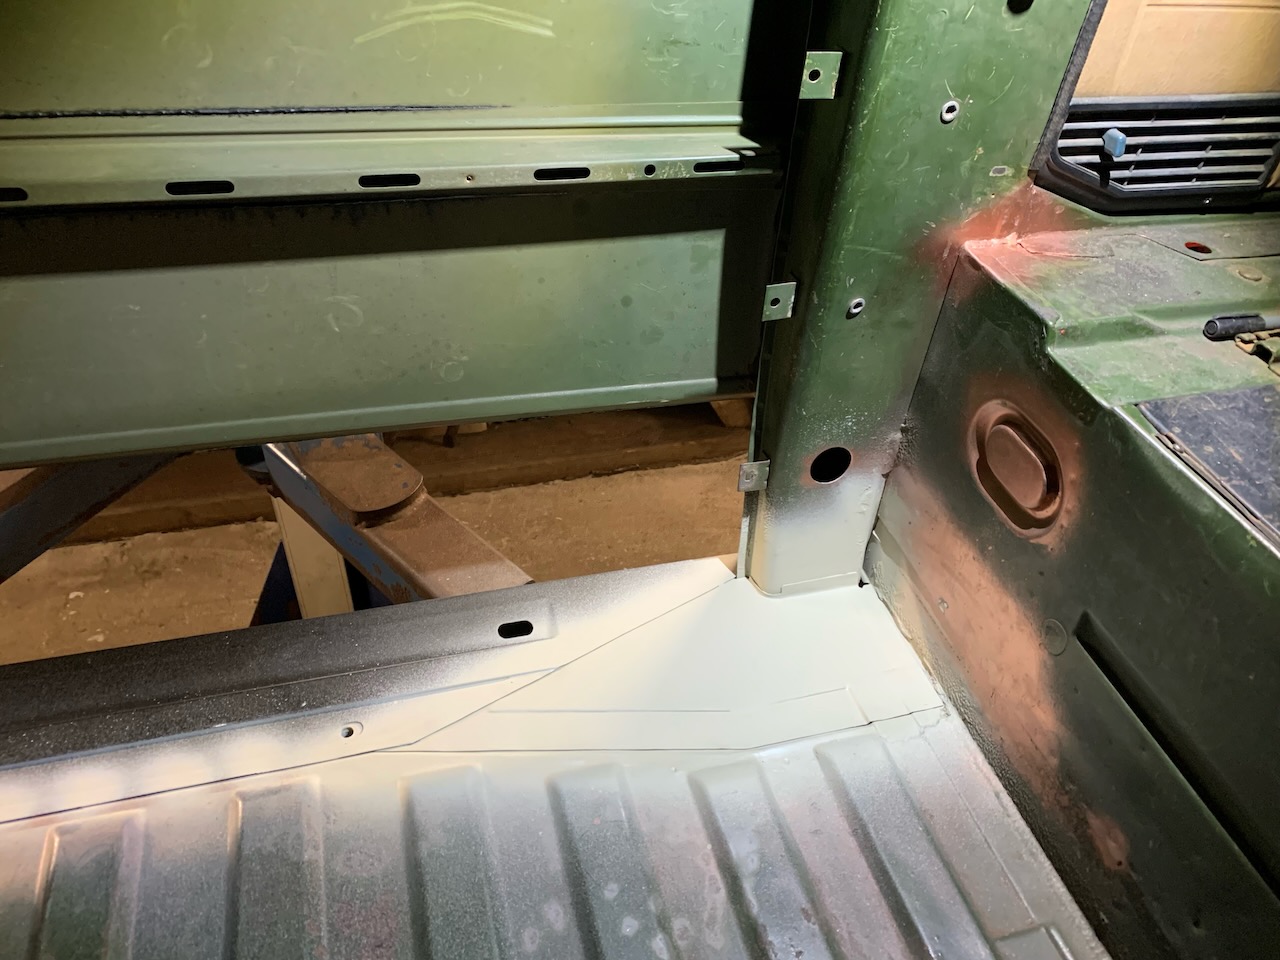
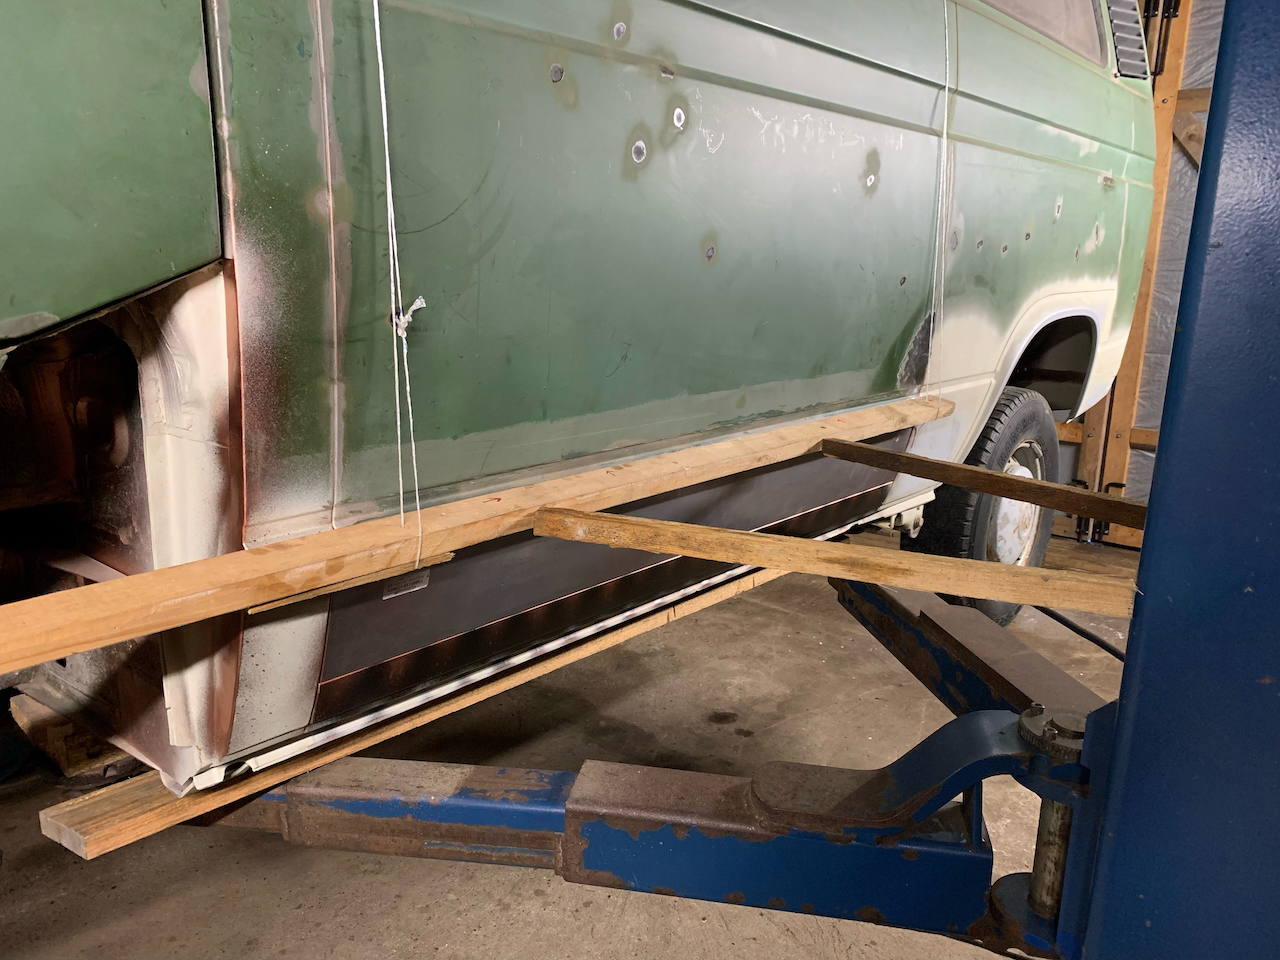
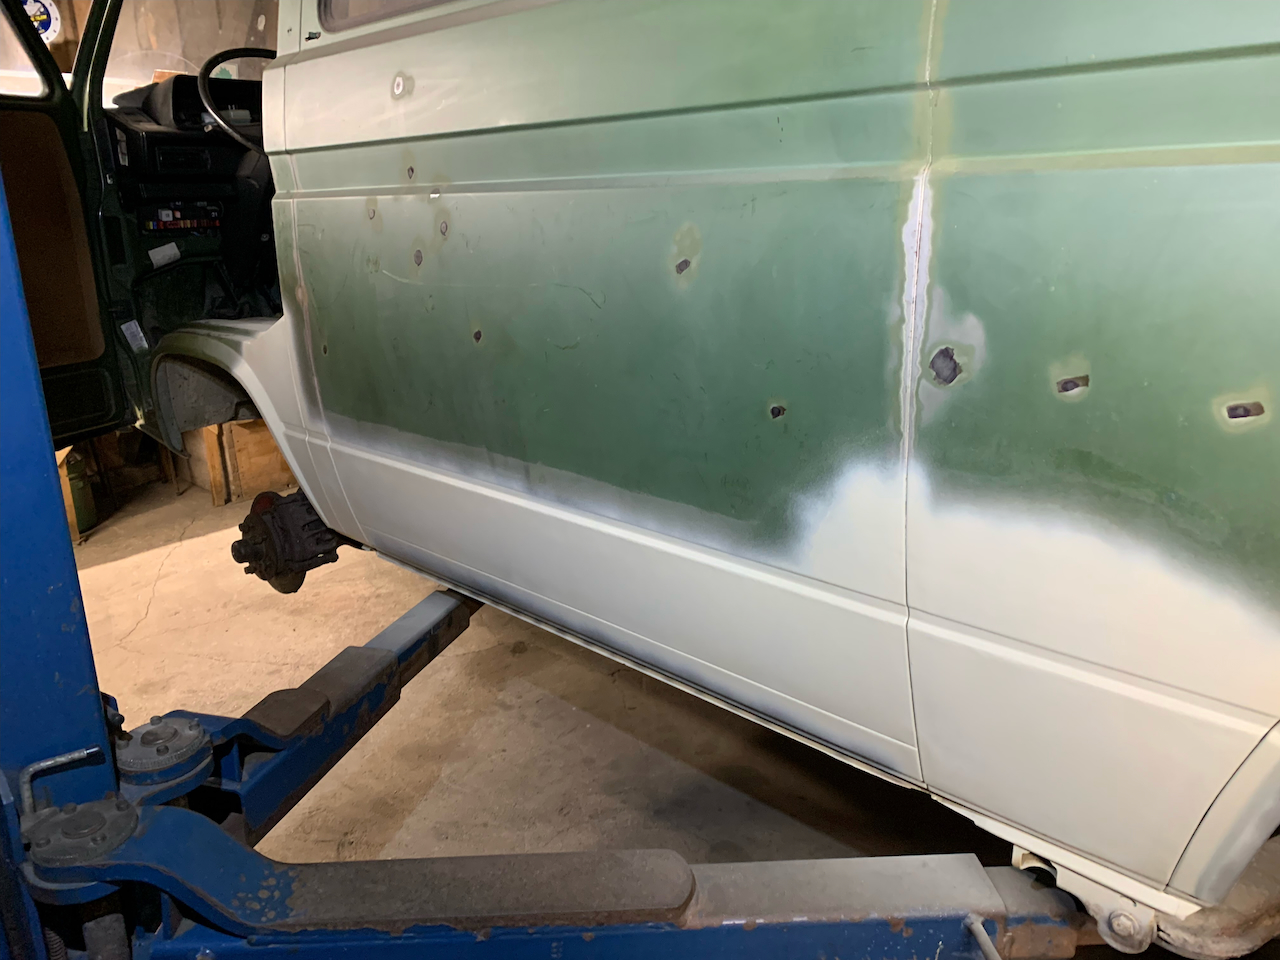
Looking back, the welding of the lower end of the side panel (VW p/n 253 809 159), was quite nerve-racking undertaking. After all, it is a detail, that will be very much visible and since the welding joint was going to be uncomfortably long, the danger of this panel becoming rounded, concave or both due to the heat during welding, was very much real. To avoid all these possible dangers, I tried to support the panel as much as possible and keep it cool while welding. As for the straightness of the panel after welding, I’d give it 4 out of 5 stars, but with the quality of the welding, I was very satisfied. The repair panel I used was by AHSchofield and the shape and size of it fit perfectly.
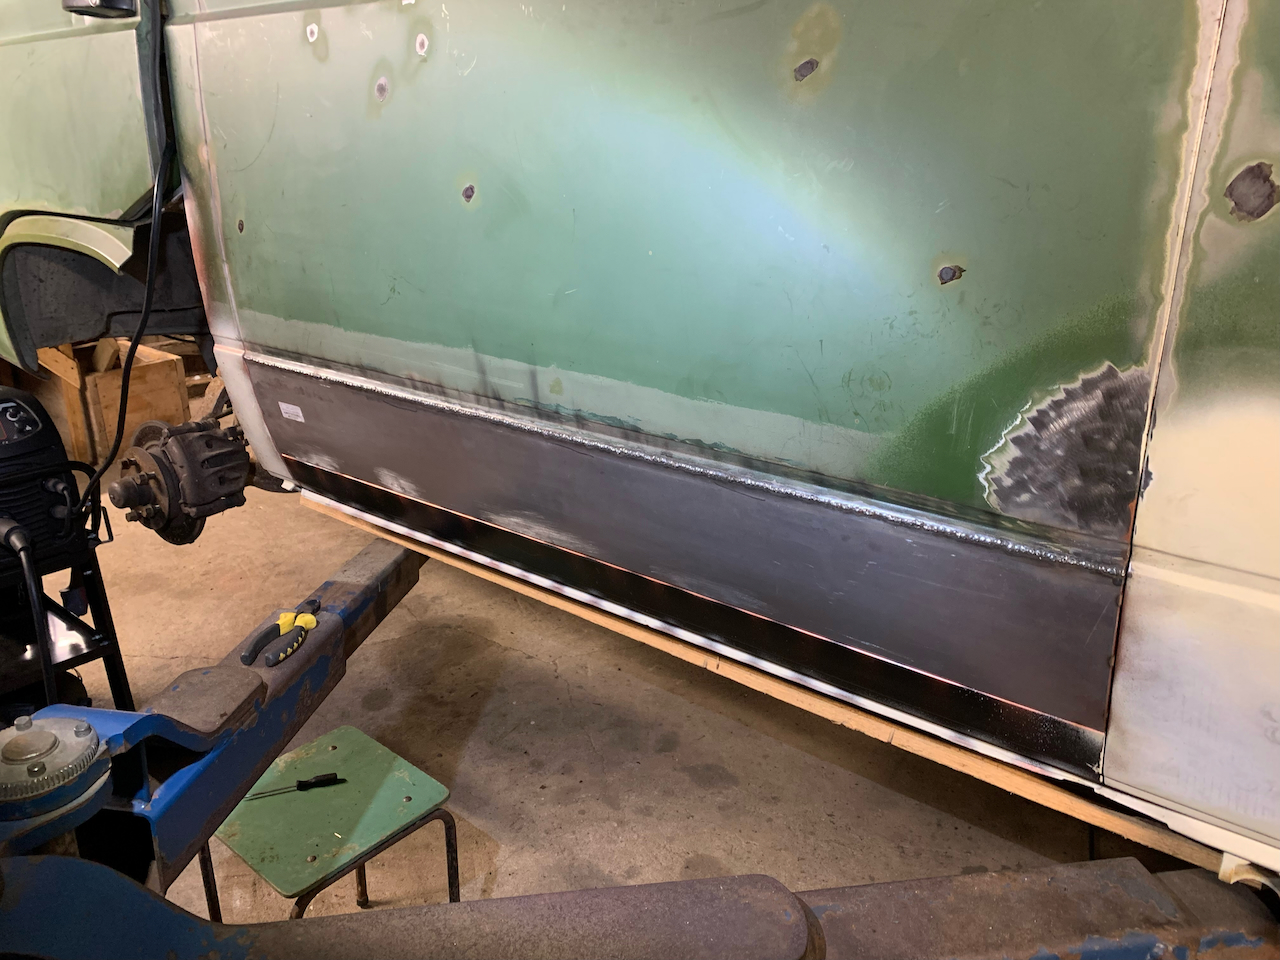
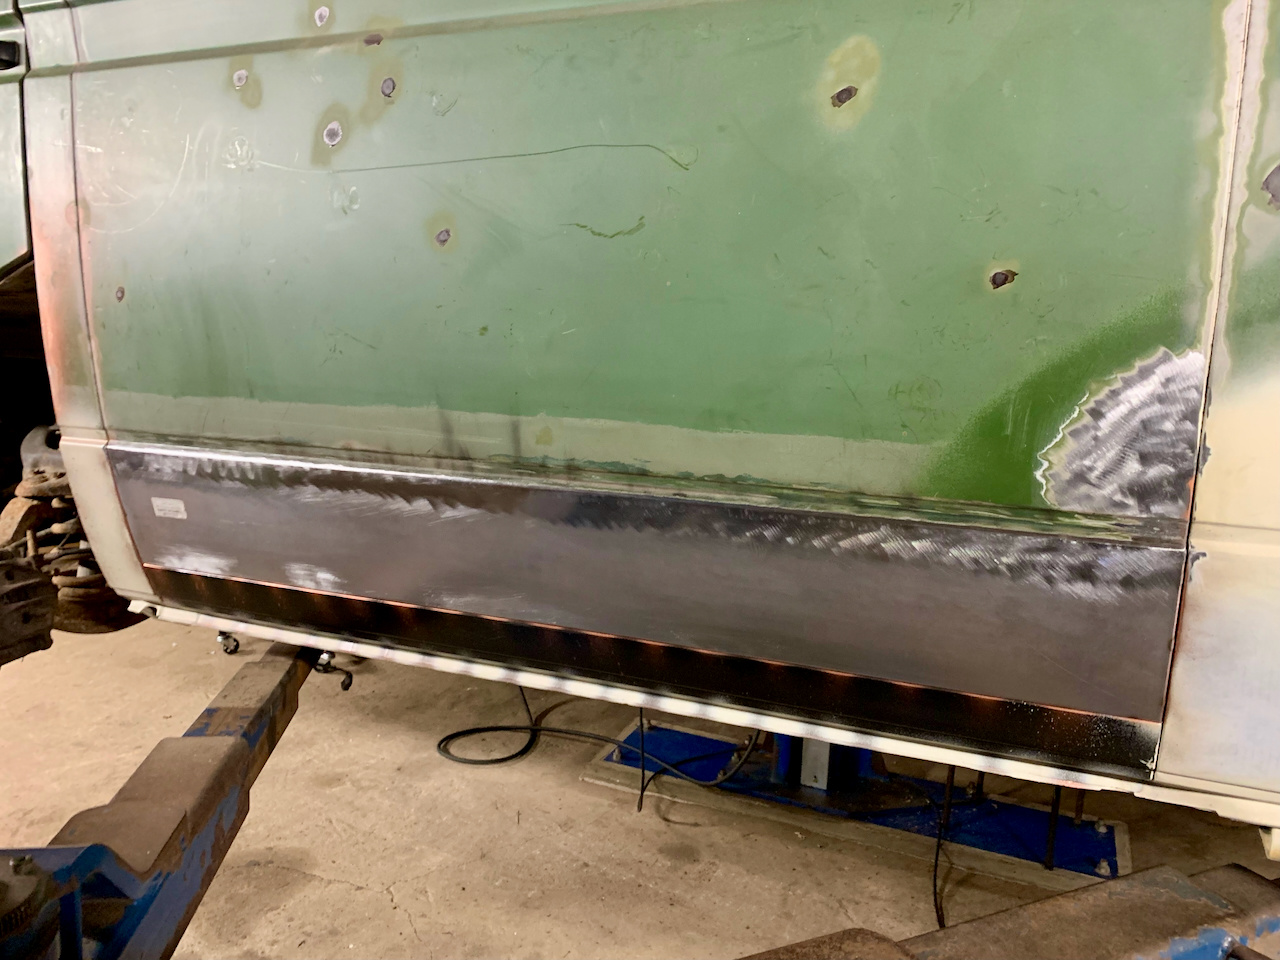
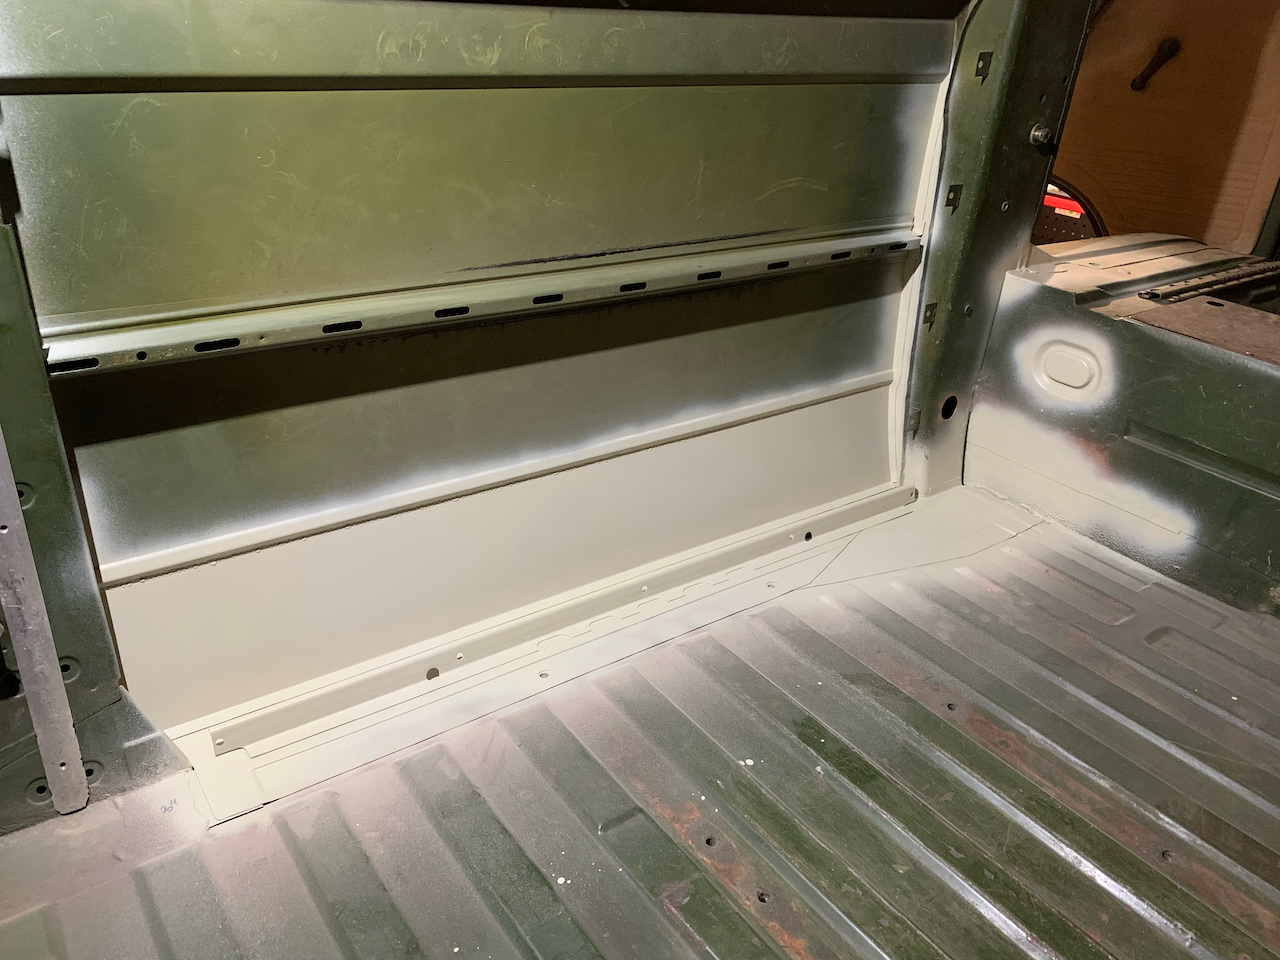
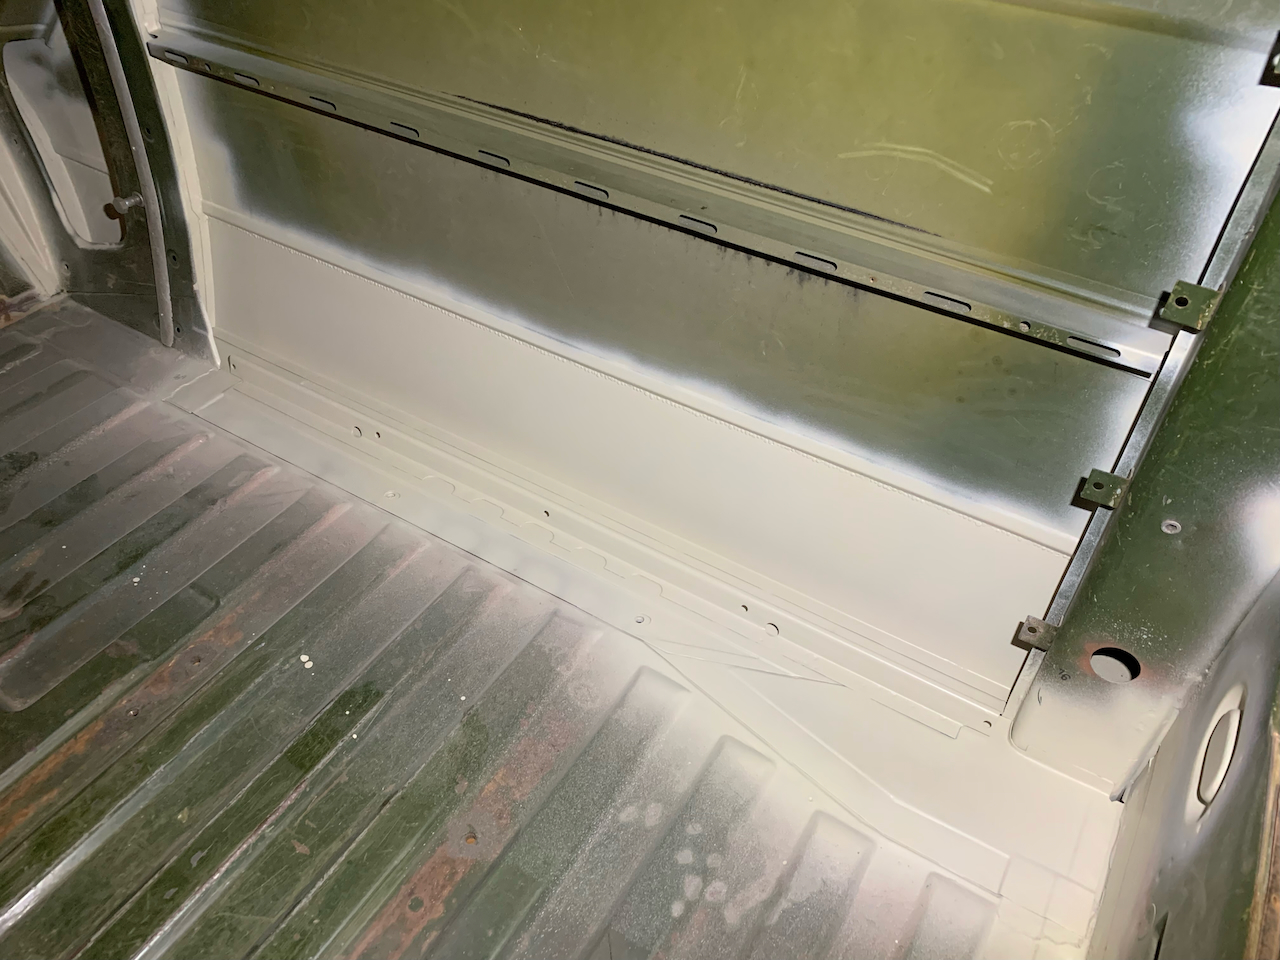
At last, when it seemed that all the necessary welding here was done, I covered all bare metal with 2K epoxy primer. Most probably it’s going to take a lot of time before we can take the bus to a paint shop, so let’s hope that these already restored areas won’t start rusting again in the meanwhile.
Used repair panels
| Detail | VW panel | Repair panel |
|---|---|---|
| B-pillar outter sheet | 251 809 253 | AHSchofield repair panel |
| Inner sill | 253 801 251 | JP Group 1181001170 |
| Outter sill | 251 809 293 | 251 809 293 |
| Side panel | 253 809 159 | AHSchofield repair panel |
Summary and Next Up
Everything covered in this post was done between September 2021 to February 2022. Man-hours spent: 110 hr. The period was longer this time, because our every day car needed some attention during this period as well and then the temperatures outside dropped so low, that it was immpossible to work in our non-heated garage.
Next post will be about front wings, front door steps and left and right cabin floor restoration, so stay tuned!
I must thank you for the efforts you have put in writing this blog. Im hoping to check out the same high-grade blog posts from you in the future as well. In fact, your creative writing abilities has encouraged me to get my own, personal site now 😉