Fixing the Left Rear Corner And Wheelhouse
In the middle of April I figured that it is time to get started on the left rear wheelhouse and corner. The inspection I had done earlier showed that quite similar work awaits me that I had done on the other side. Some places were in a bit worse shape, some better. Since I already had the experience from fixing the other side, I assumed that this side should take me less time. I predicted that I would fix the left side in less than 160 hours. :
Removing the Rusted Metal
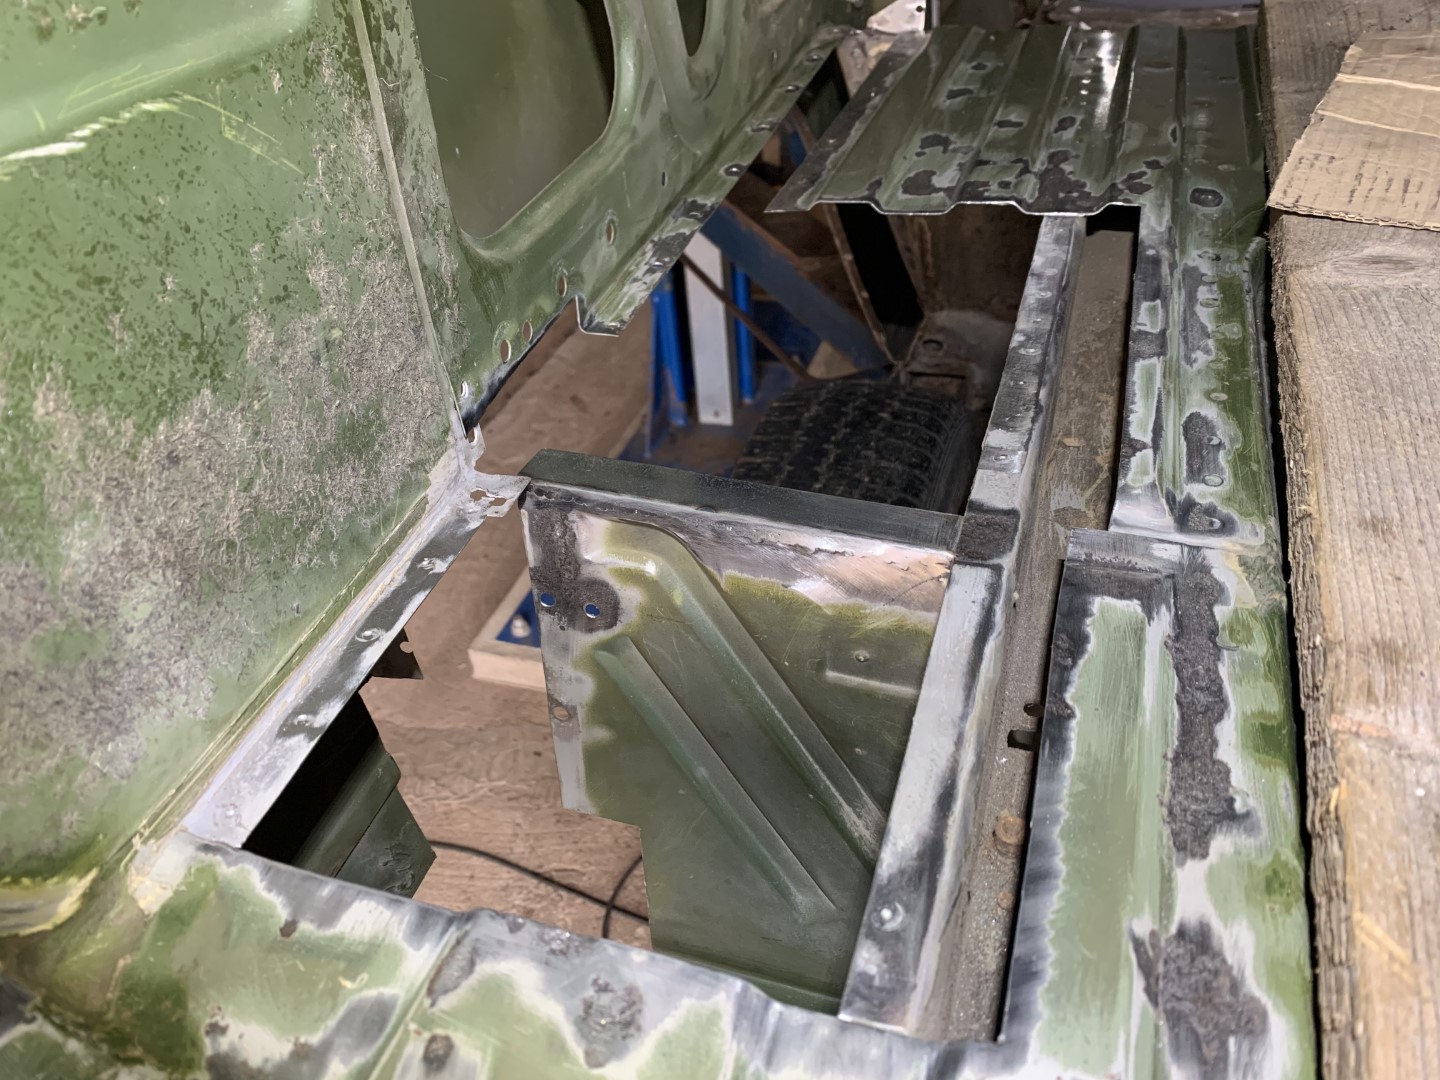
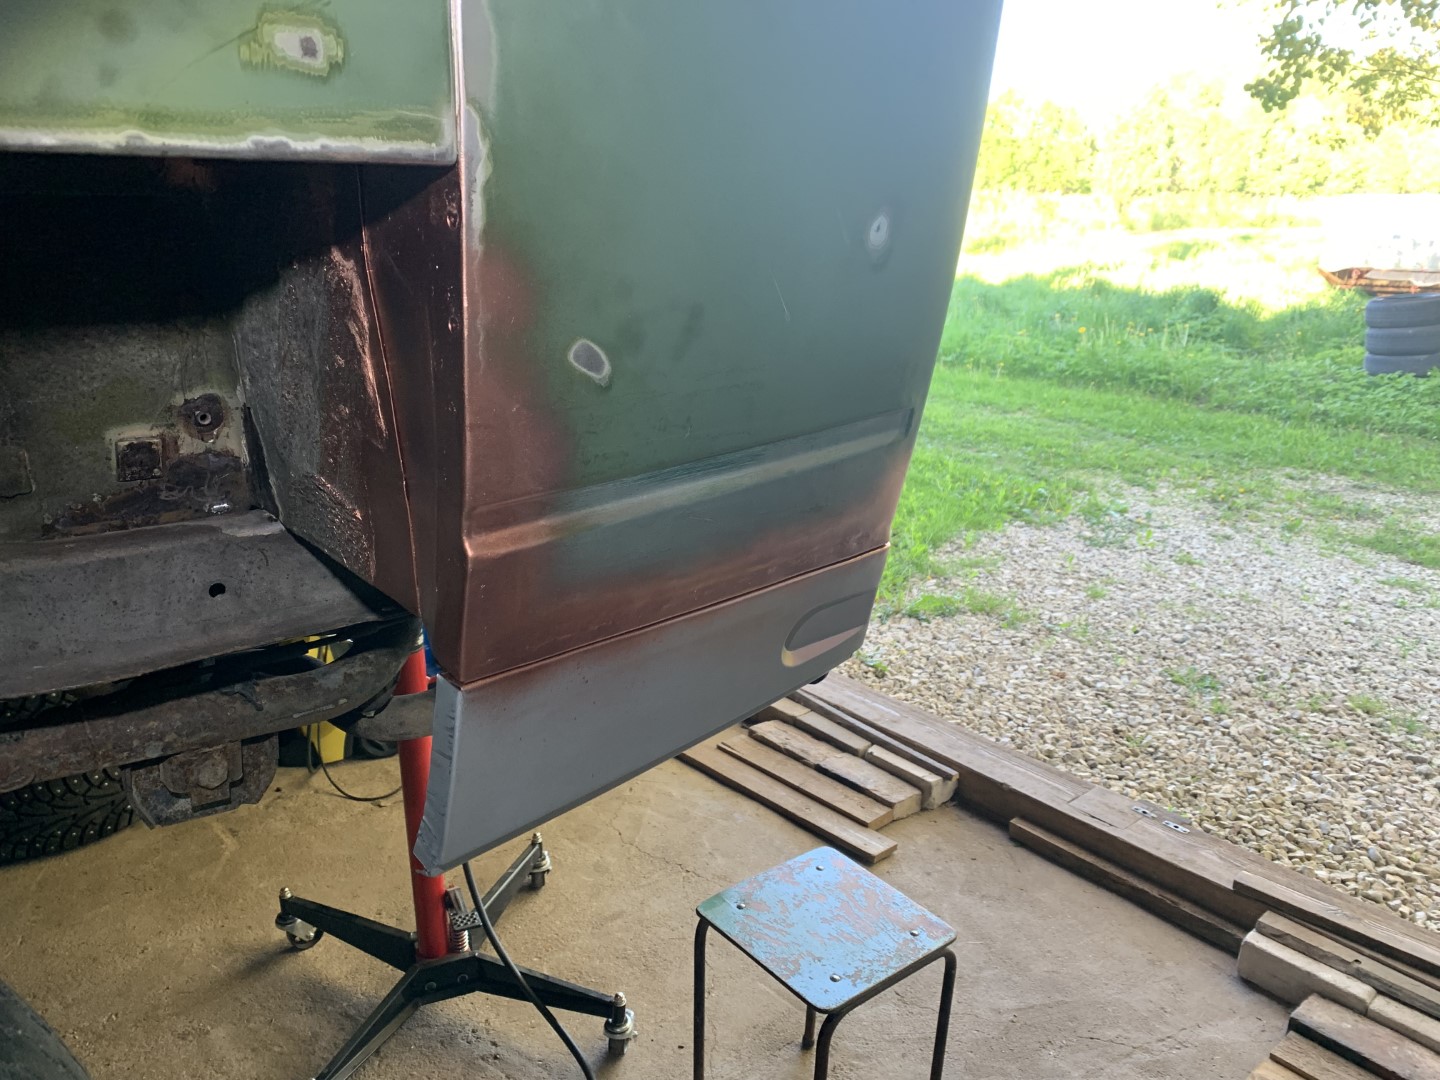
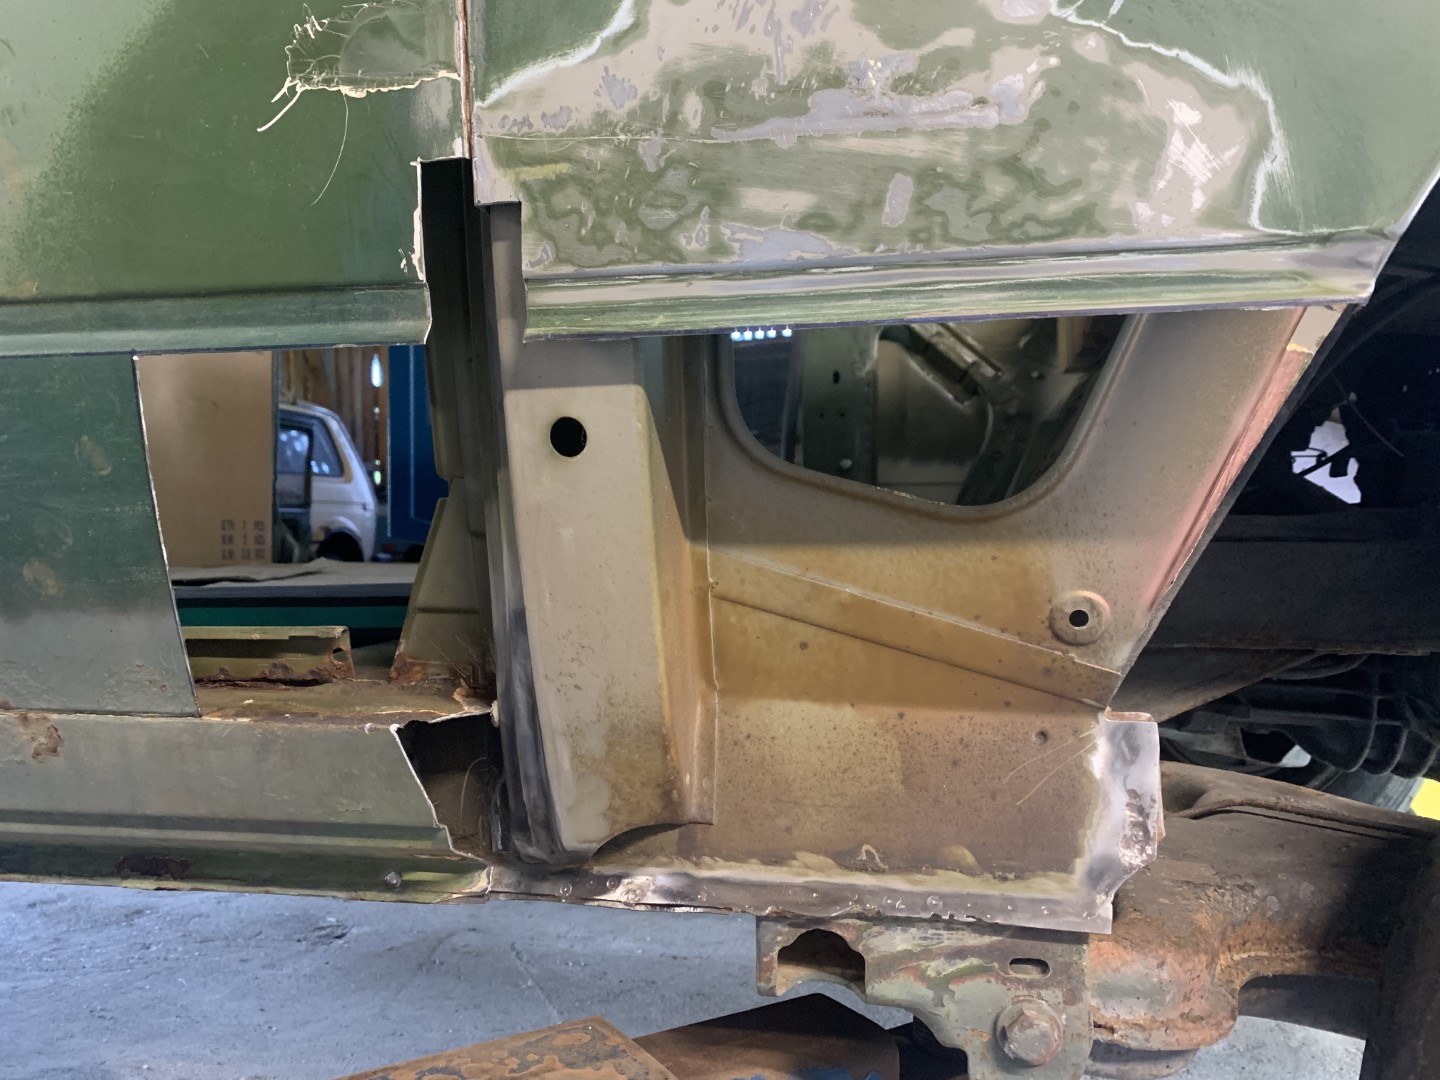
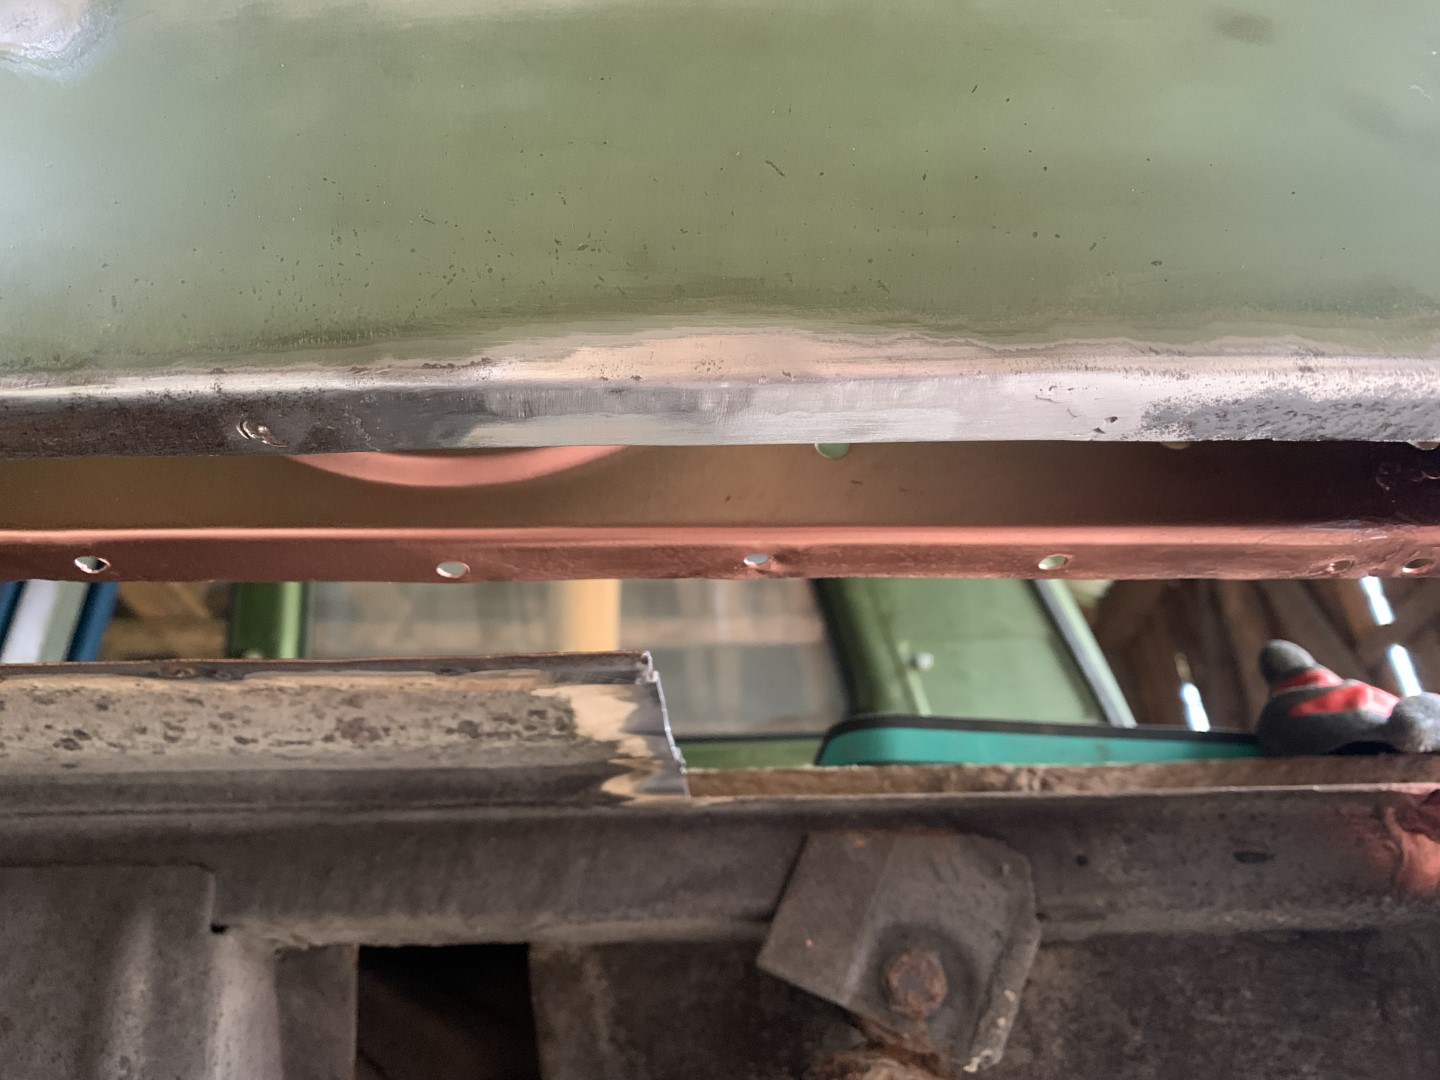
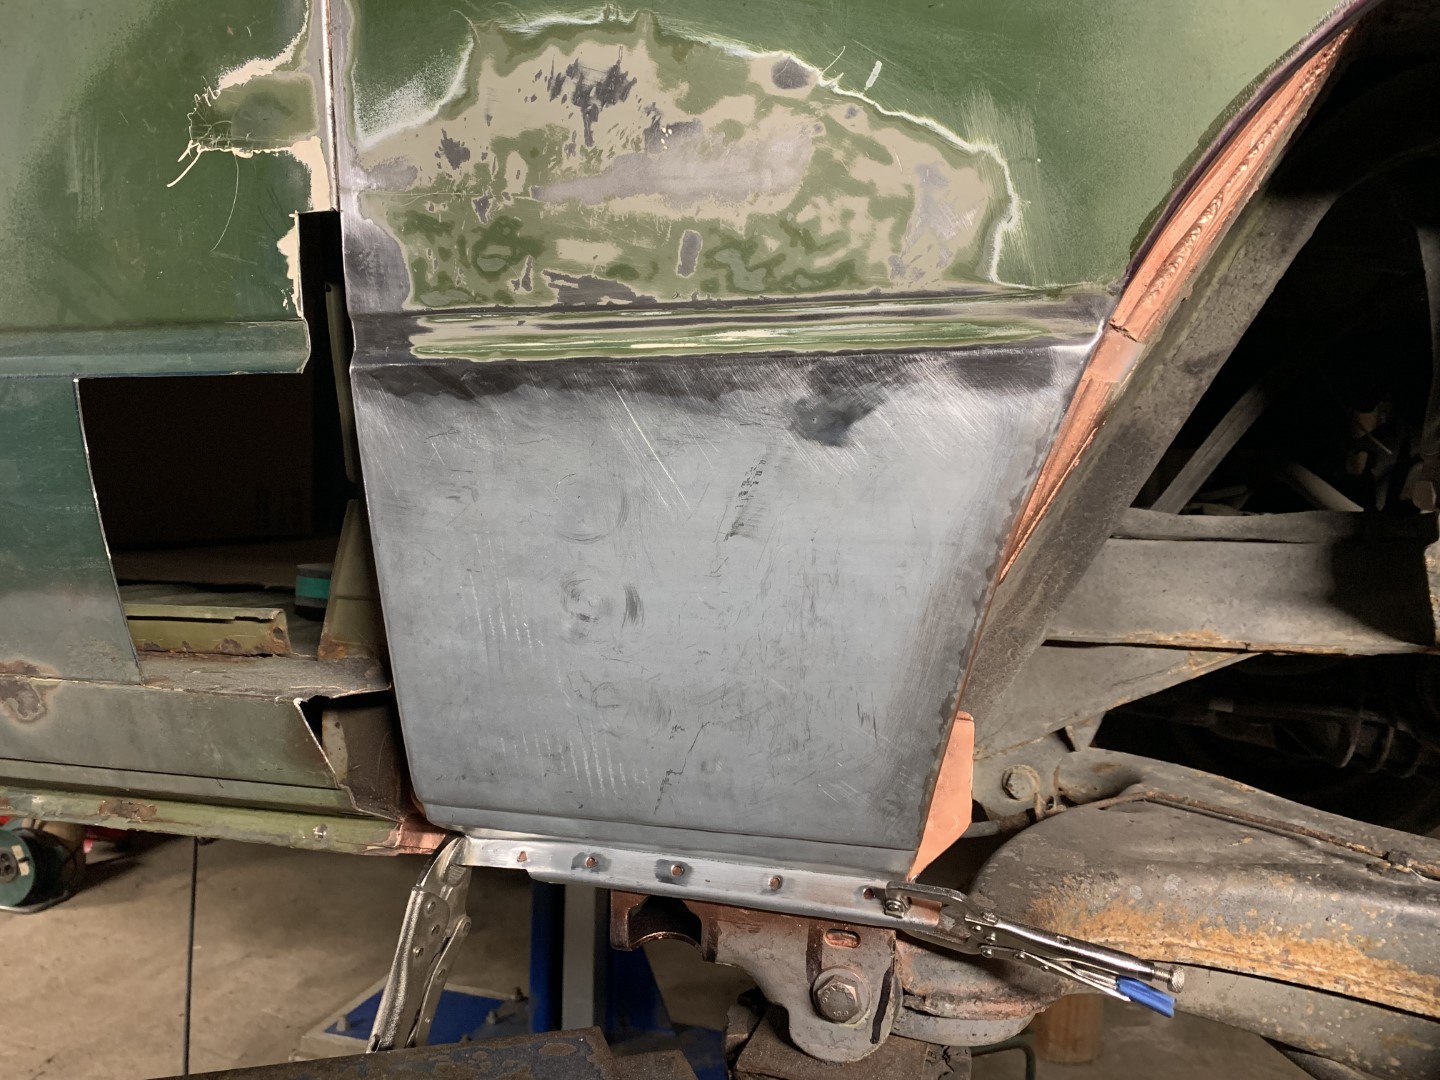
The first step was to cut off everything that was rotten and needed patching up. All of the wheel arch, the lower end of the corner panel and the panel below it, the rotten edges of the air guide box and the rusted sections of the luggage compartment floor got removed. The lower edge of the side panel that’s in front of the wheel, needed to be cut off to get an overview of what goes on with the lower end of the C-pillar.
The Air Guide Box
Fixing the air guide box (VW p/n 251 801 559 A) on this side was a quick and easy fix. Just two new edges needed to be welded and the result was very good. It actually was a bit easier welding, because the access here was good.
The D-pillar
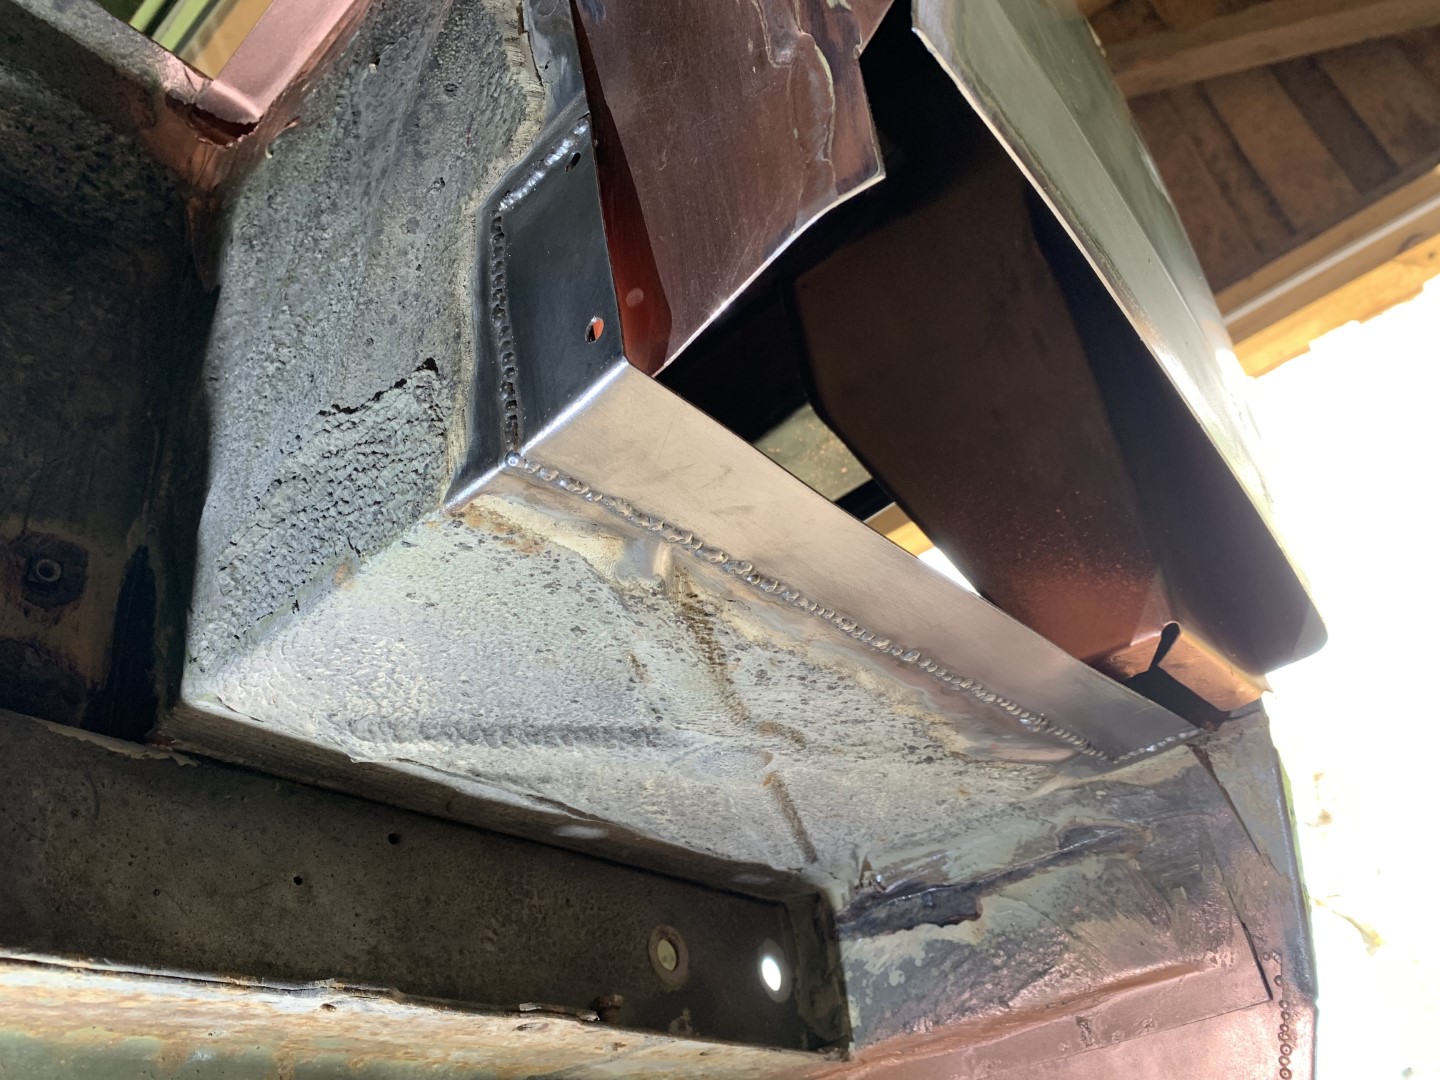
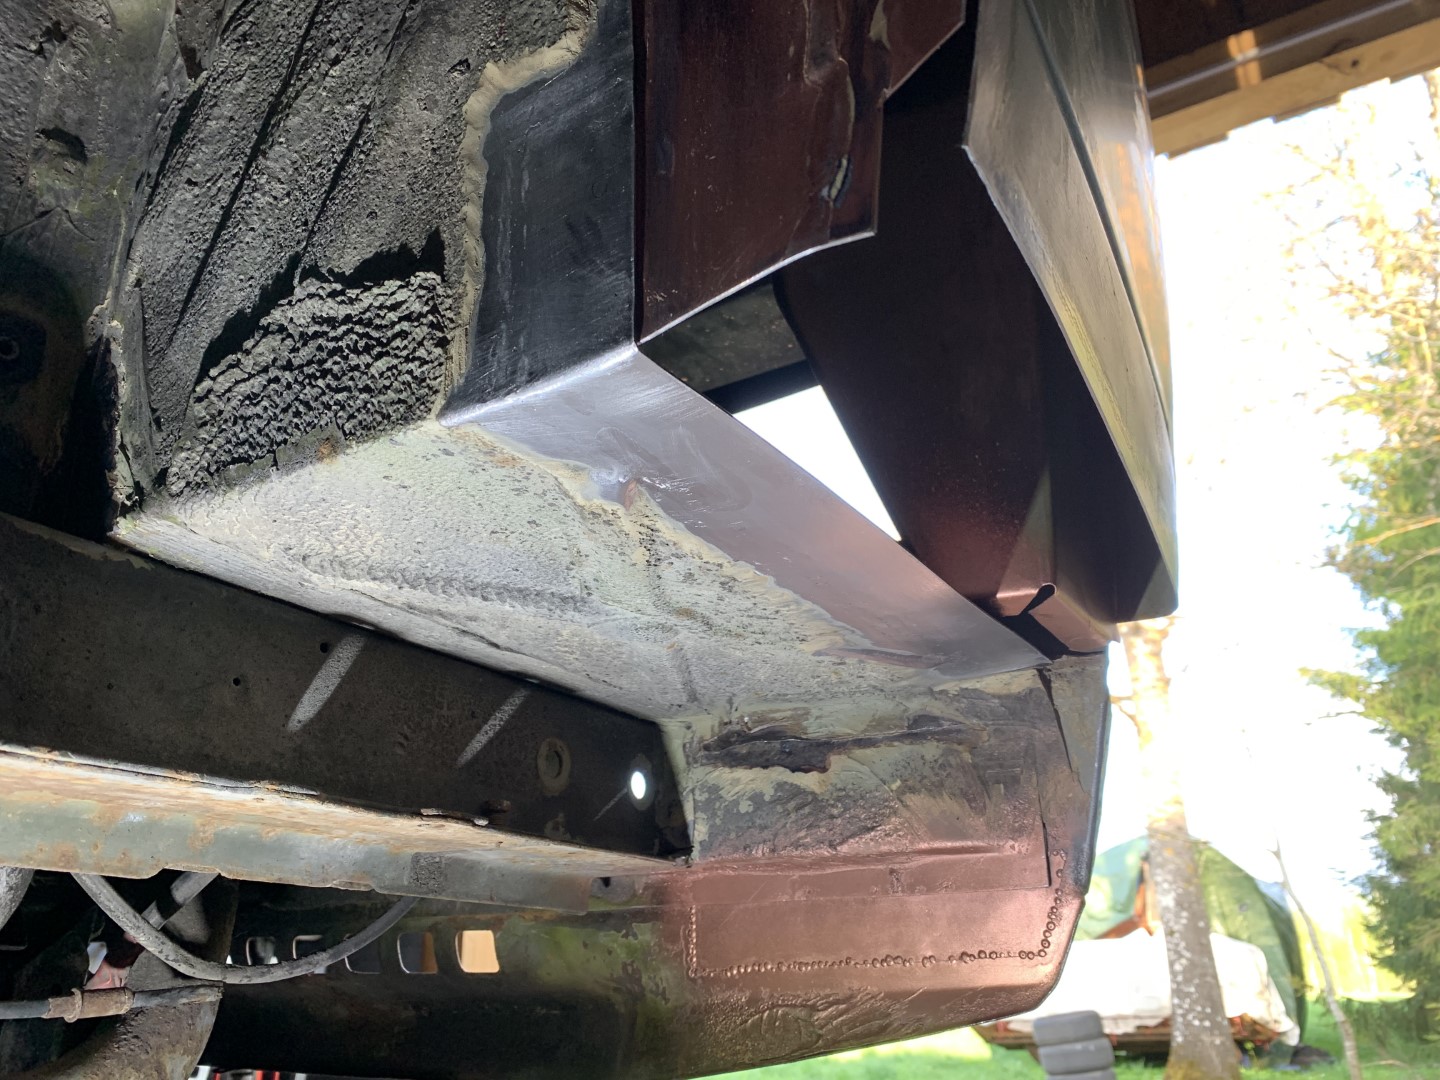
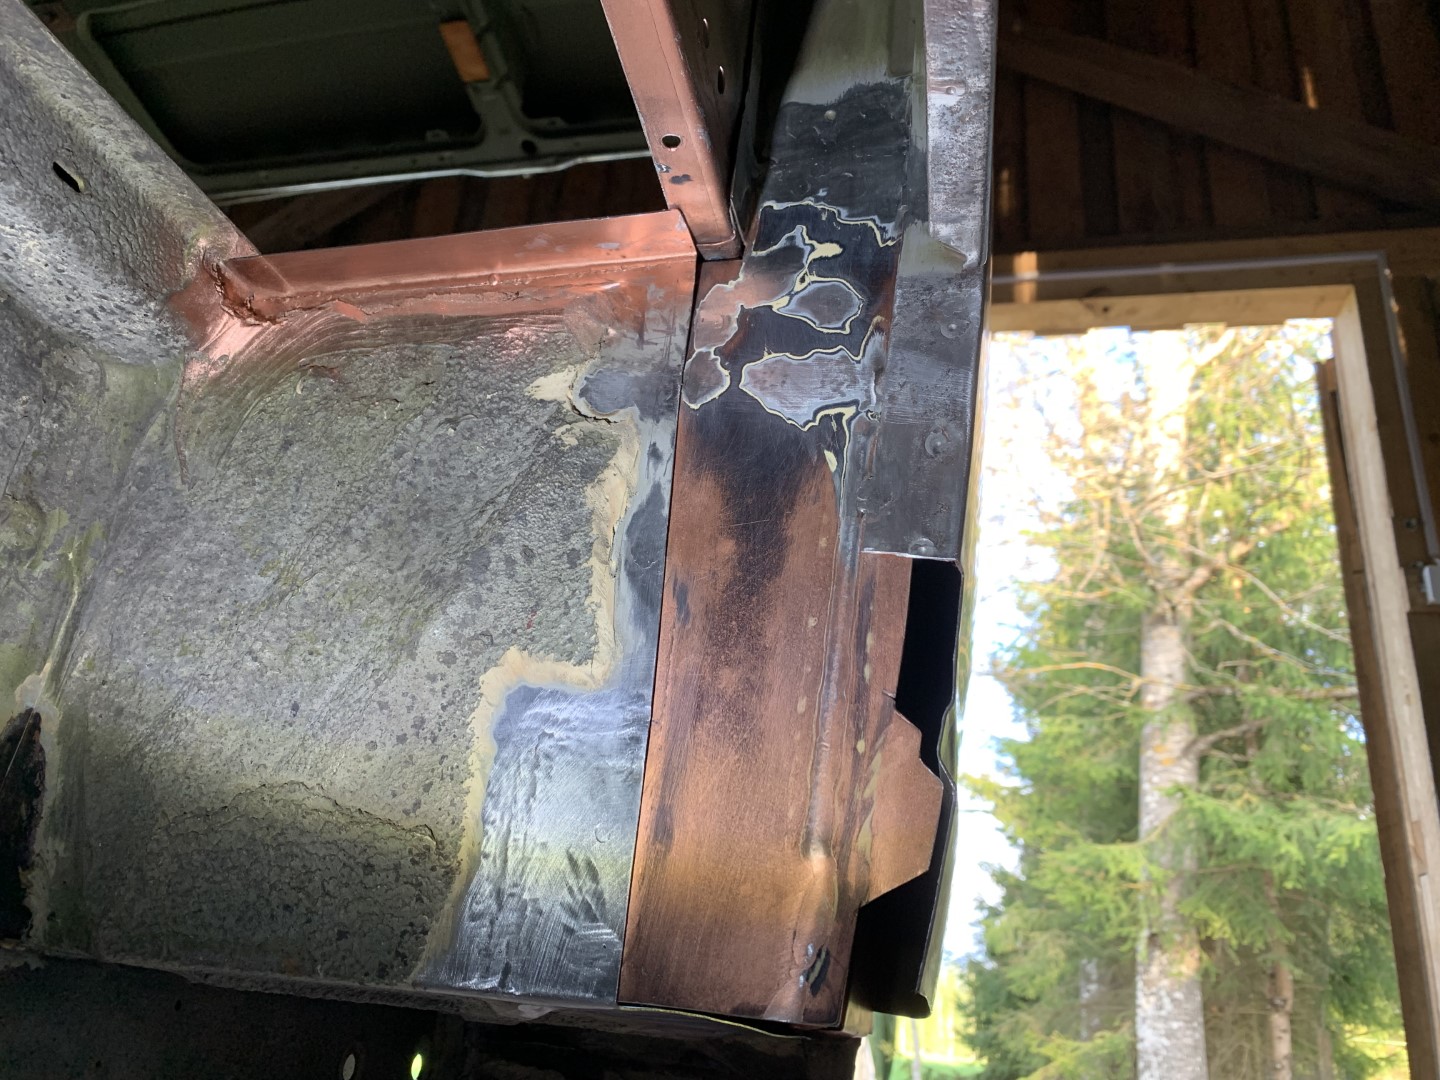
Fixing the corner panel (VW p/n 251 813 367) started from the inside. Filler plate for corner panel needs to restrored (VW p/n 251 813 399). Since it was a rather tight place, working there took some patience and calm attitude. Surprisingly I had to acknowledge the fact that removing the old metal without unnecessary damages was even more difficult than welding the replacement panel into that deep dark hole.

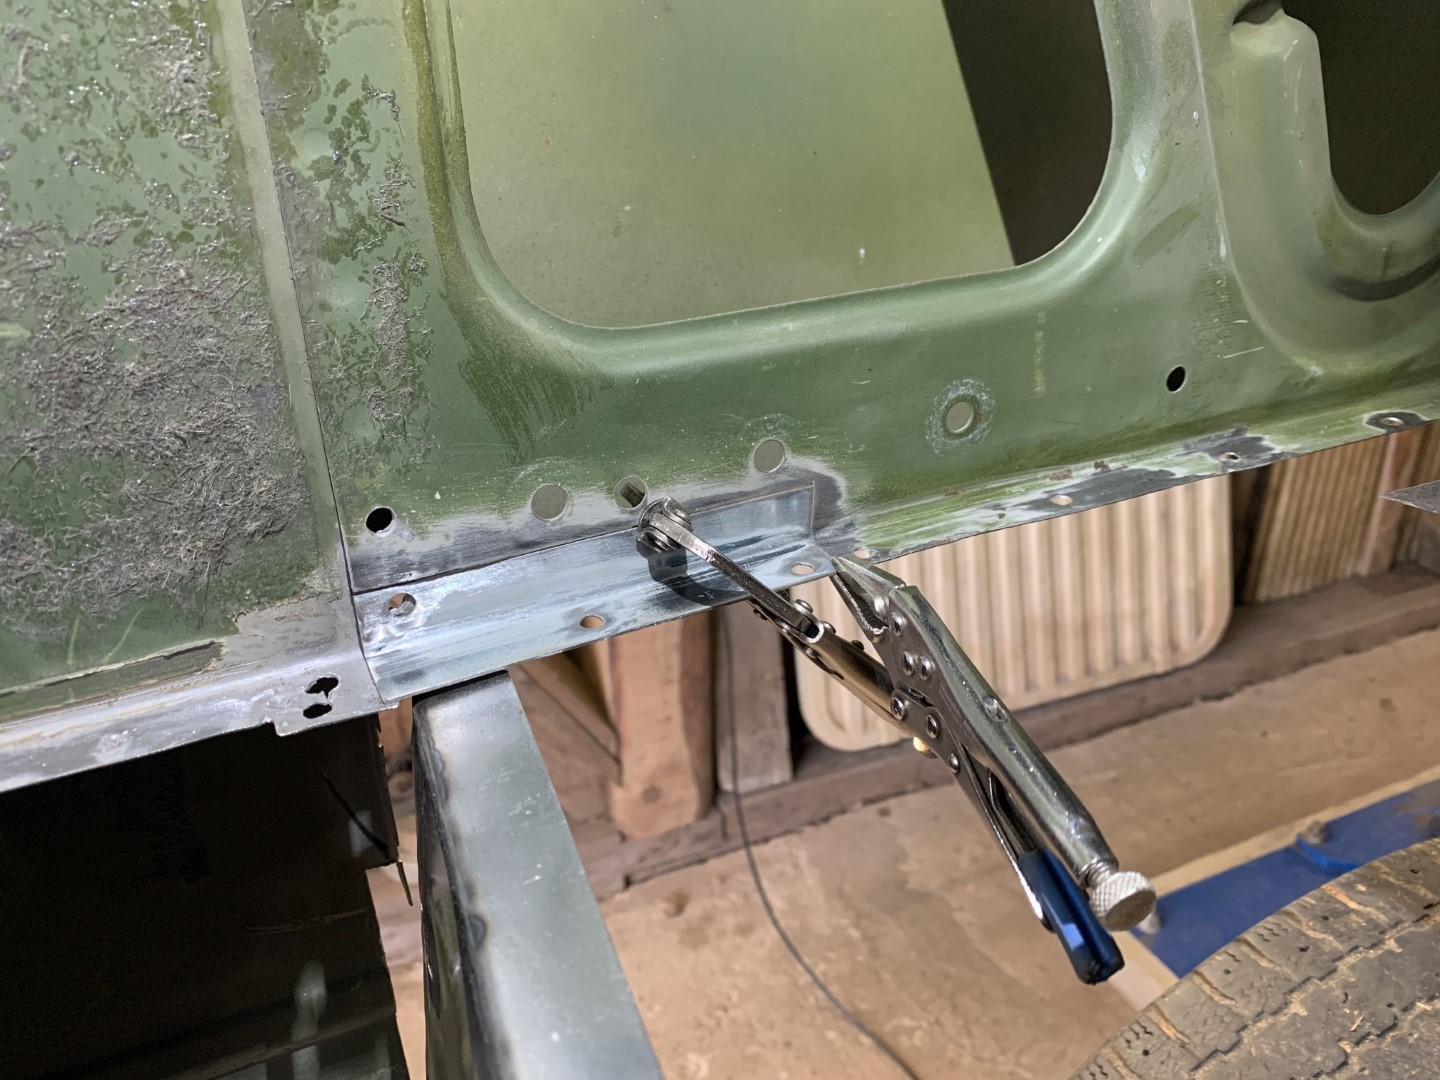
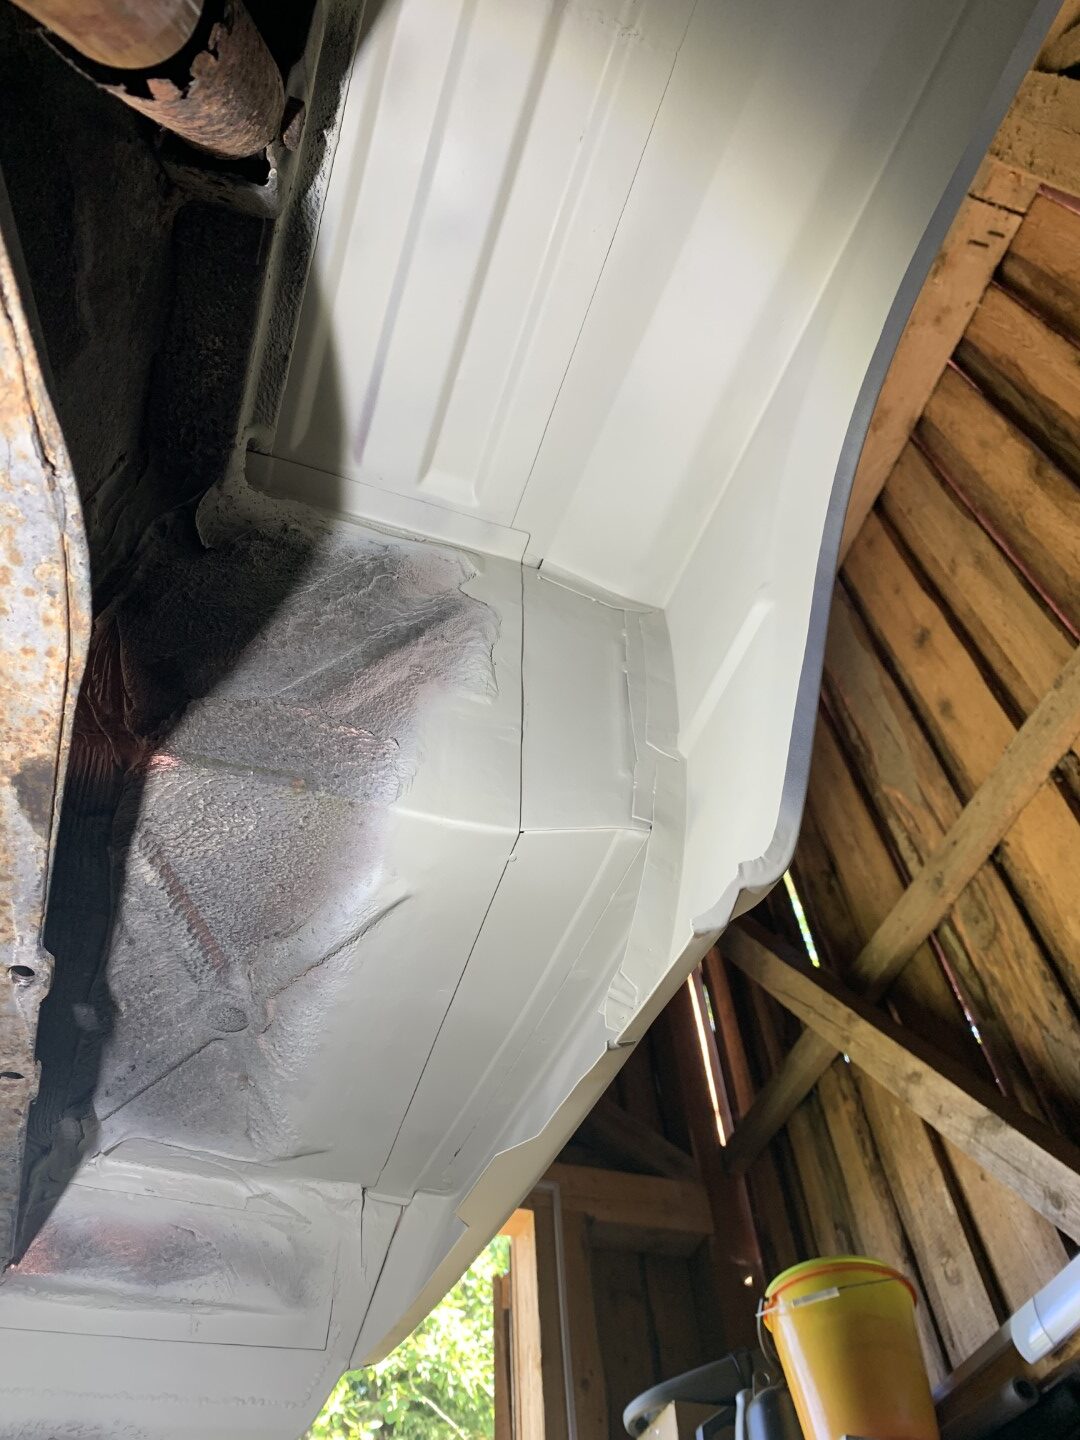
The Corner Panel
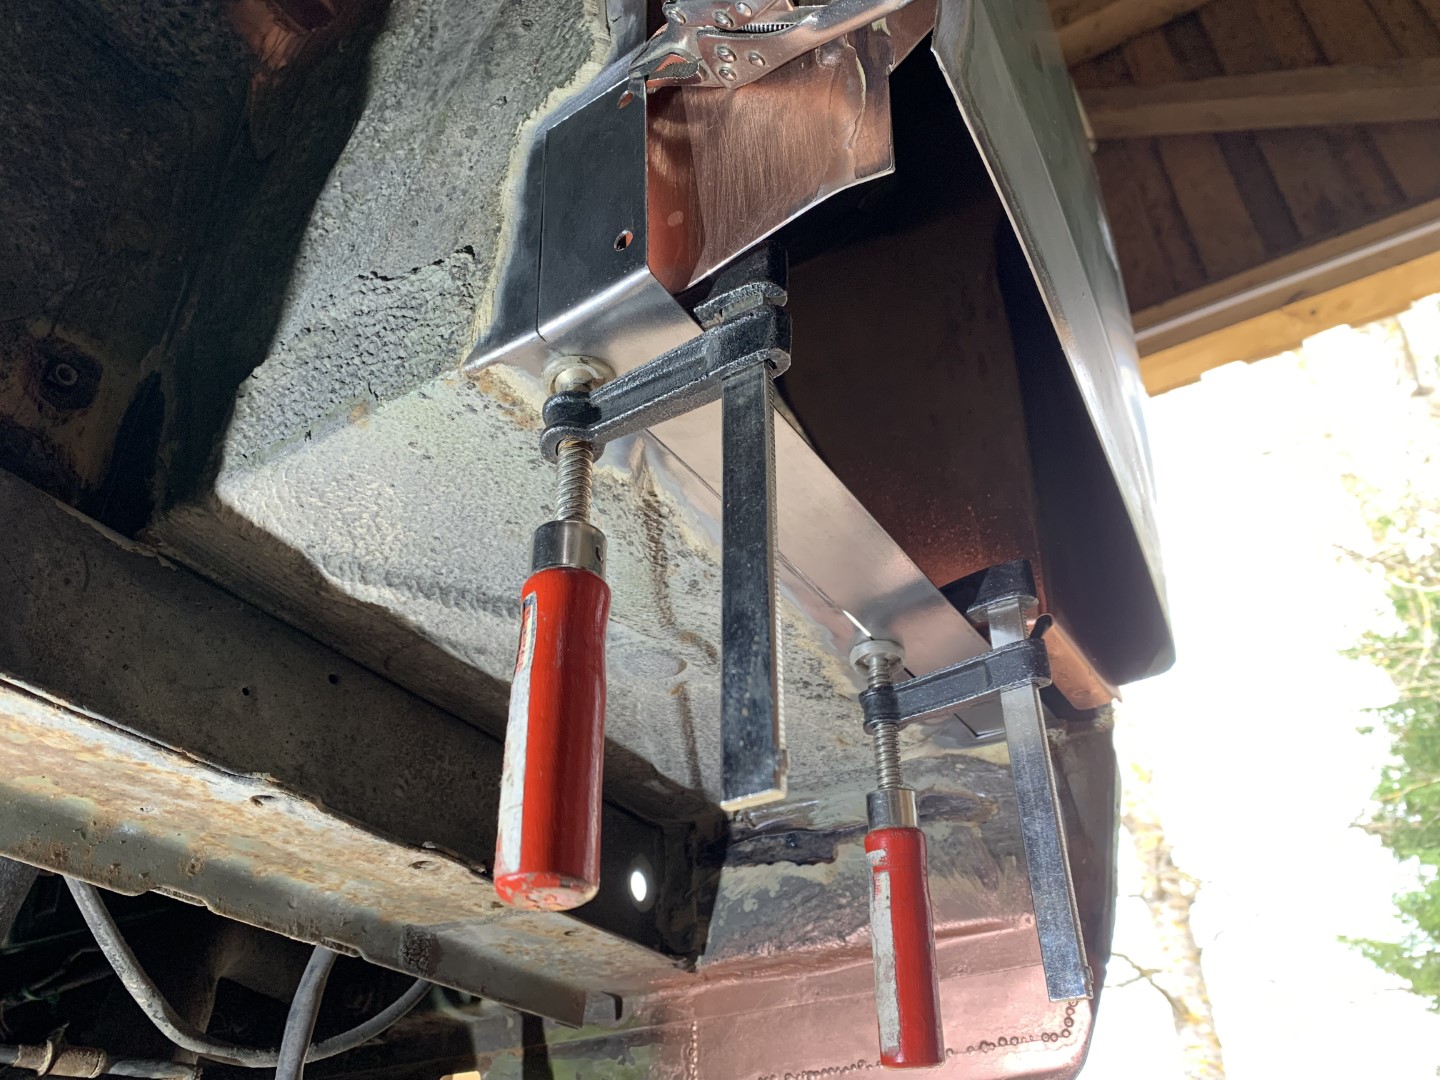
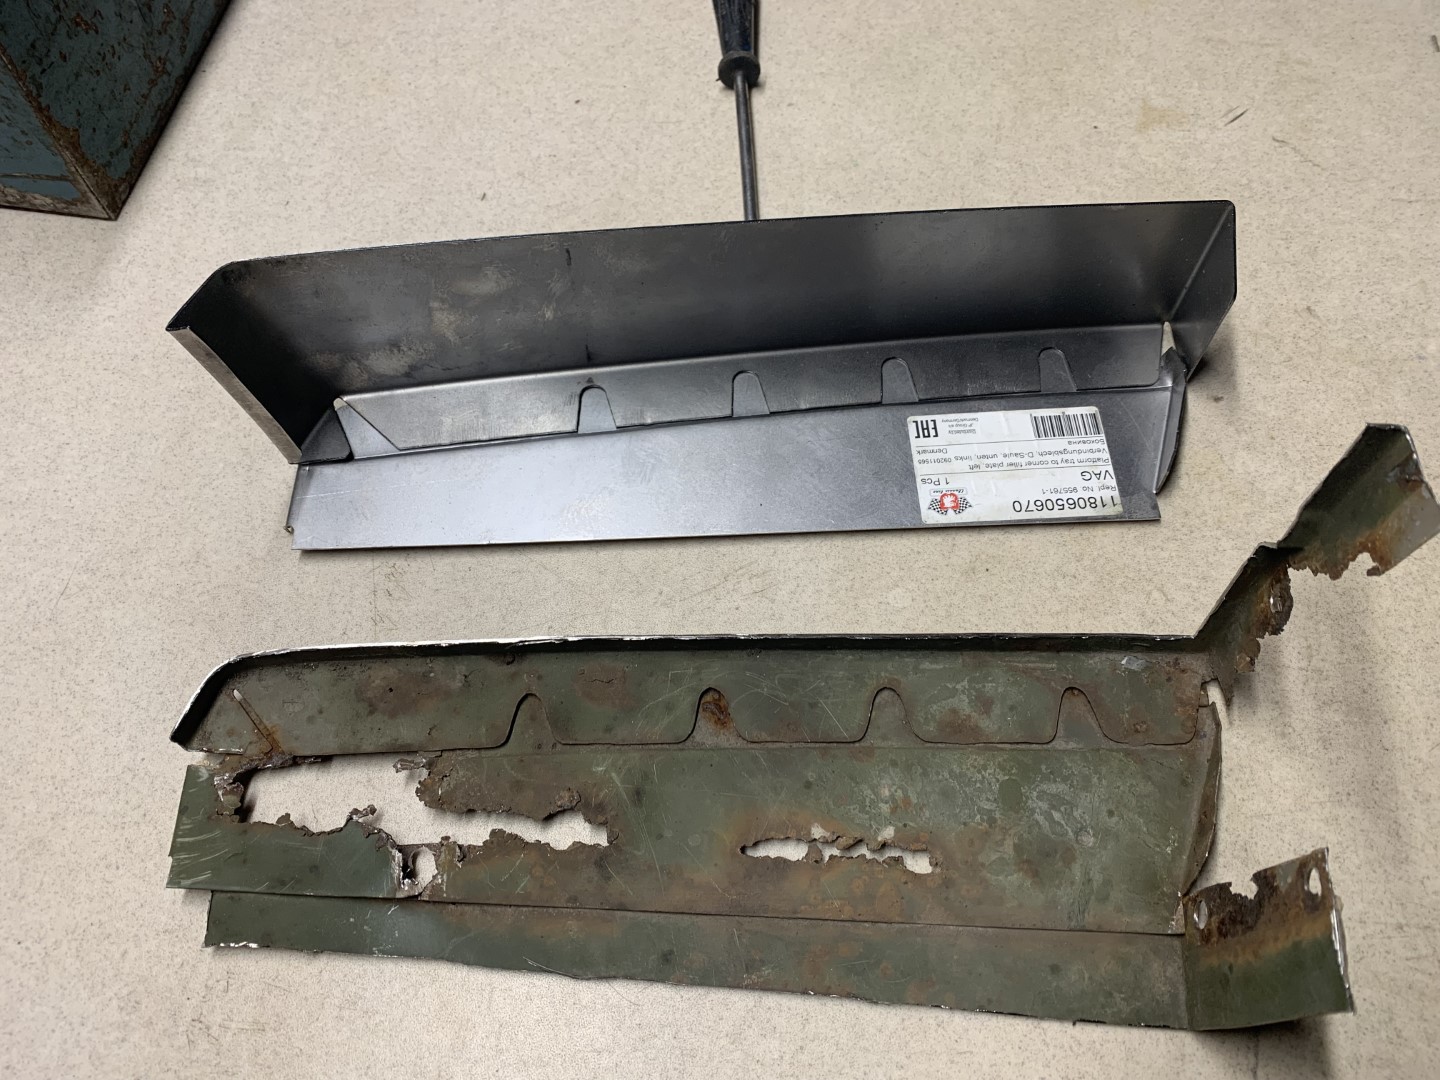
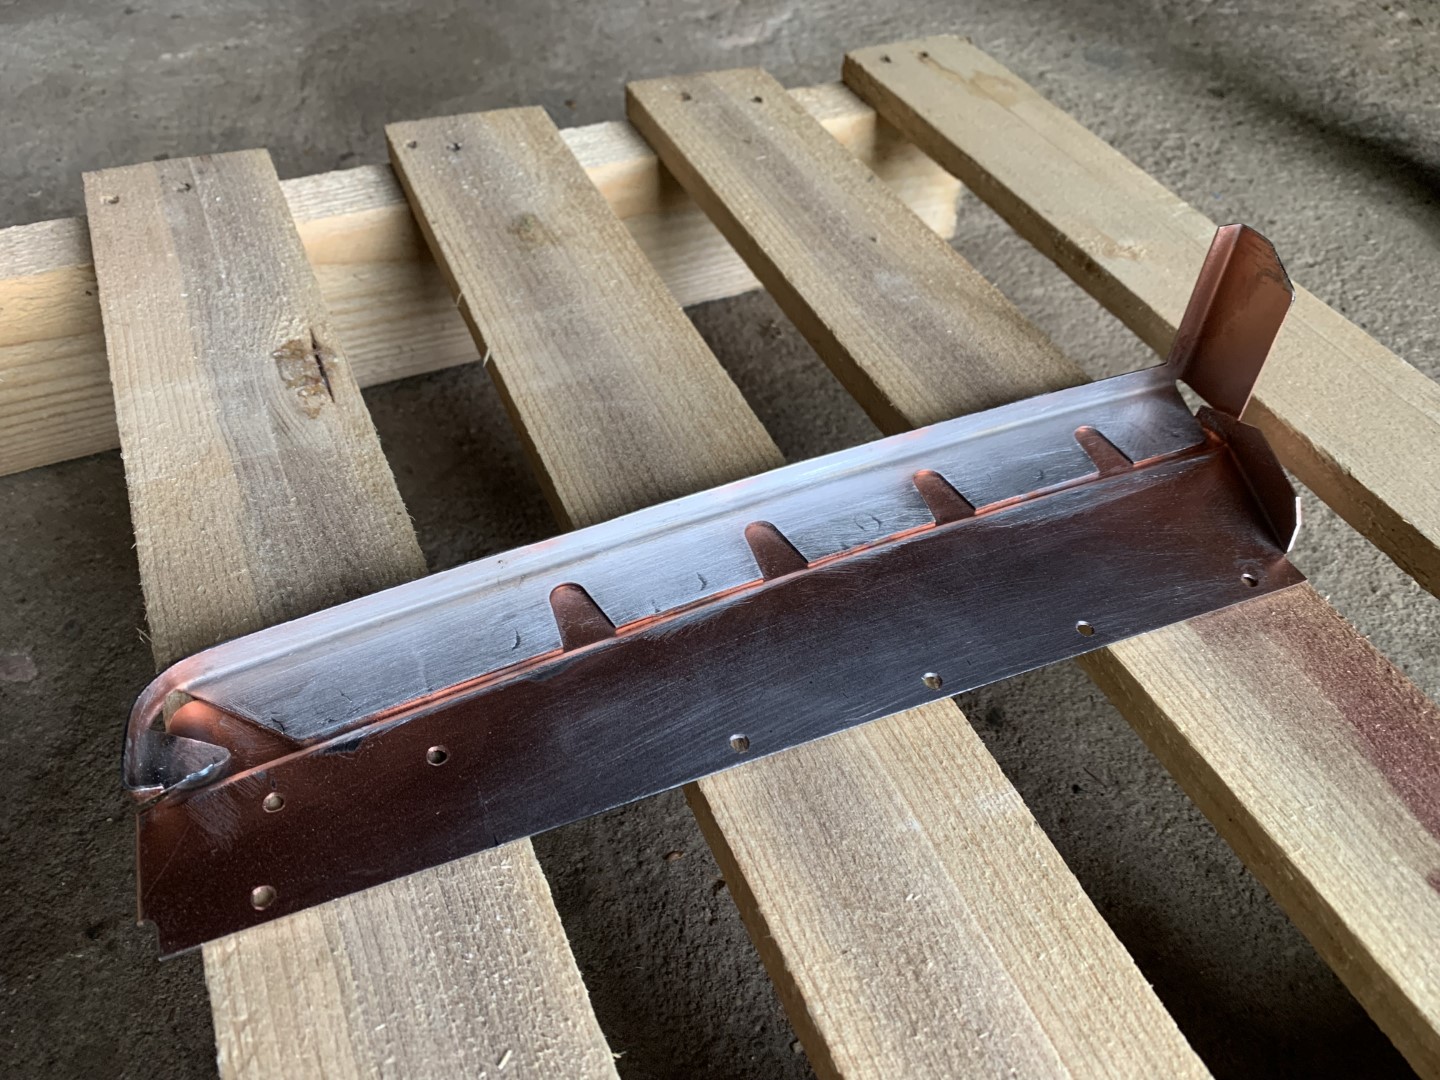
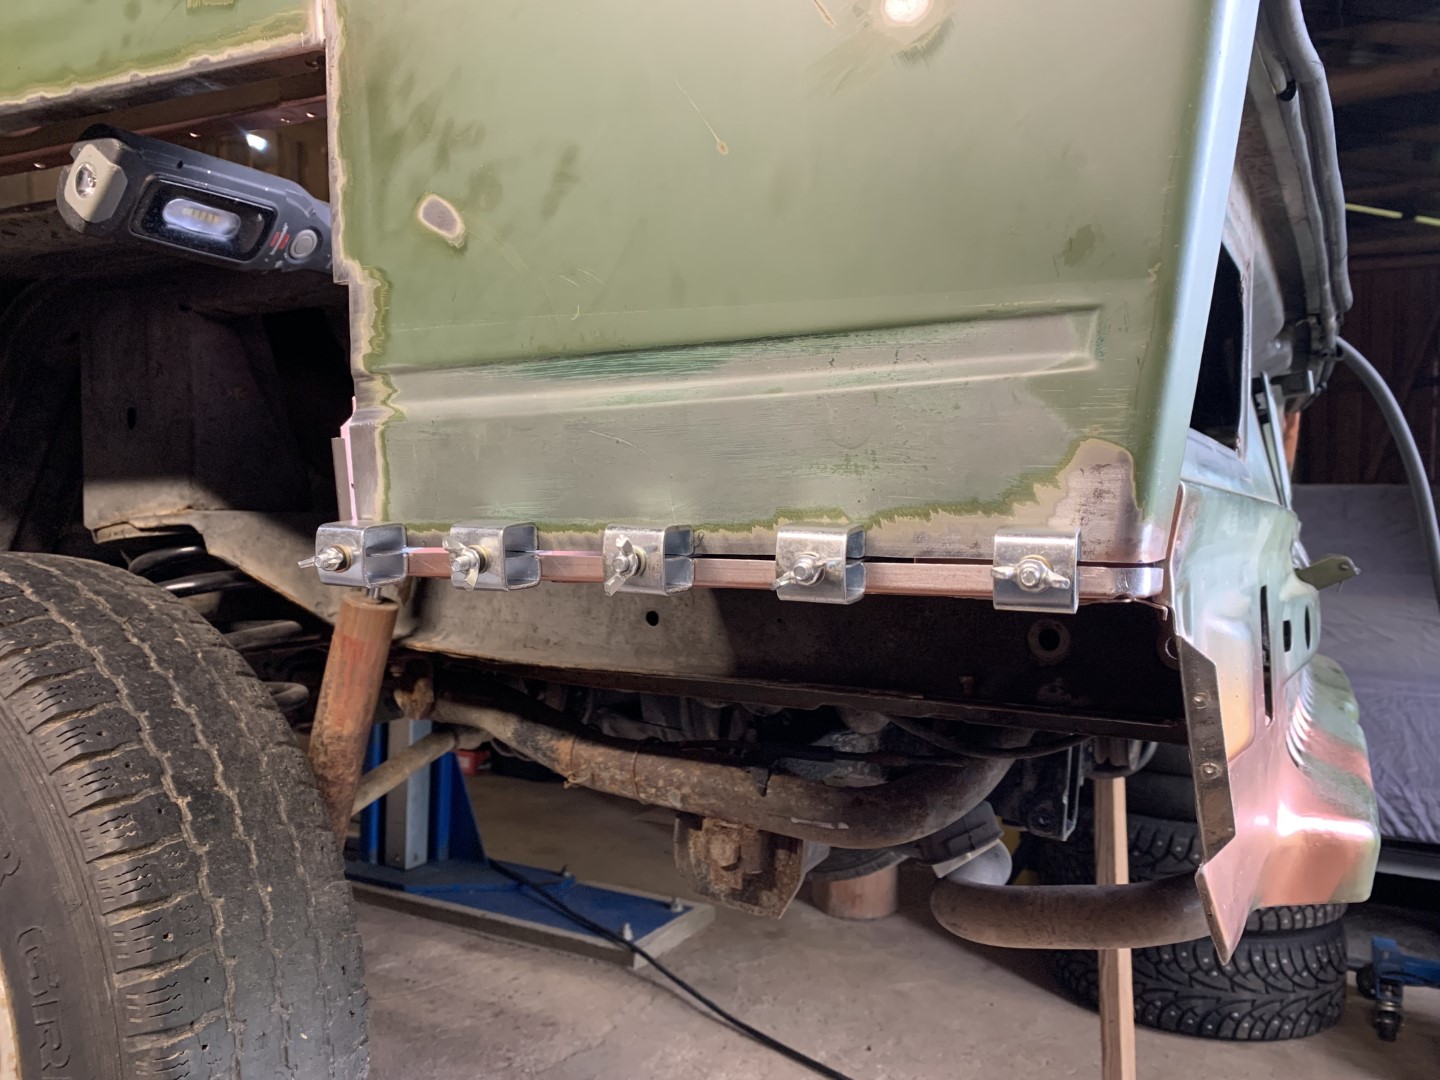
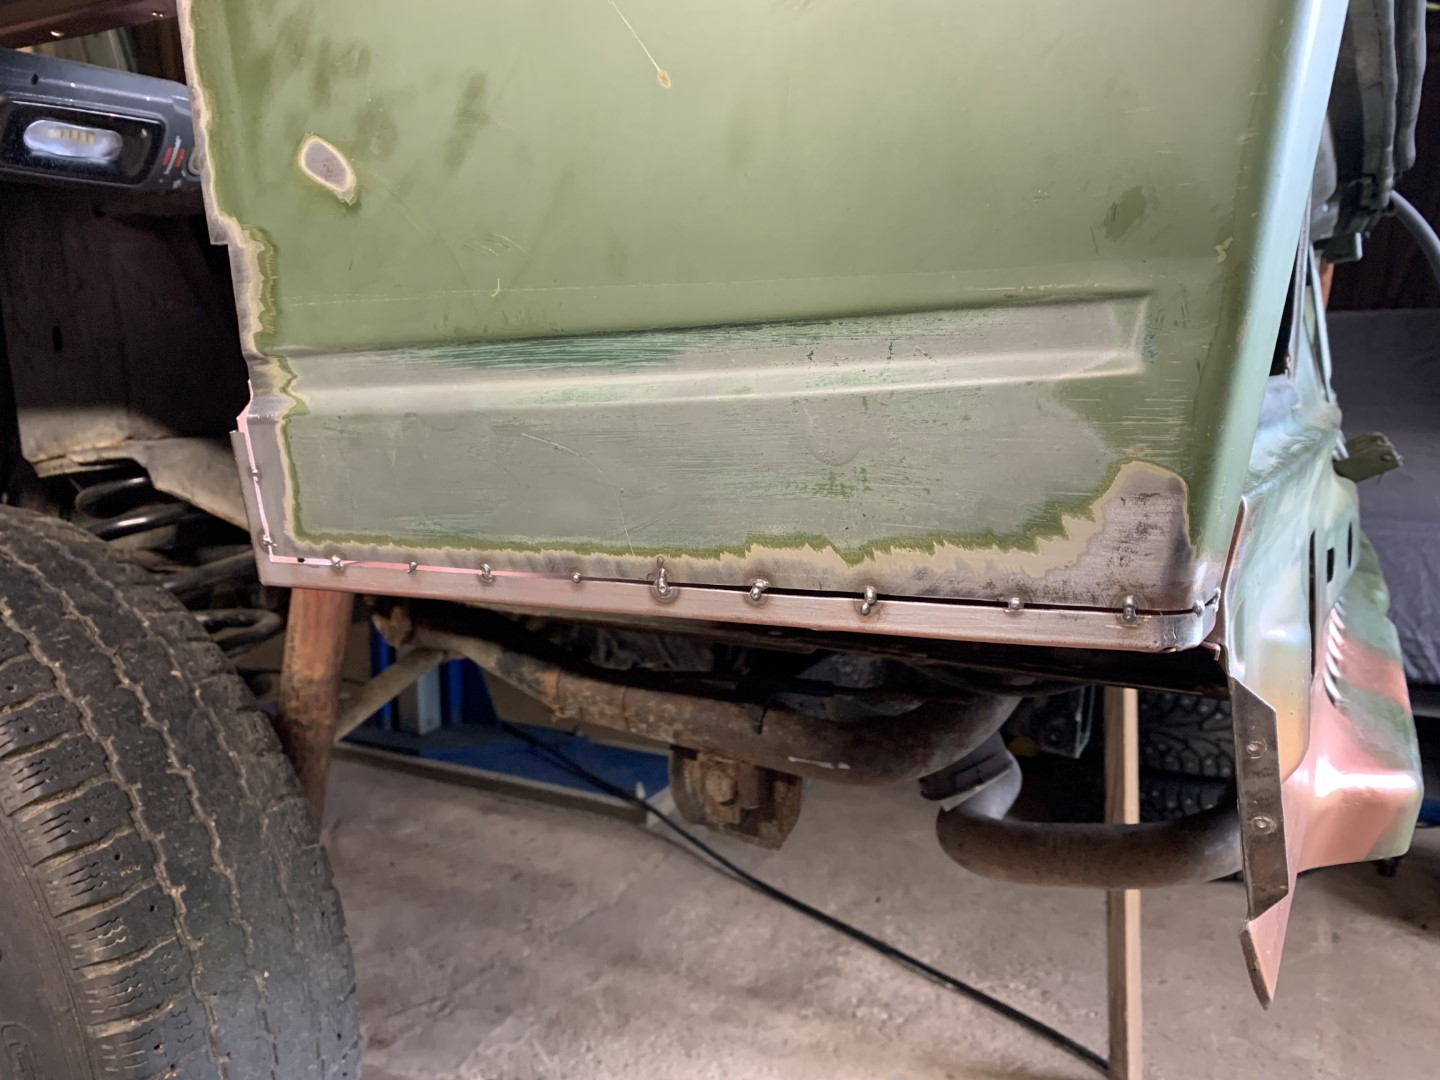
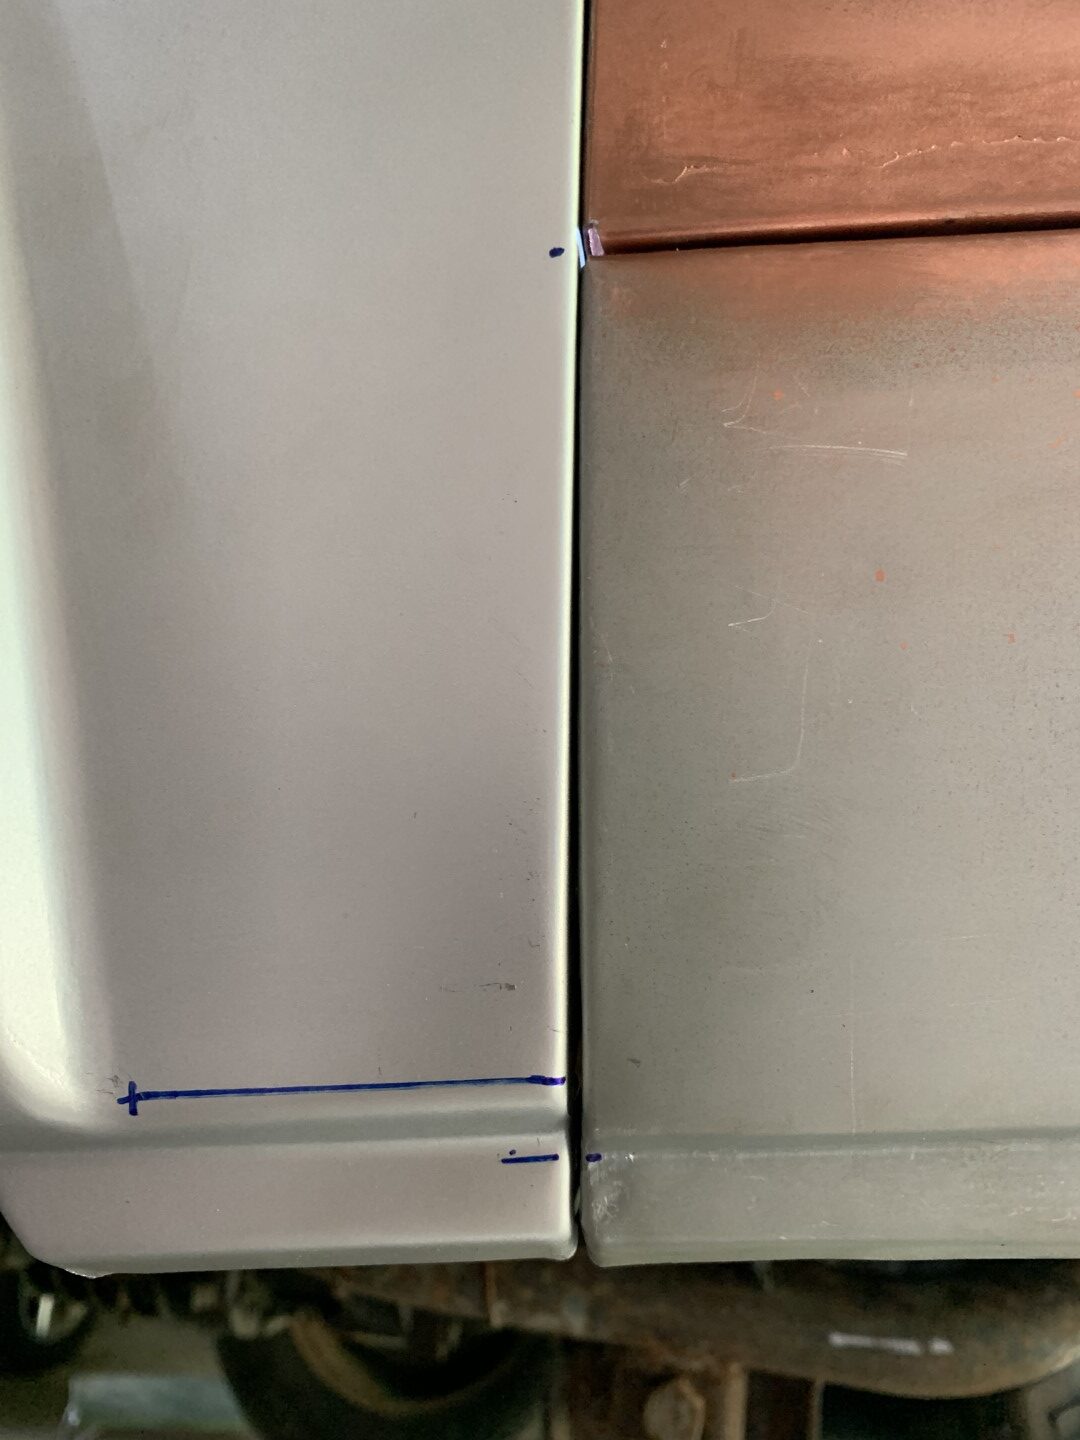
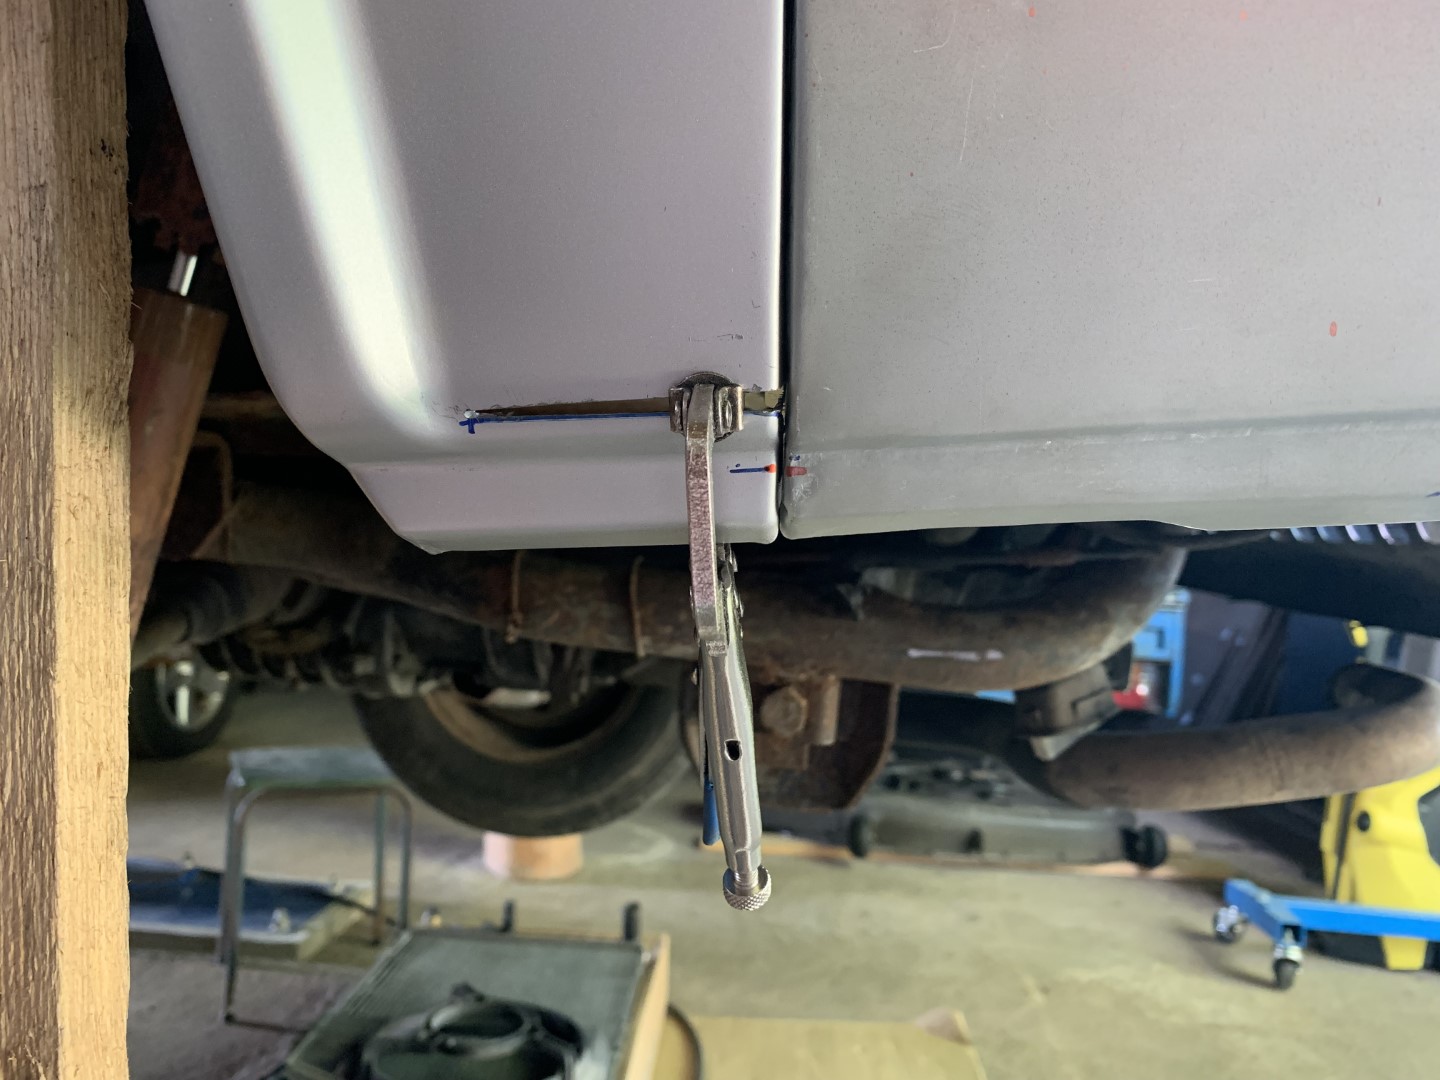
The corner panel (VW p/n 251 813 367) needed a new lower edge with the joint (VW p/n 251 813 361) that connects it to the air guide box. I cut the lower edge replacement panel shorter as I had done on the other side as well. This cut made it fit better with the panel that is on the bus. Connecting plate that joins corner panel with air guide box was JP Group alternative (JP Group p/n 1180650670). There was no modifications needed.
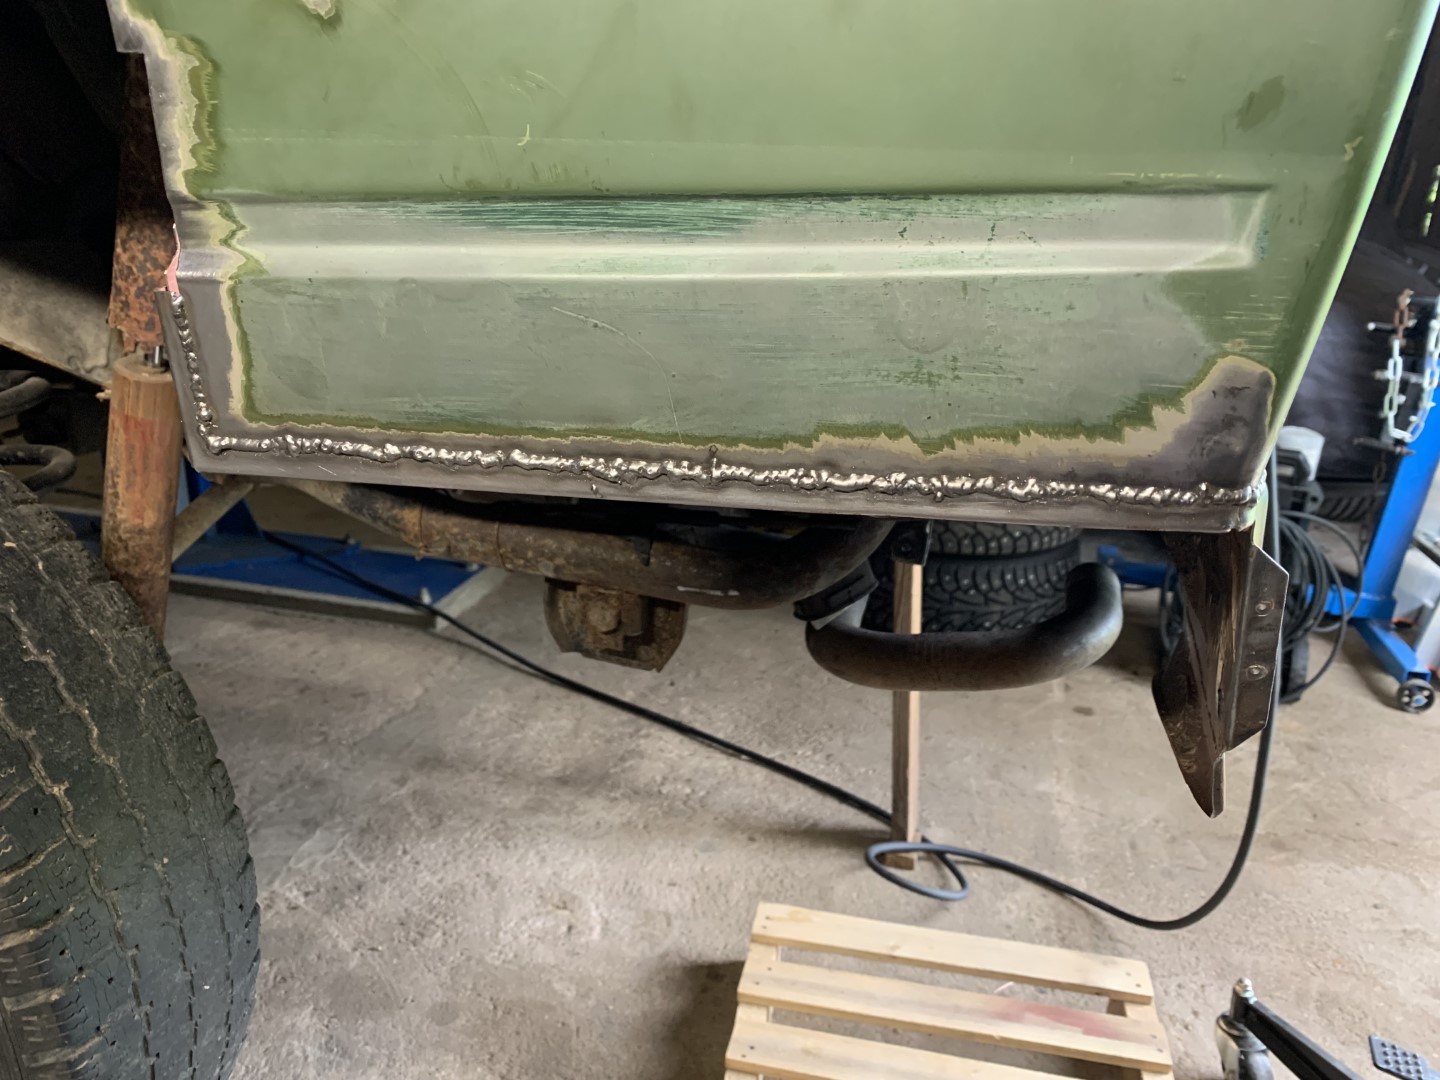
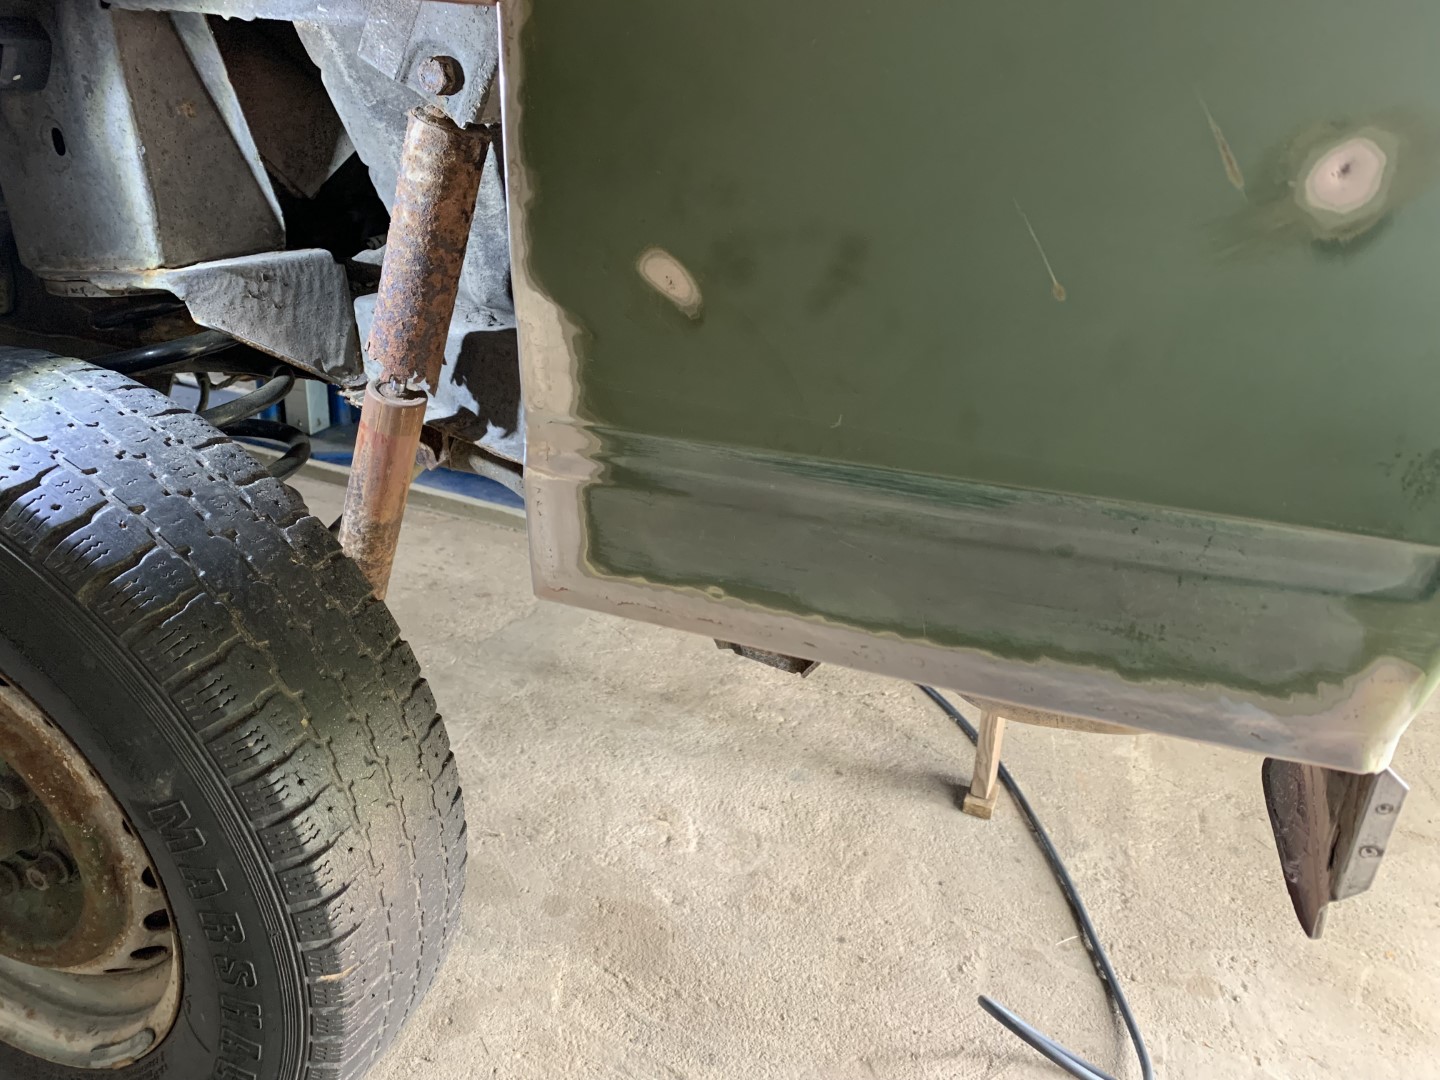
After restoring the lower edge, the edge between the corner panel and the wing also needed some patching up.
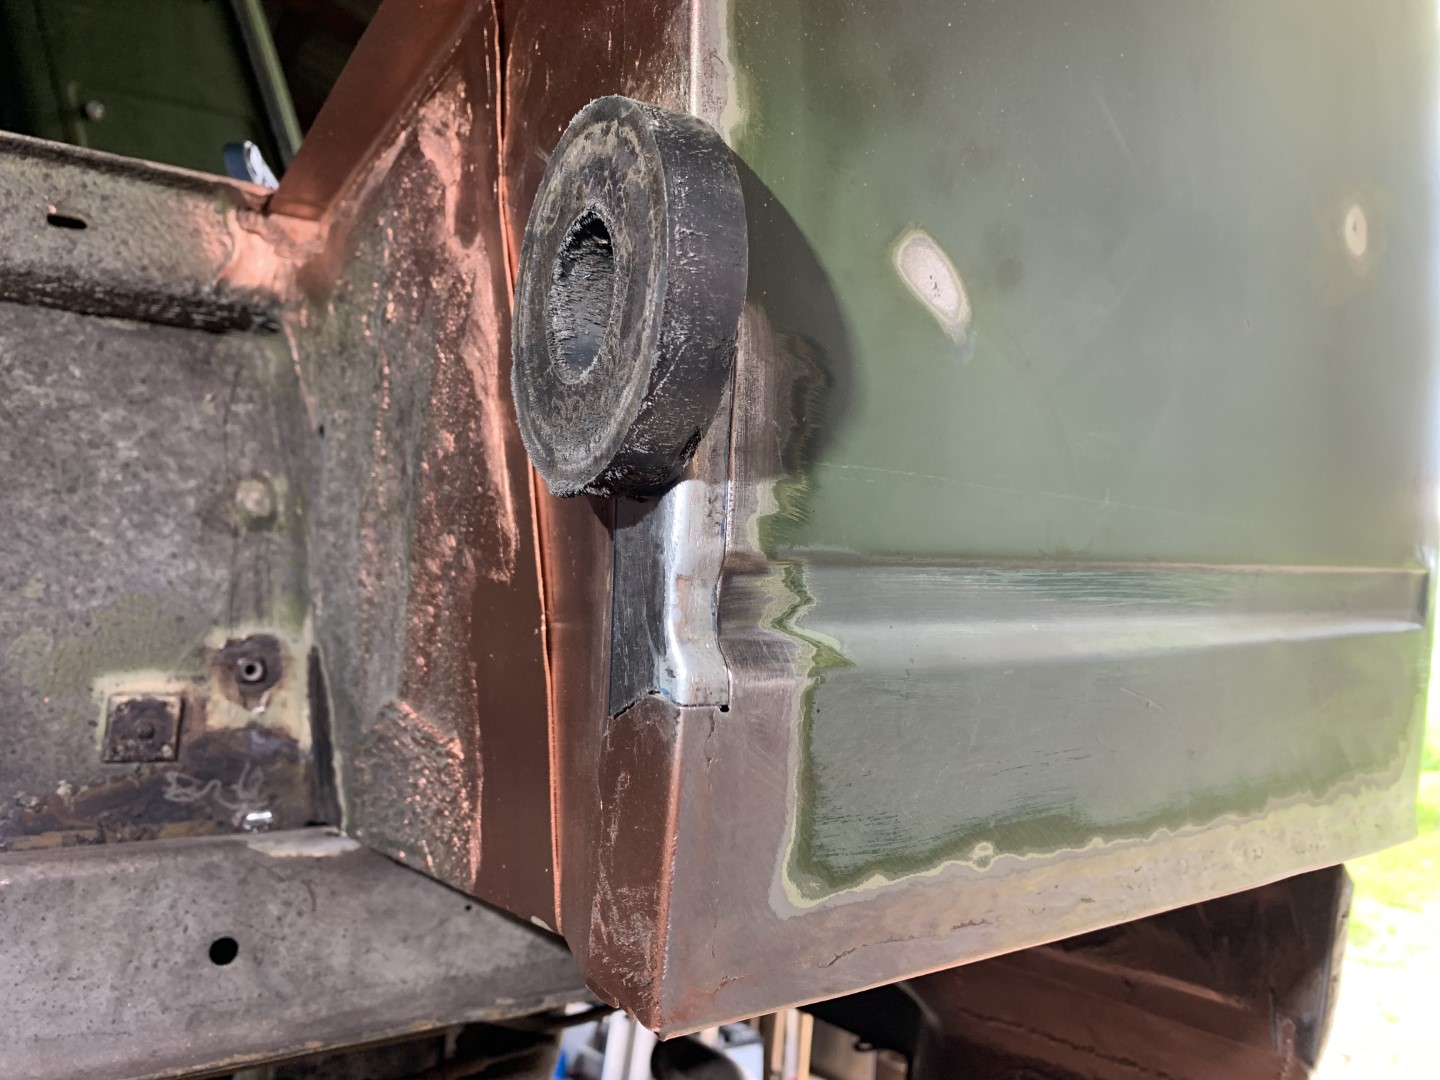
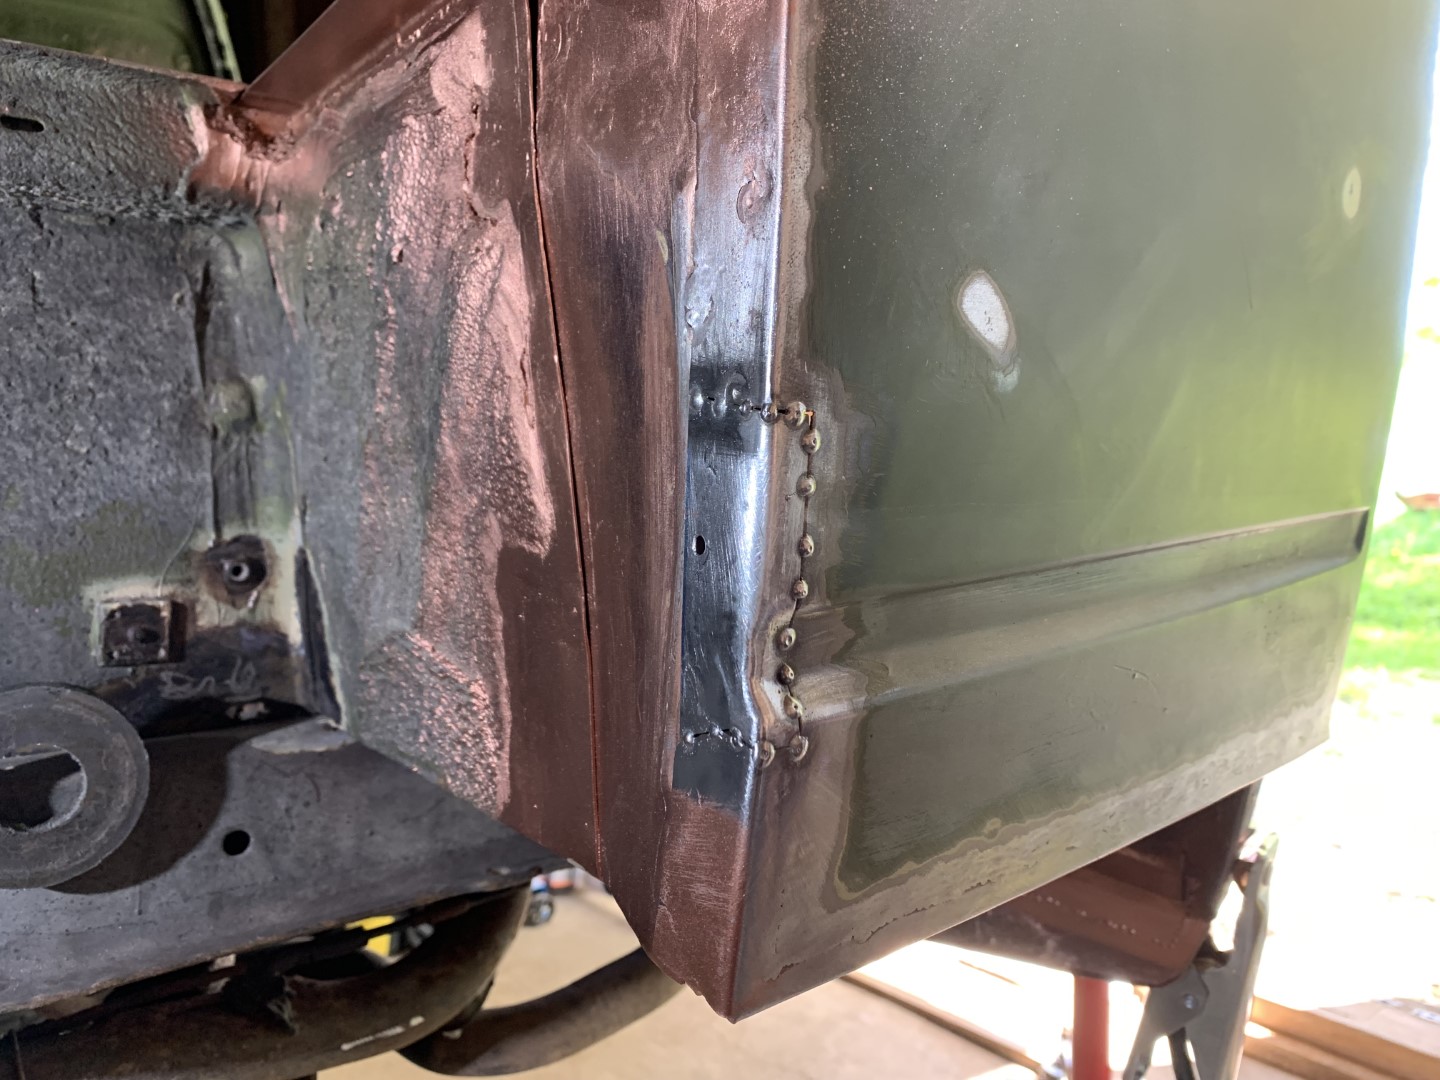
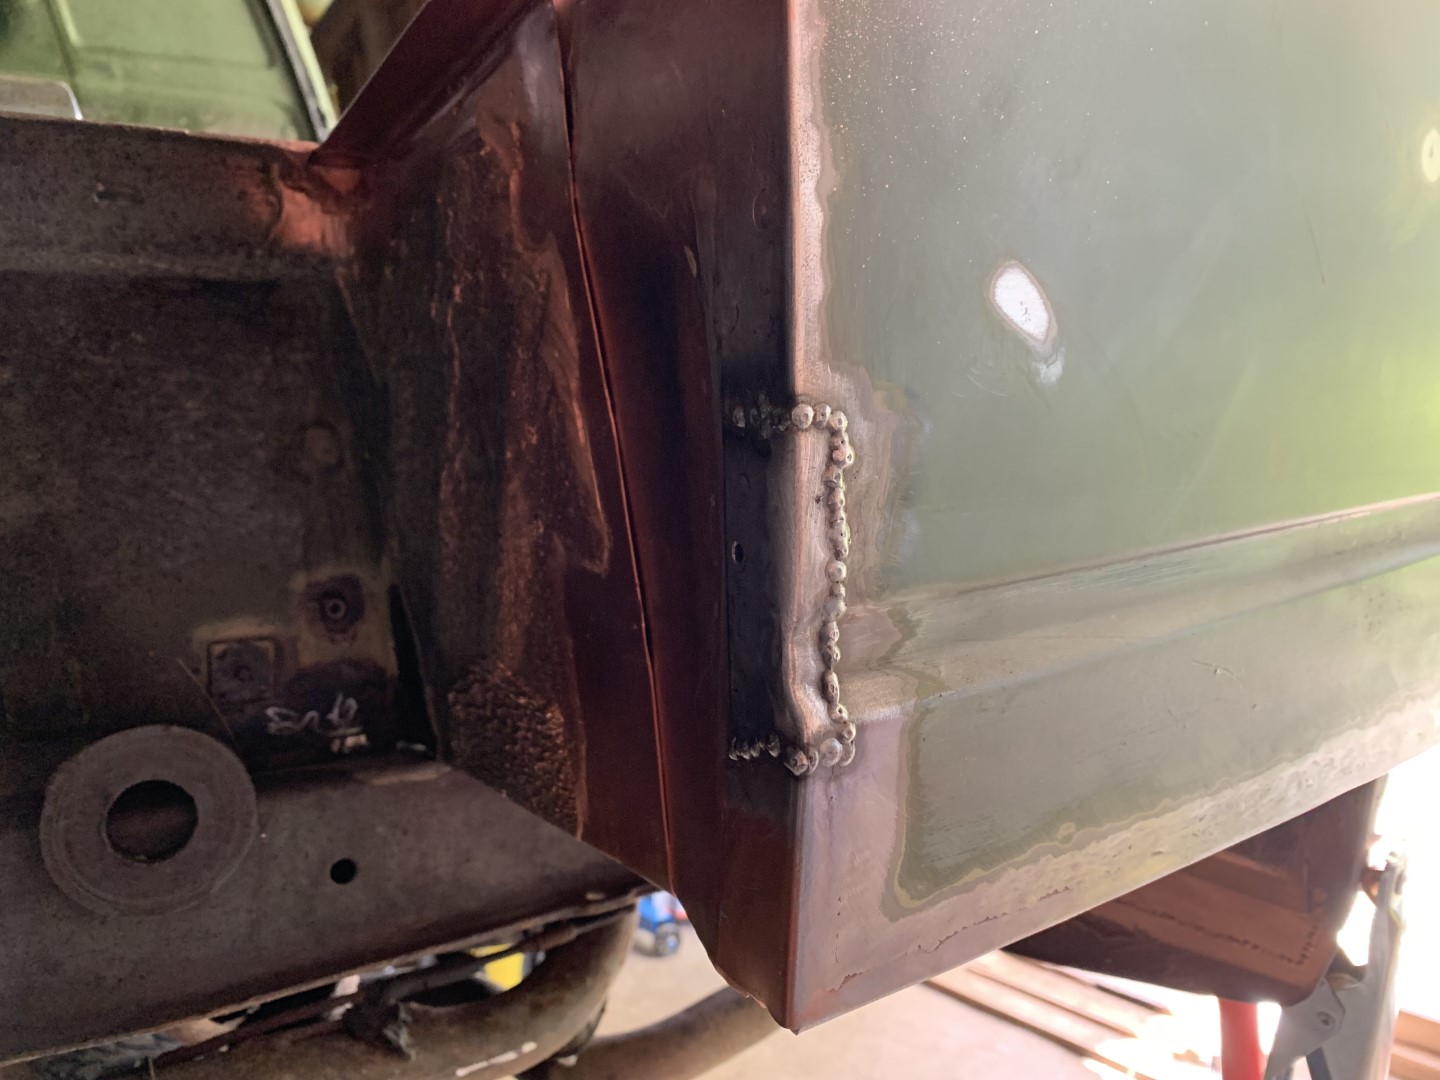
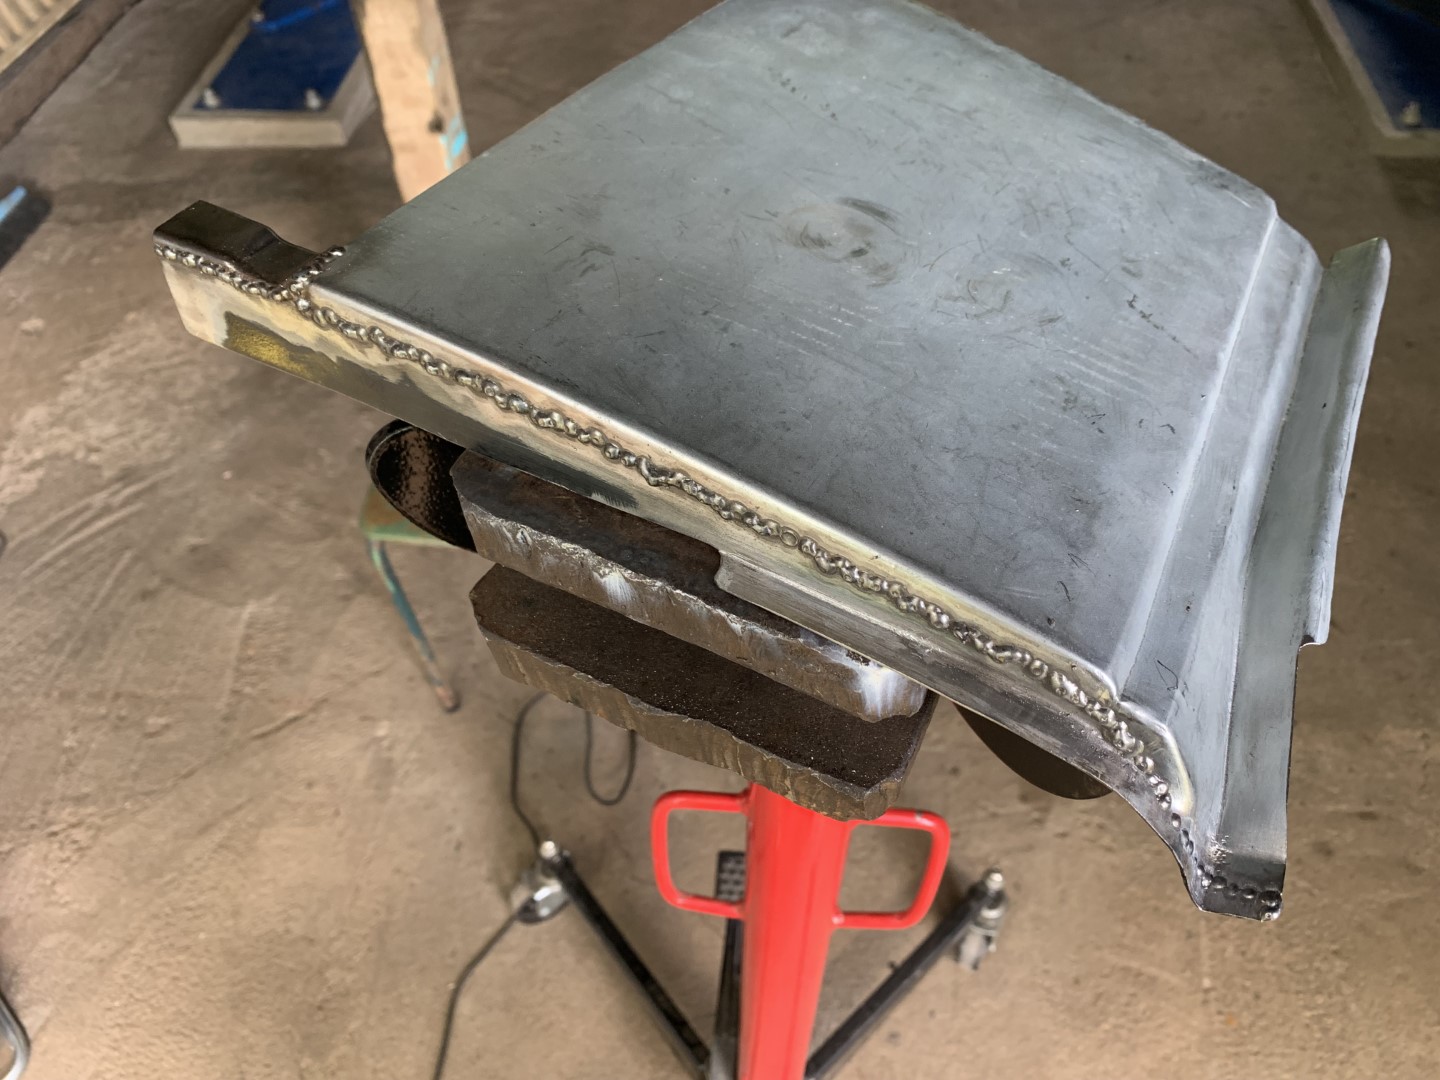
The last step here was to attach the lower panel (VW p/n 251 813 357). I used JP Group alternative (JP Group p/n 1180650570) and did similar modifications that I had made to the panel on the right side. After that all I had to do was to weld it.
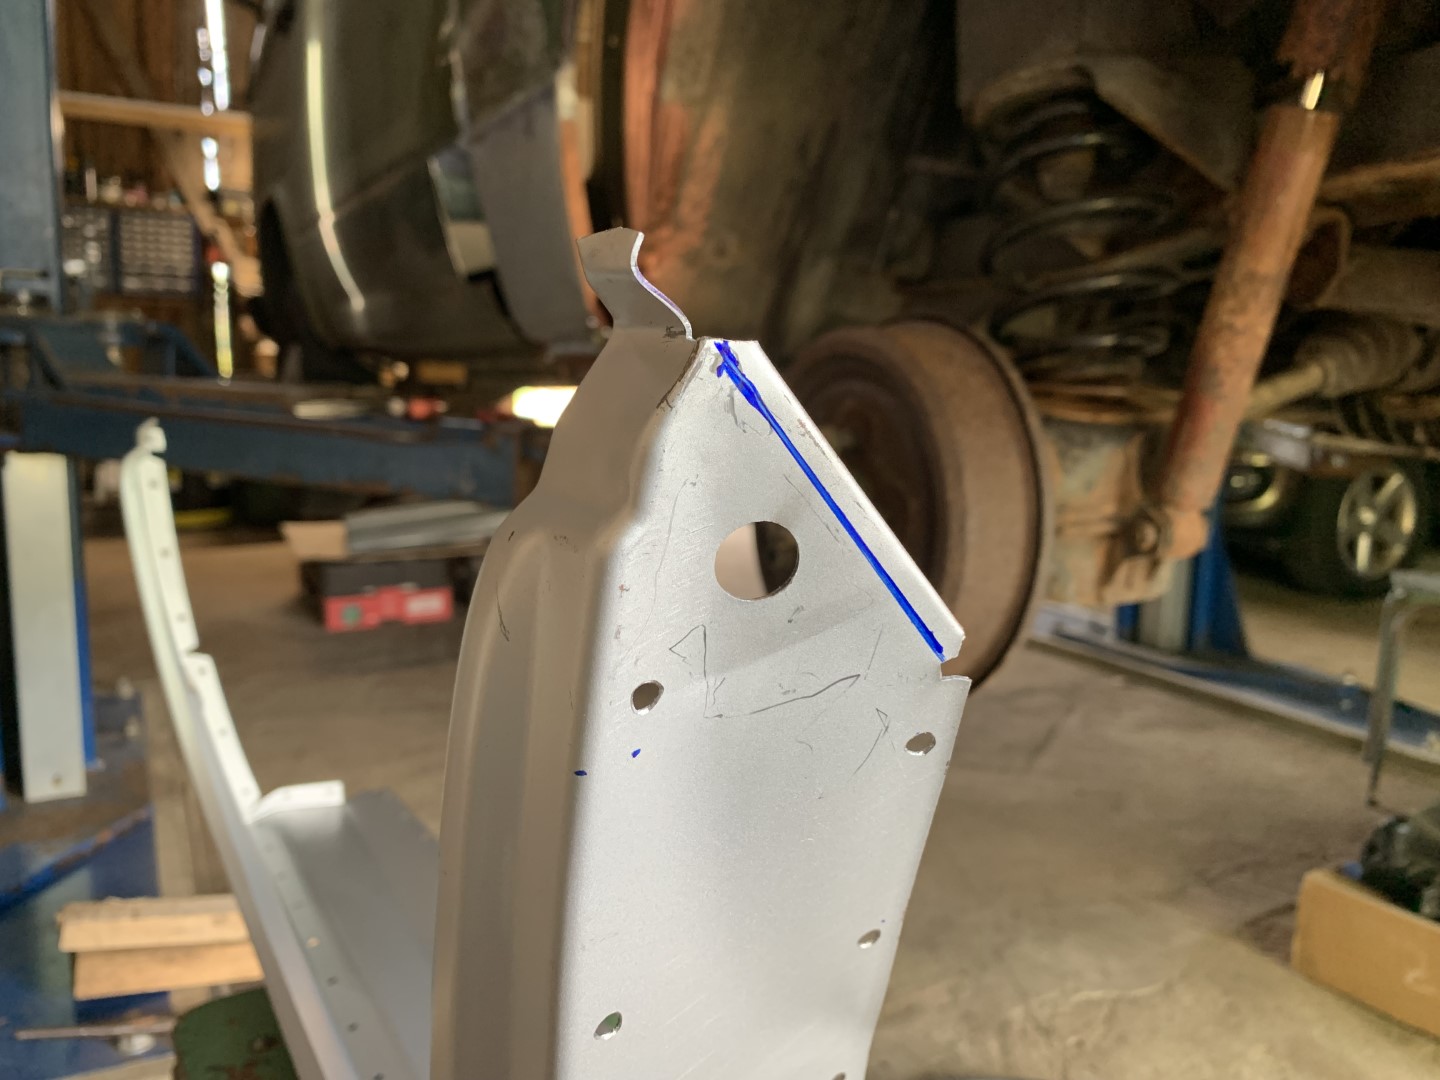
The C-pillar
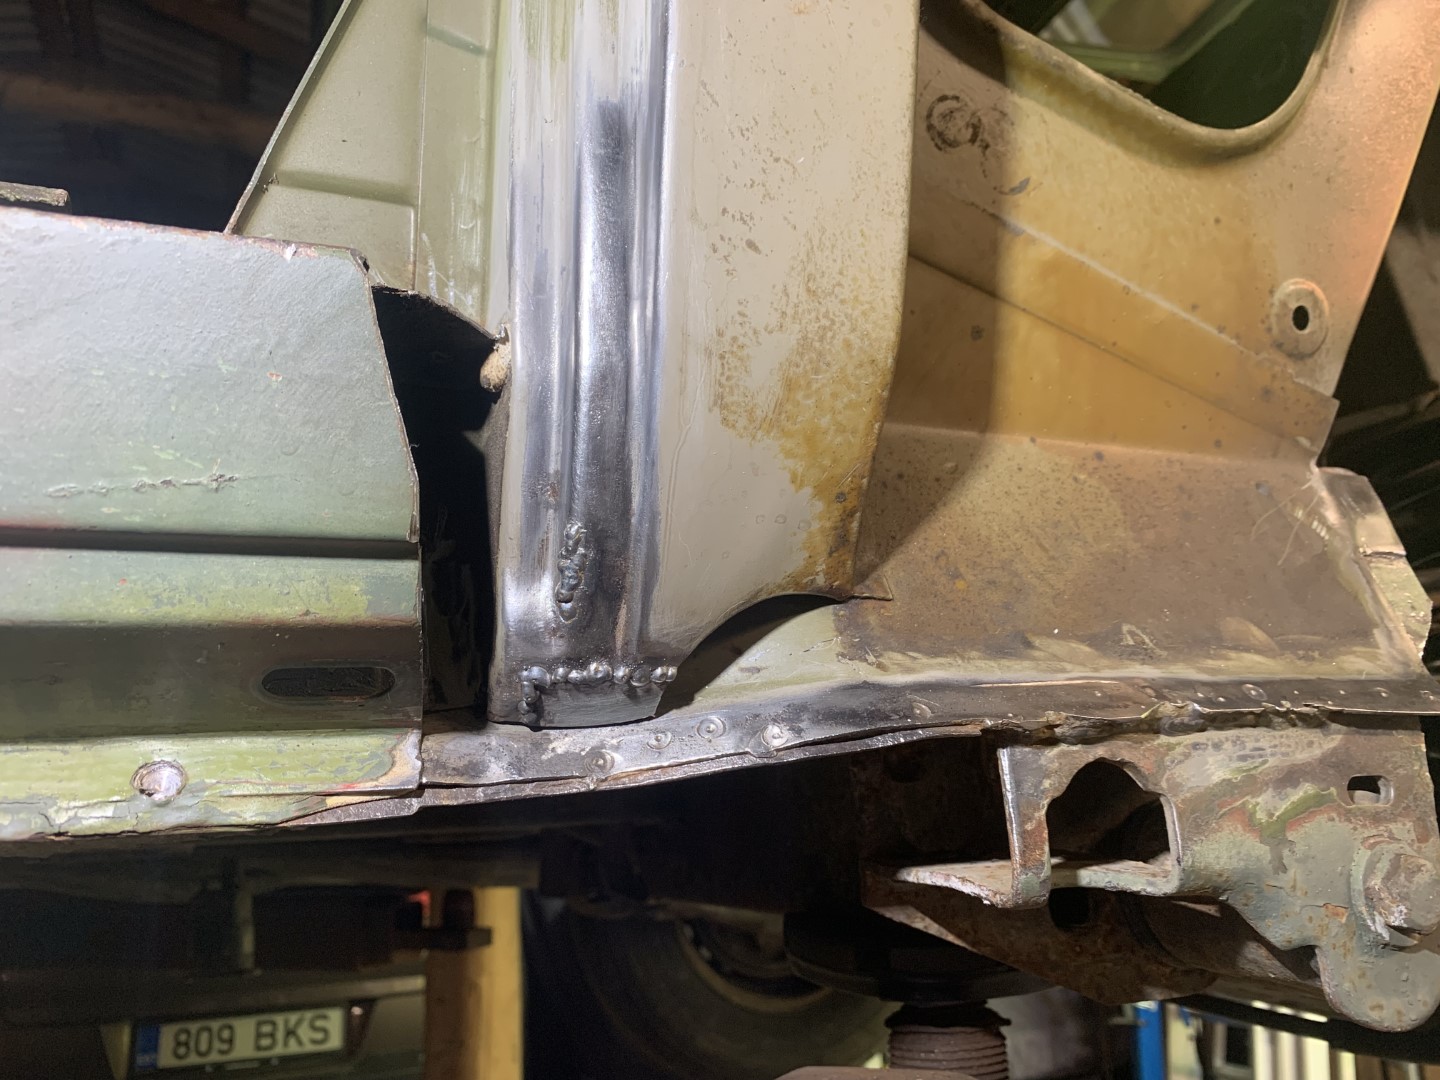
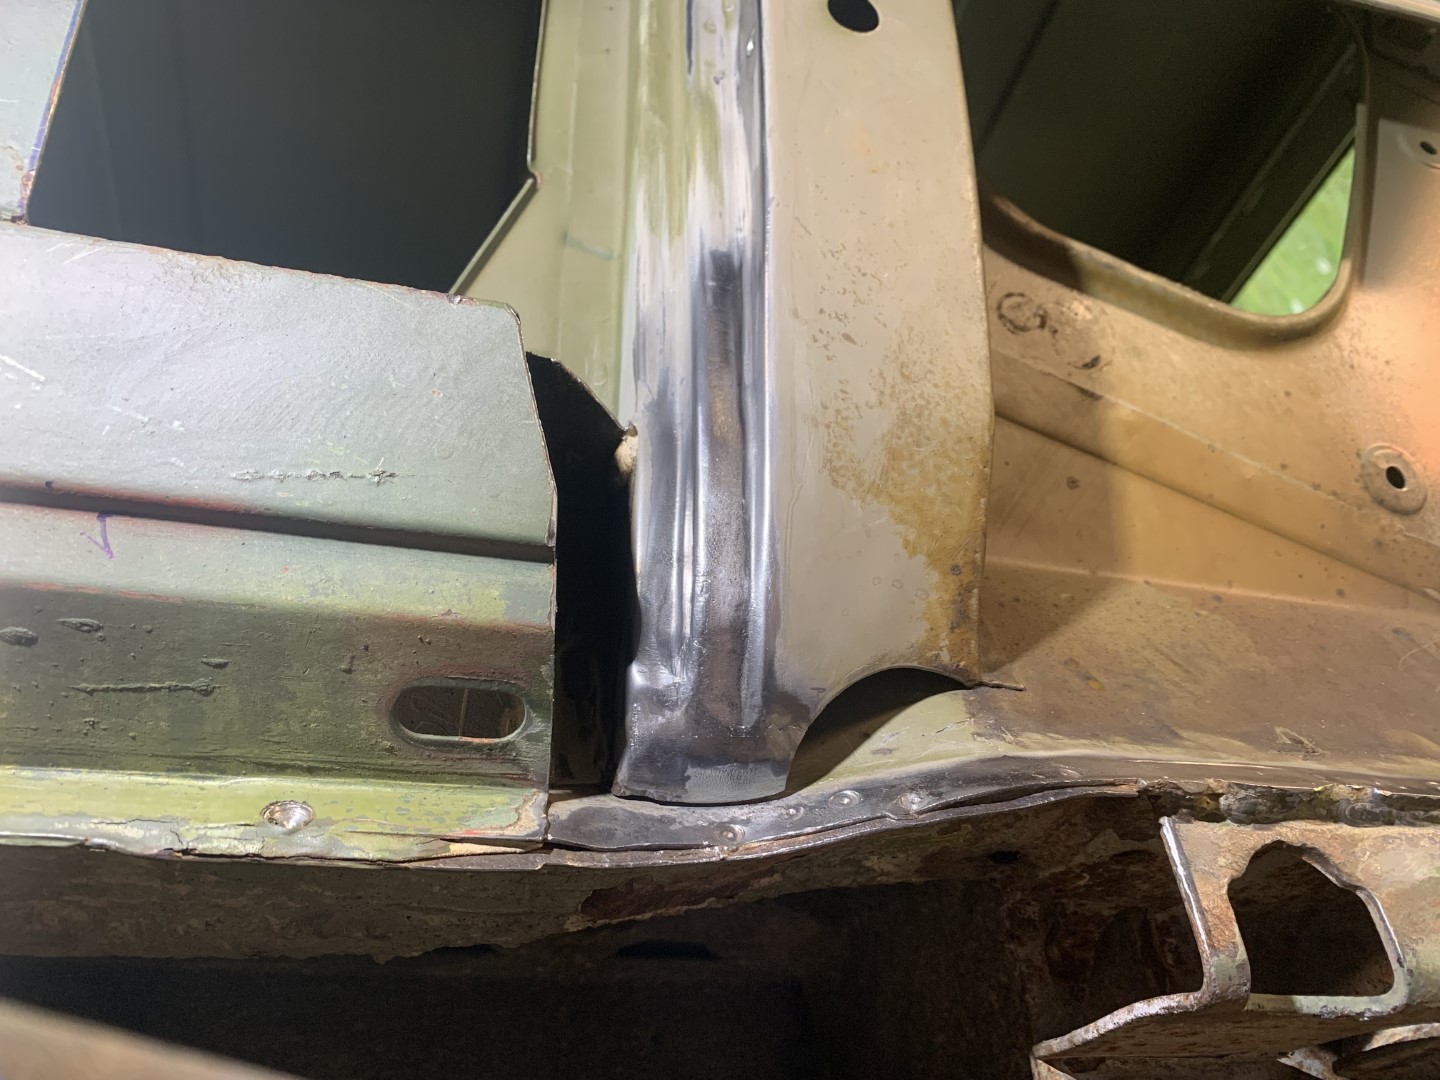
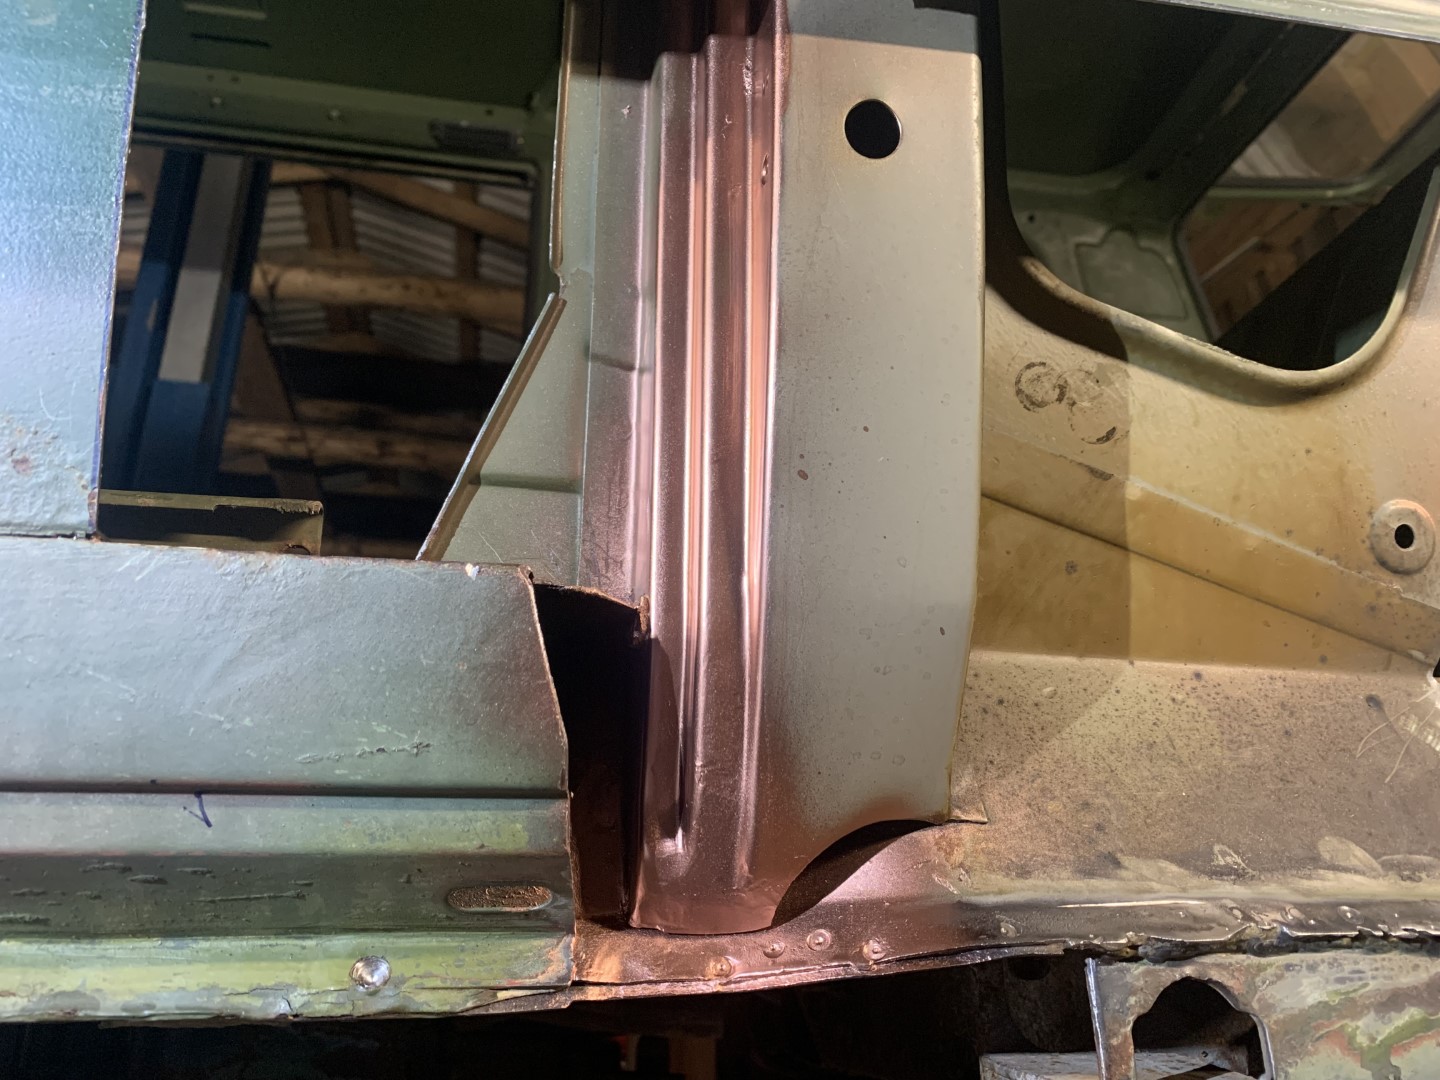
After fixing the corner panel it was time to move forward and get started on the C-pillar (VW p/n 252 809 353). On the right side the lower end of the C-pillar was pretty much destroyed, so it was a really pleasant surprise to see a rather good looking C-pillar on this side. I guess I got to it on the last minute and thus had to do only minimal restoration on it.
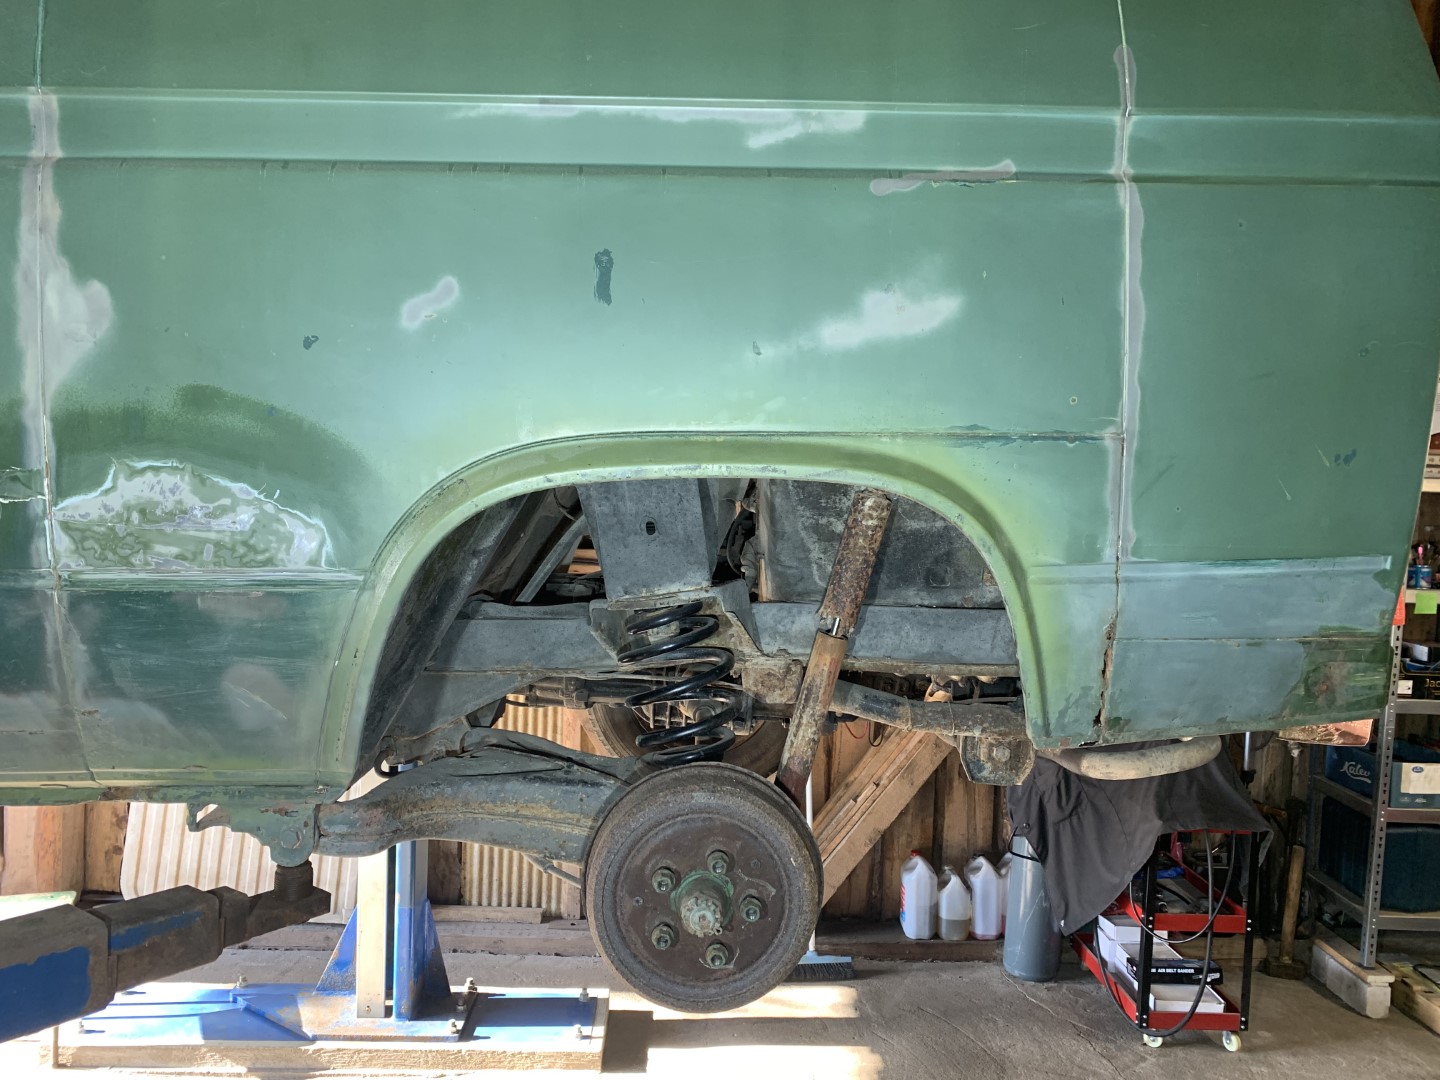
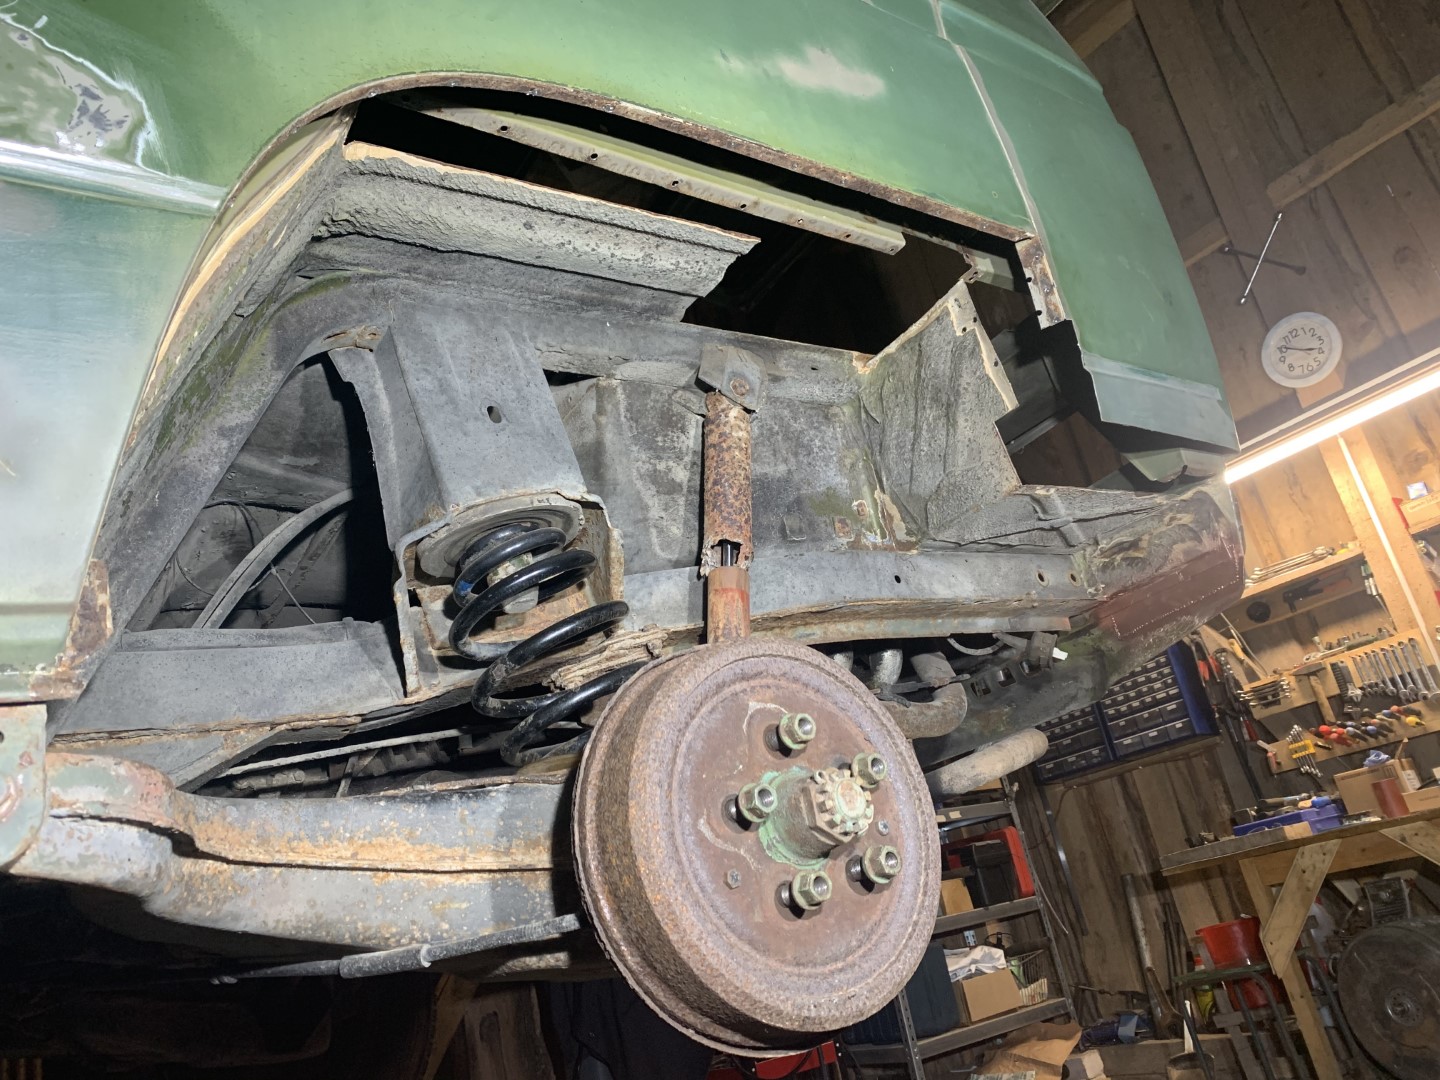
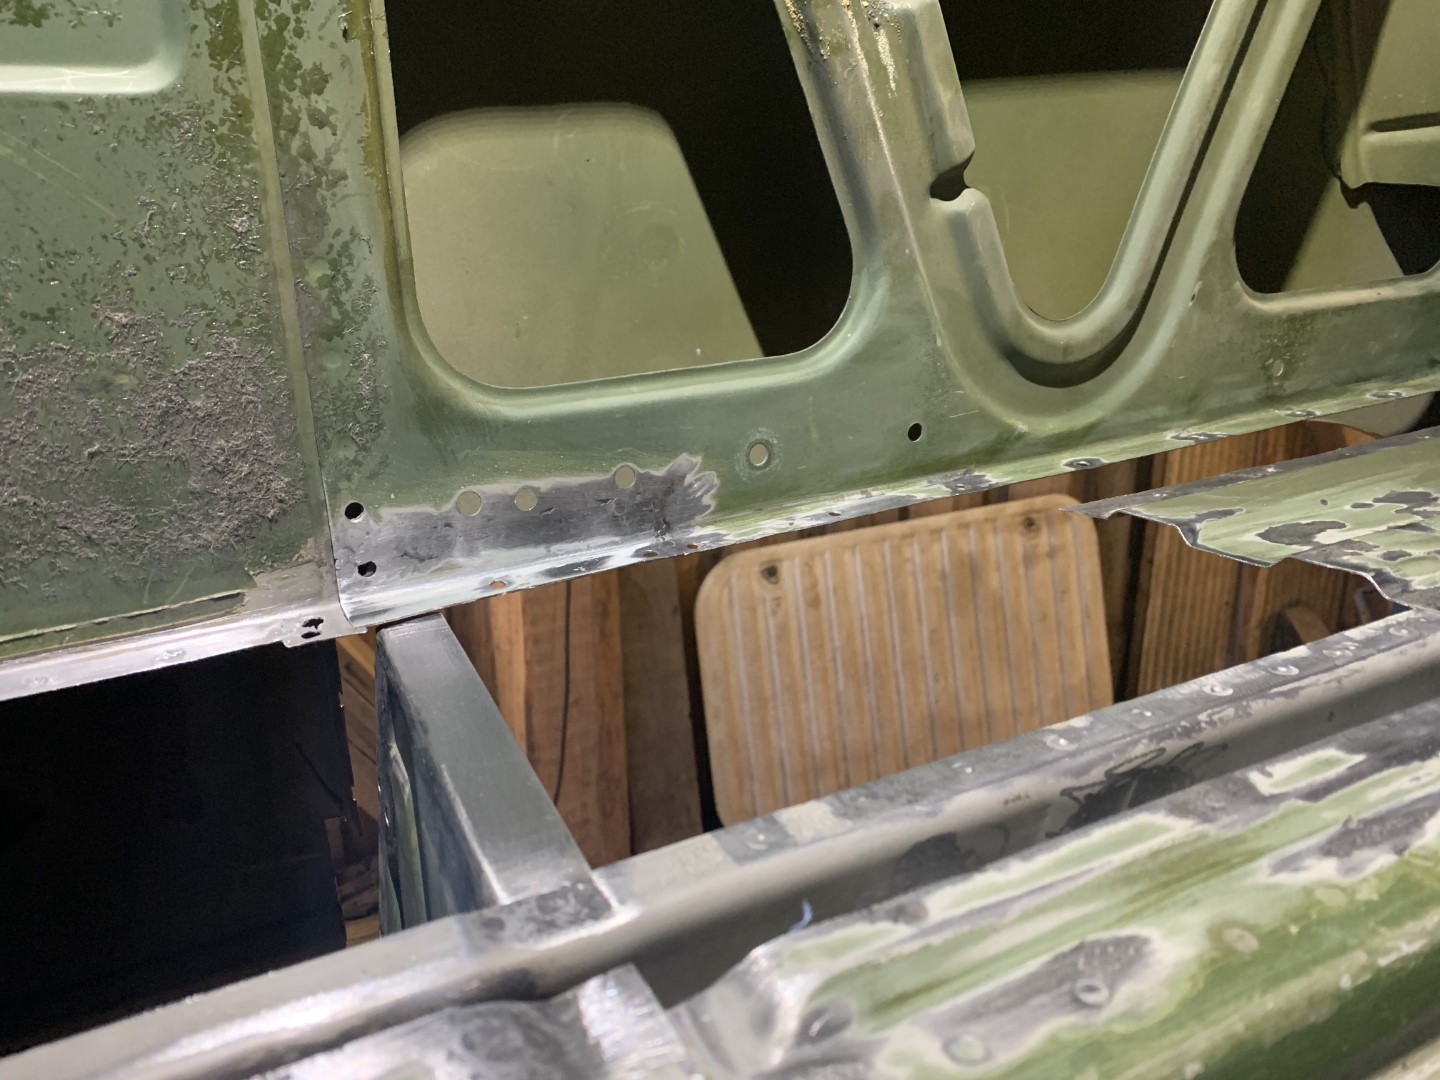
The Trailing Arm Mount
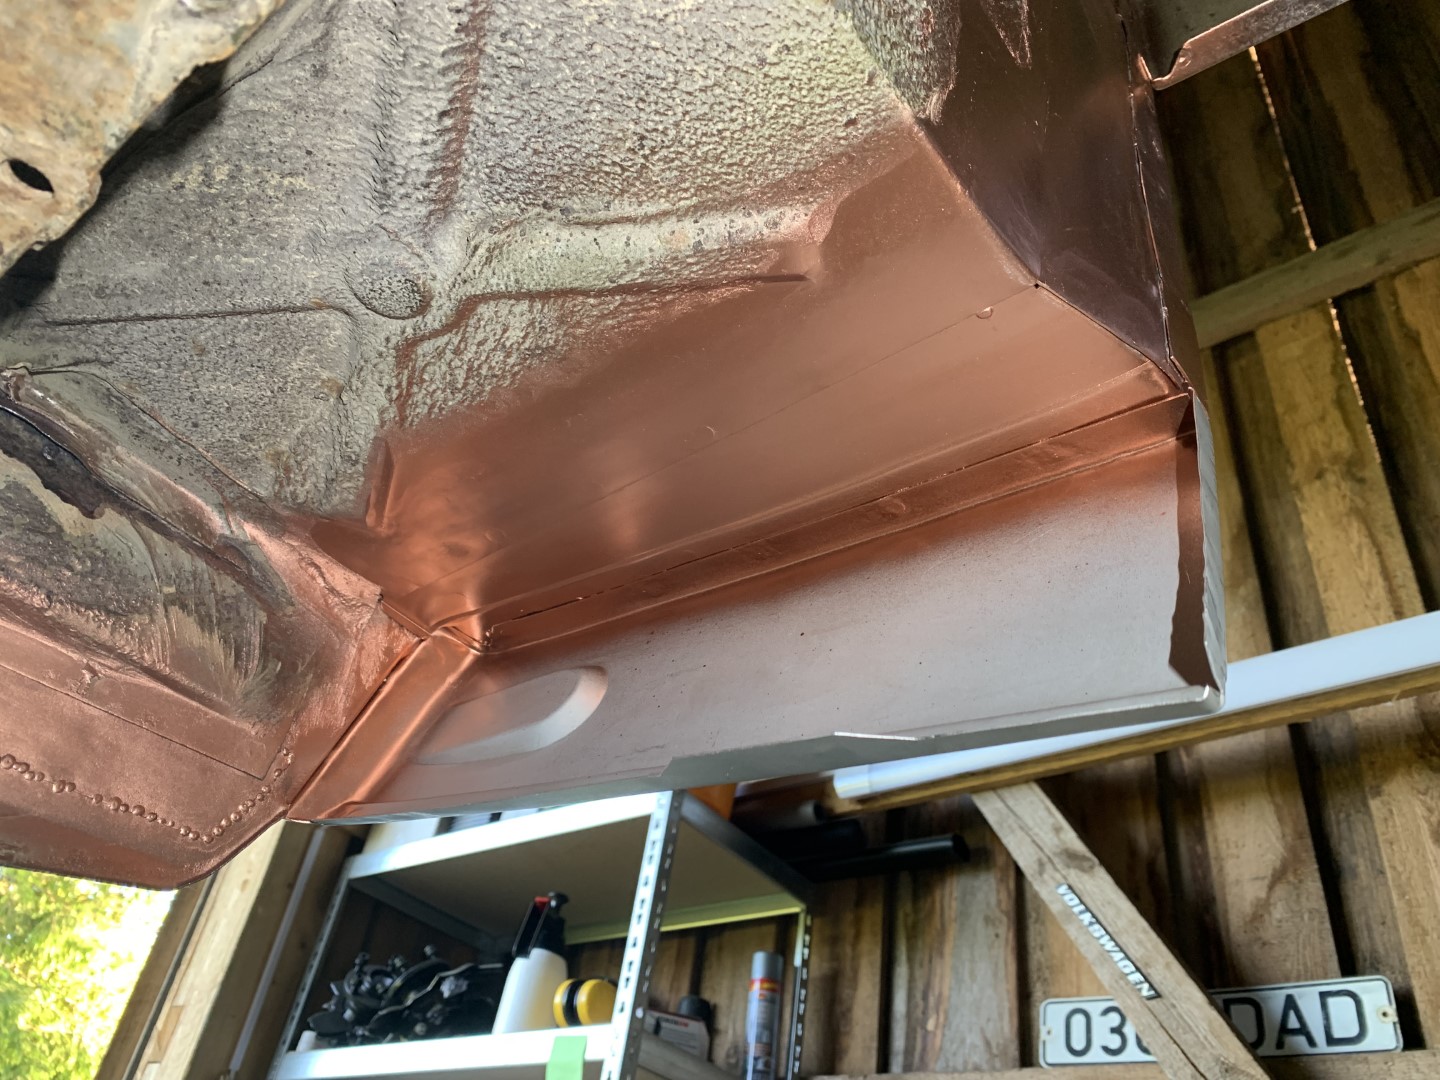
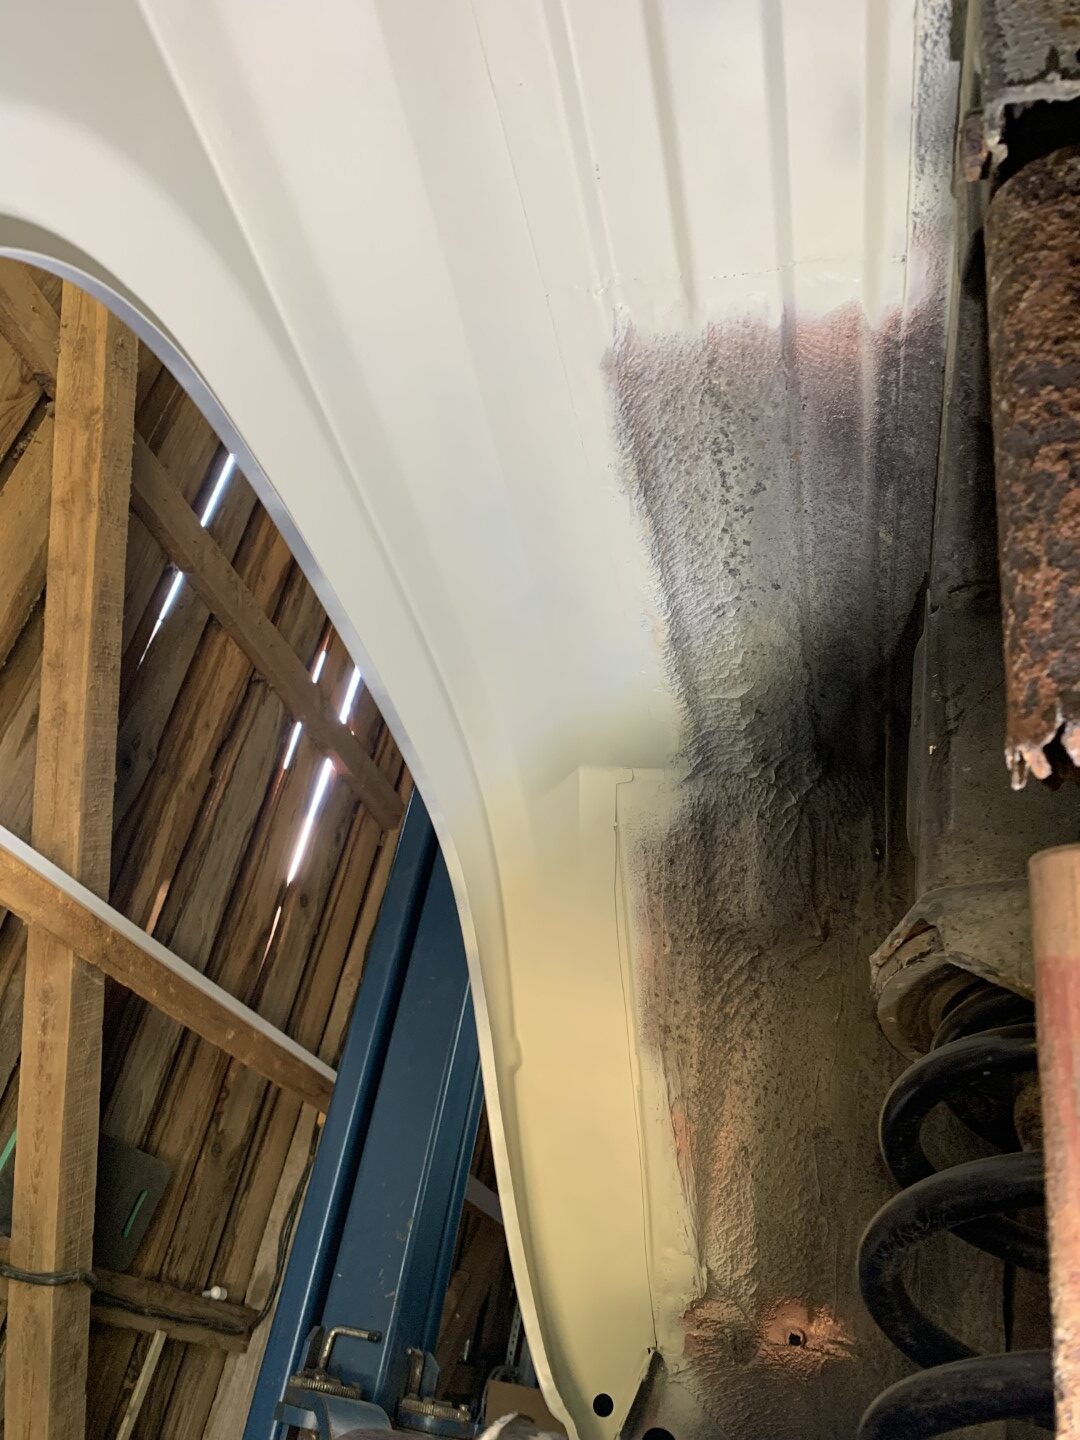
After washing the bottom of the van, I realised that there are some problematic spots by the trailing arm mount (VW p/n 251 803 197). After having removed the part from the side panel that is above the trailing arm mount, it became obvious, that it looked pretty nice from the outside but the more I tried to get an overview of what is going on inside of this closed box, it became clear that I have to cut the cover (VW p/n 251 809 397 A) open.
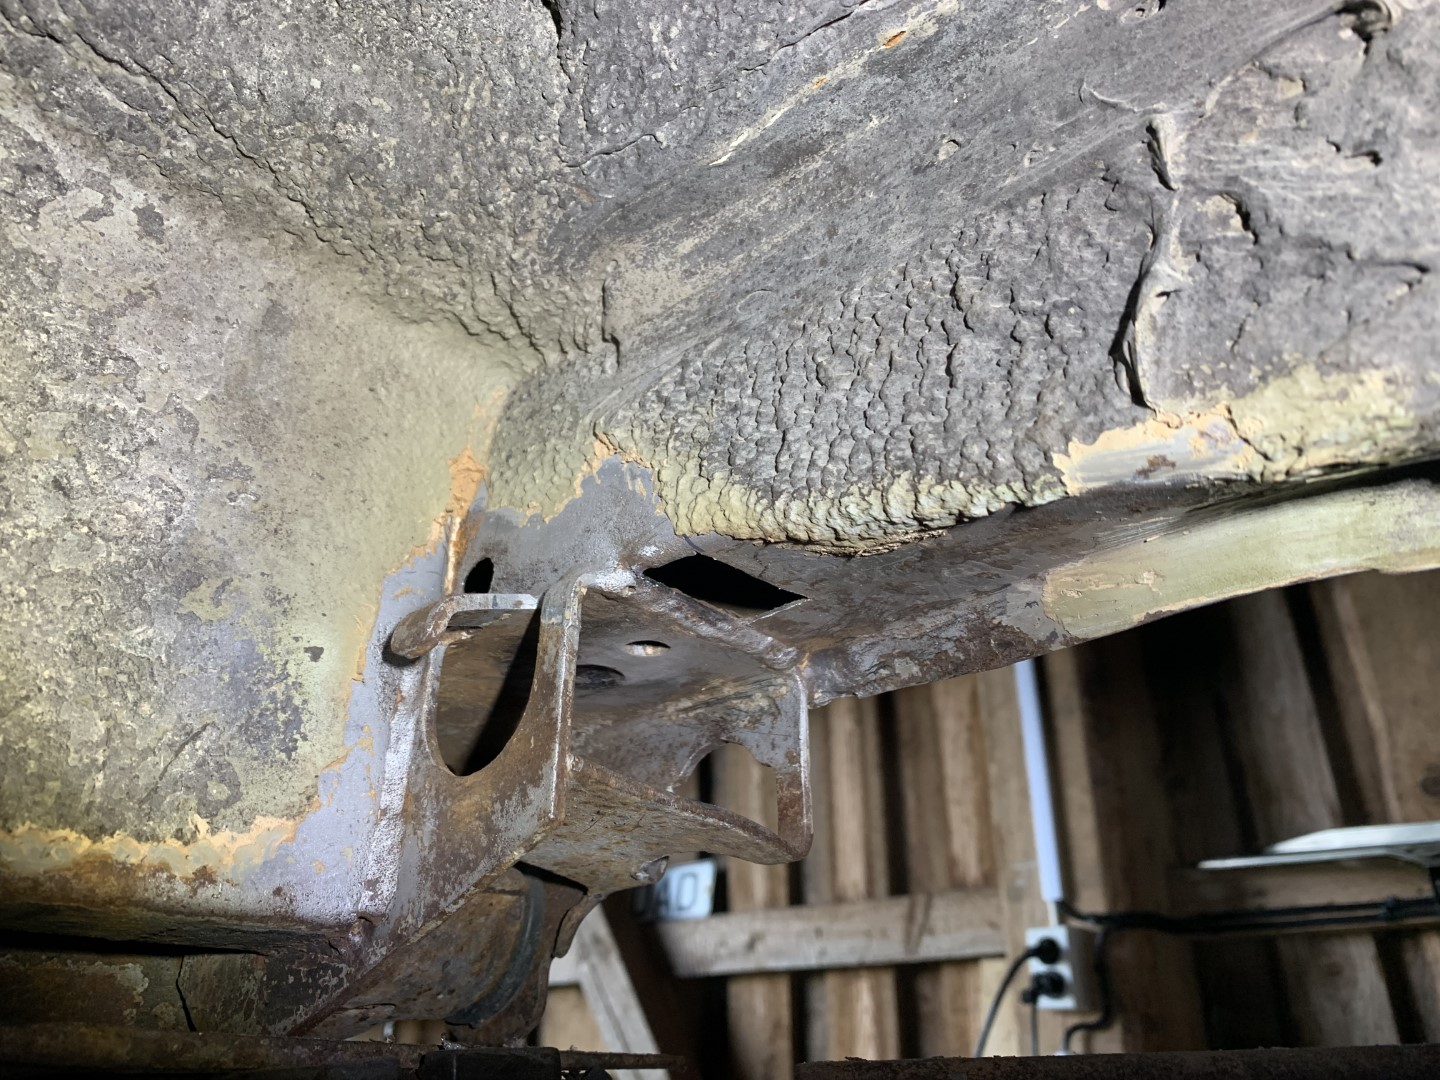
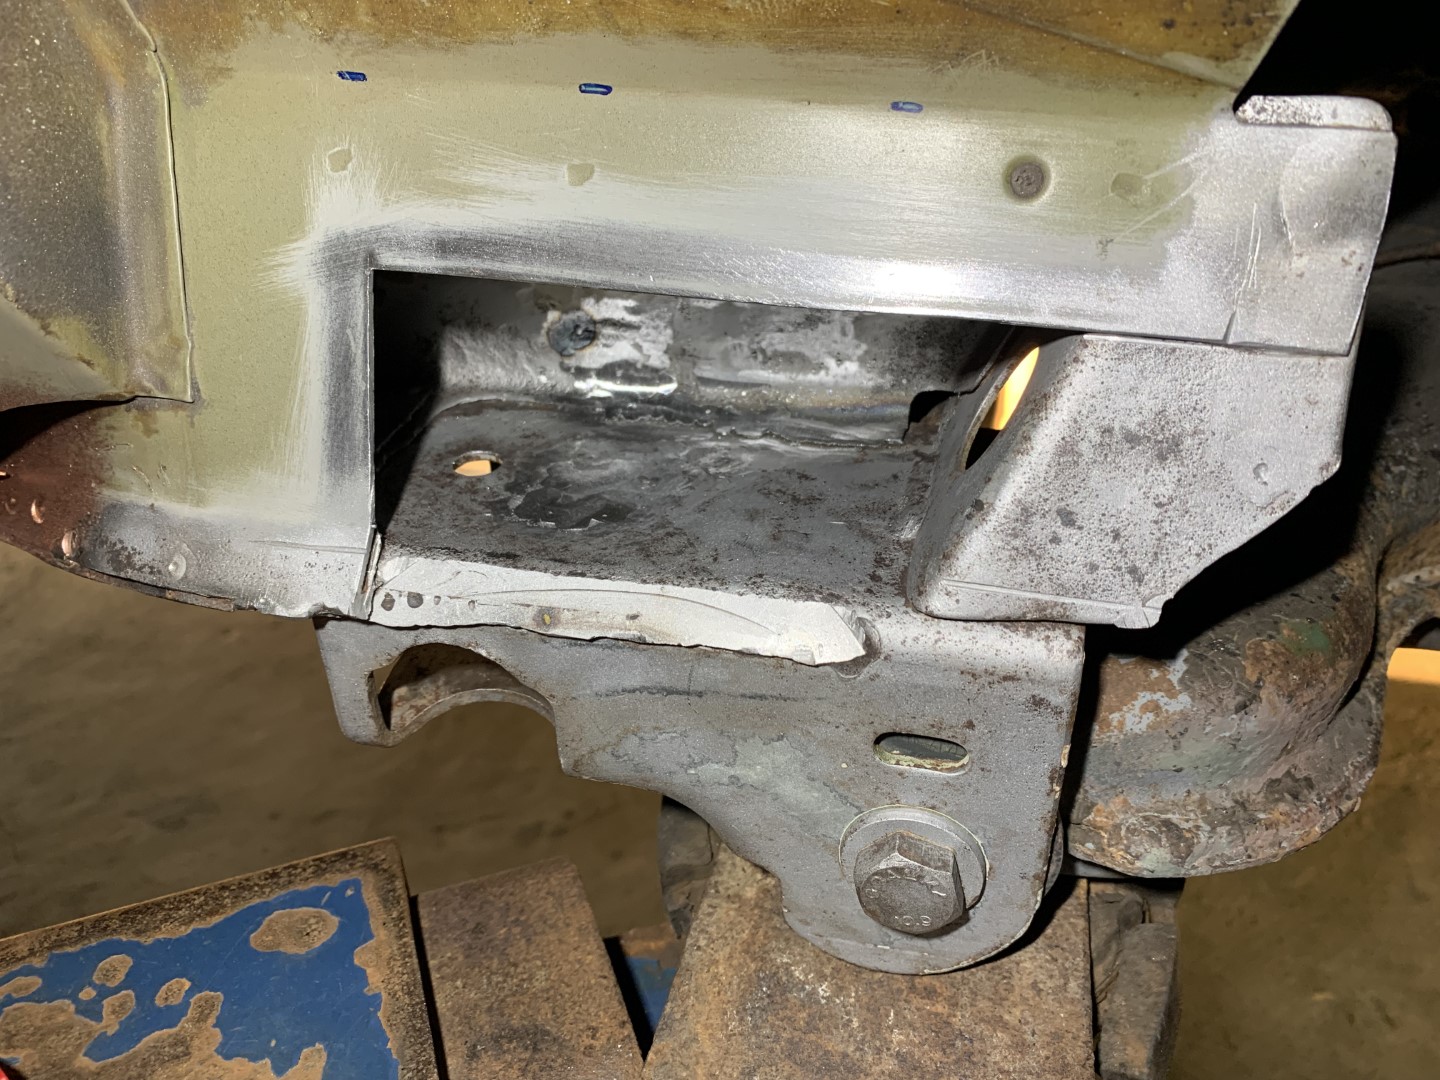
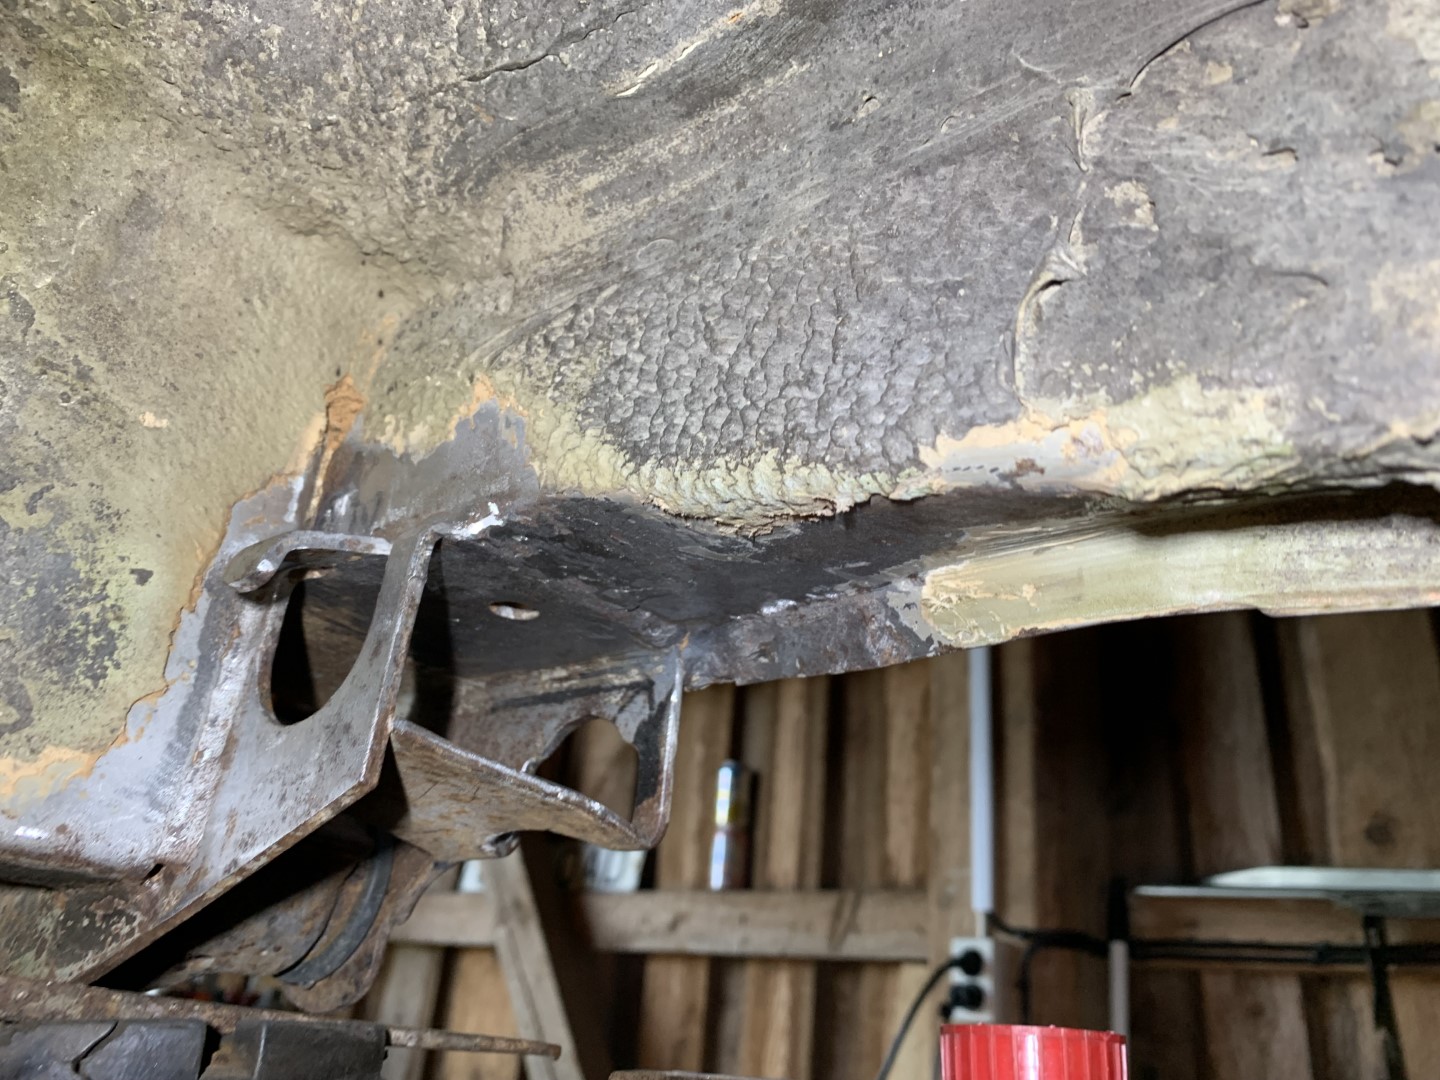
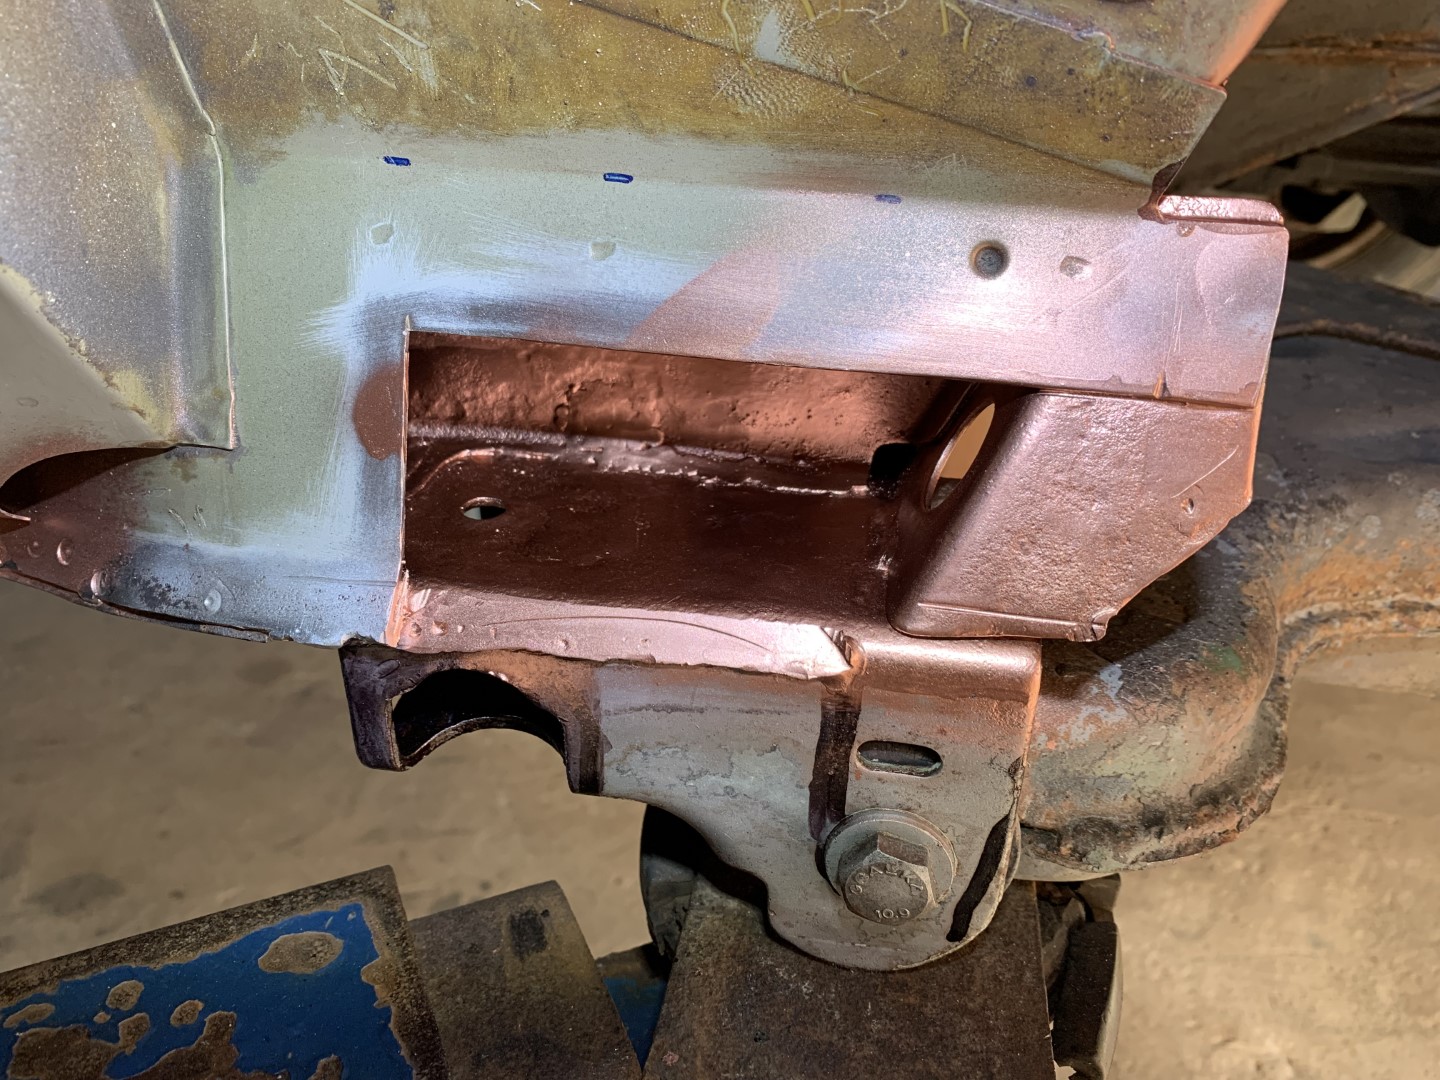

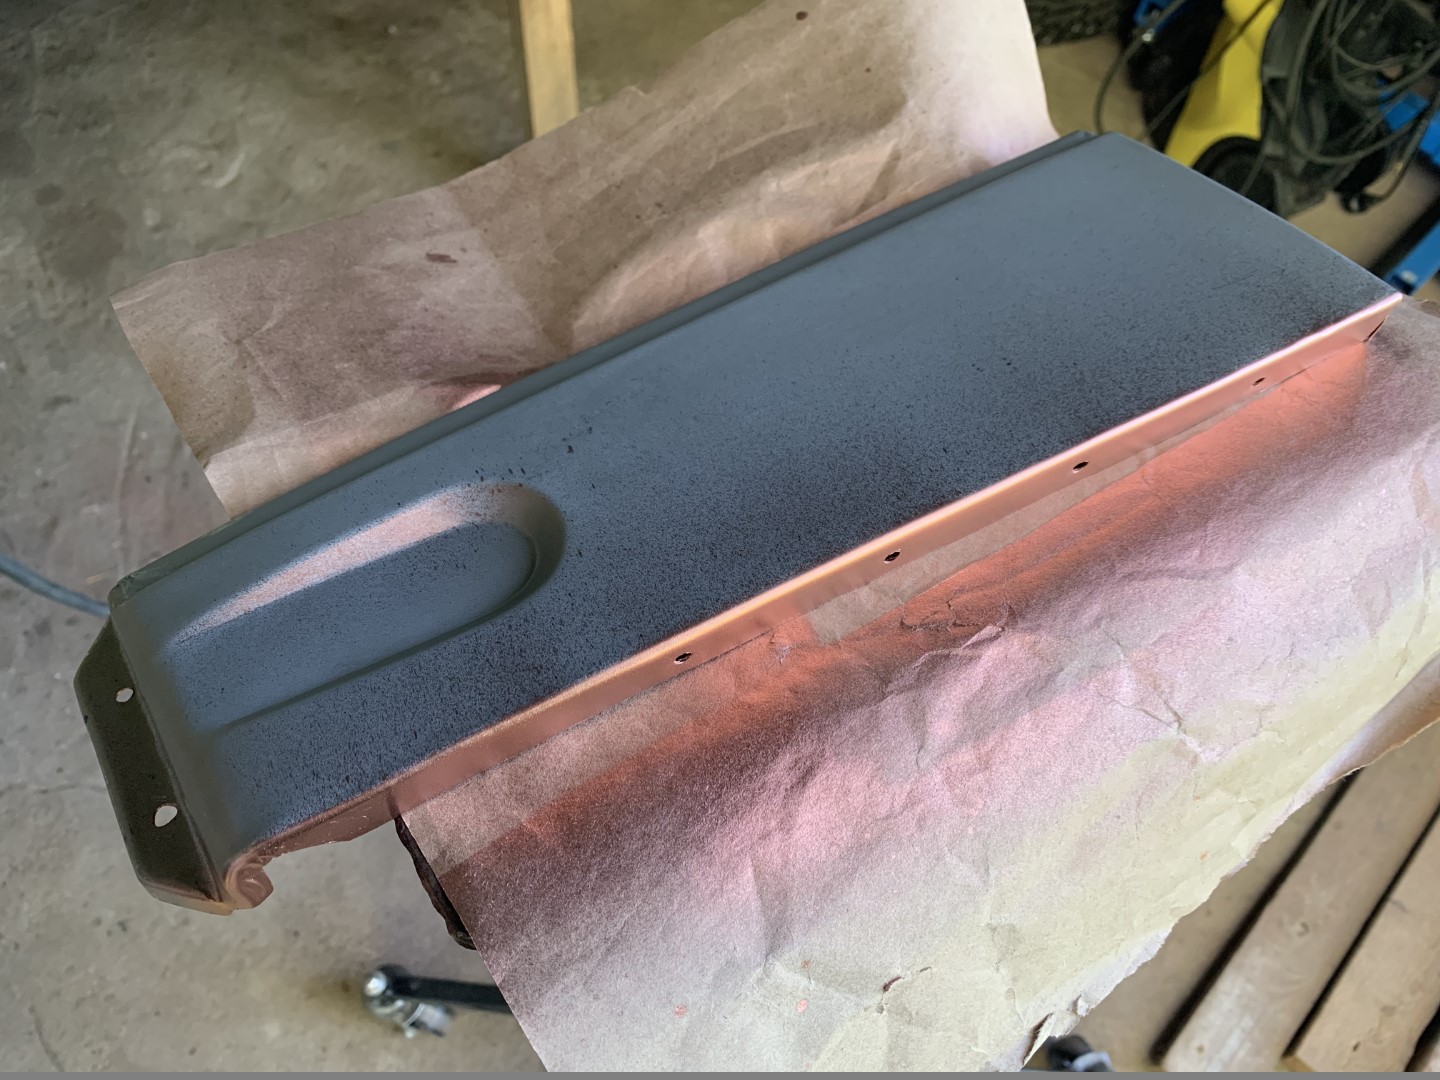
The Side Panel
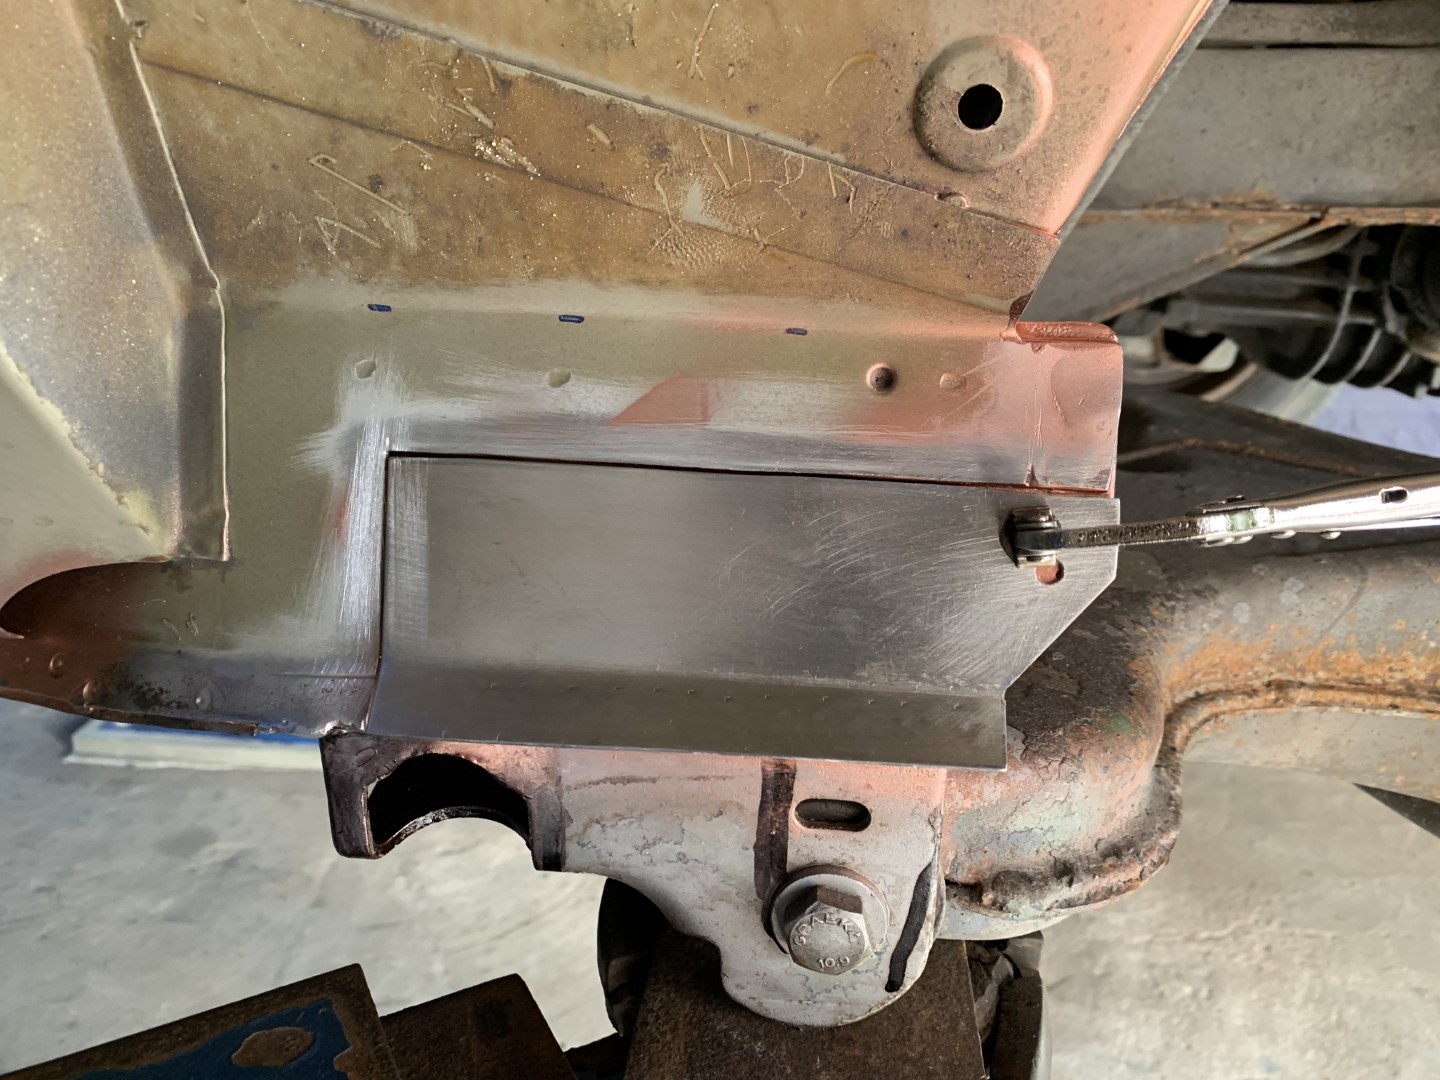
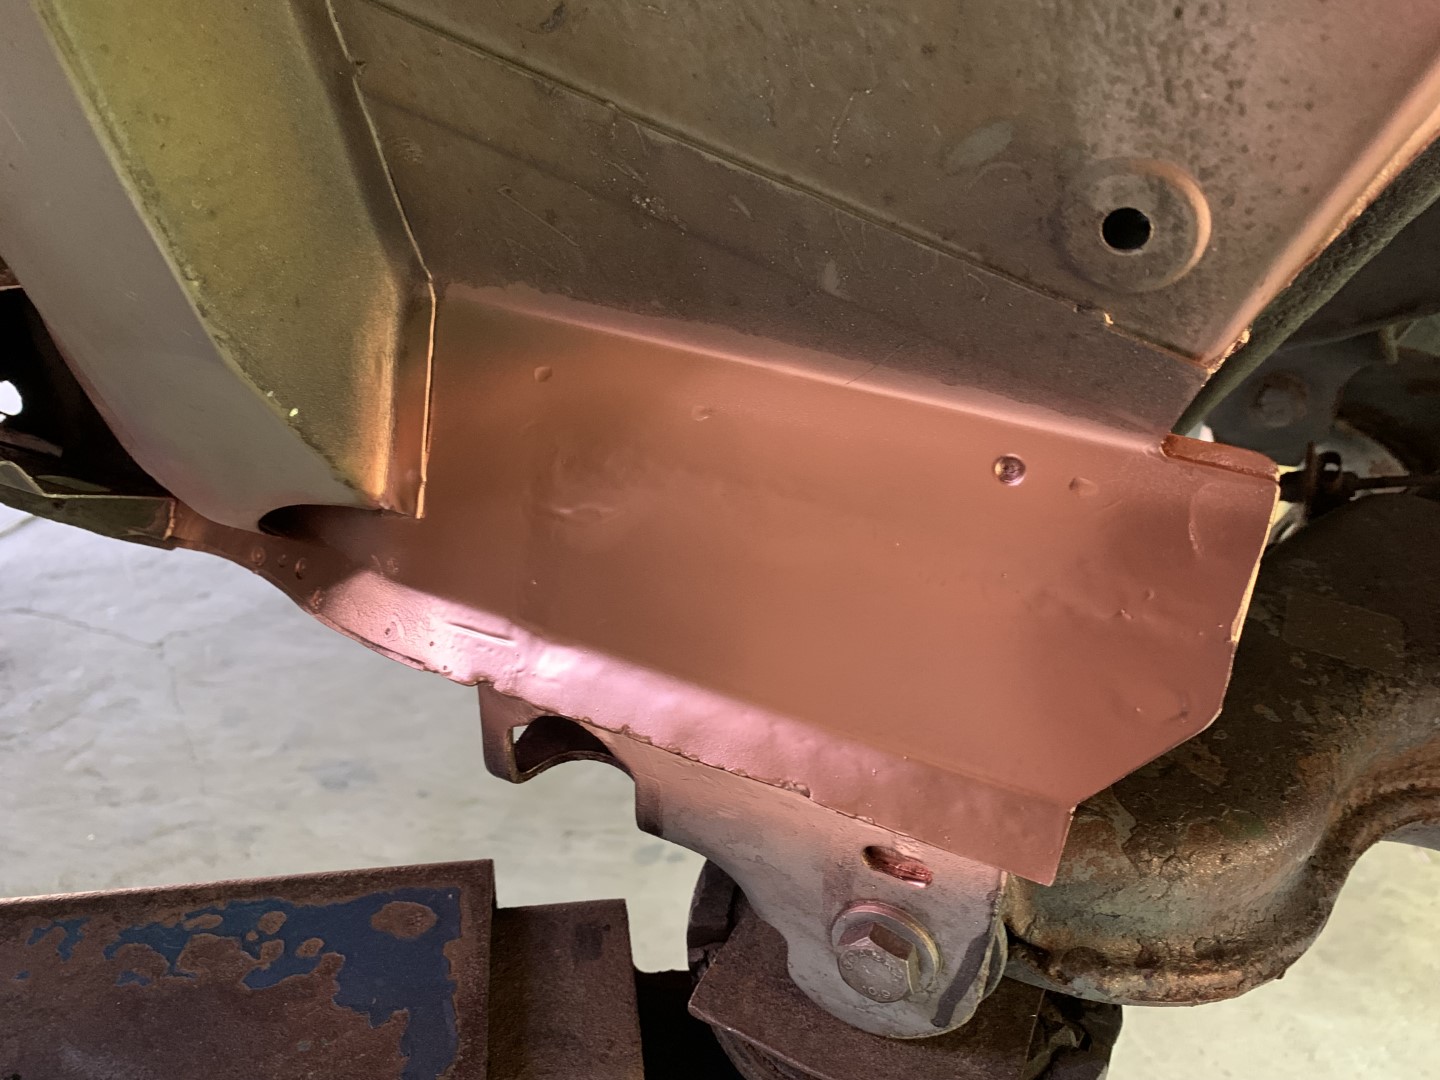
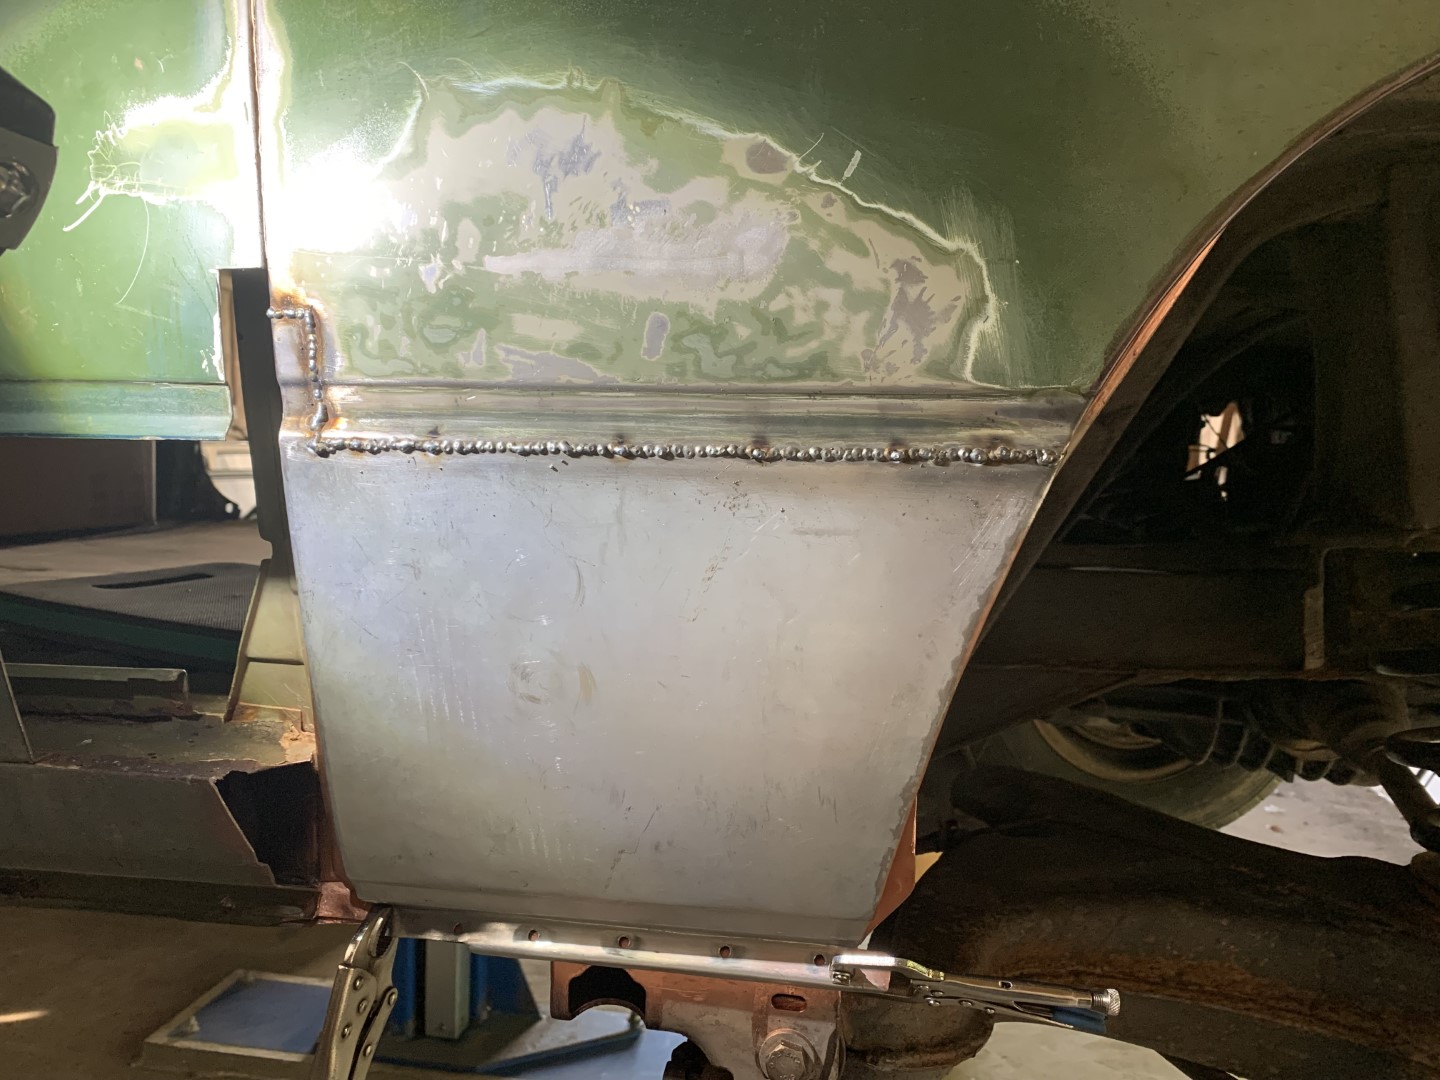
It was obvious, that the lower edge of this panel (VW p/n 251 809 159 B) by the trailing arm mount had at some point during its life gotten a bit damaged. The sheet metal had a pretty ugly dent in it that someone had tried to patch up with some filler. I didn’t bother myself with fixing it properly, since I needed to make some space anyways, so that I could see more of the trailing arm mount and C-pillar. Therefore, I simply cut out the problematic spot and later replaced it with a new panel. Other than that, there weren’t any other big surprises, just as always a few smaller patches here and there.
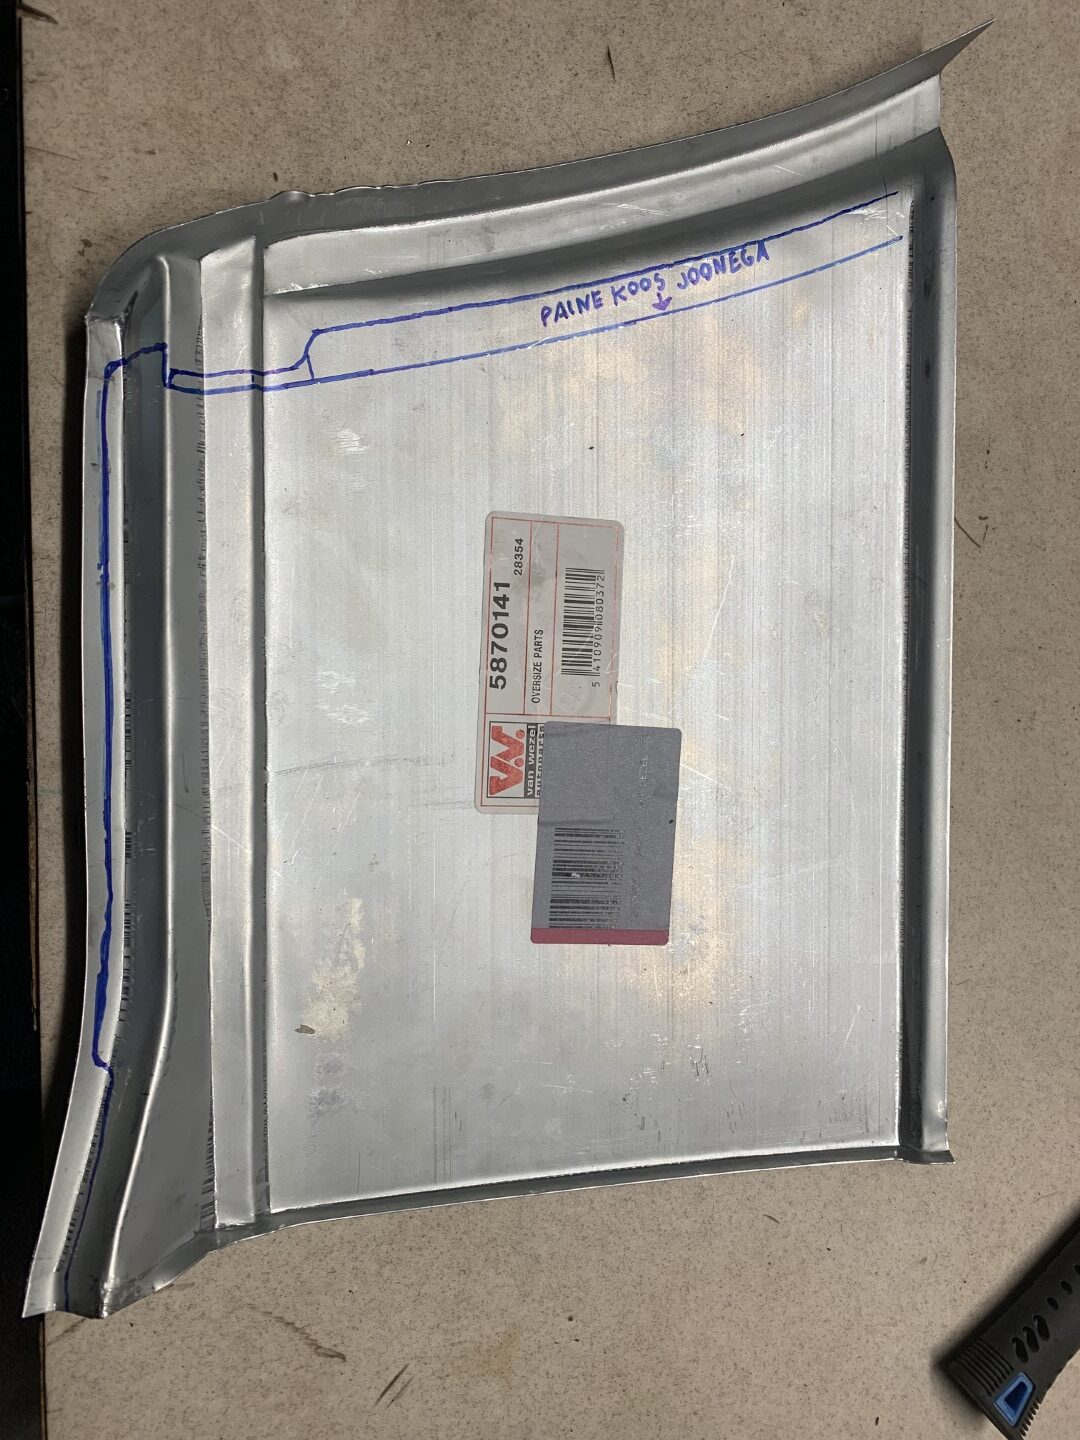
The replacement panel on this side was also a Van Wezel panel (Van Wezel p/n 5870141), which is not ready to use. Since on the right side I had already done similar modifications, then this time it was easy peasy, just a bit of drawing, cutting, welding, grinding, bending and done. Actually, getting this panel ready for welding on, was about half day’s work, so I would advise to invest a little more into buying a proper piece, an alternative panel by JP Group that is closer to the original panel.
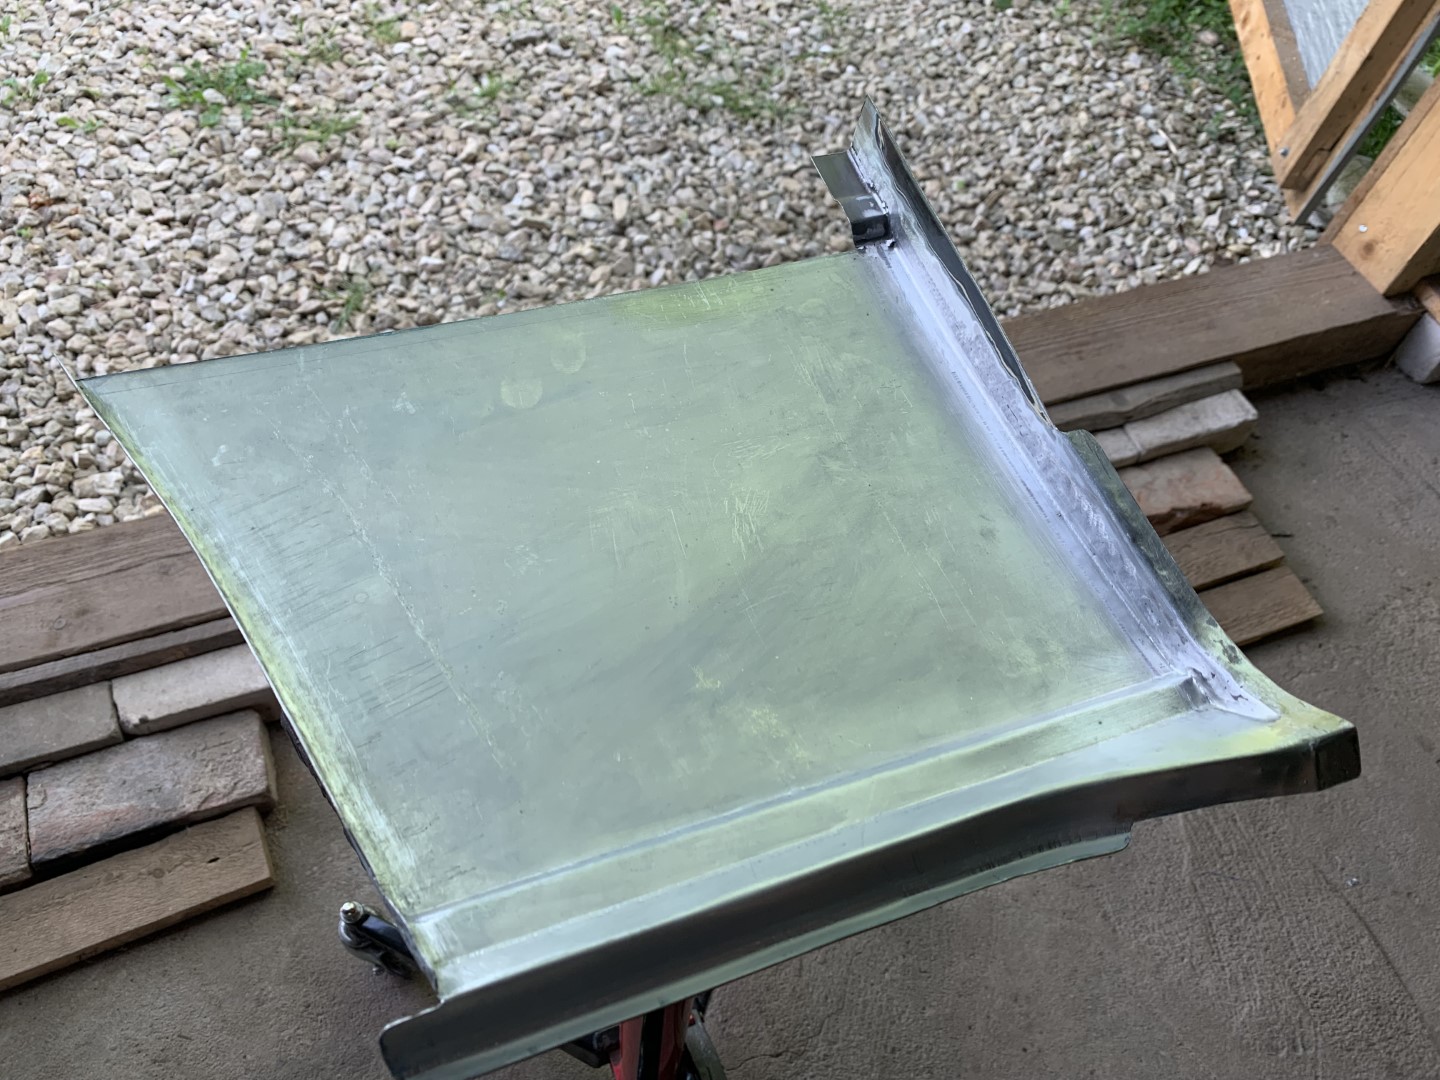
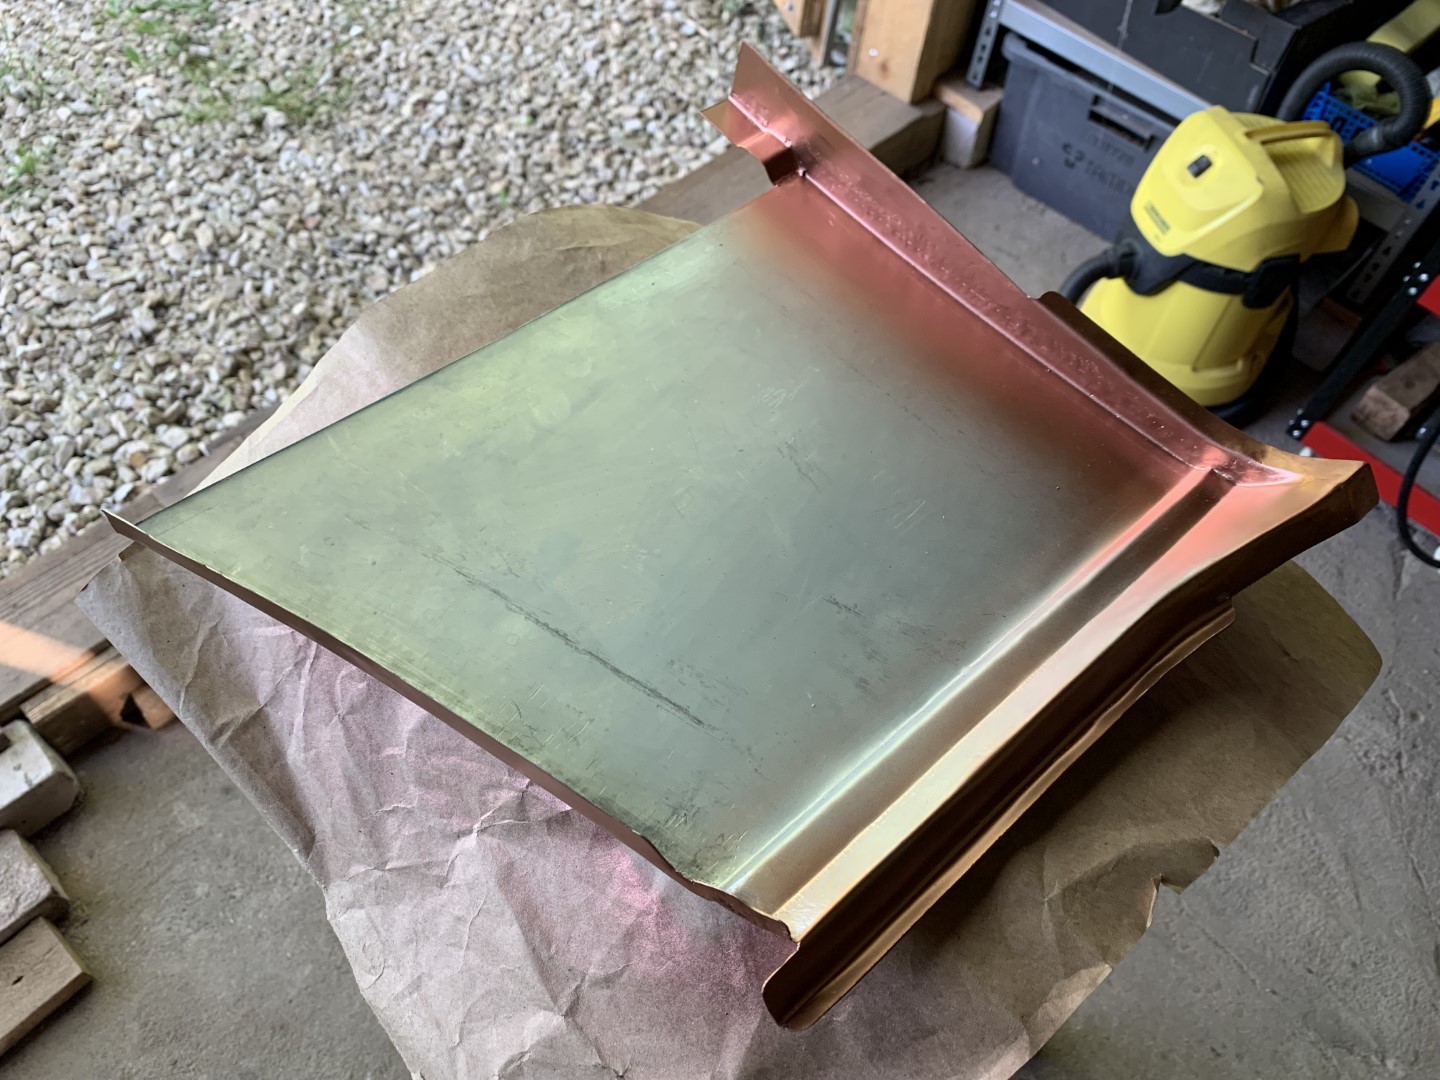
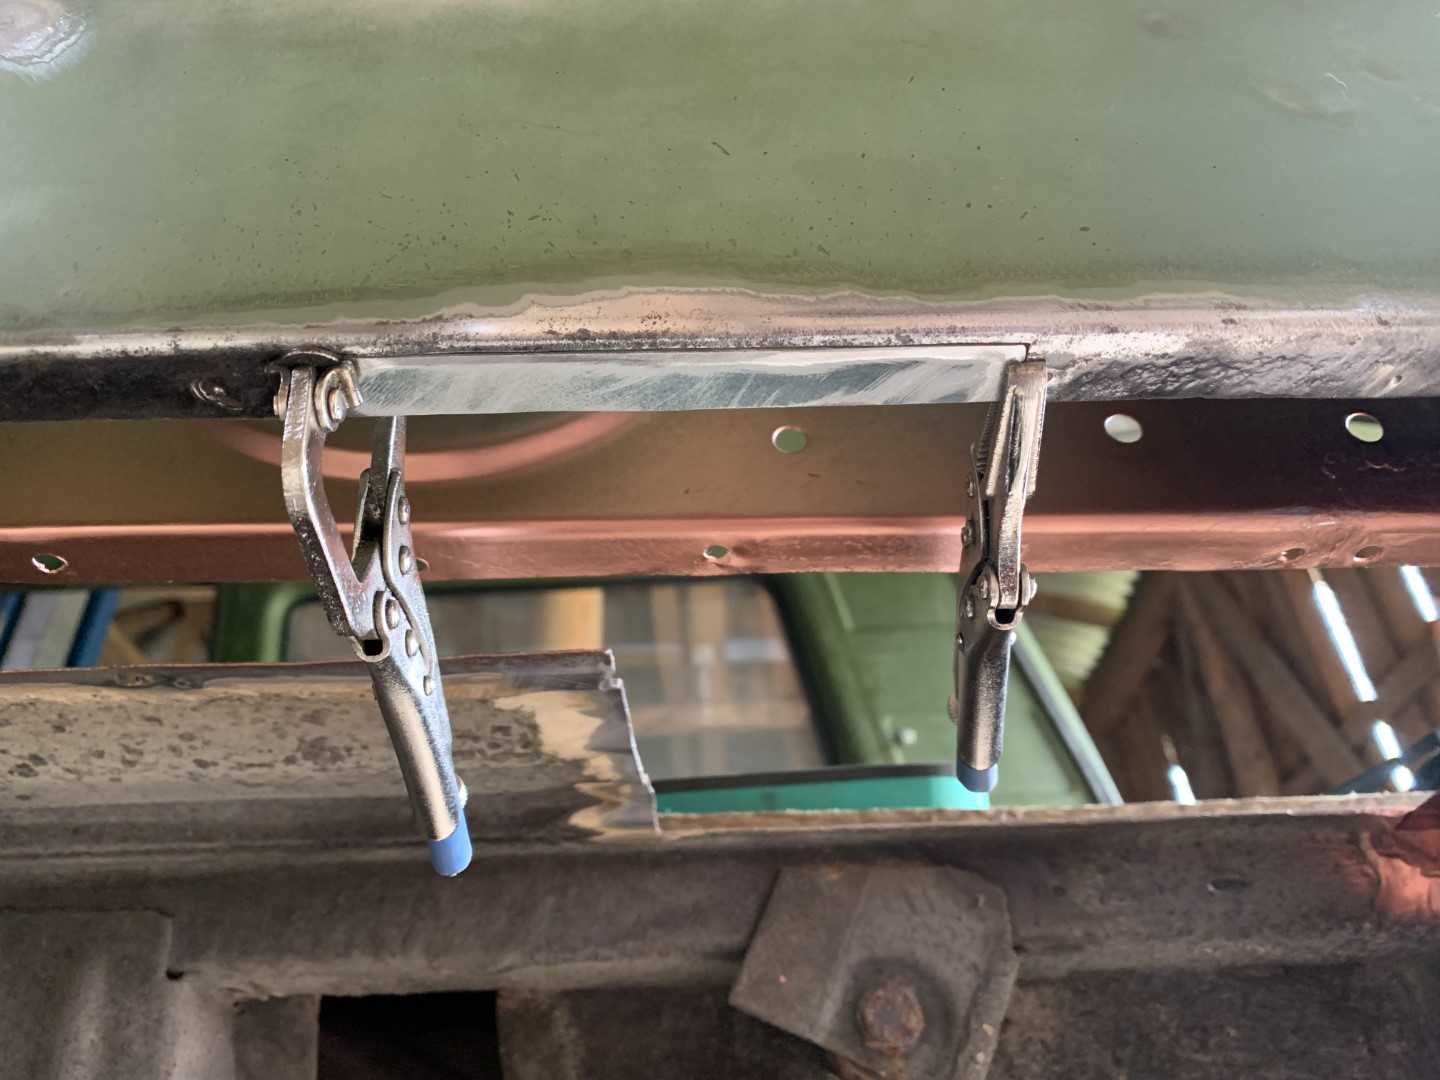
Before I could start welding the fresh out of the oven panel to where it belongs, I actually needed to do some more work on the side panel. Since we wish to use as little filler on the van as possible, well, lets just say that there was quite a bit of hammering to do to fulfil our wish.
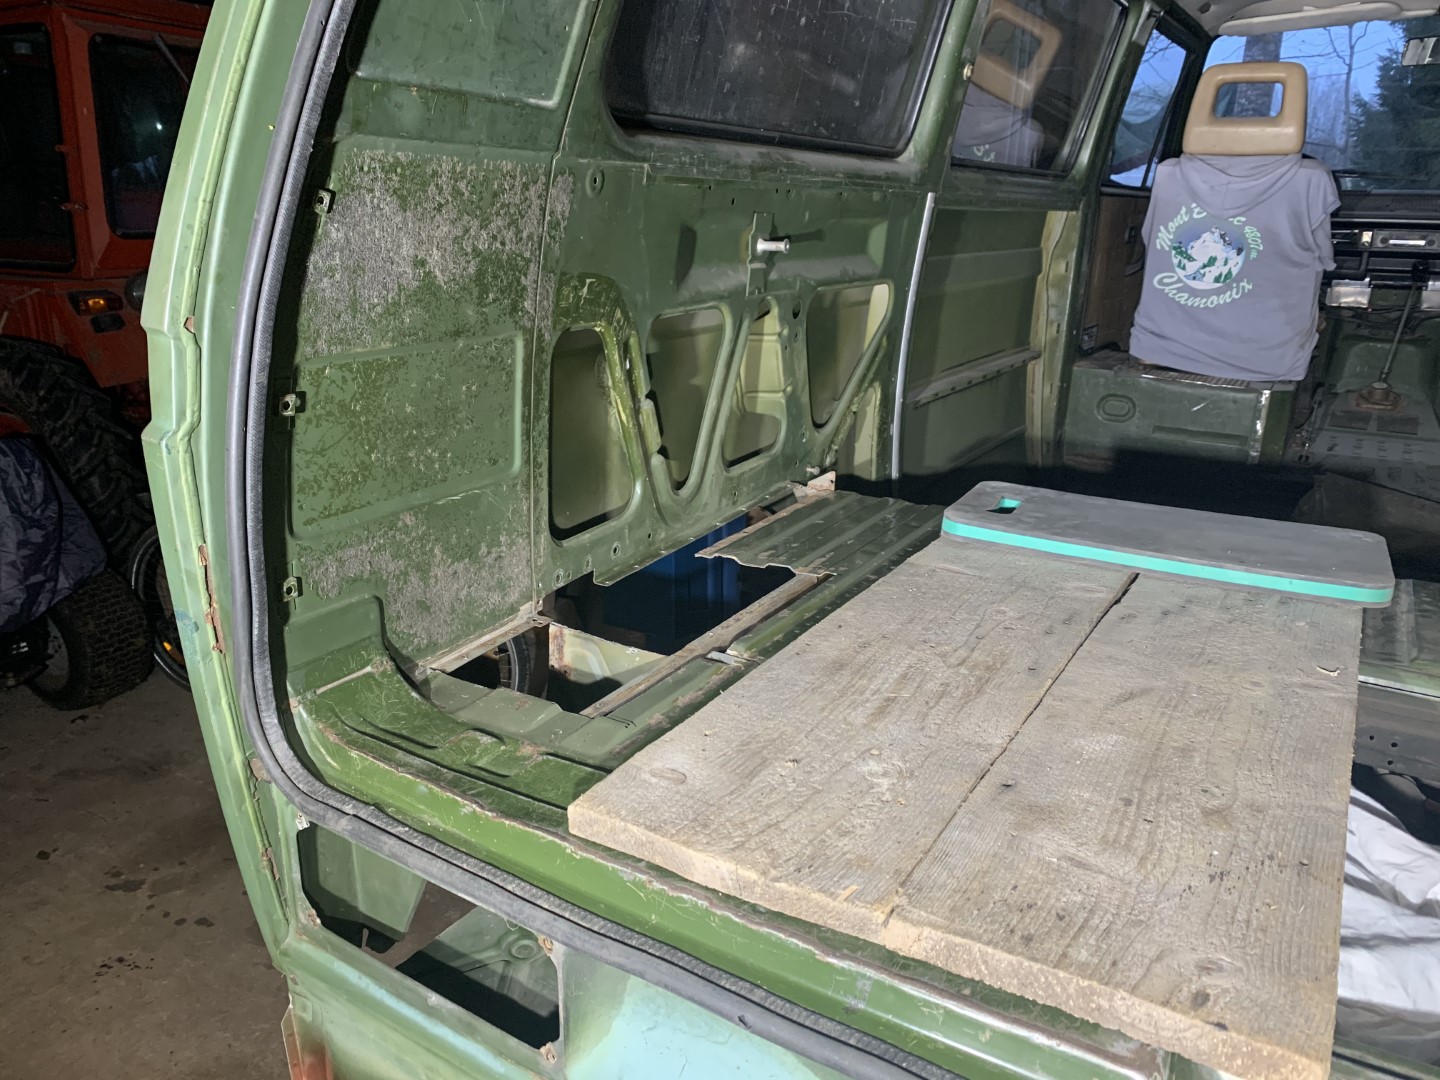
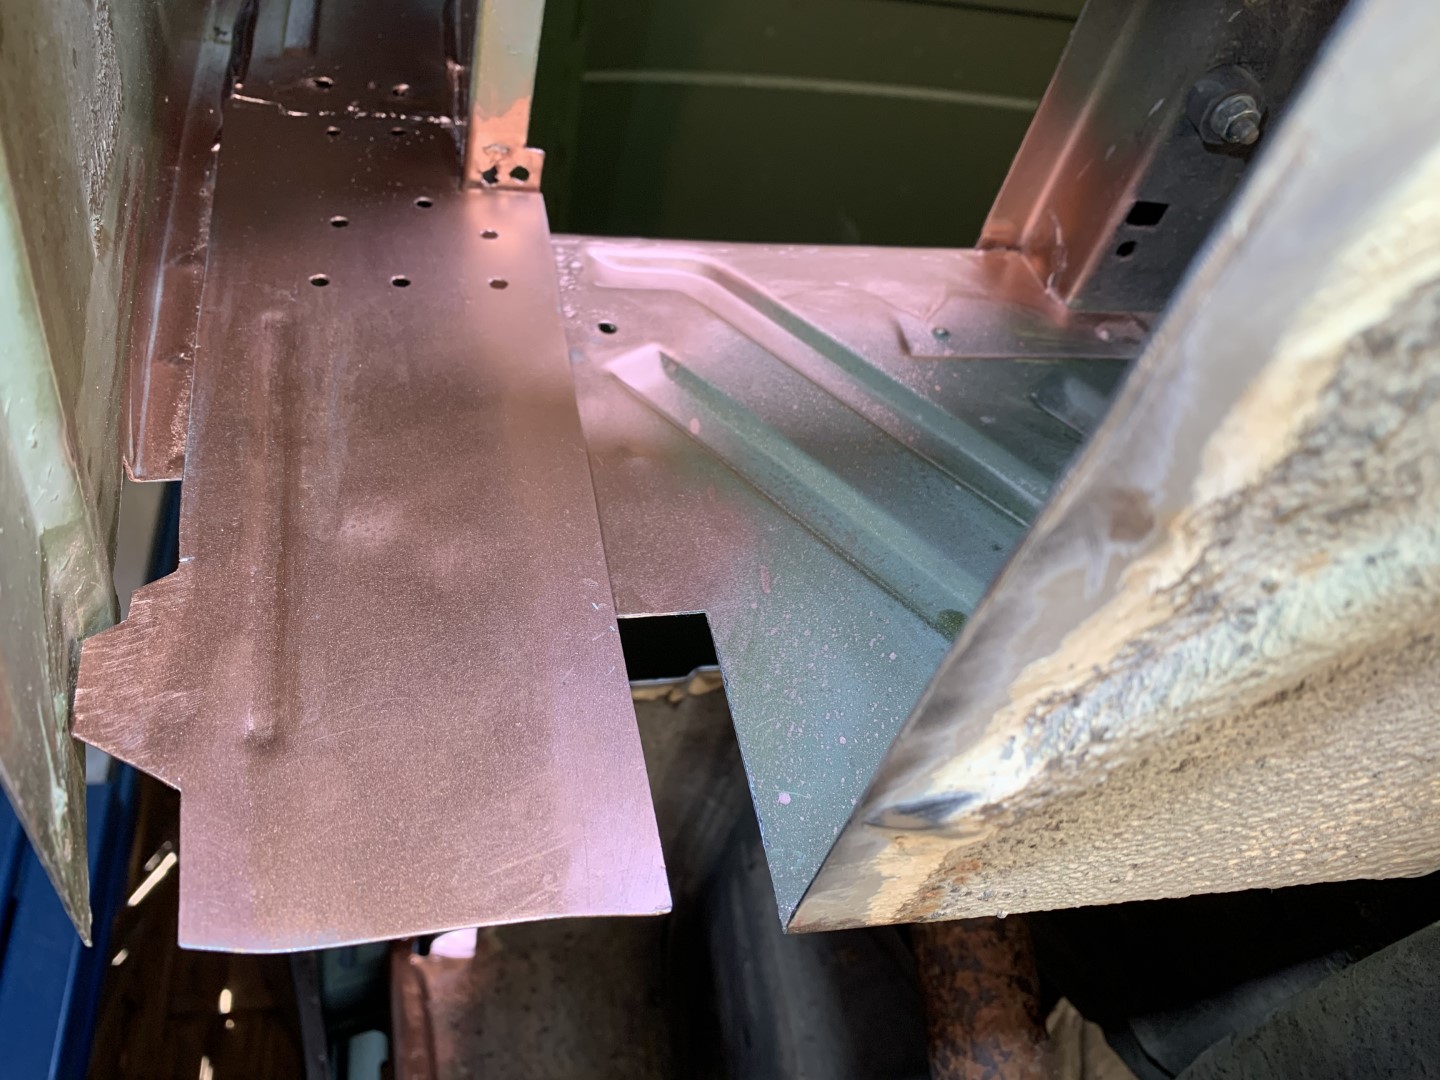
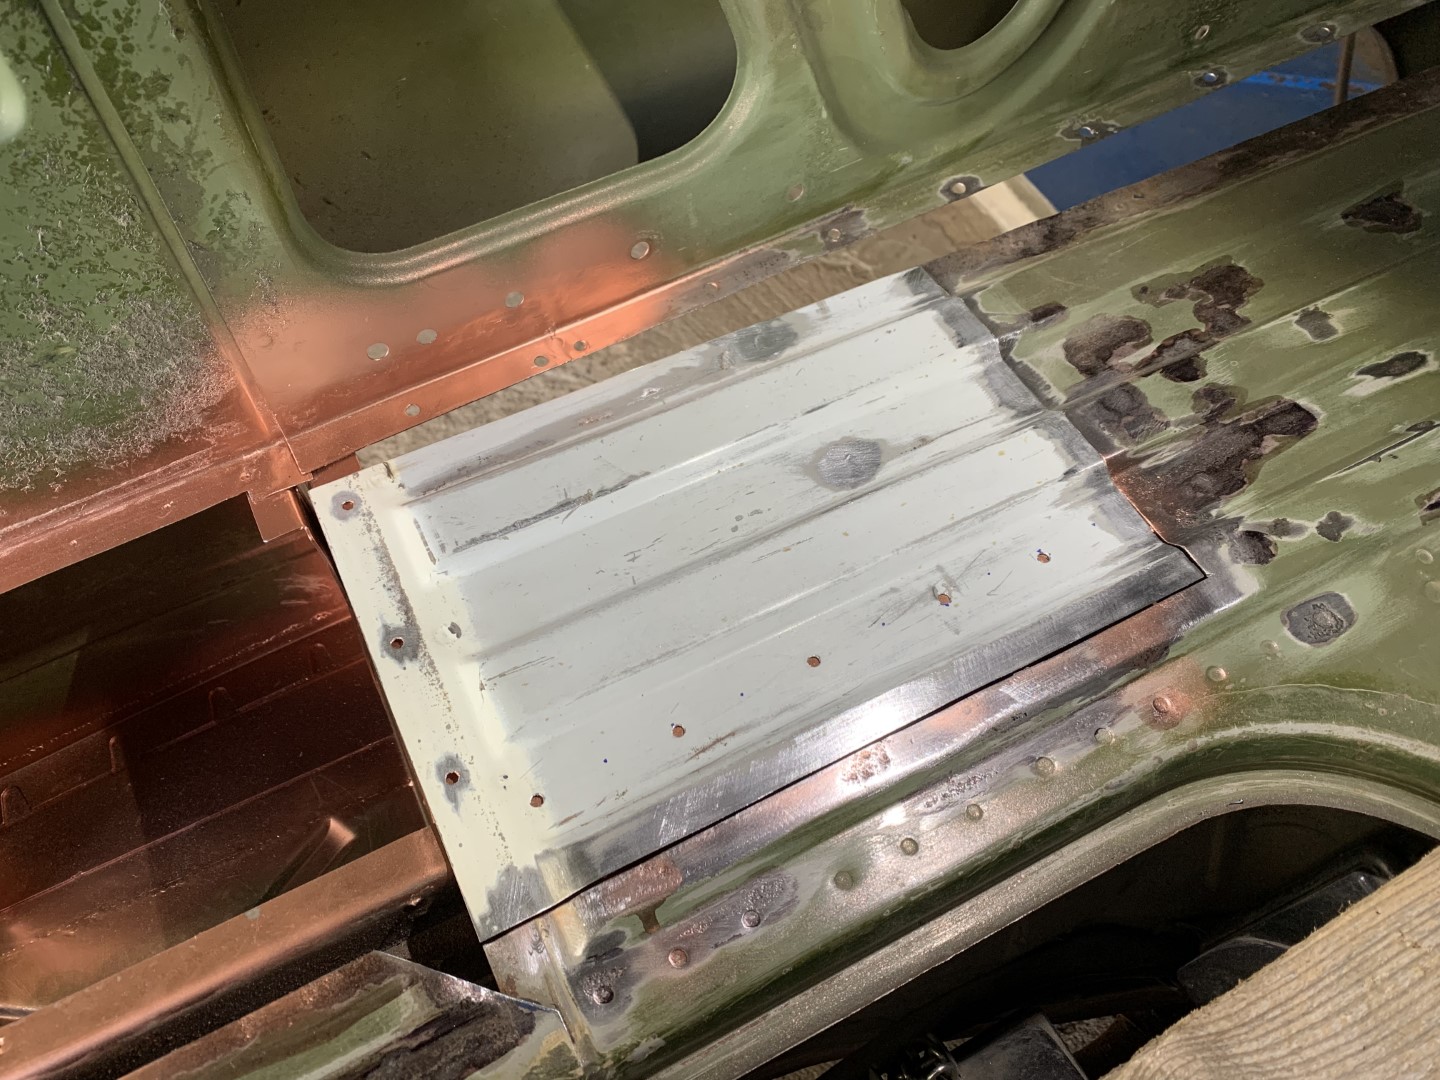
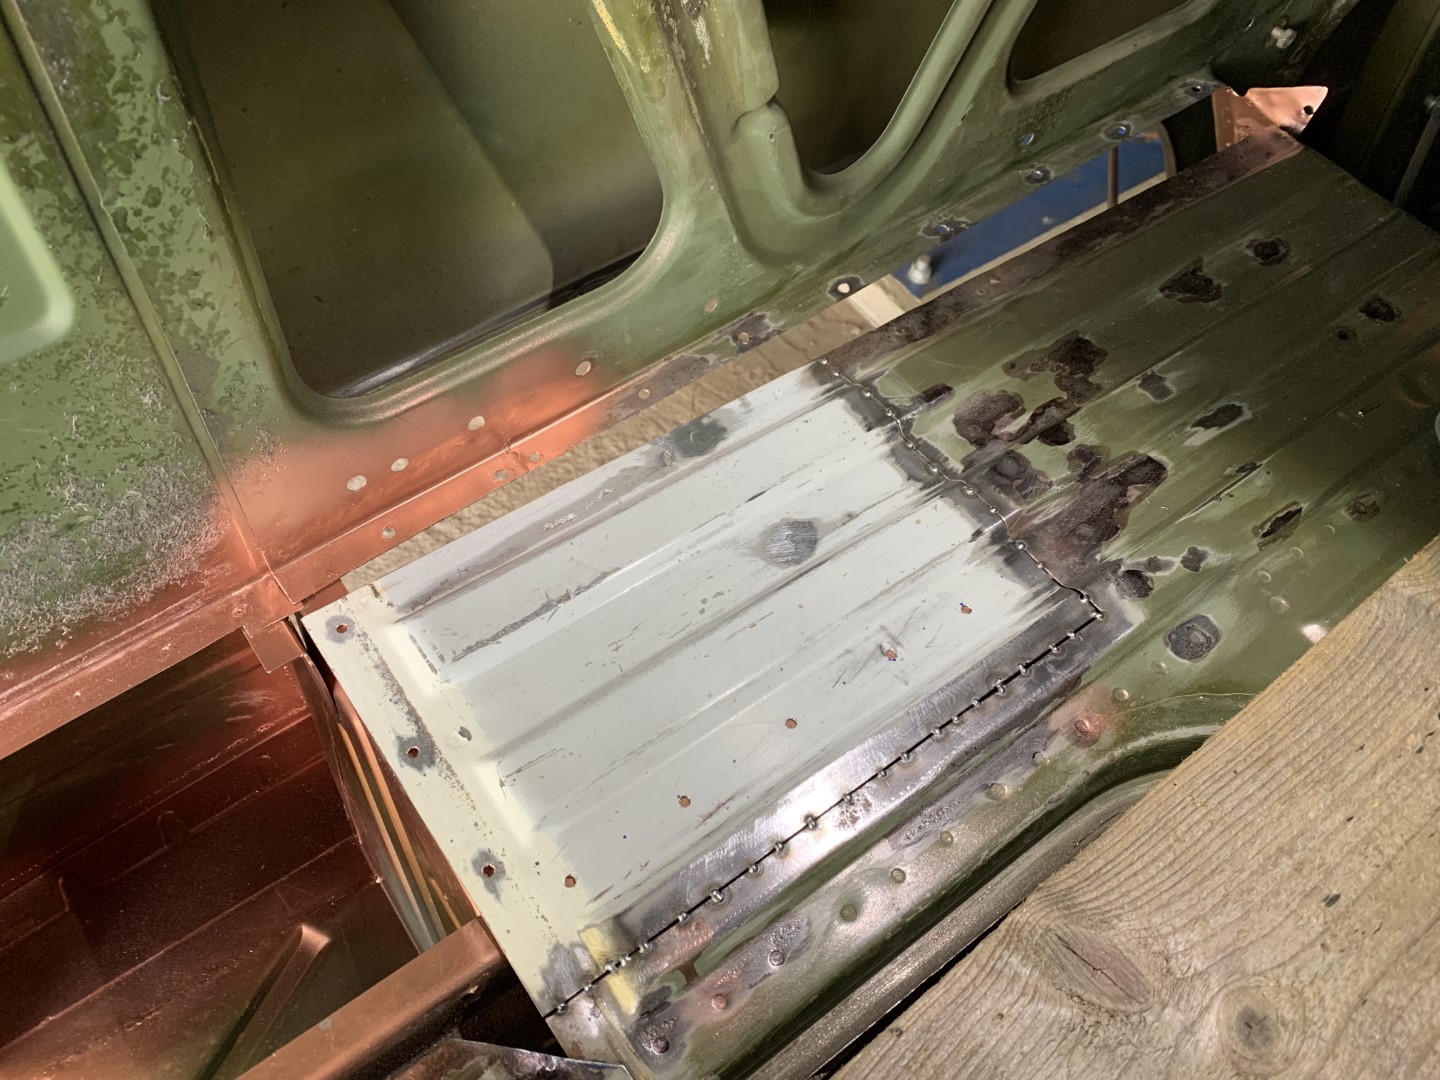
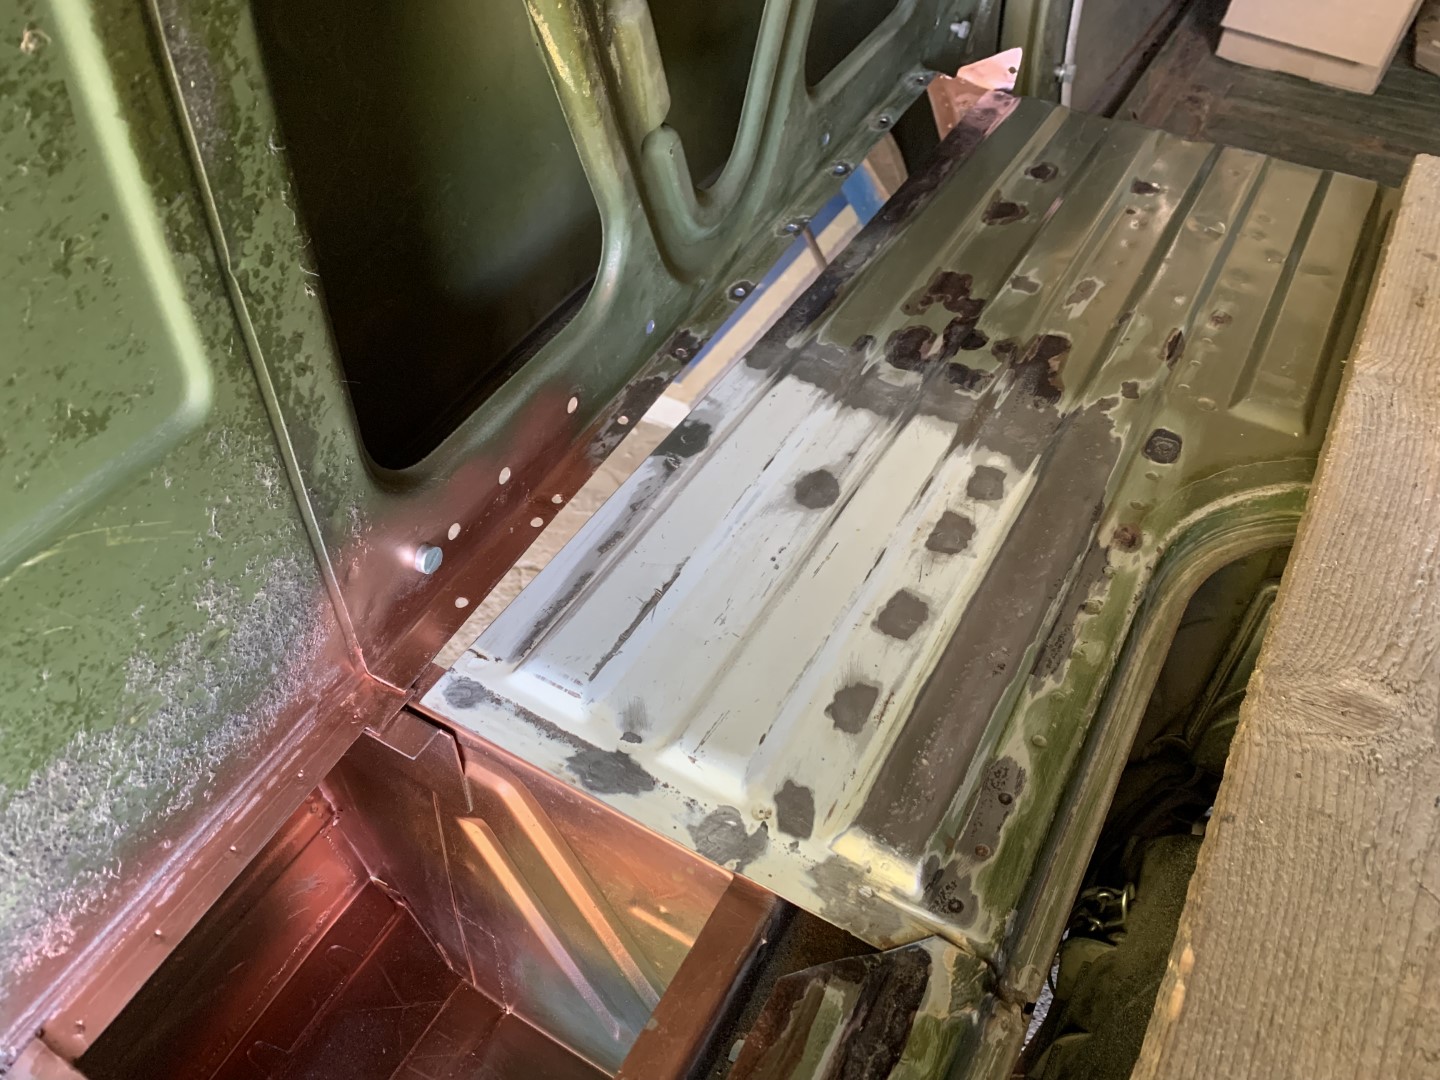
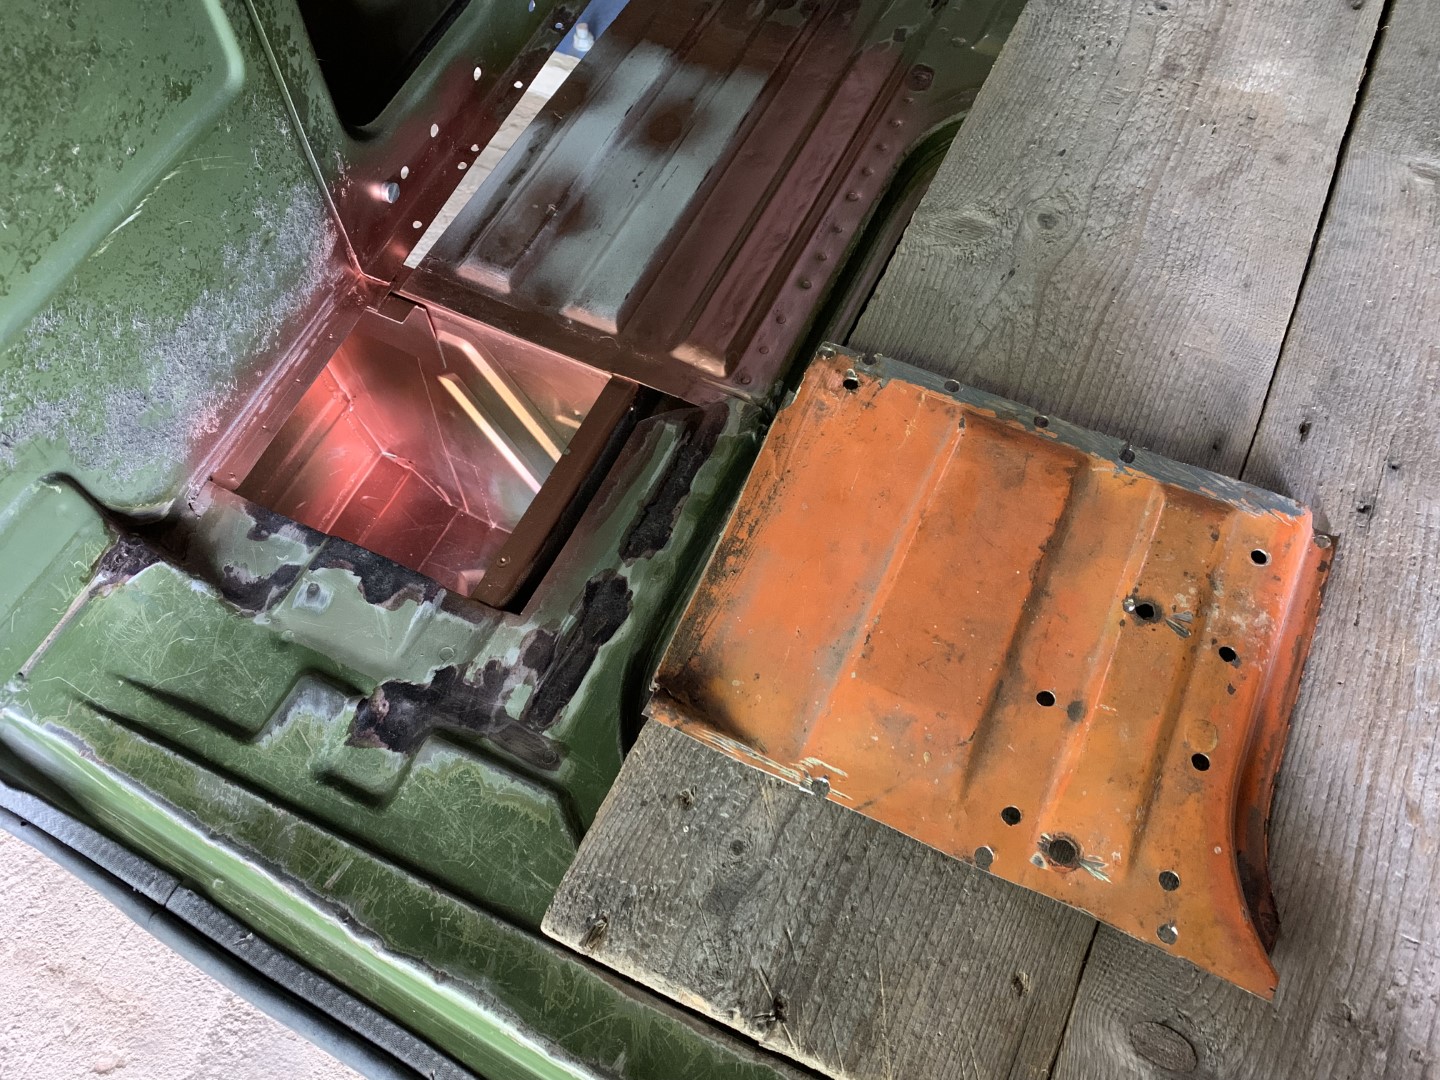
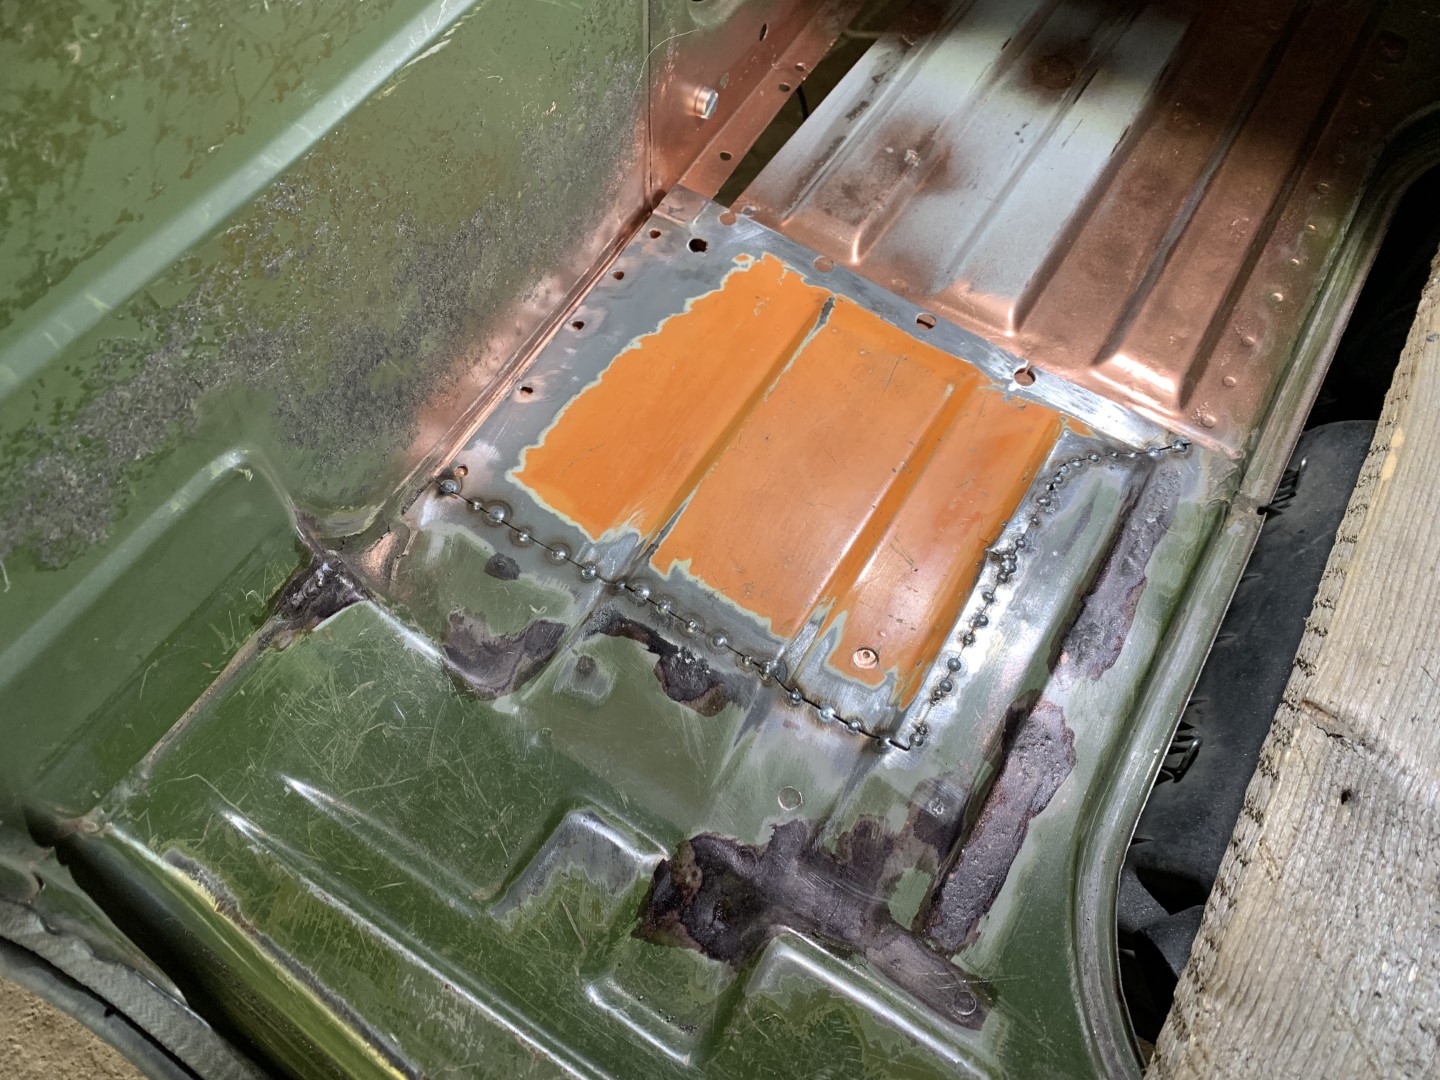
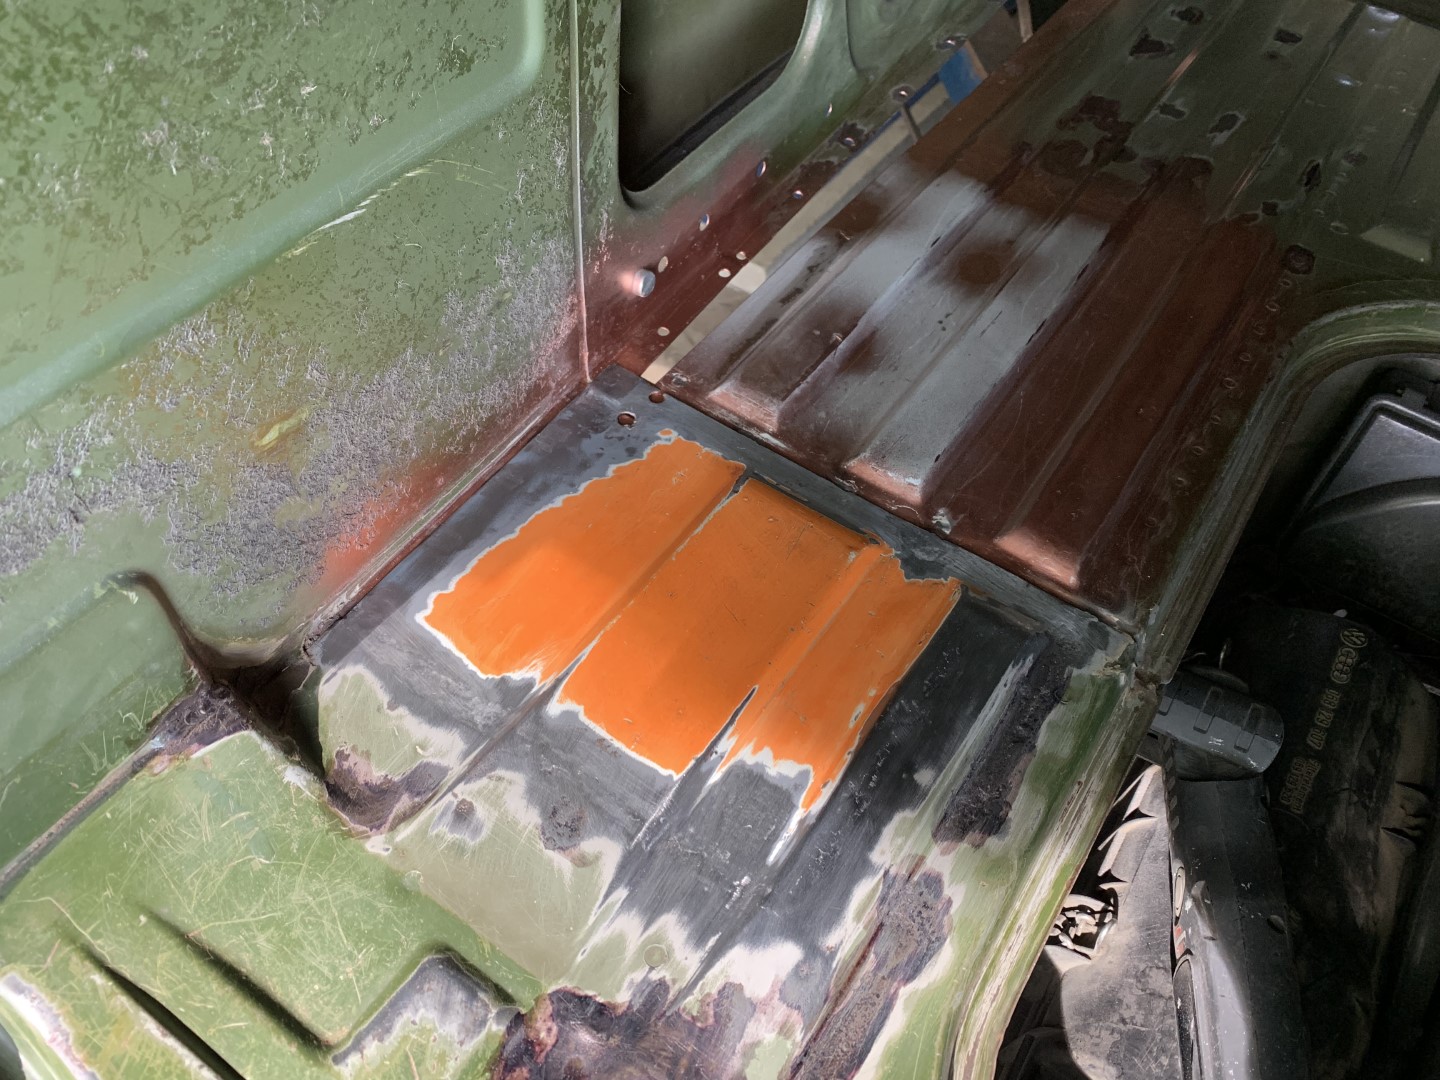
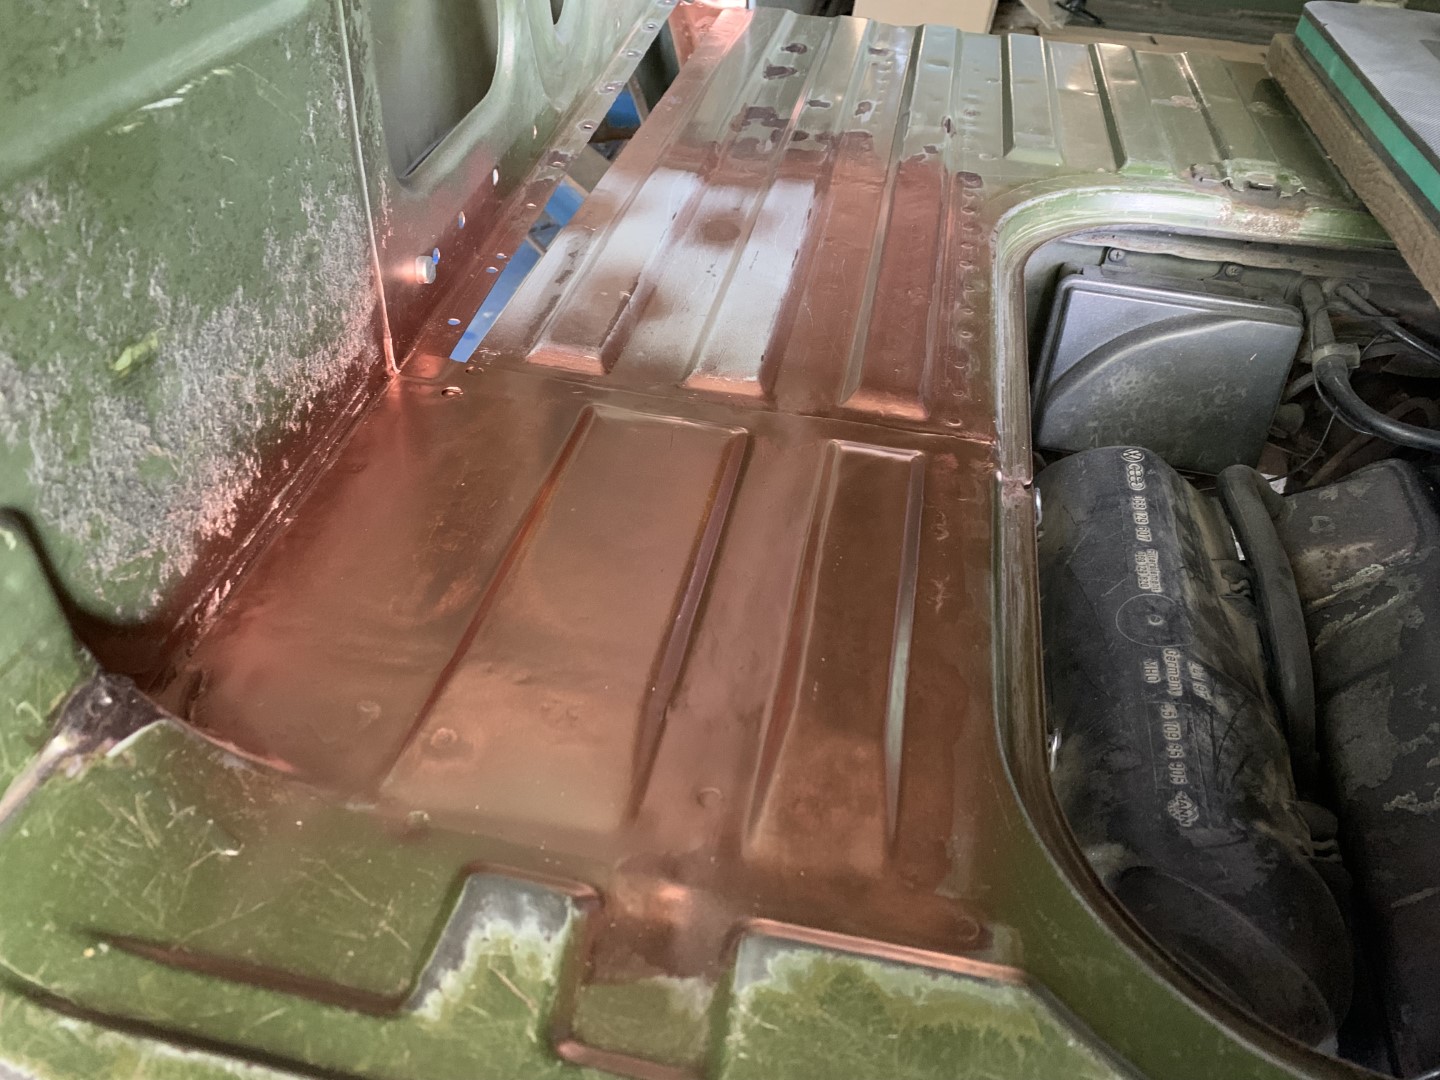
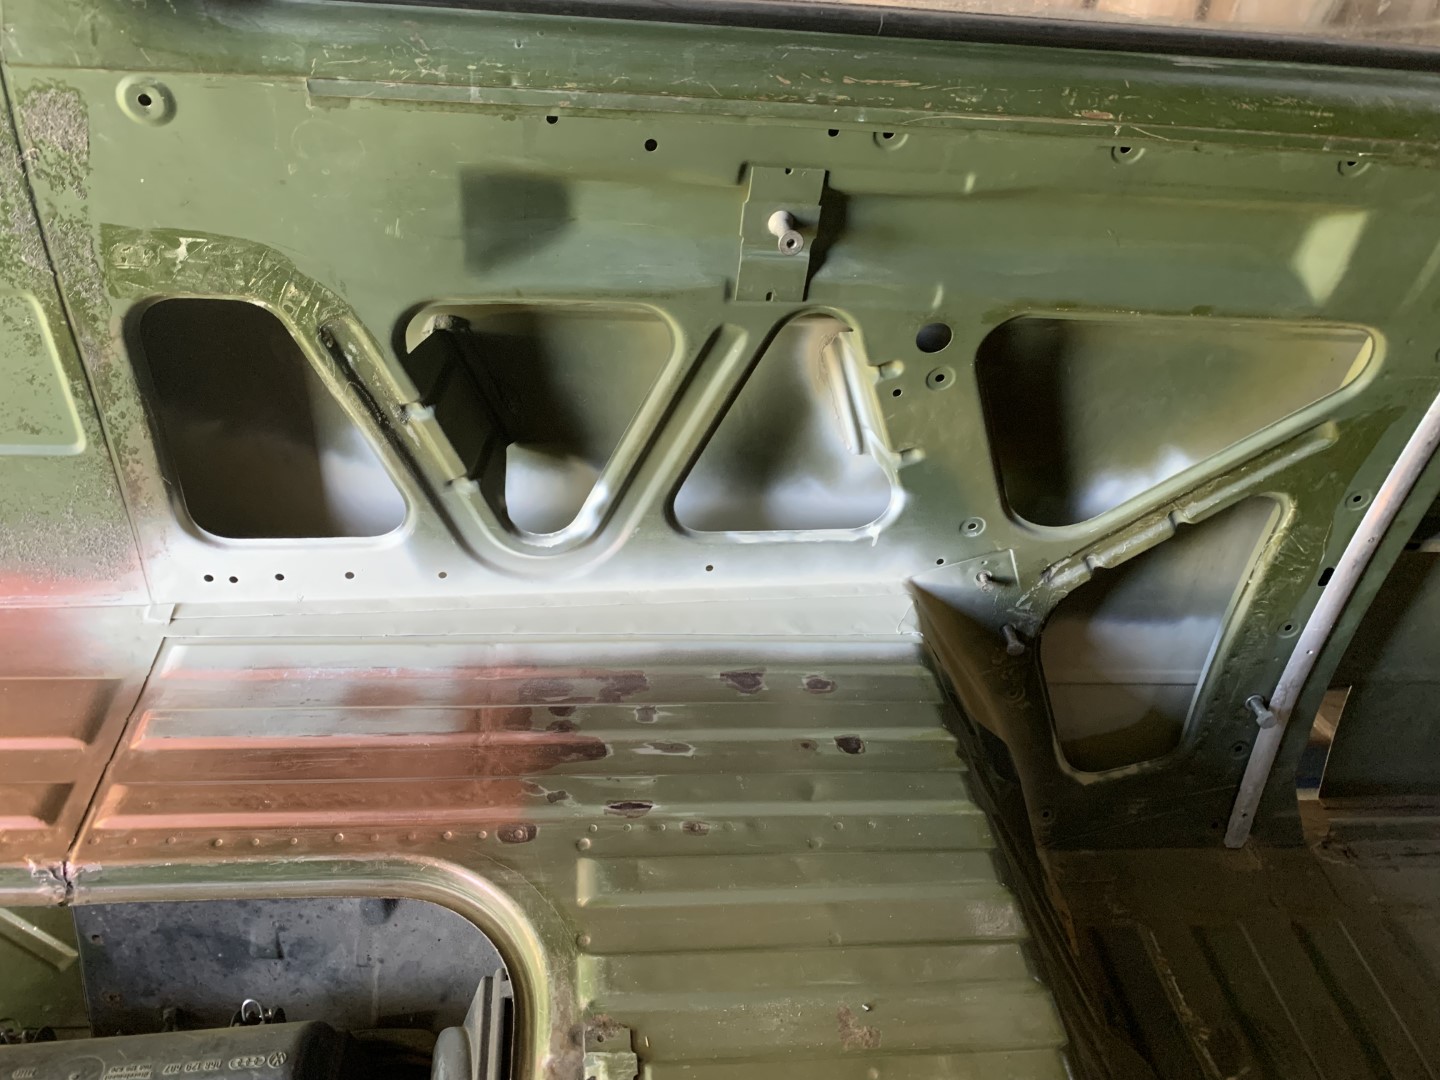
The Luggage Compartment Floor
There was nothing else left to do here than take the angle grinder, cut out the metal eaten by rustworms, prepare the donor pieces and weld them in place. As expected, the damages done by the rust were almost identical with the ones on the right side. Should we bring home another van with a similar damage, I guess I could fix those sheets whit shut eyes? 🙂
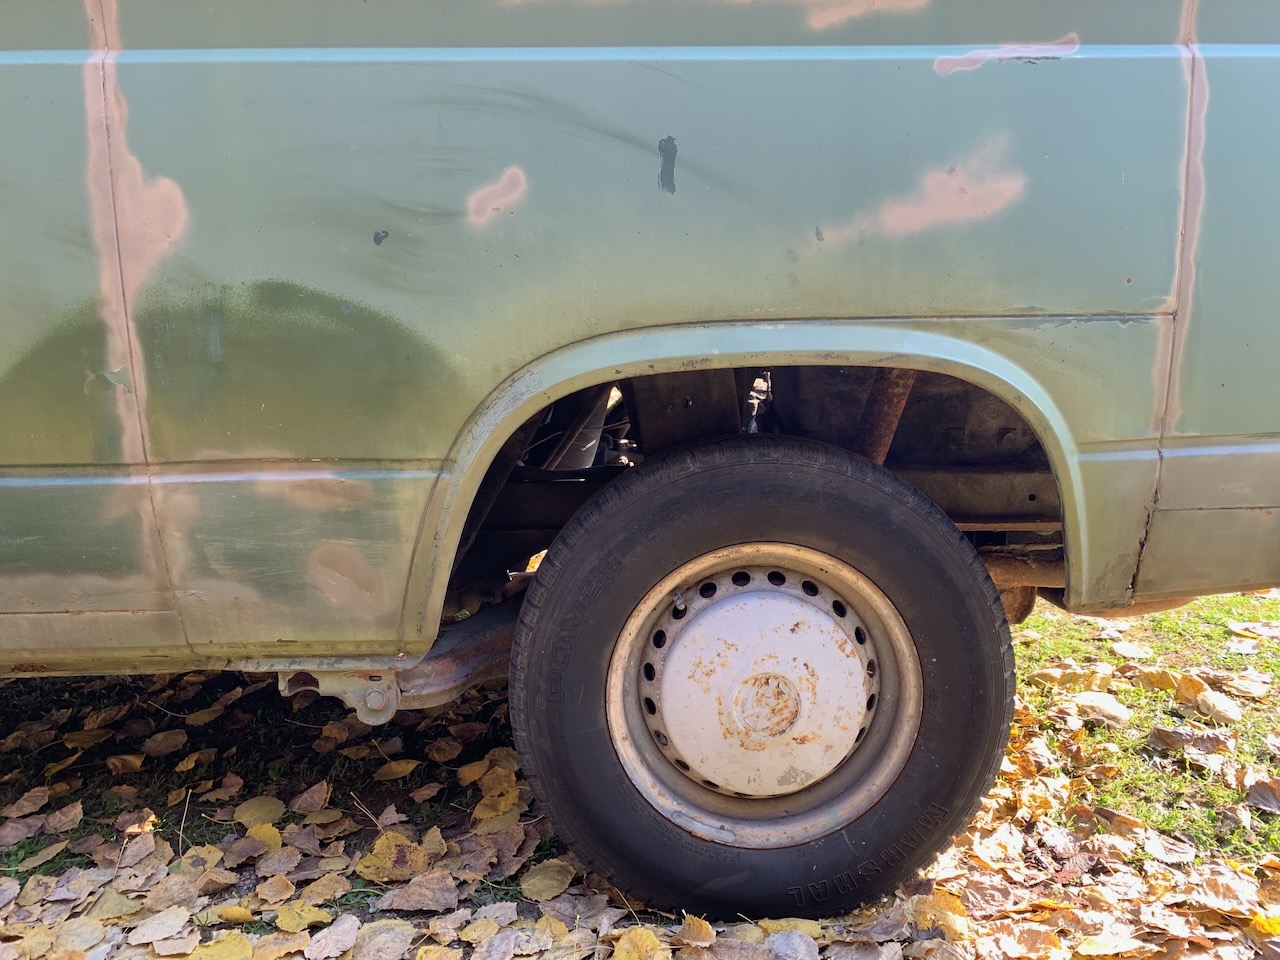
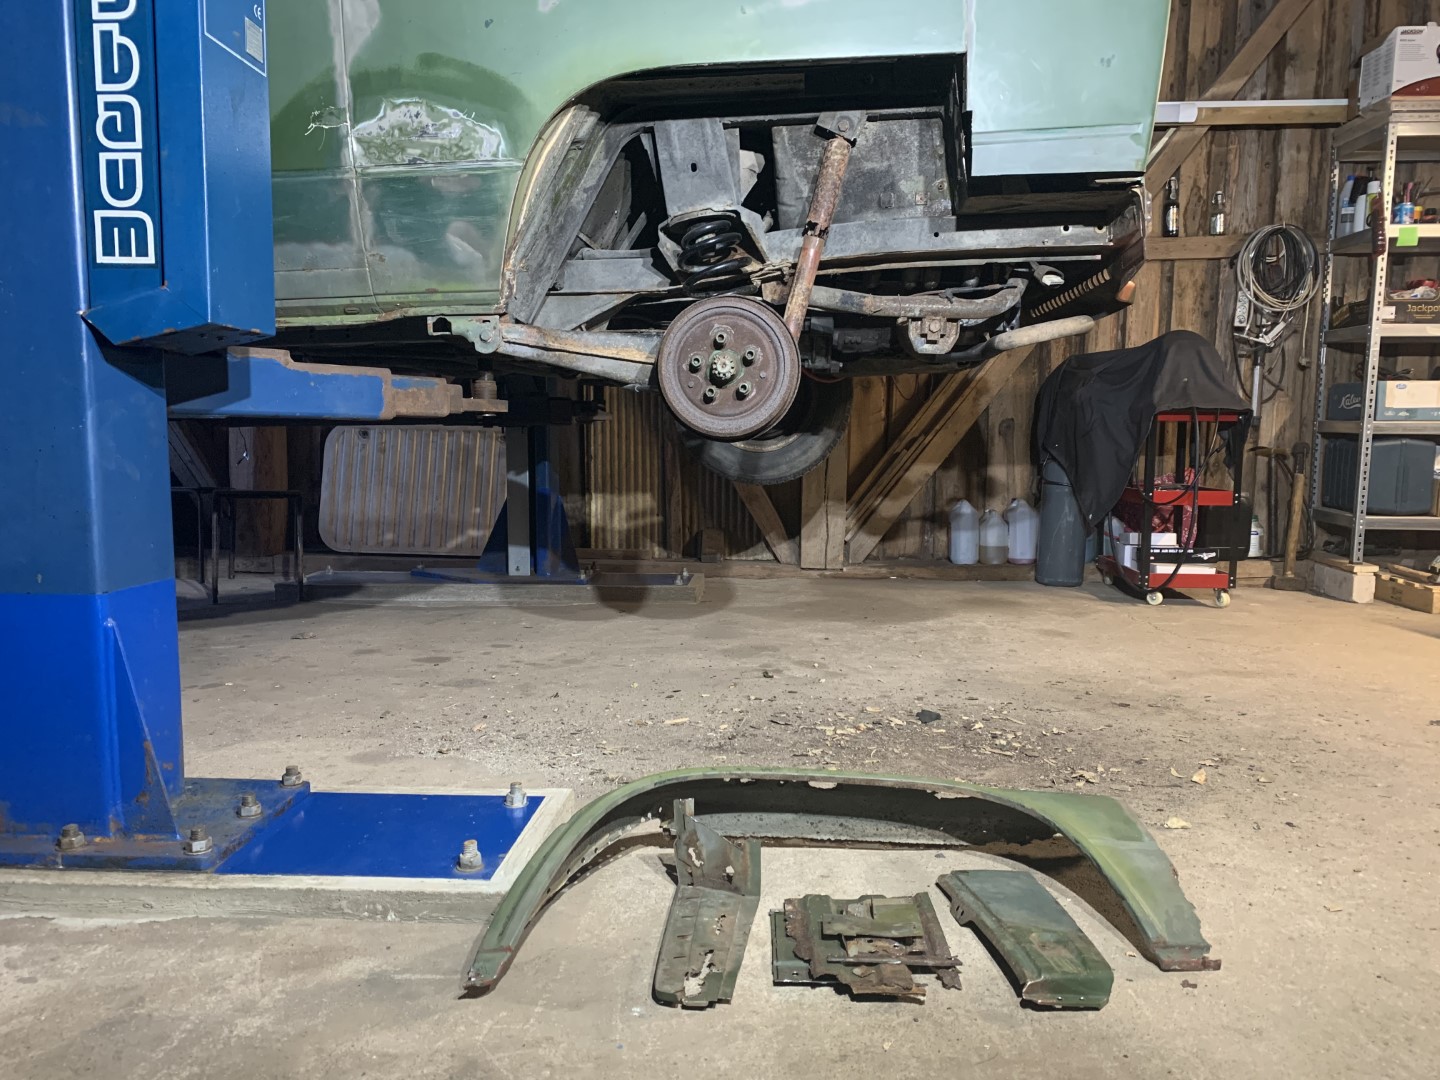
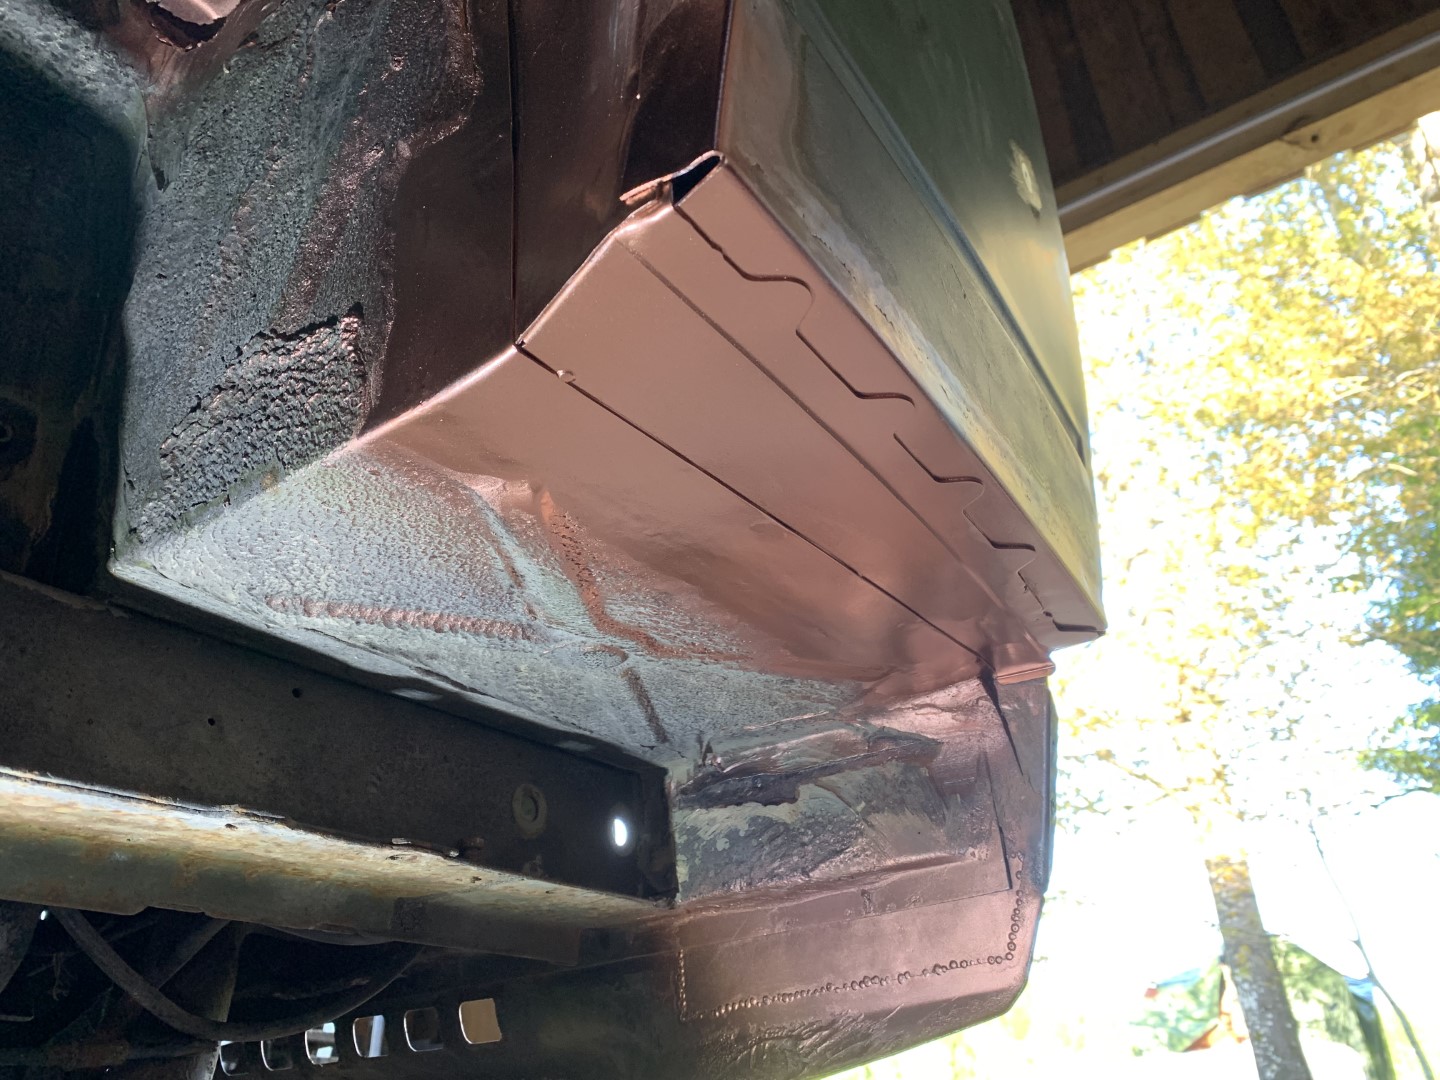
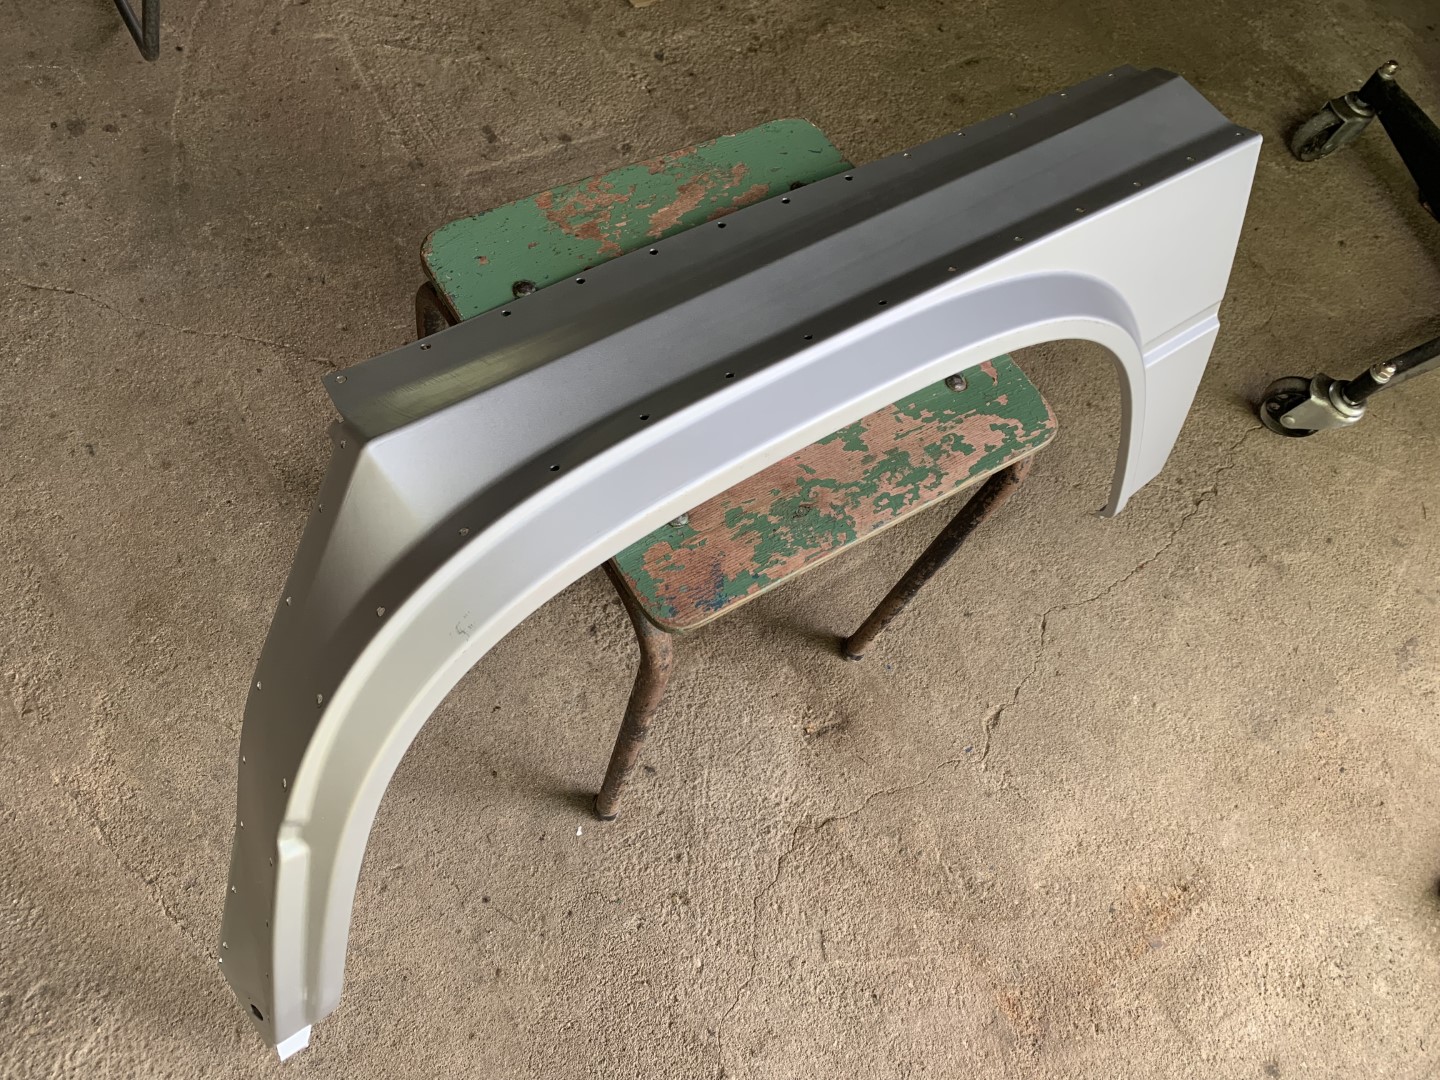
The Wheel Arch
Last but not least, to put an end to this post and the restoration of the left corner and wheelhouse, I needed to put the new wheel arch (VW p/n 251 809 155) in place. This time I knew that JP Group wheel arch (JP Group p/n 1180451170) won’t fit 1:1 and needs slight modifications. Having done those, I drilled about 52 holes for the welding and lit the spark⚡️.
Replacement Panels
| Title | VW panel | Replacment panel |
|---|---|---|
| Corner panel | 251 813 367 | AHSchofield repair panel |
| Connecting plate | 251 813 361 | JP Group 1180650670 |
| Side panel corner plate | 251 813 357 | JP Group 1180650570 |
| Exterior panel | 251 809 159 B | Van Wezel repair panel 5870141 |
| Panel for wheel housing | 251 809 155 | JP Group 1180451170 |
Summary and Coming Up
Restoring the left corner took 93 man-hours, which I made from 11th April til 2nd July 2021. Next up is left side up to the front wheelhouse.