Finishing Up the Welding
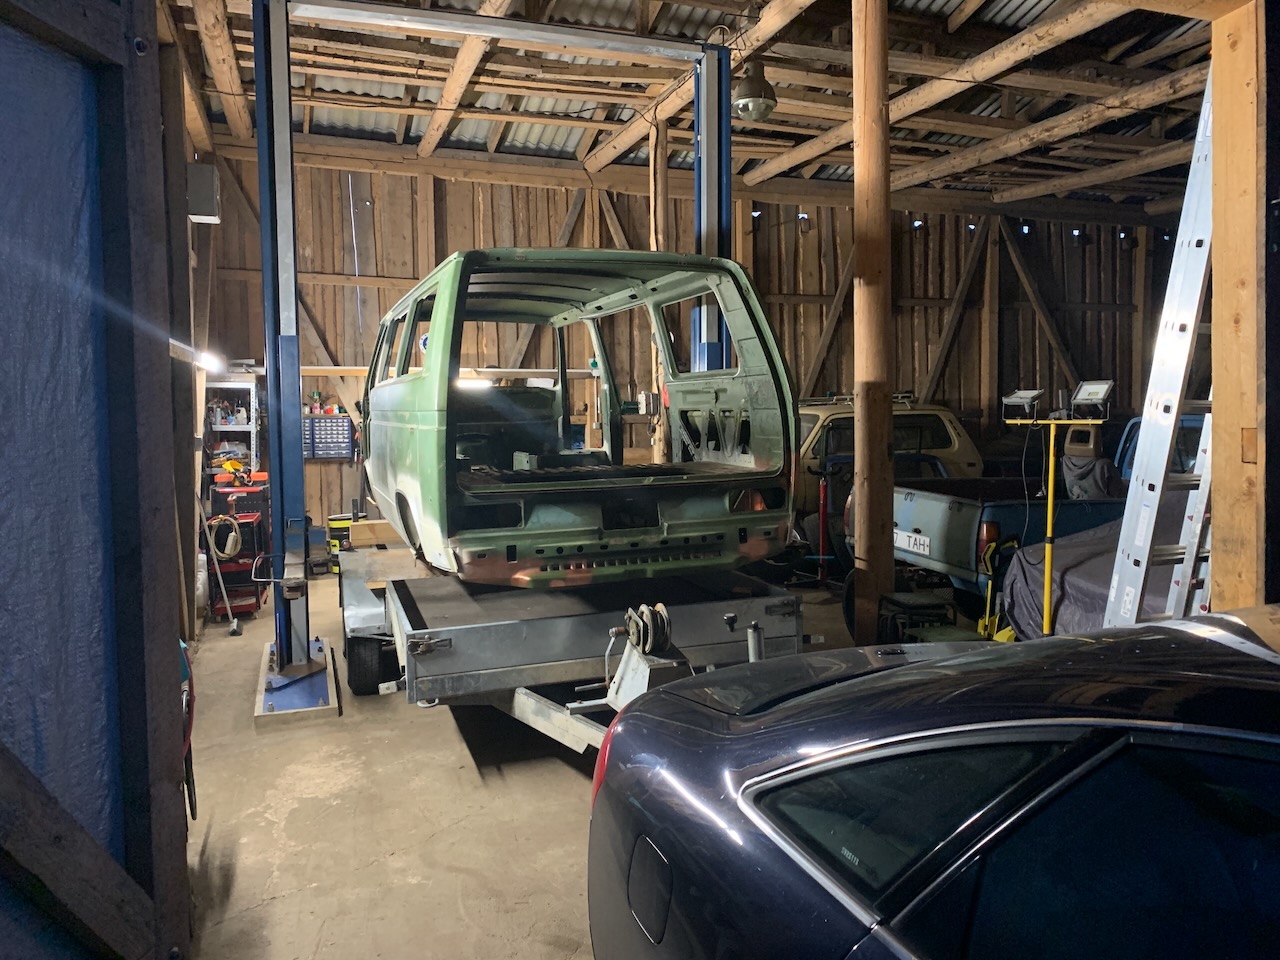
It was time to start finishing up the welding. This post will be about this and that, about how the last rusted areas of this bus got a fresher look. And last but not least, we stripped the body of the bus completely naked and took it to a work shop where the underbody got sand blasted and covered with a final coat of paint.
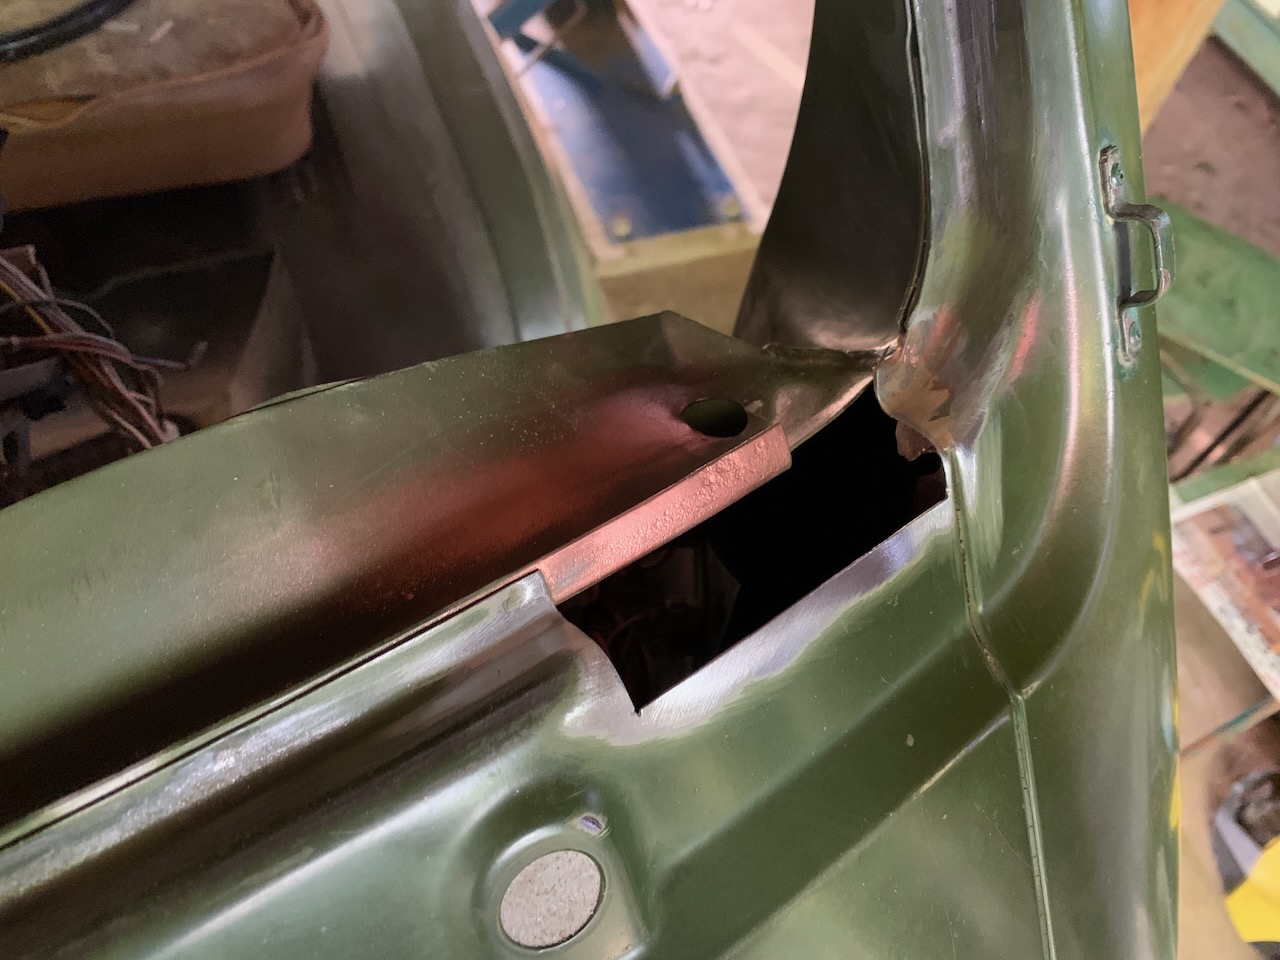
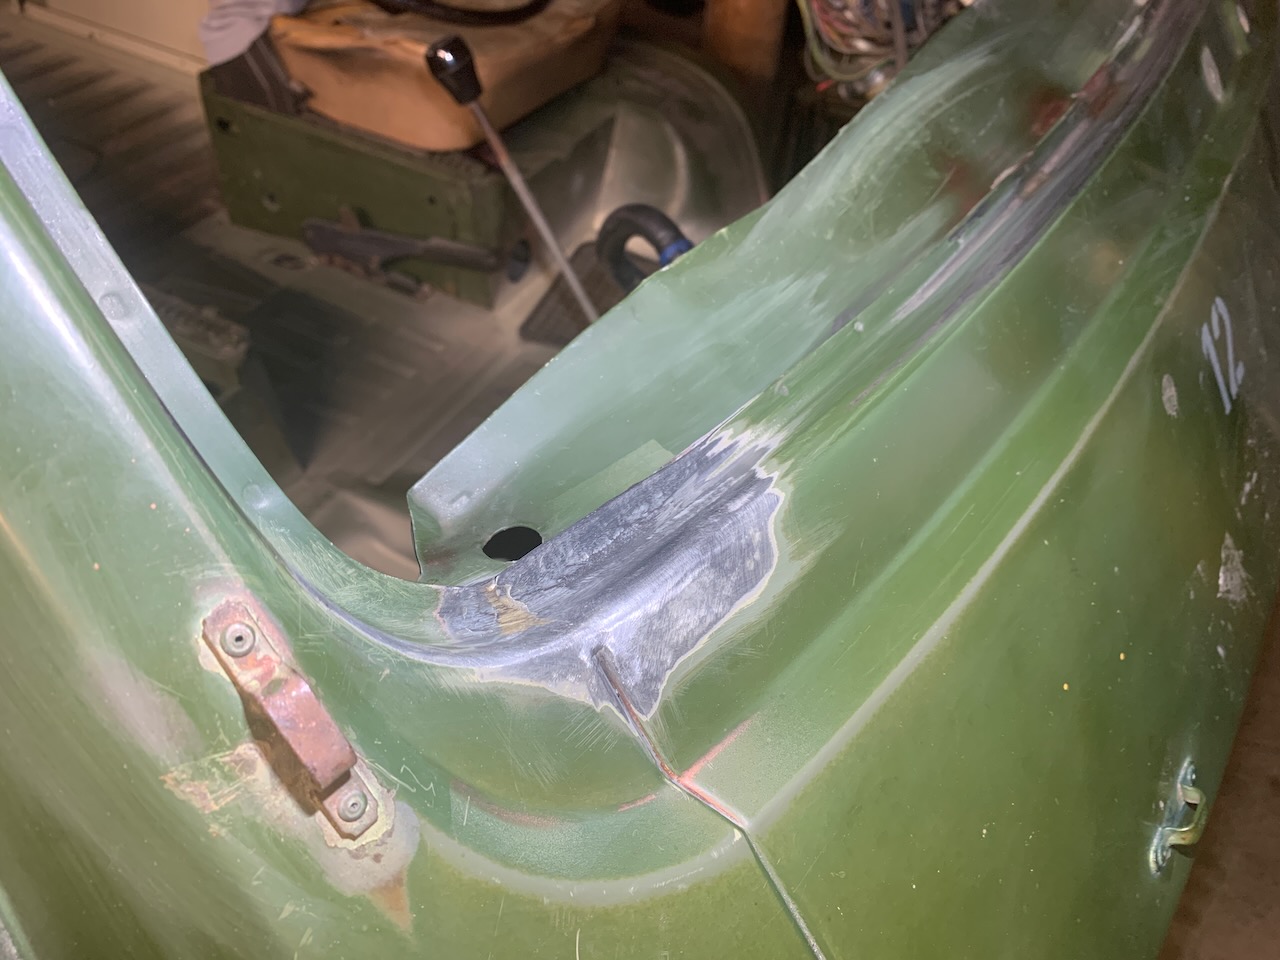
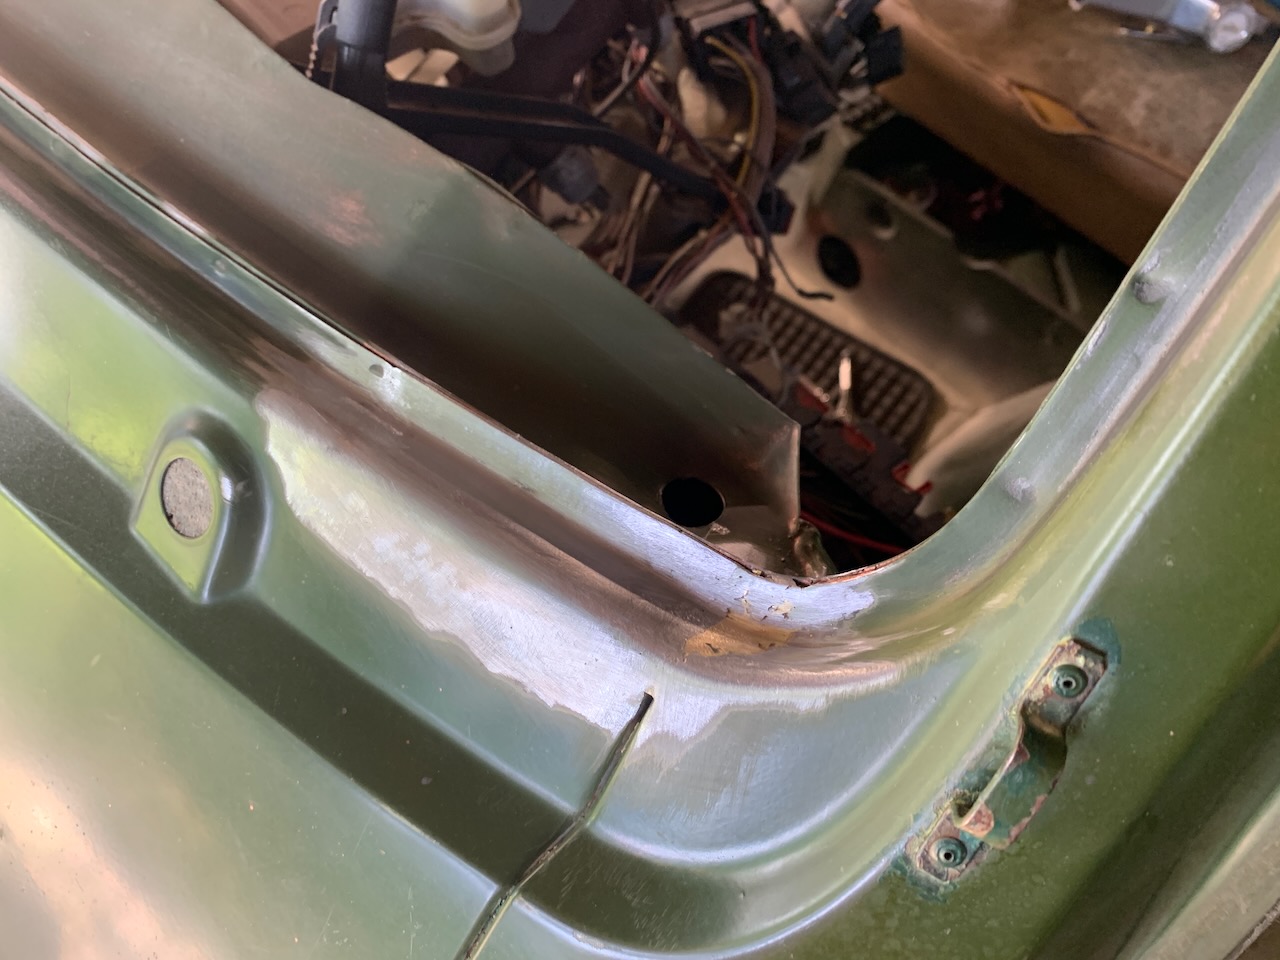
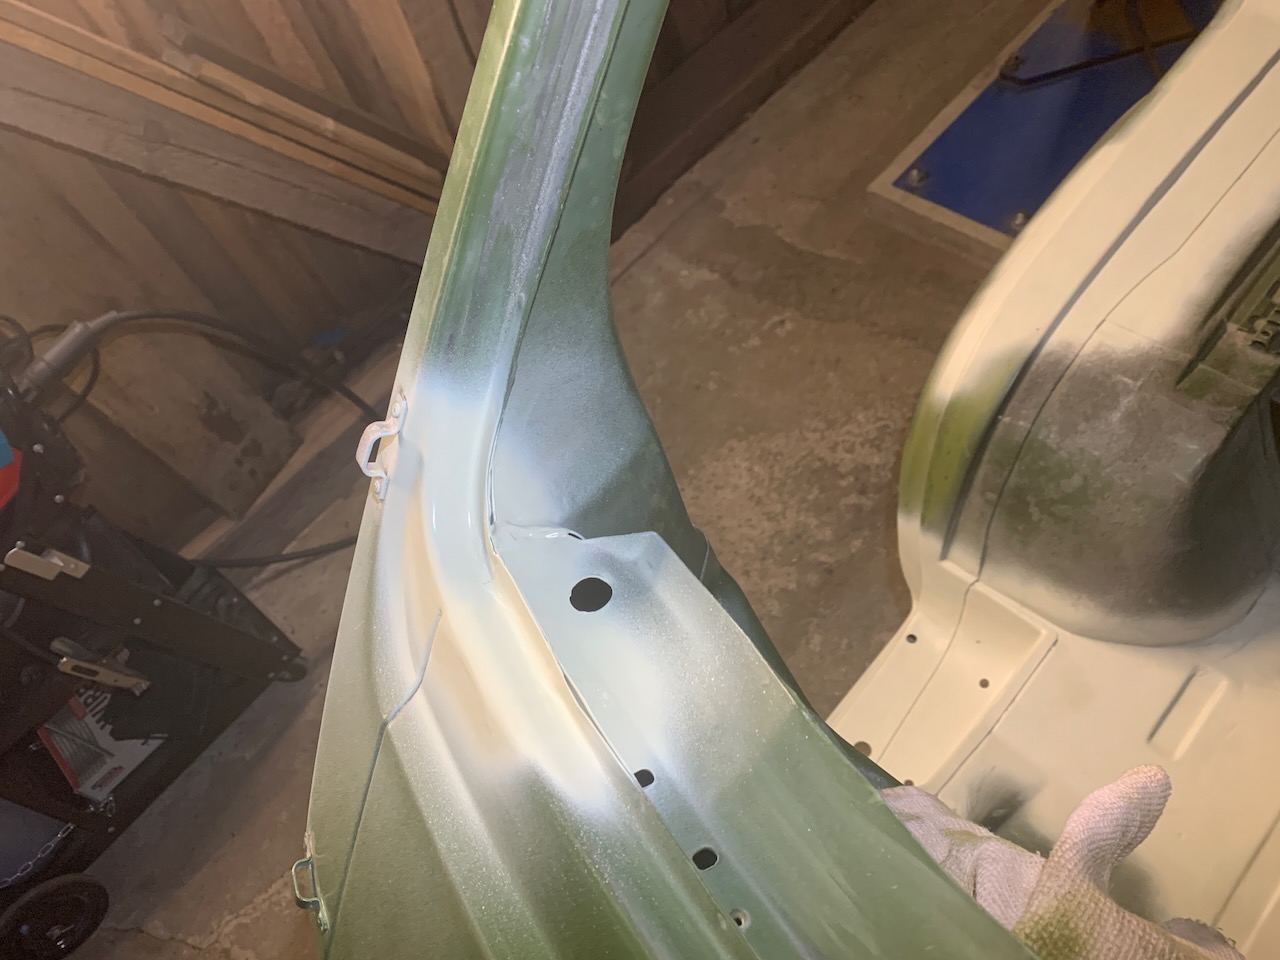
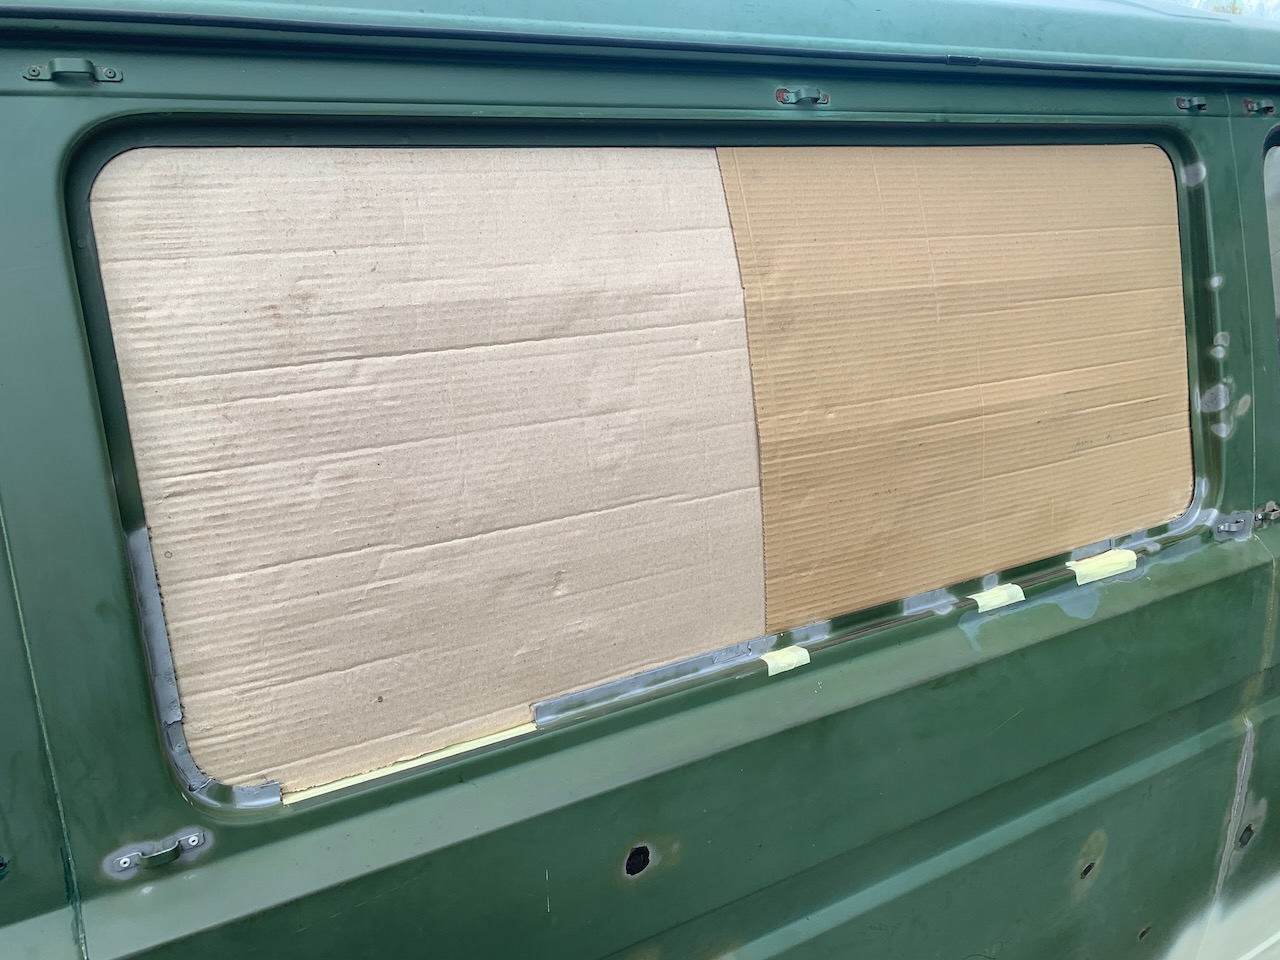
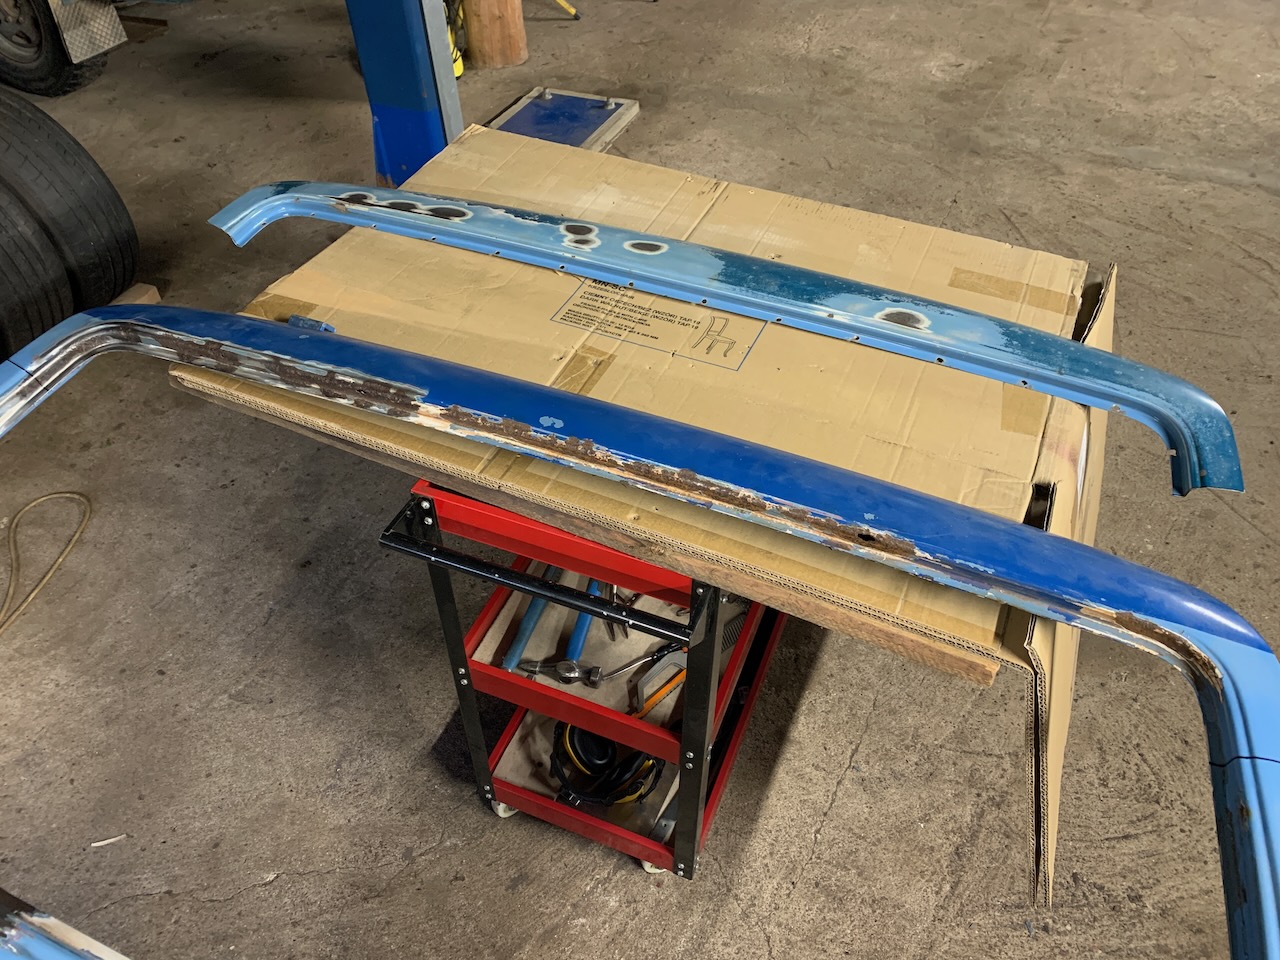
The Restoration of the Window Frames
After we had removed the windows, it was to be expected that some more welding must be done, but it was difficult to forecast the amount of it. Difficult, because the rusted areas were snugly hidden under the window seals and from the outside it all seemed fine. The lower corners of the windshield and the lower edge of the left middle window needed a bit more attention. The sliding door and tailgate window frames needed minimal intervention.
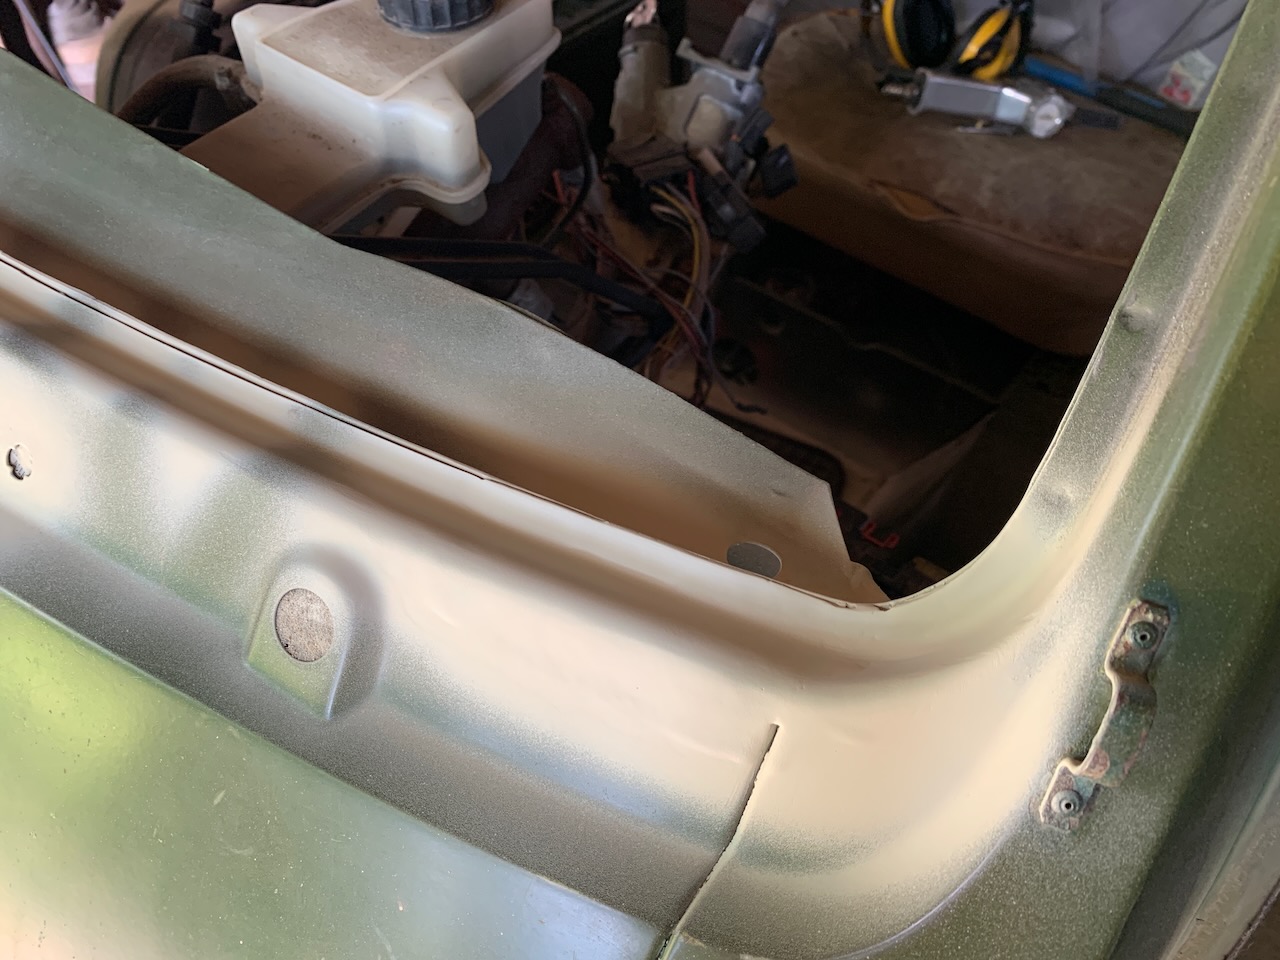
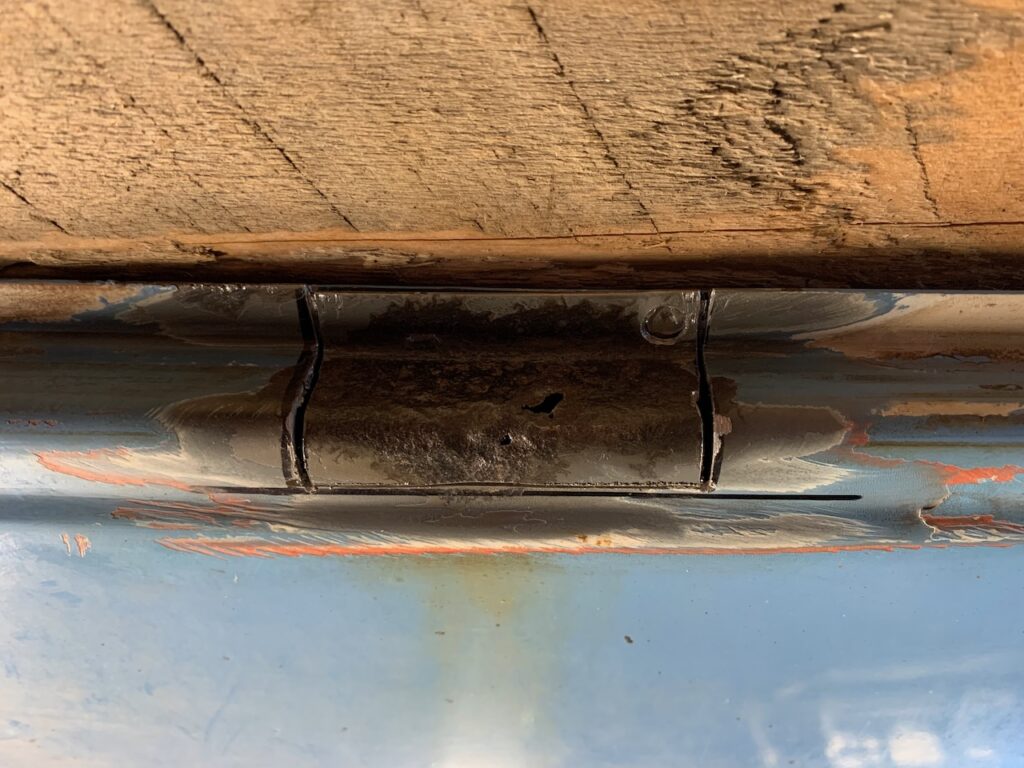
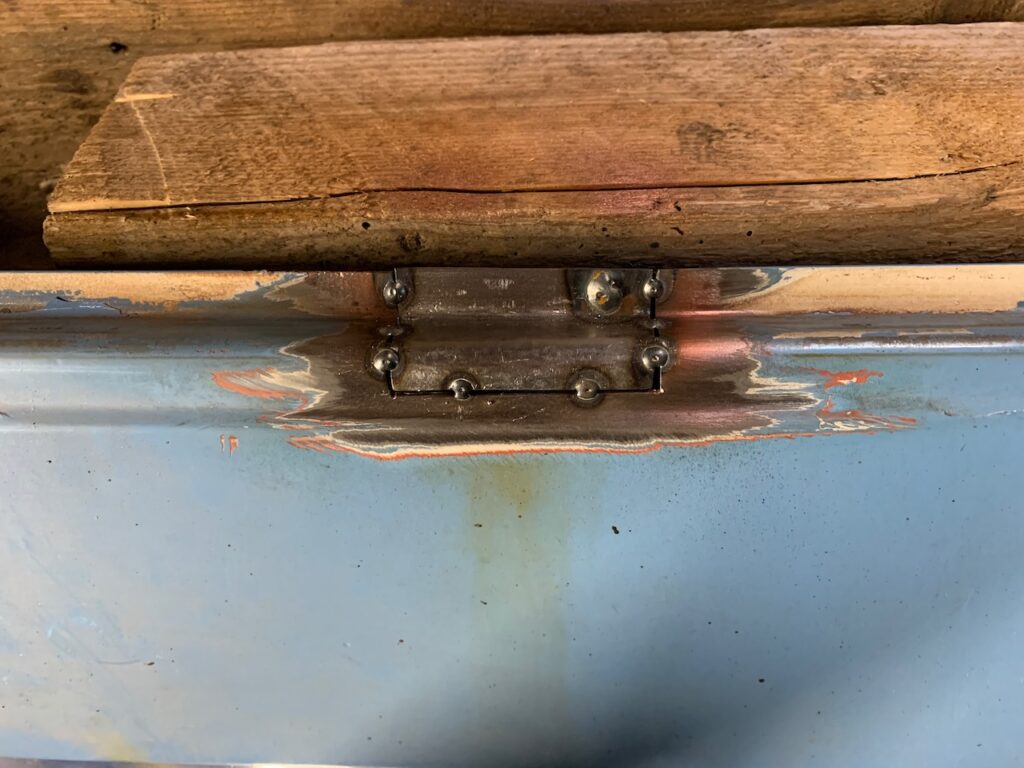
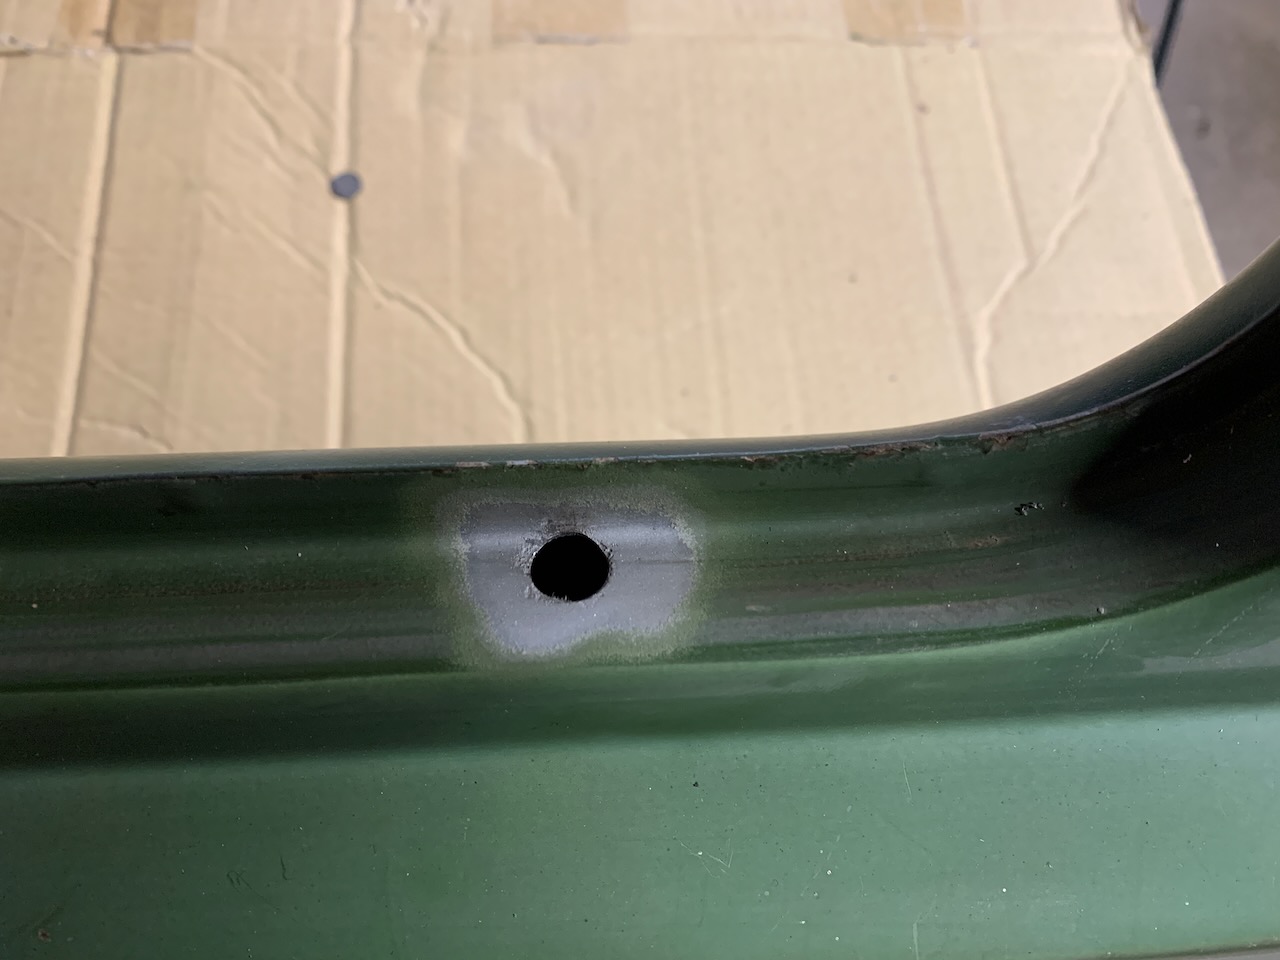
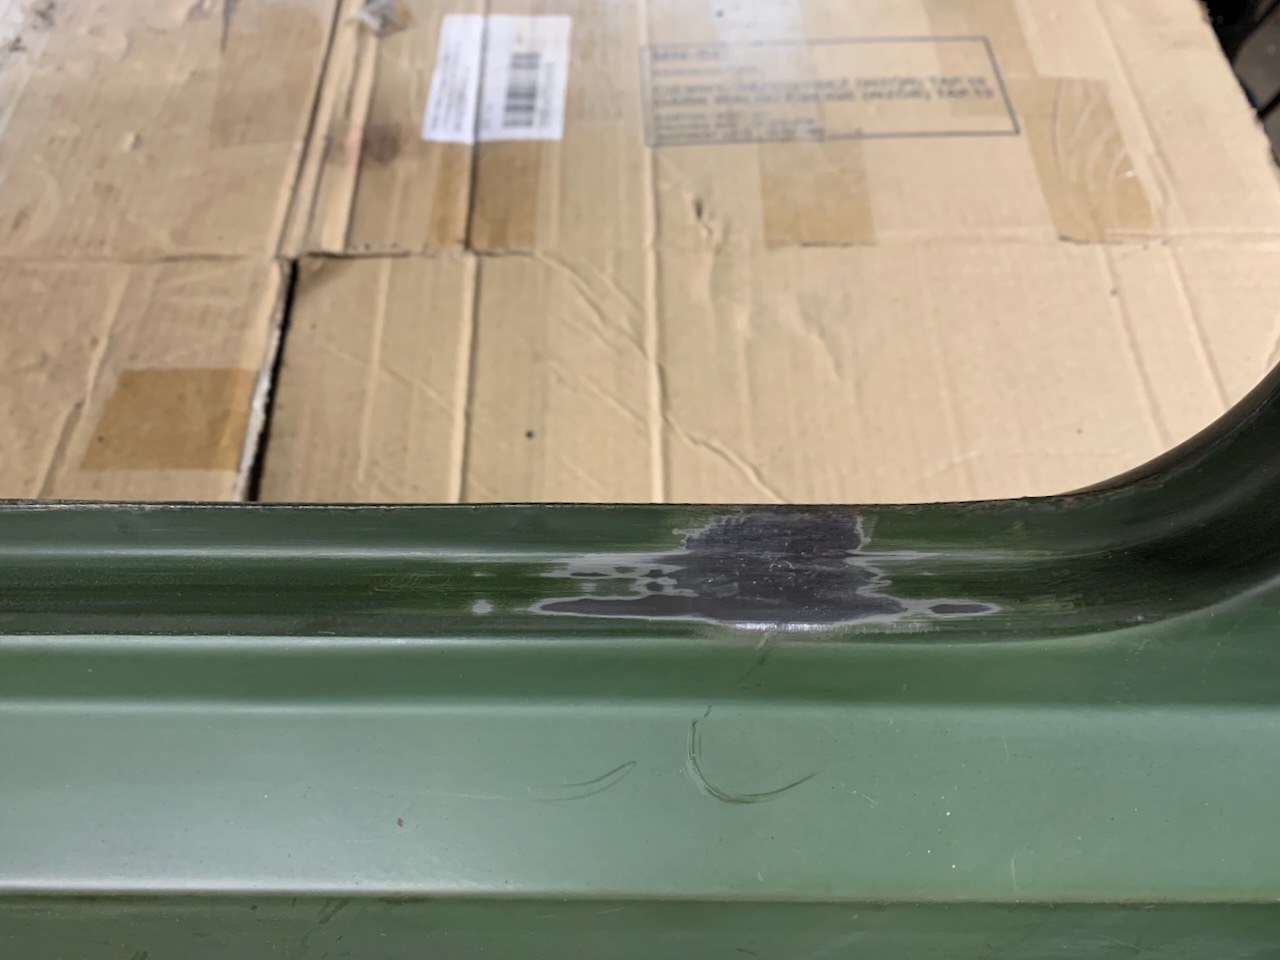
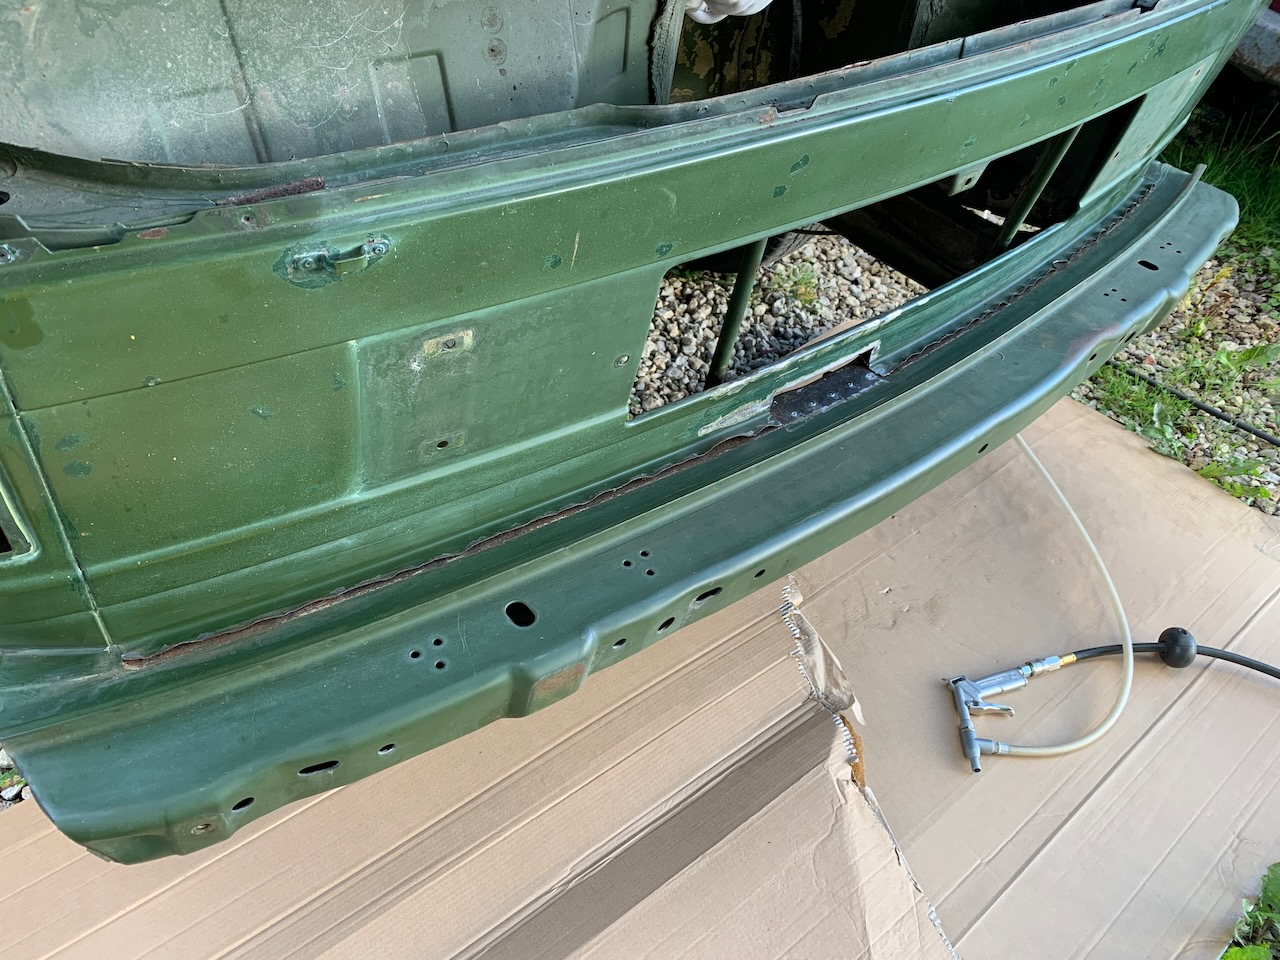
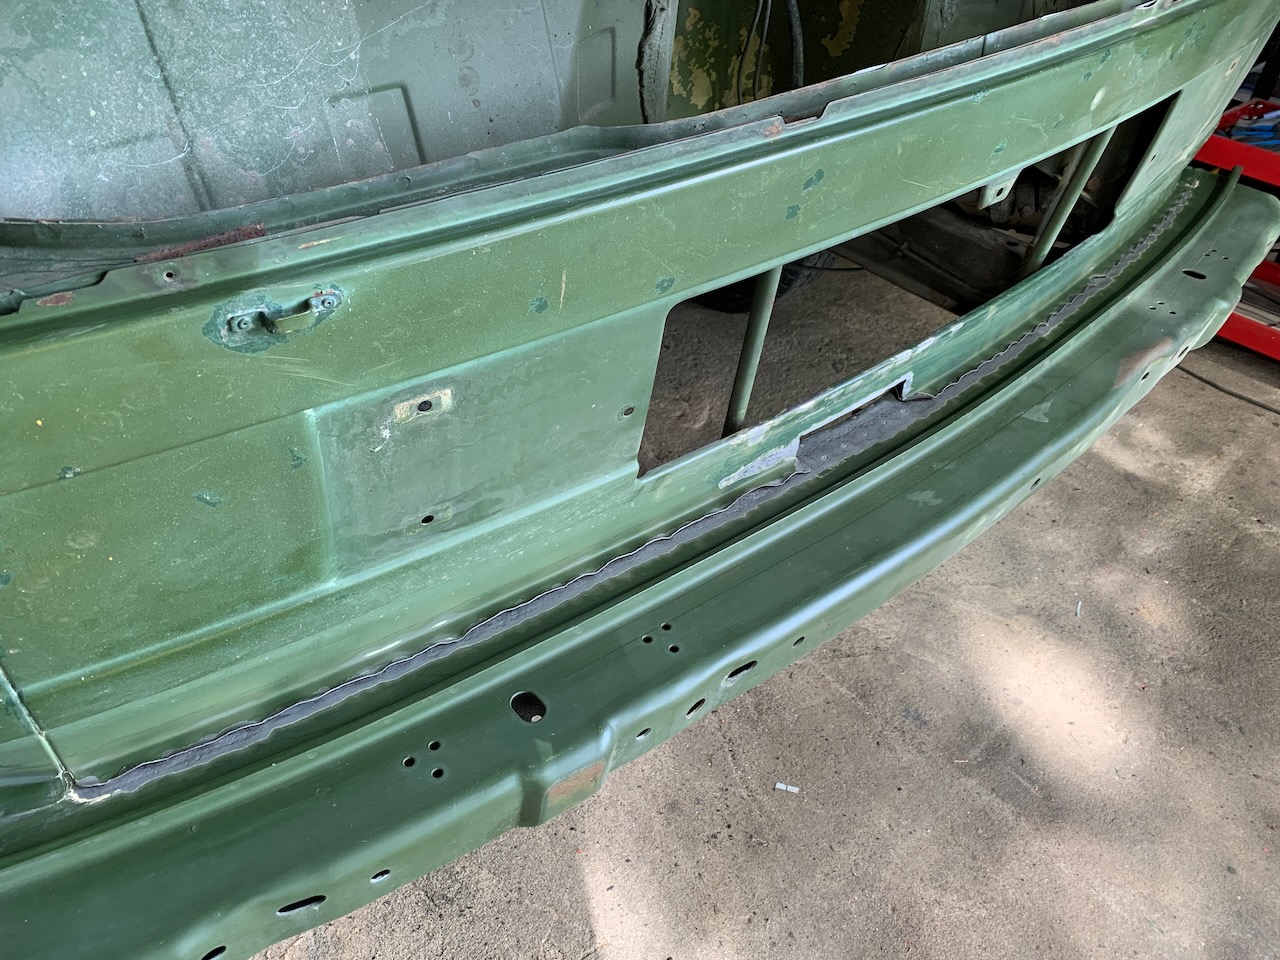
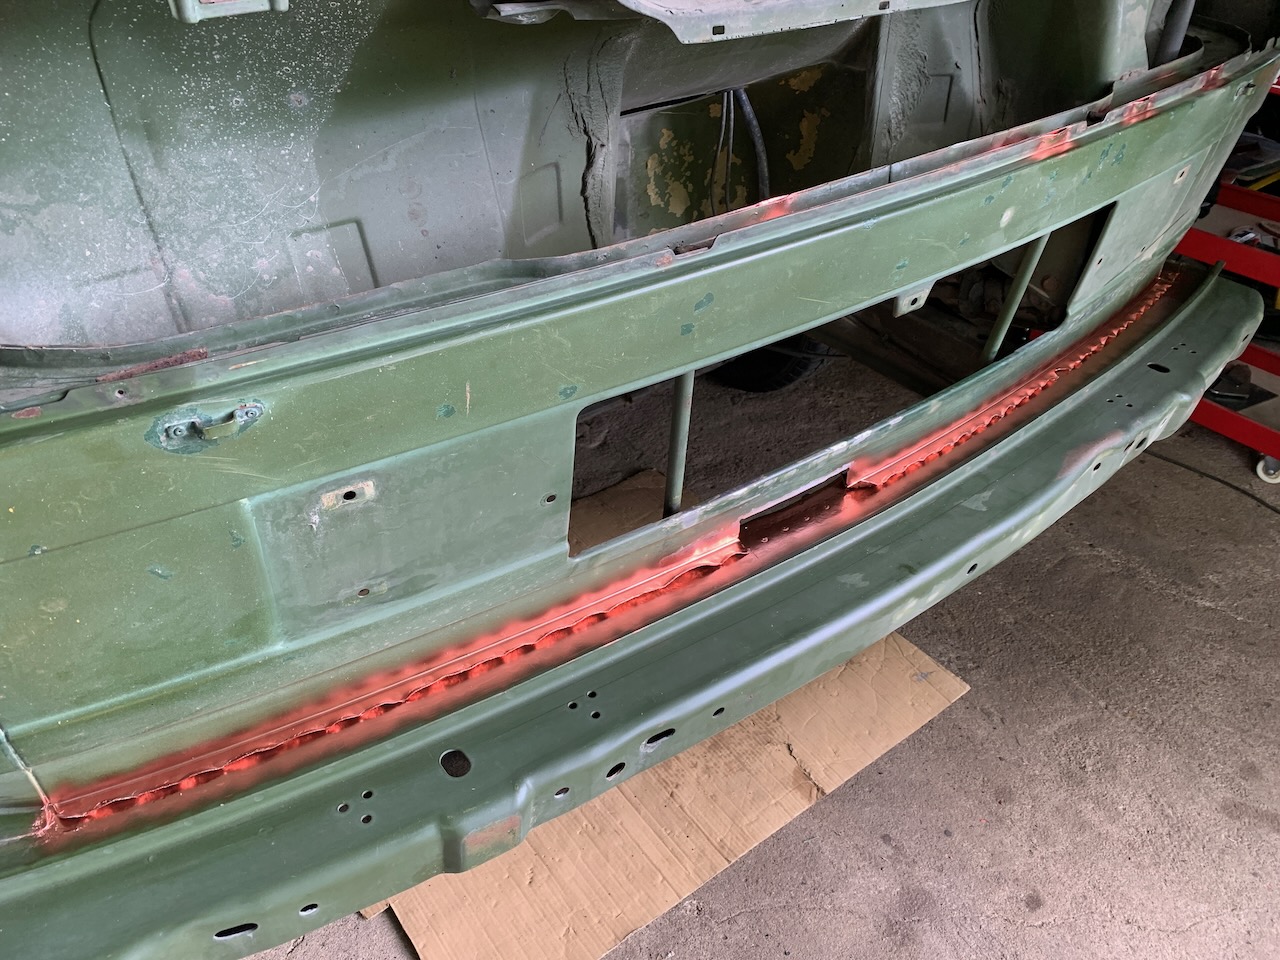
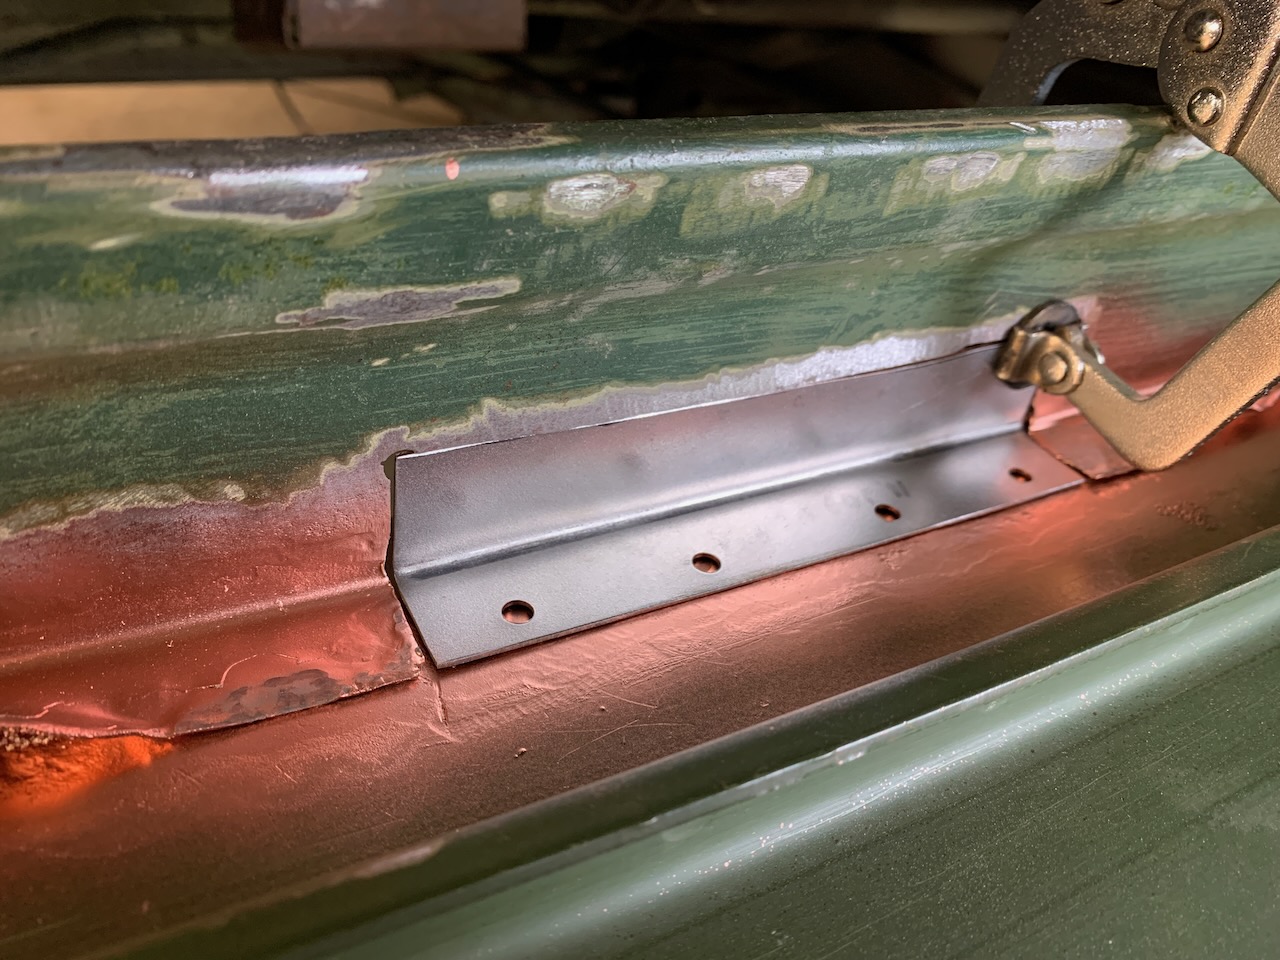
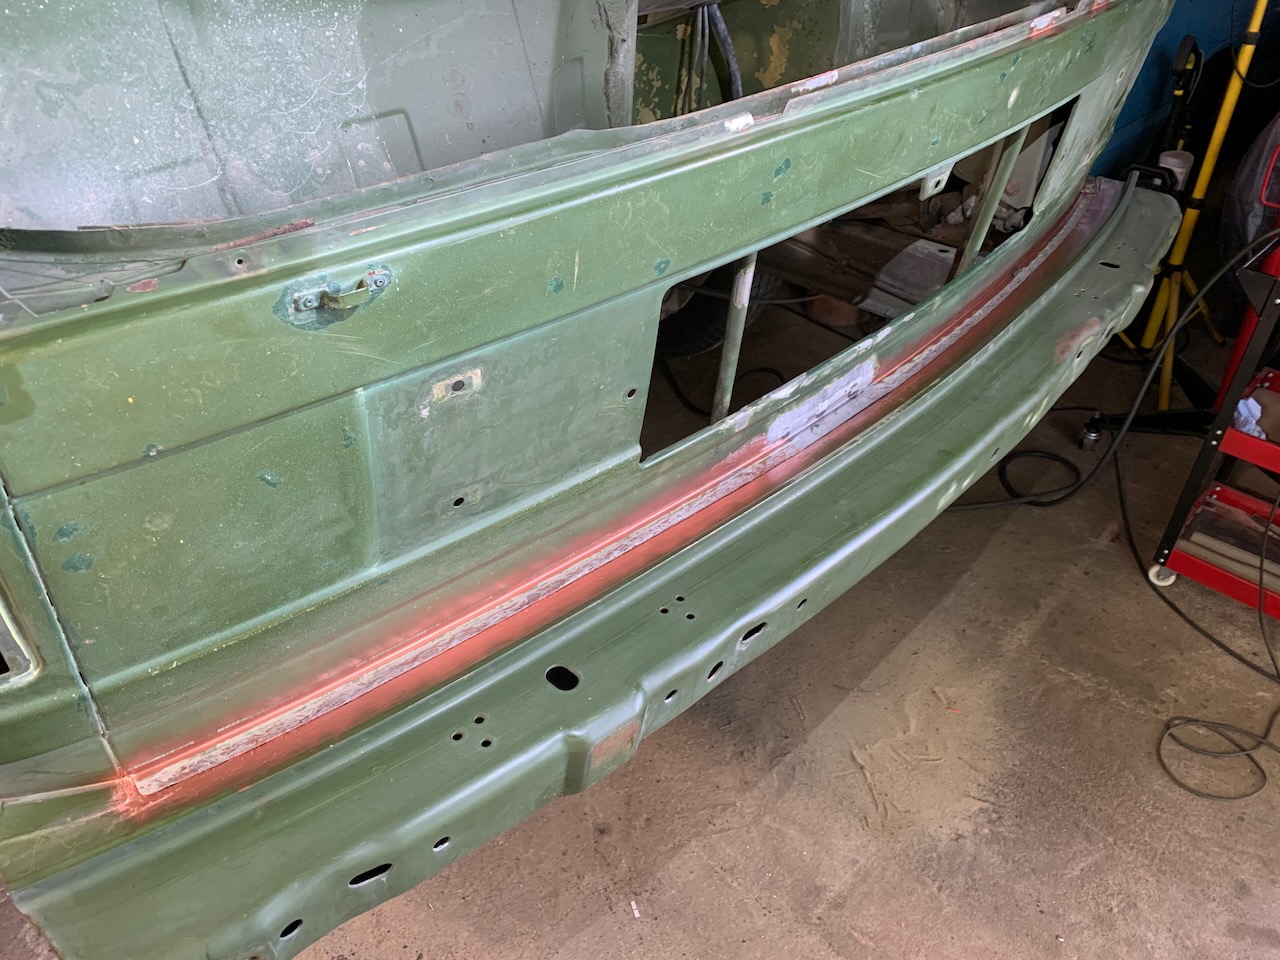
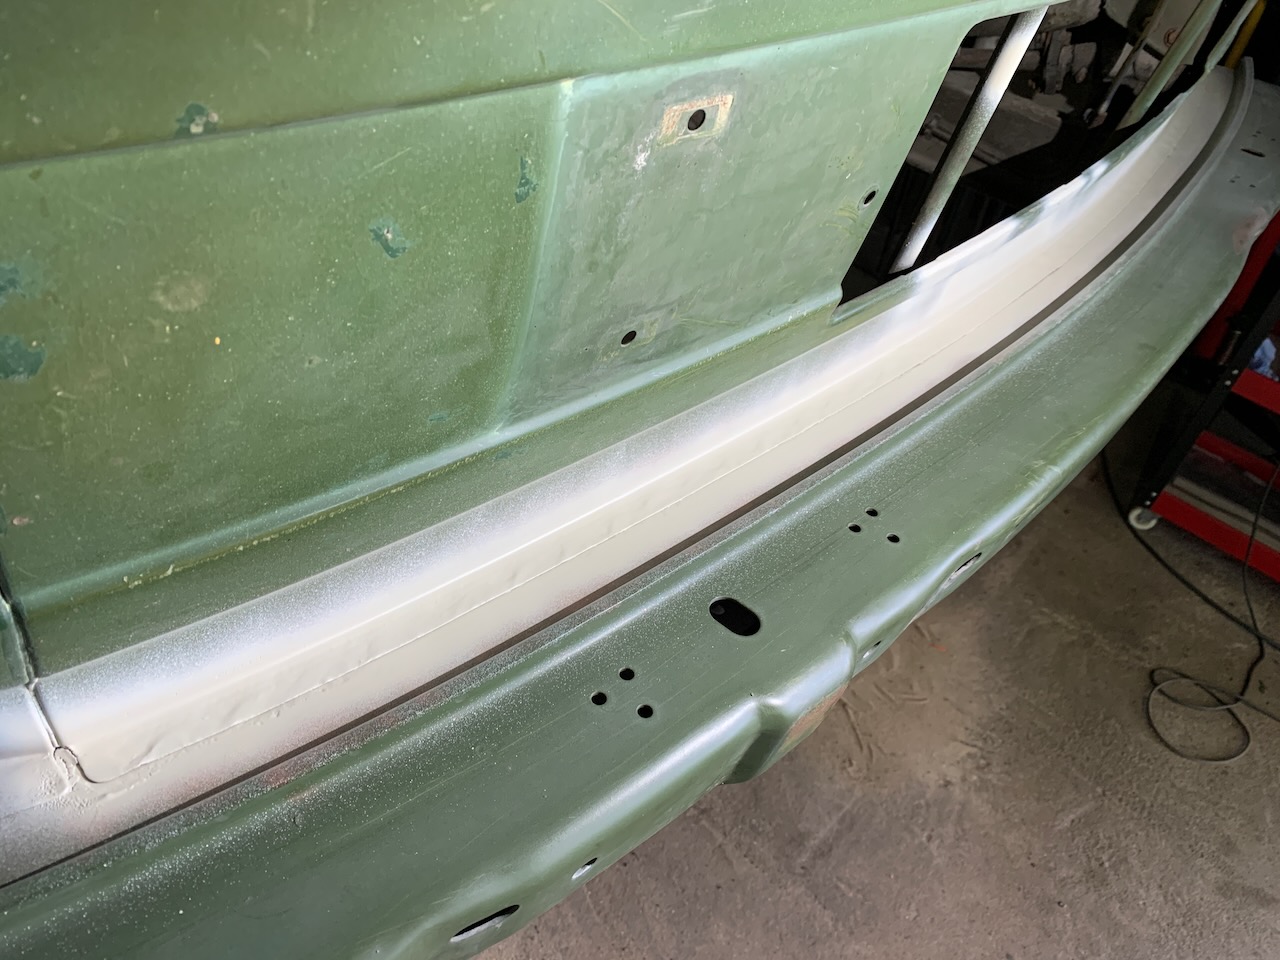
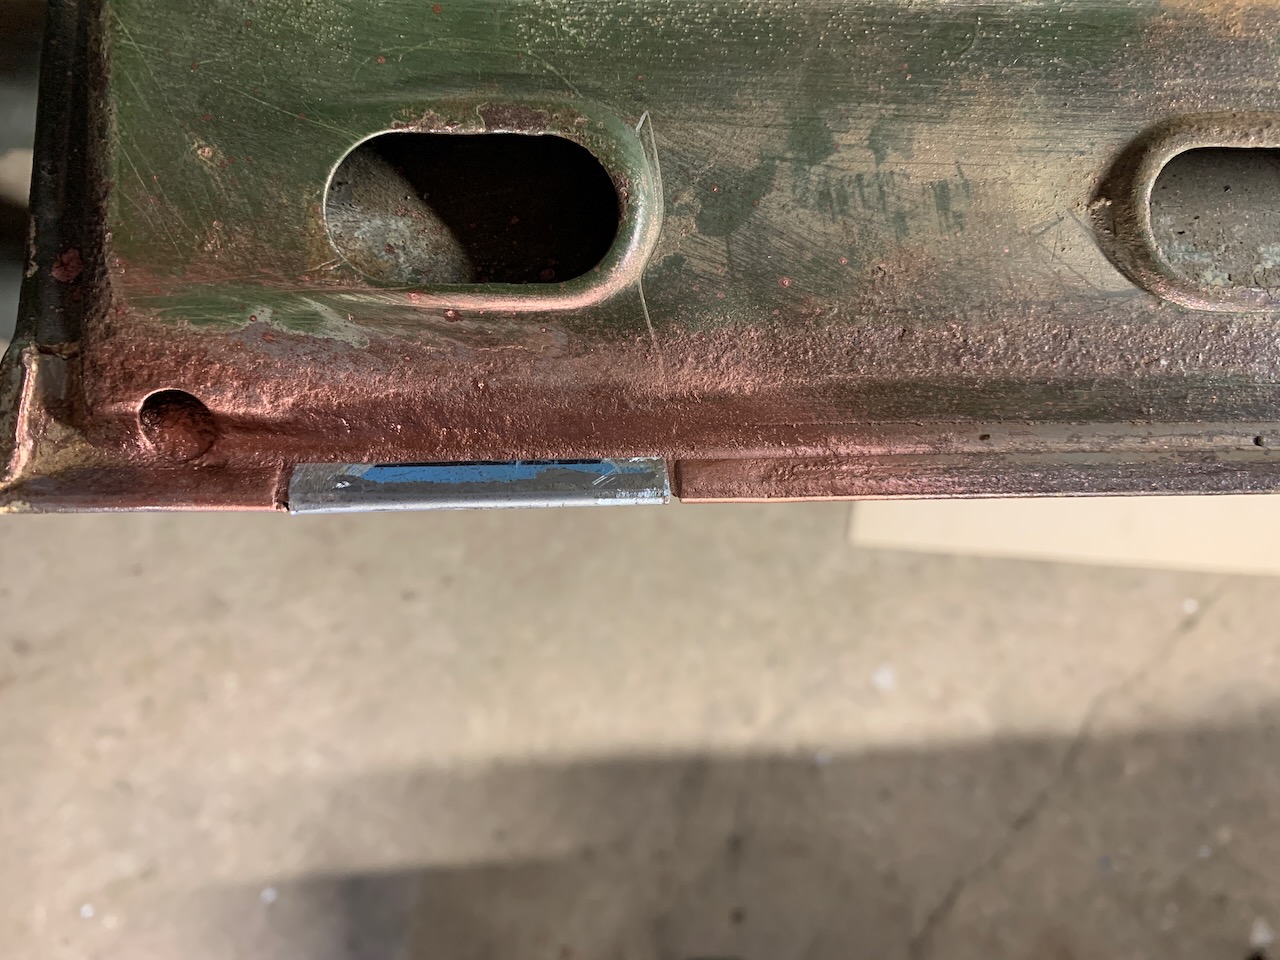
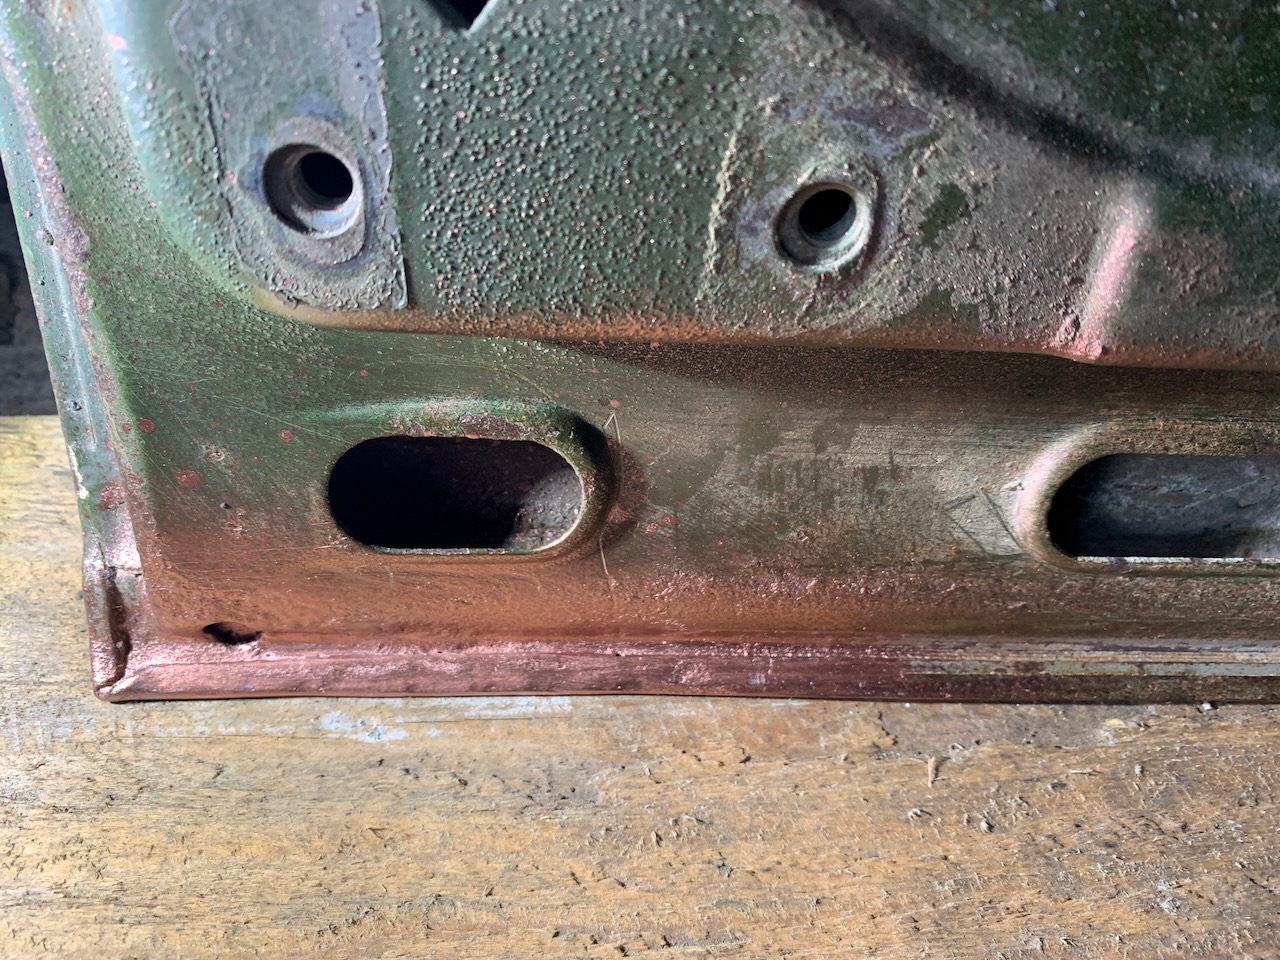
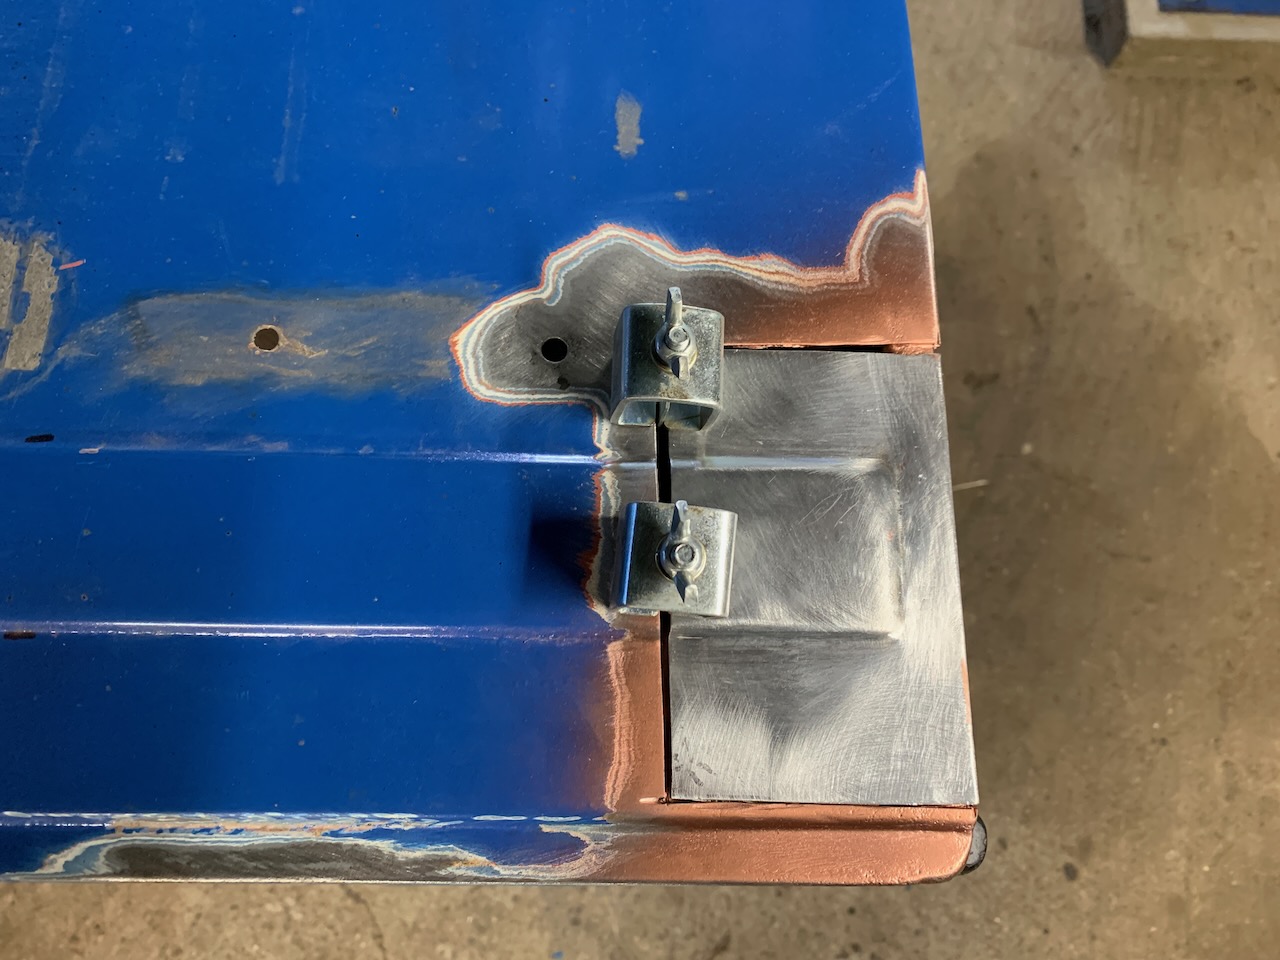
The Lower Grill Panel
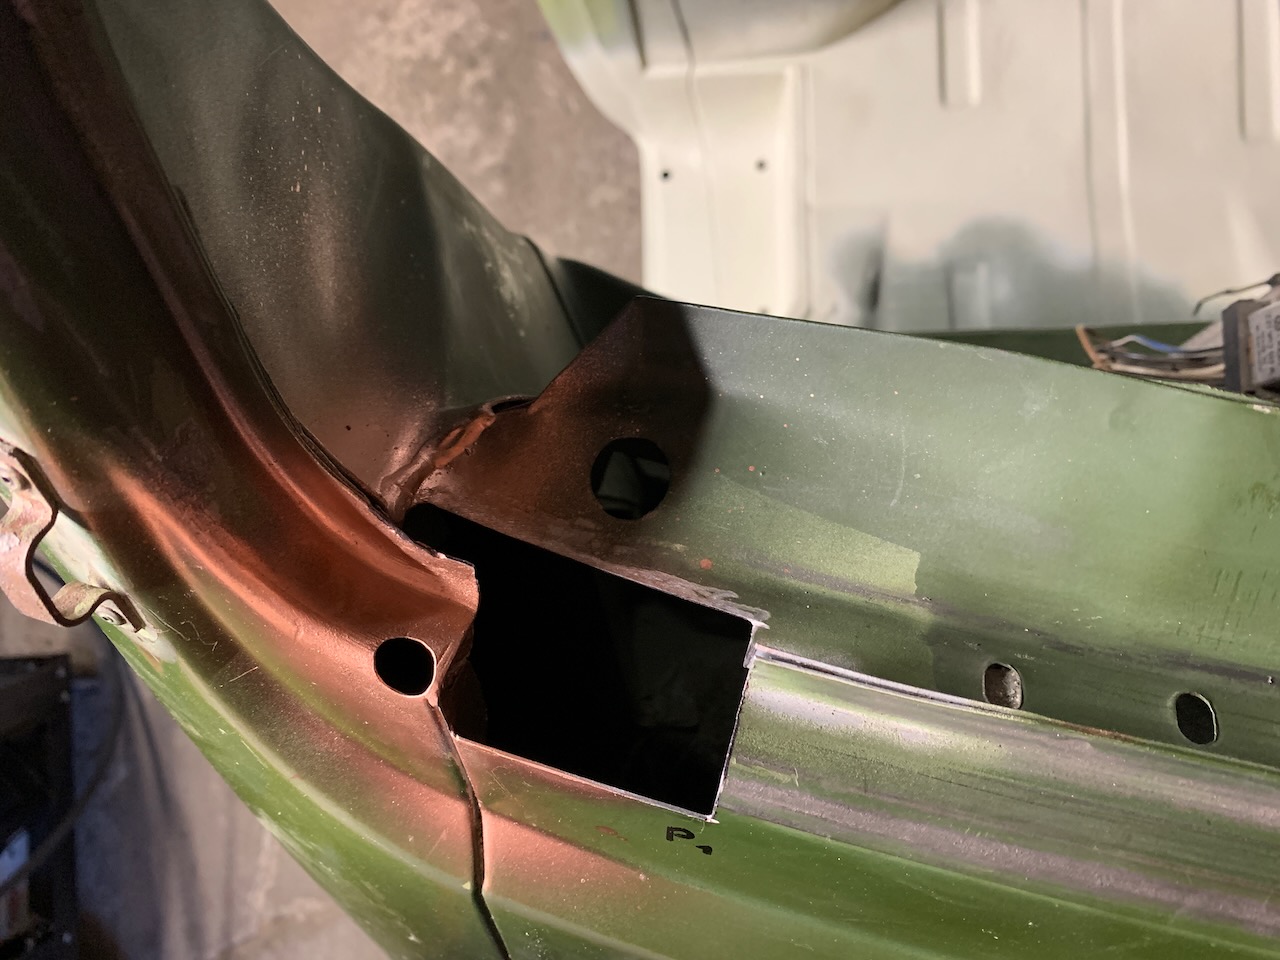
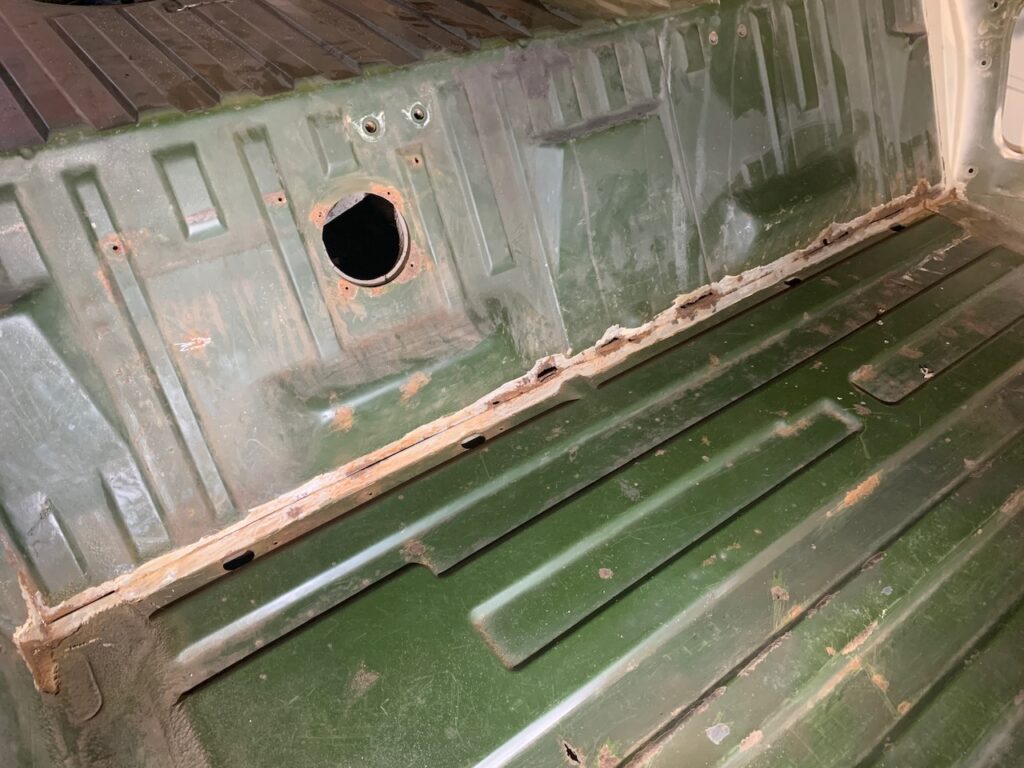
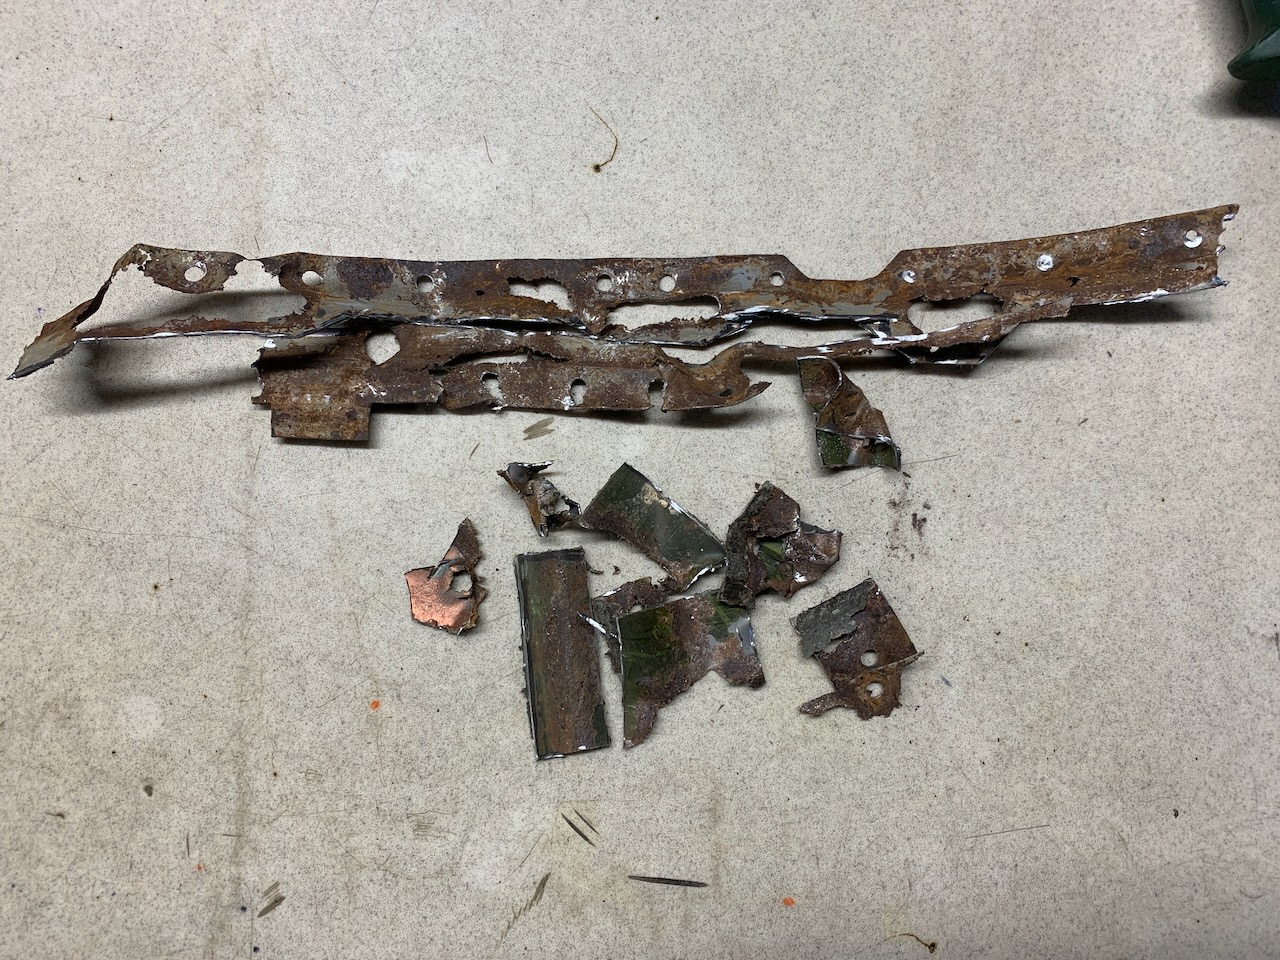
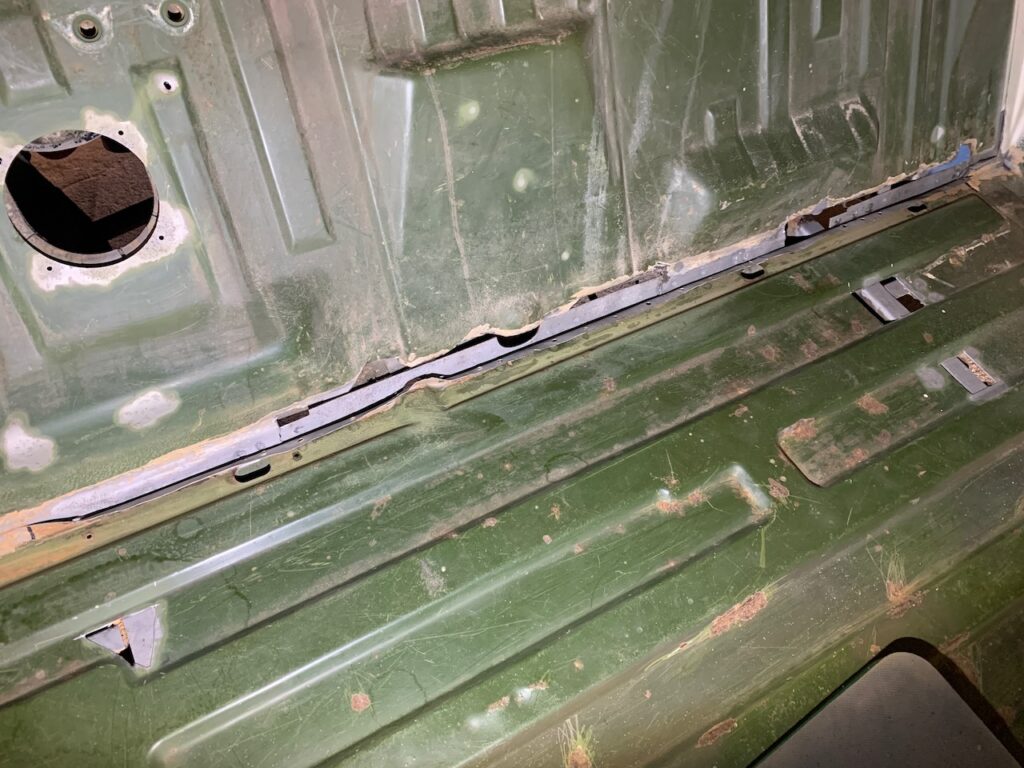
The panel (VW part no 251 805 037 A), which the lower grill adjoins, looked pretty decent at first. There was one smaller part that needed to be cut out and replaced with new metal, but it didn’t seem to be very difficult to do. What was more worrisome, was that the joint between this panel and crossmember was deeply rusted from the inside. Since at the moment it didn’t seem reasonable to remove this panel as whole and replace it with a new one, I tried to clean this joint by sand blasting it as much as possible. It wasn’t the best solution, however, it will probably last for a while.
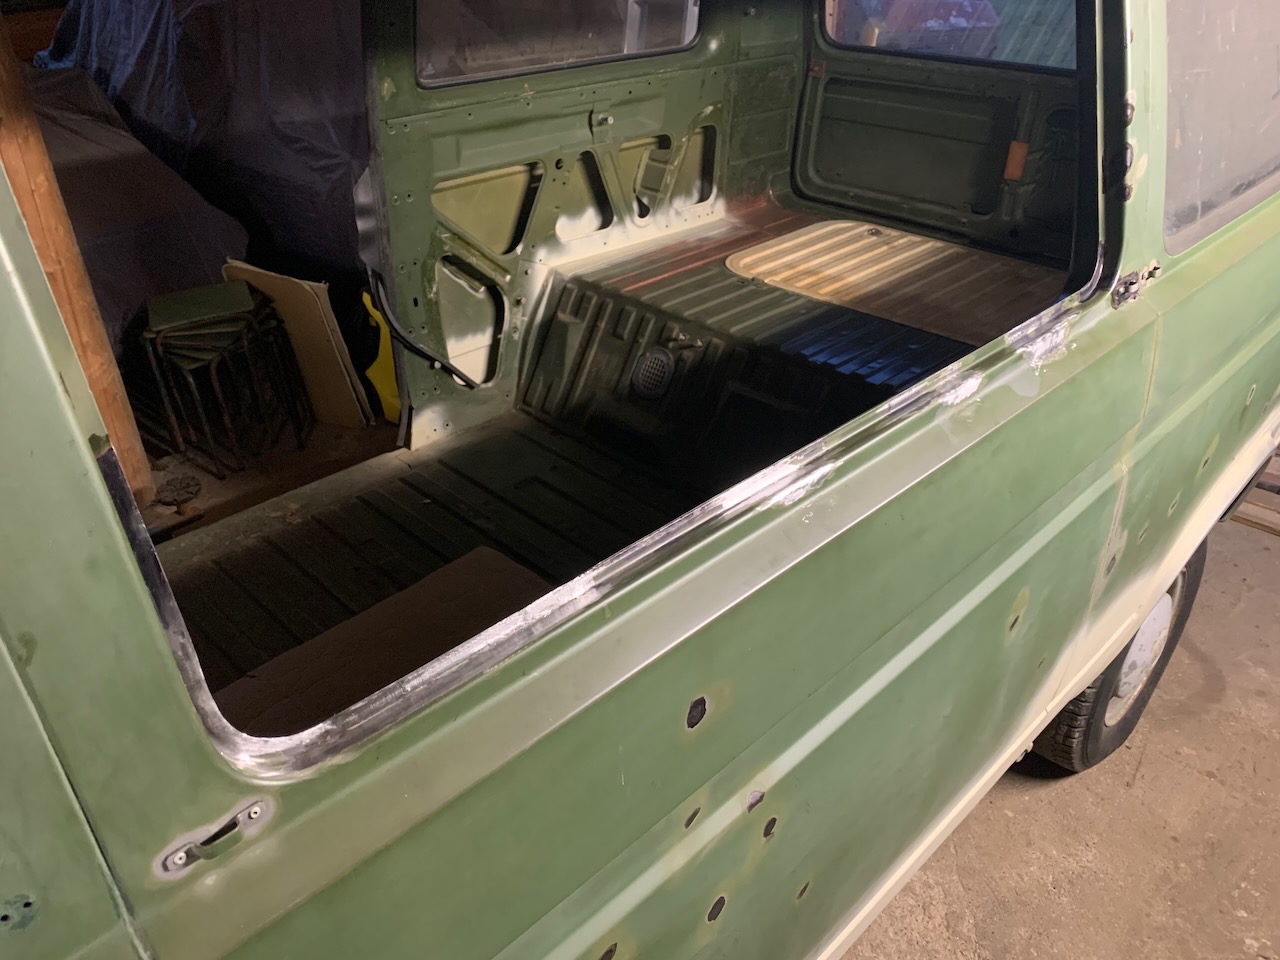
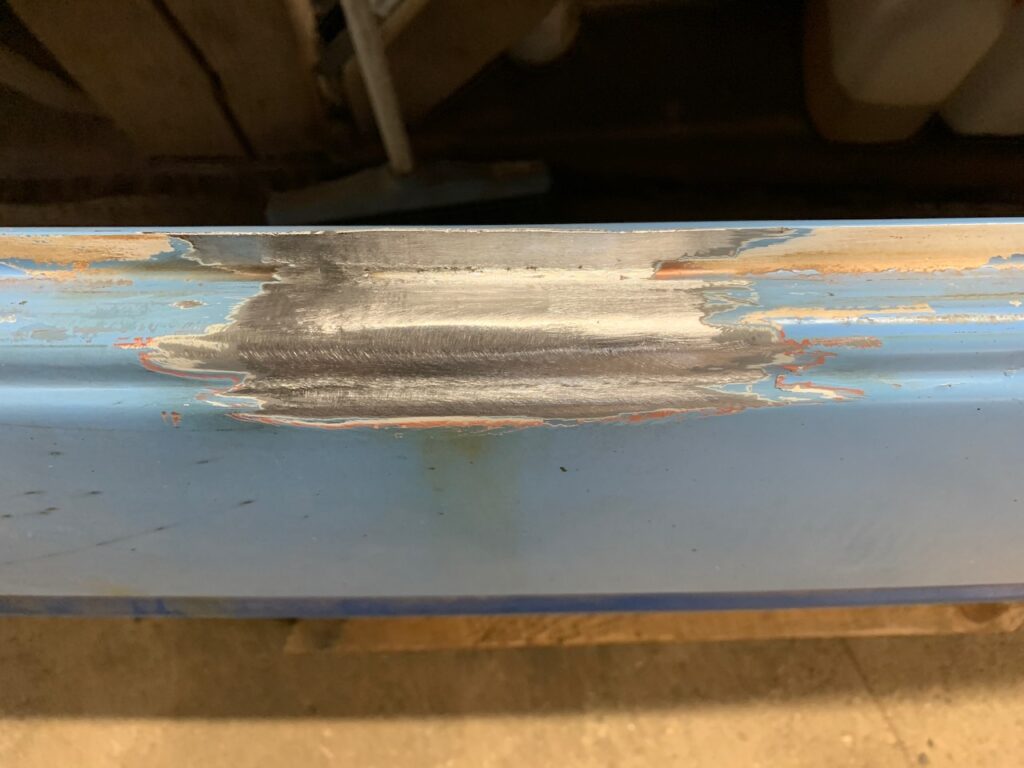
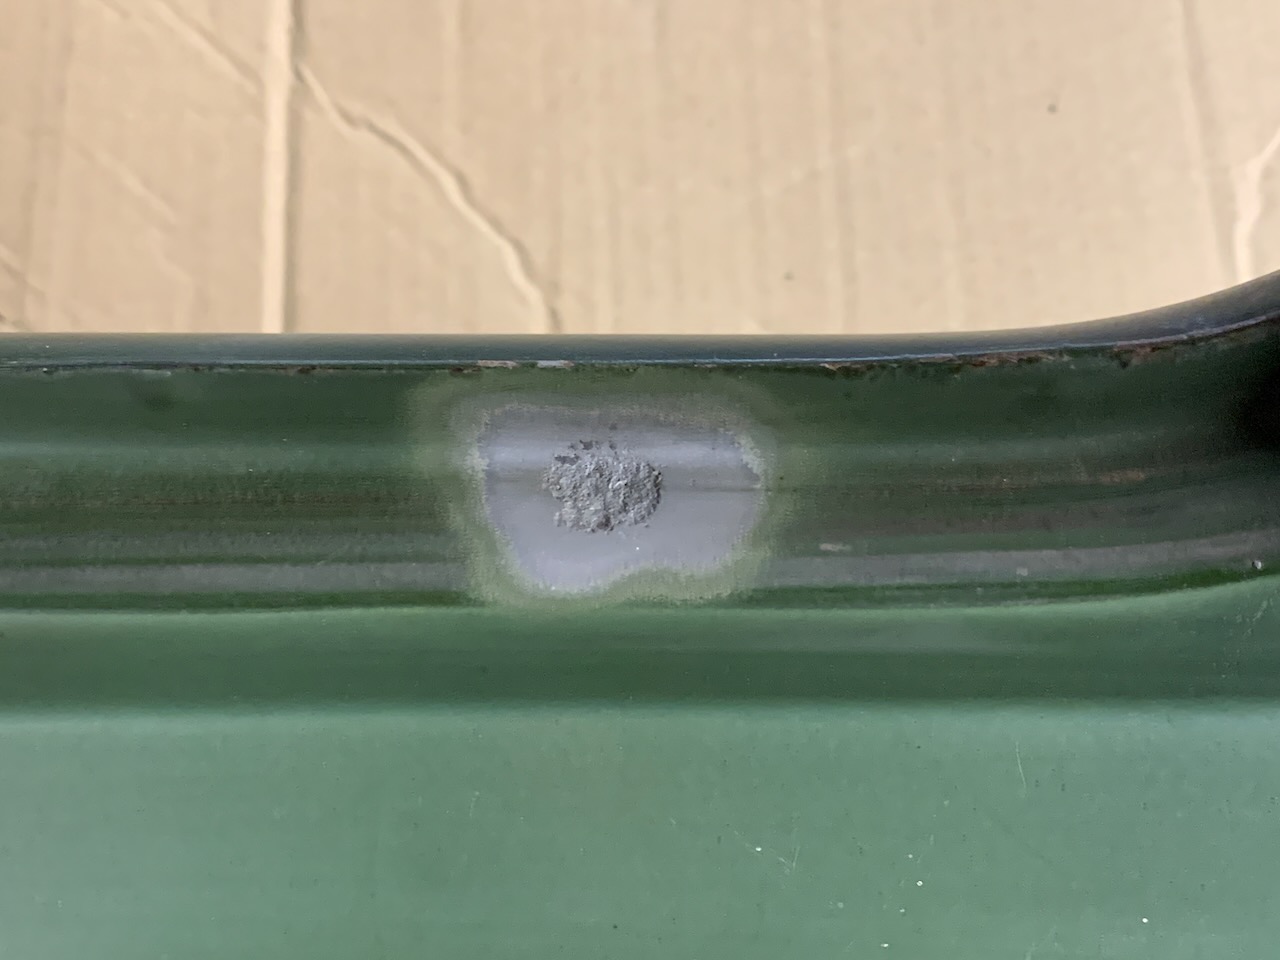
The Passenger Room Floor
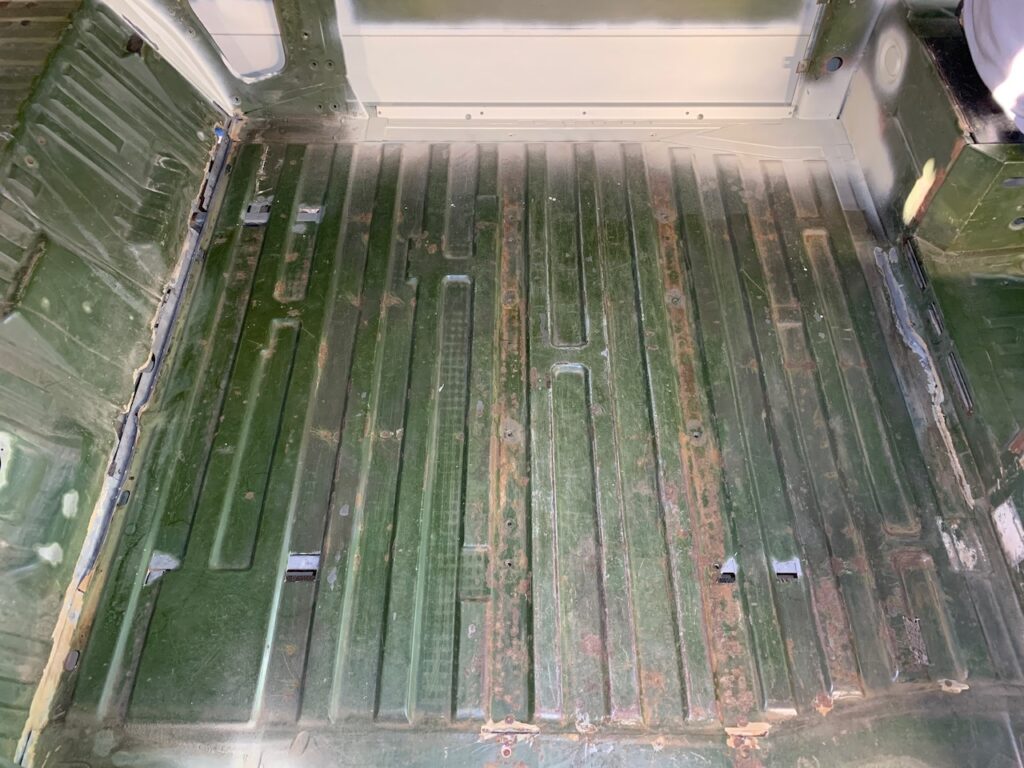
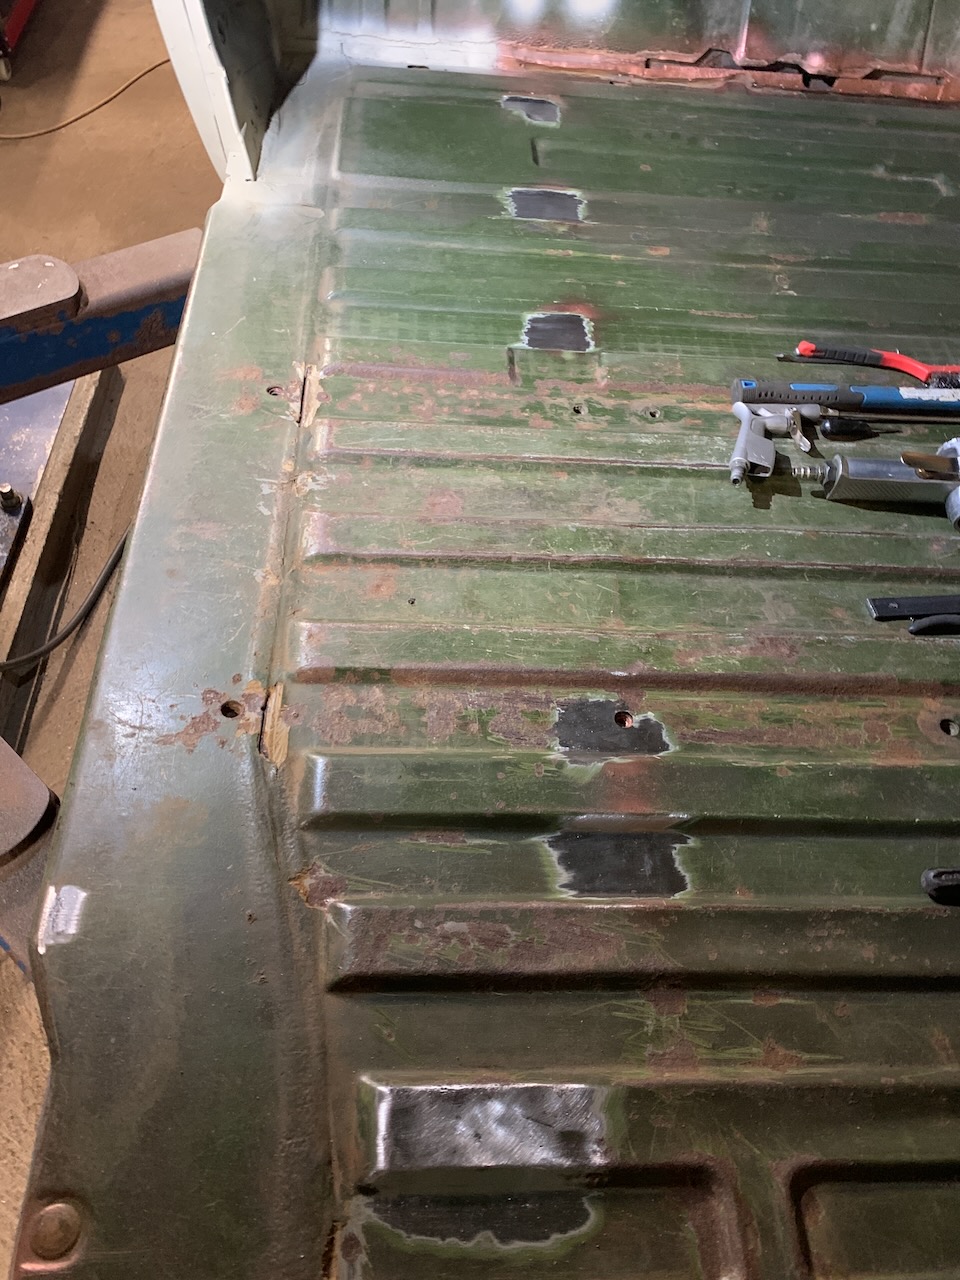
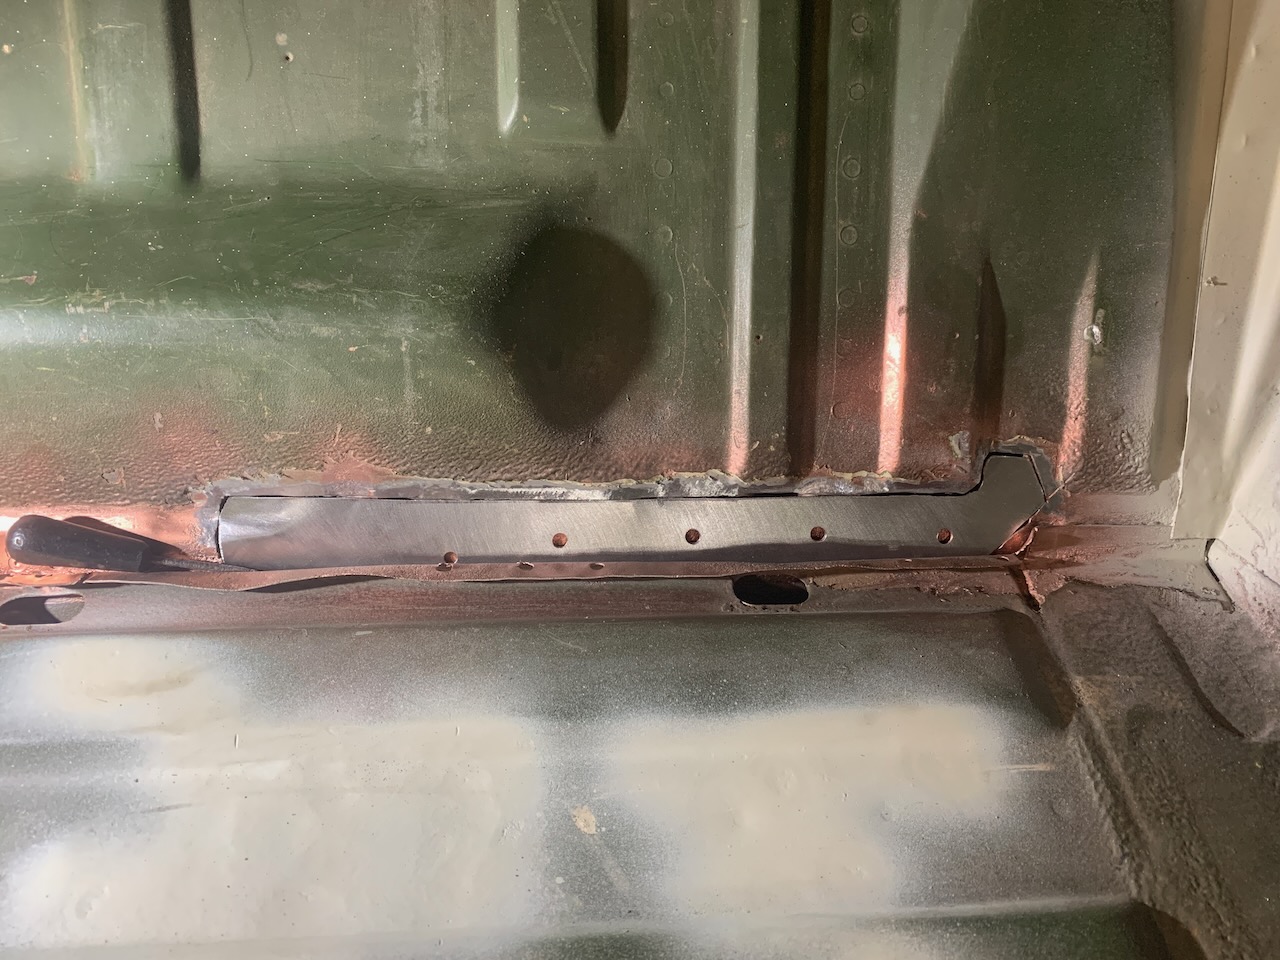
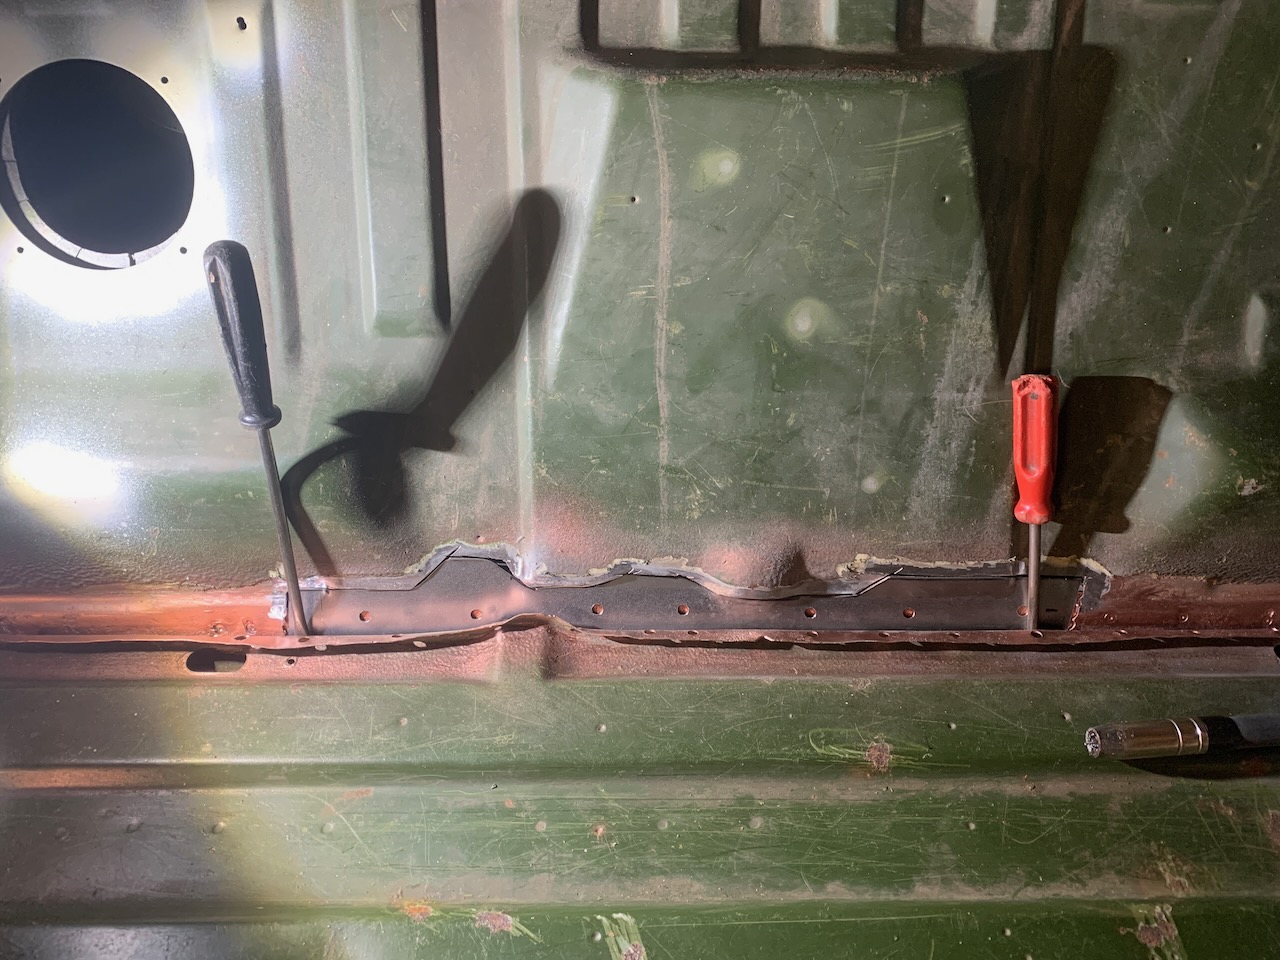
The passenger room floor, cargo room floor (VW part no 253 801 403 C) or however one may call it. In our case probably passenger room floor, since it is a bus with windows and 8 seats. Well, we actually have talked a bit about this floor in a previous post, which was about work done on the driver’s side of the bus. There we replaced the inner and outer sills. Replacing those parts meant that the edge of the floor, that joined with the sills, needed to be fixed as well. This time the objective was to remove bigger dents from the floor and afterwards mend the rest of the smaller holes.
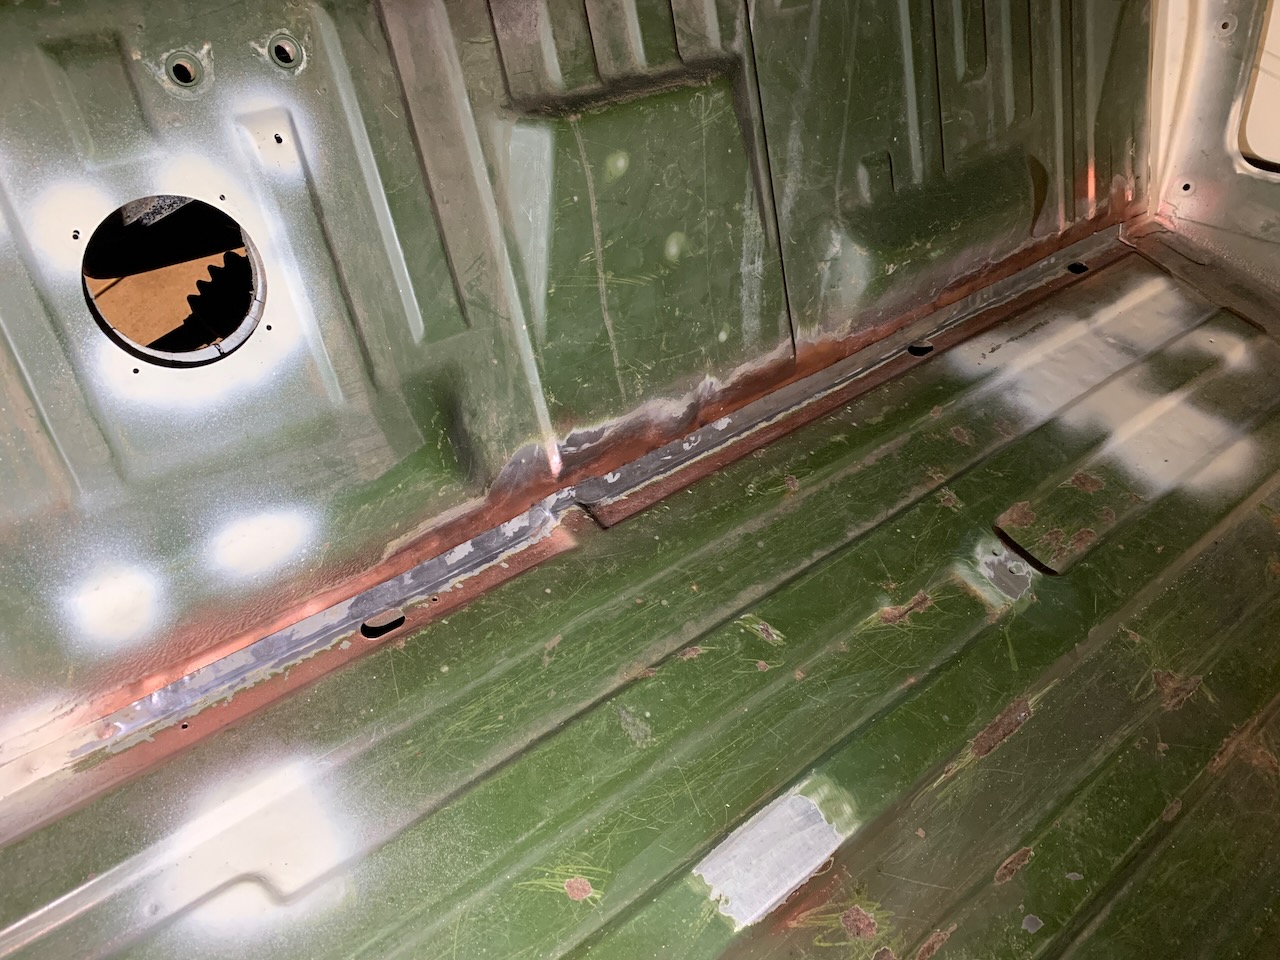
It is assumed that this bus has previously been used for transporting brash or something else very heavy, due to which the floor has been pretty severely dented. Straightening this floor alone took 7 hours of work. The result is definitely better than what it was before. In the future, when we cover the floor with something more rigid, probably plywood, we expect this outcome to be rather stable and flat.
As the work went on and I had removed the sealant covering the floor near the engine, in addition to the obvious small holes, quite soon bigger and less pleasant holes emerged. Working on this bus, by now I have seen over and over again how the sealant used by VW has an incredibly good ability to cover deep rust.

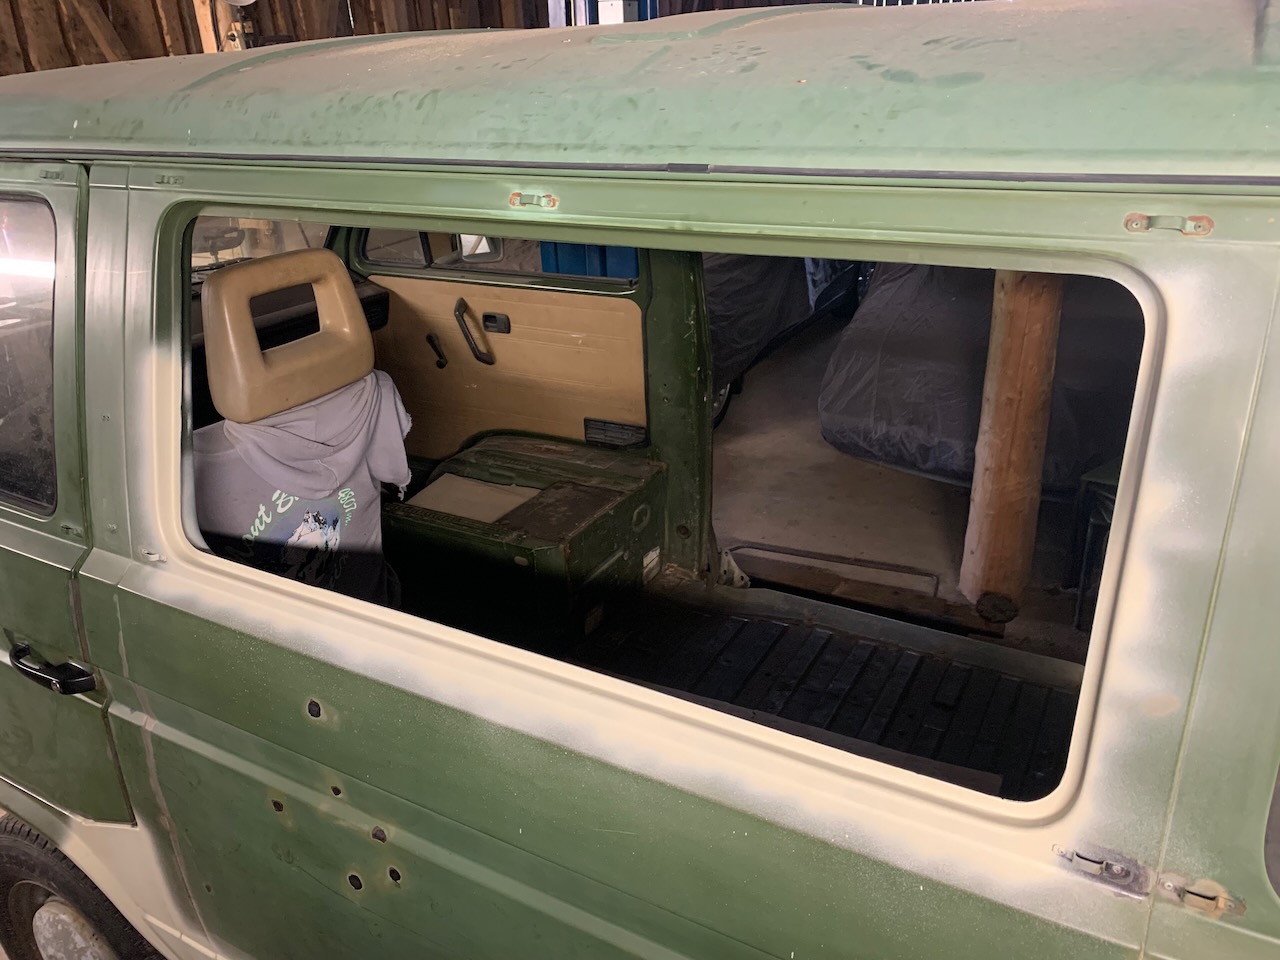
The Doors And the Tailgate
After inspecting the doors, it became clear that the passenger side front door, the sliding door and the tailgate need some welding. As for the tailgate, I decided to replace it, since I had found a tailgate from another bus which needed a little less effort to restore it.
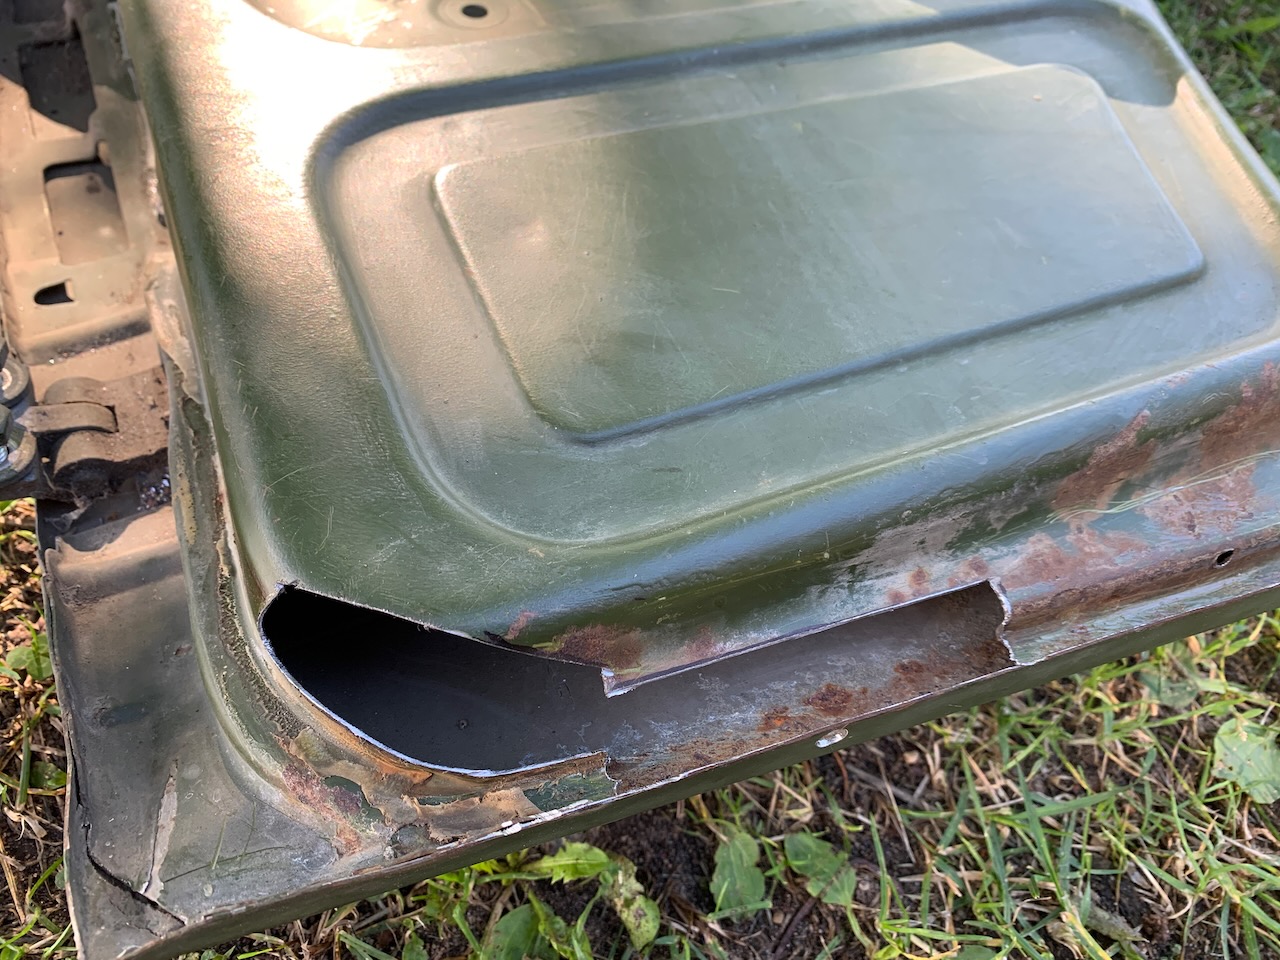
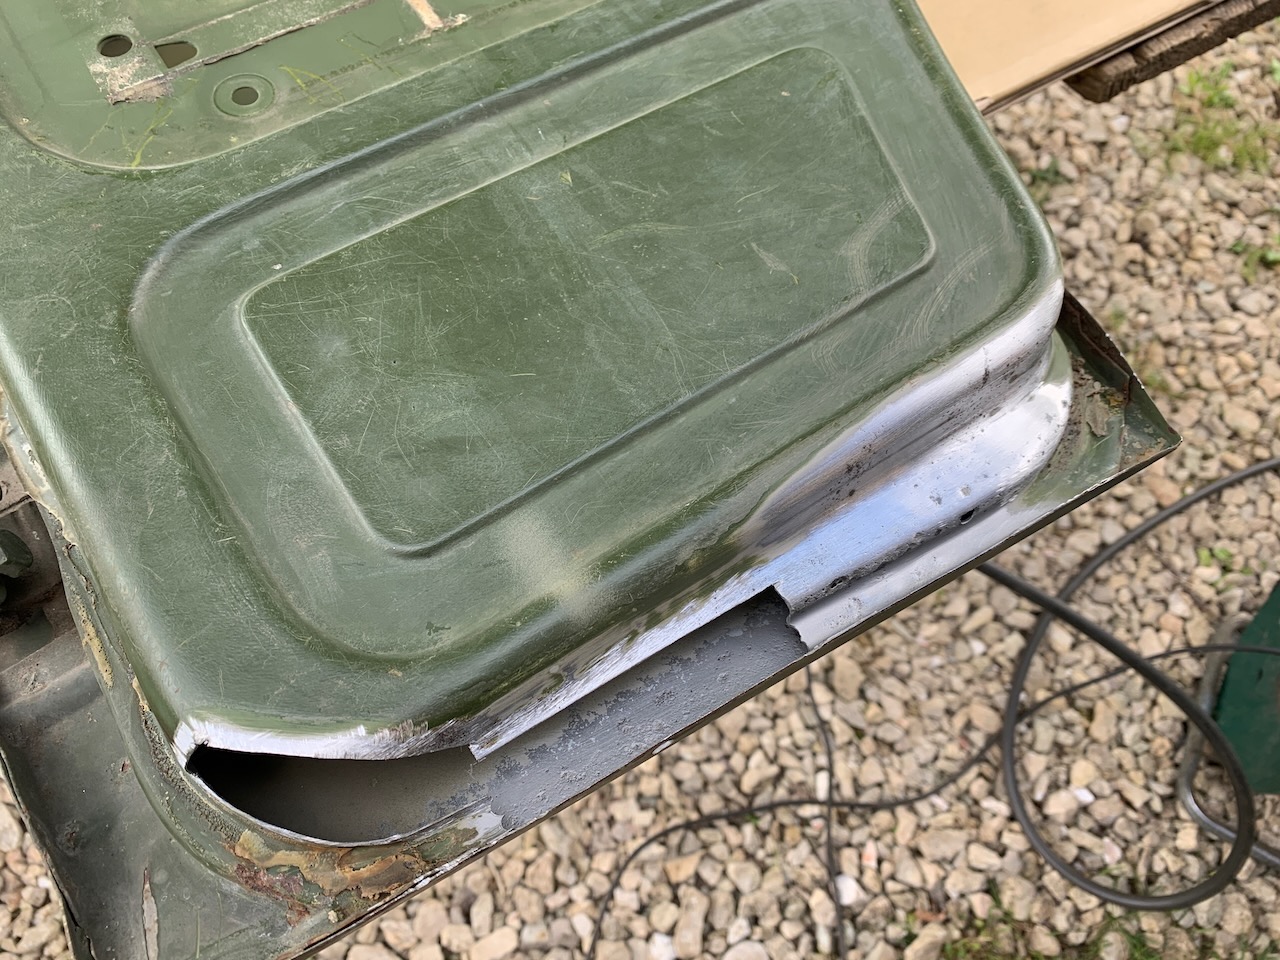
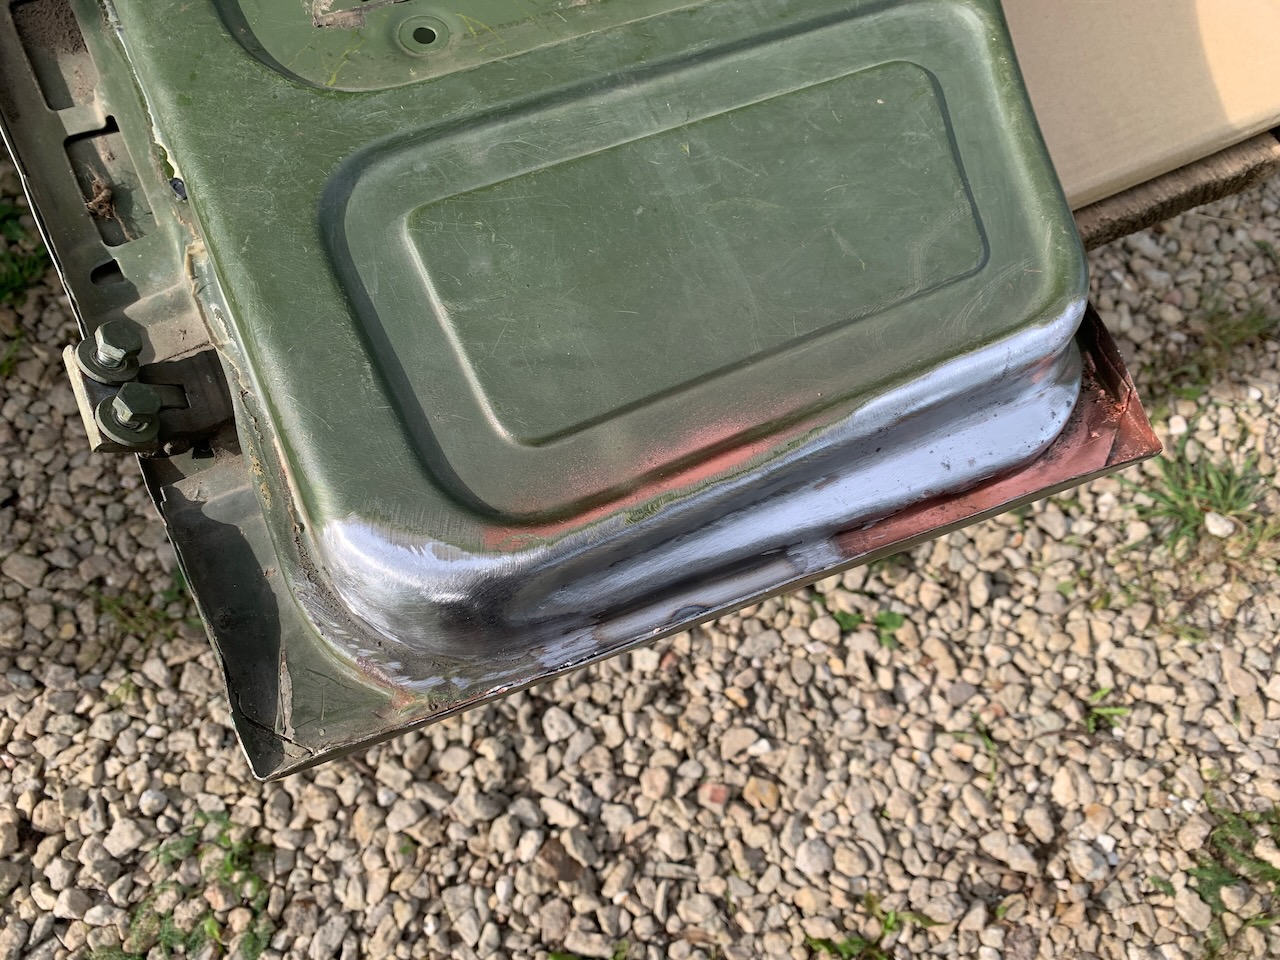
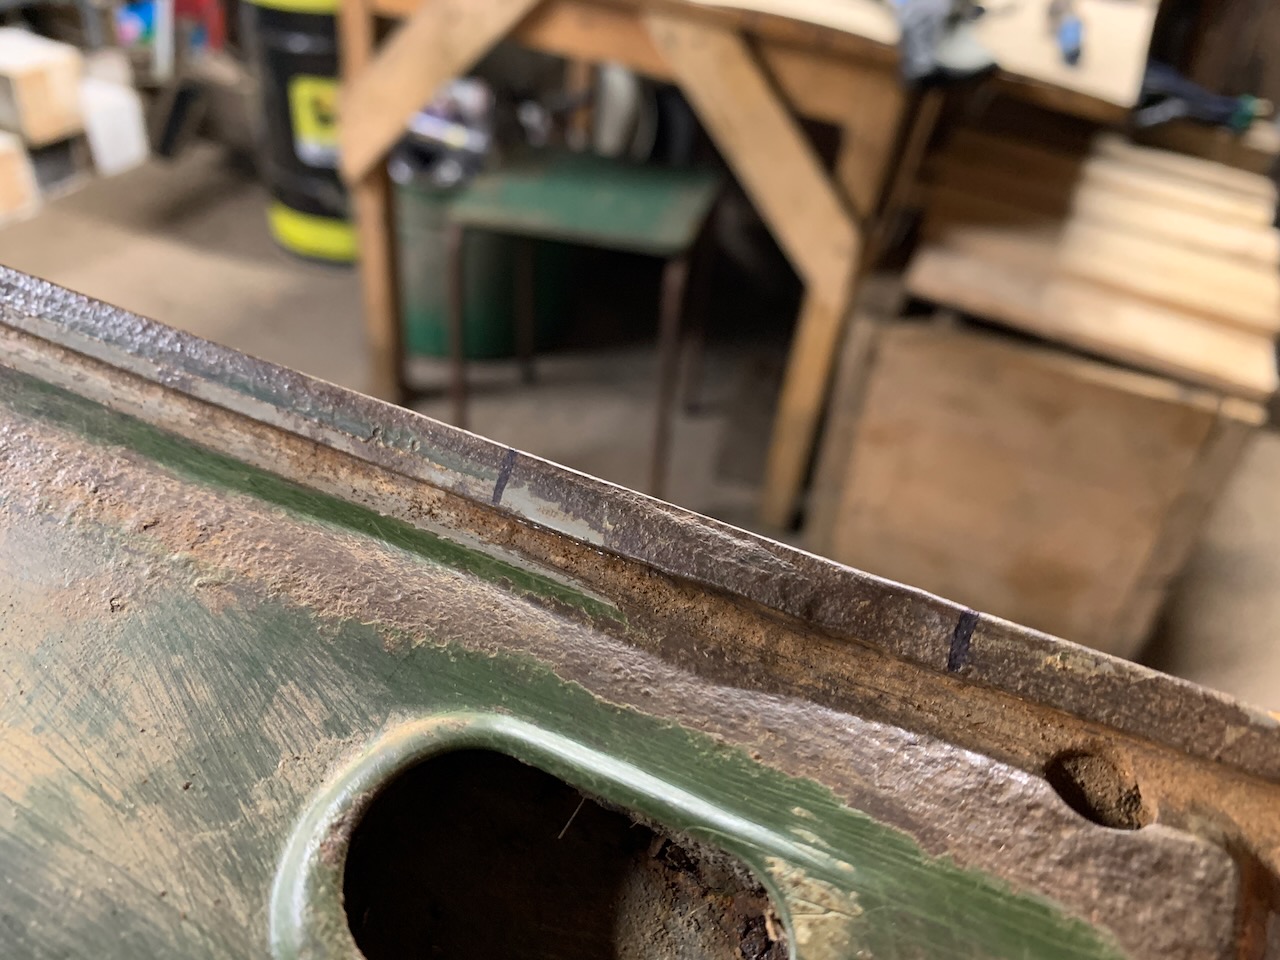
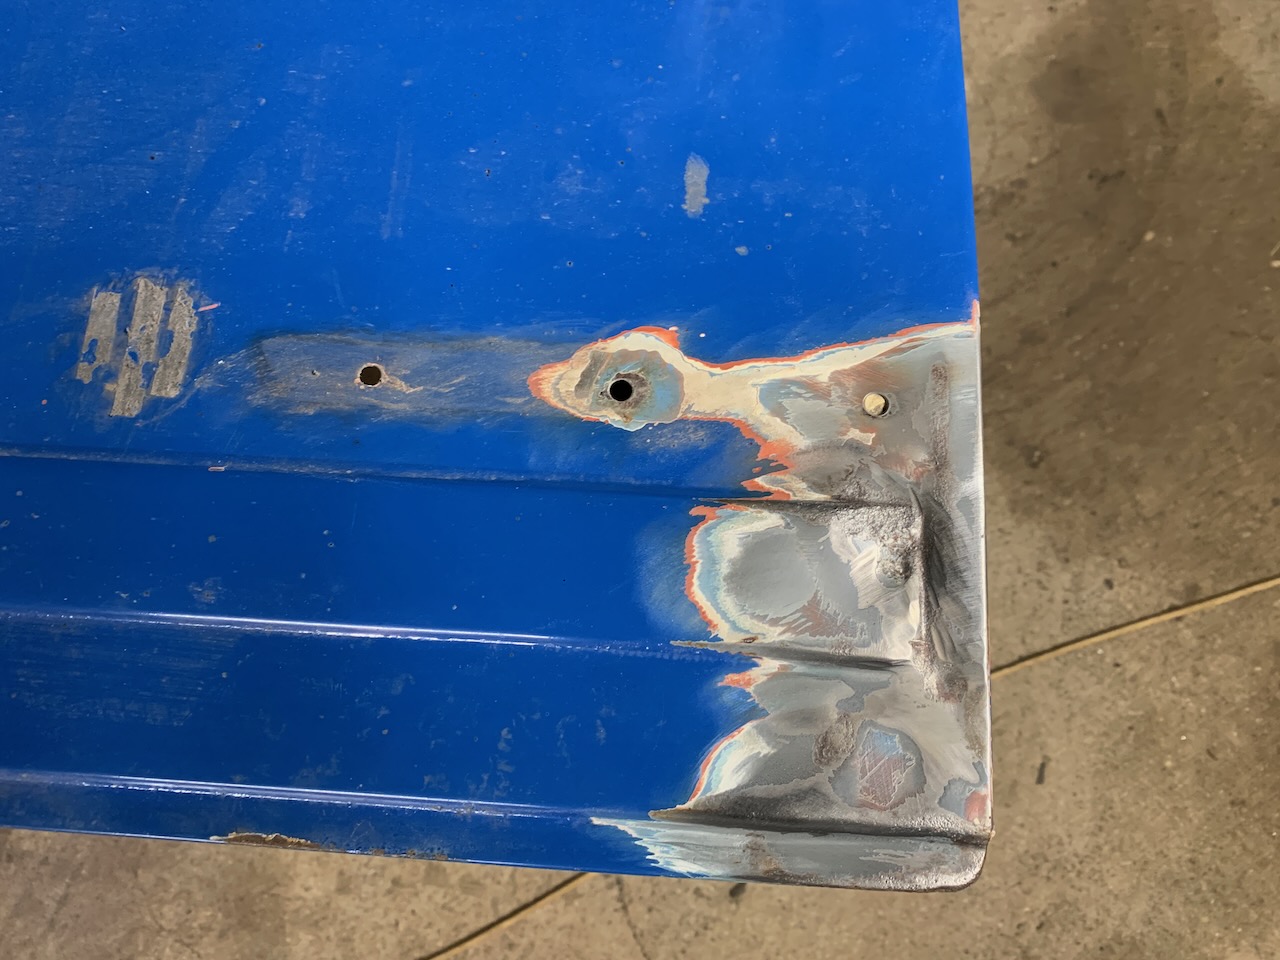
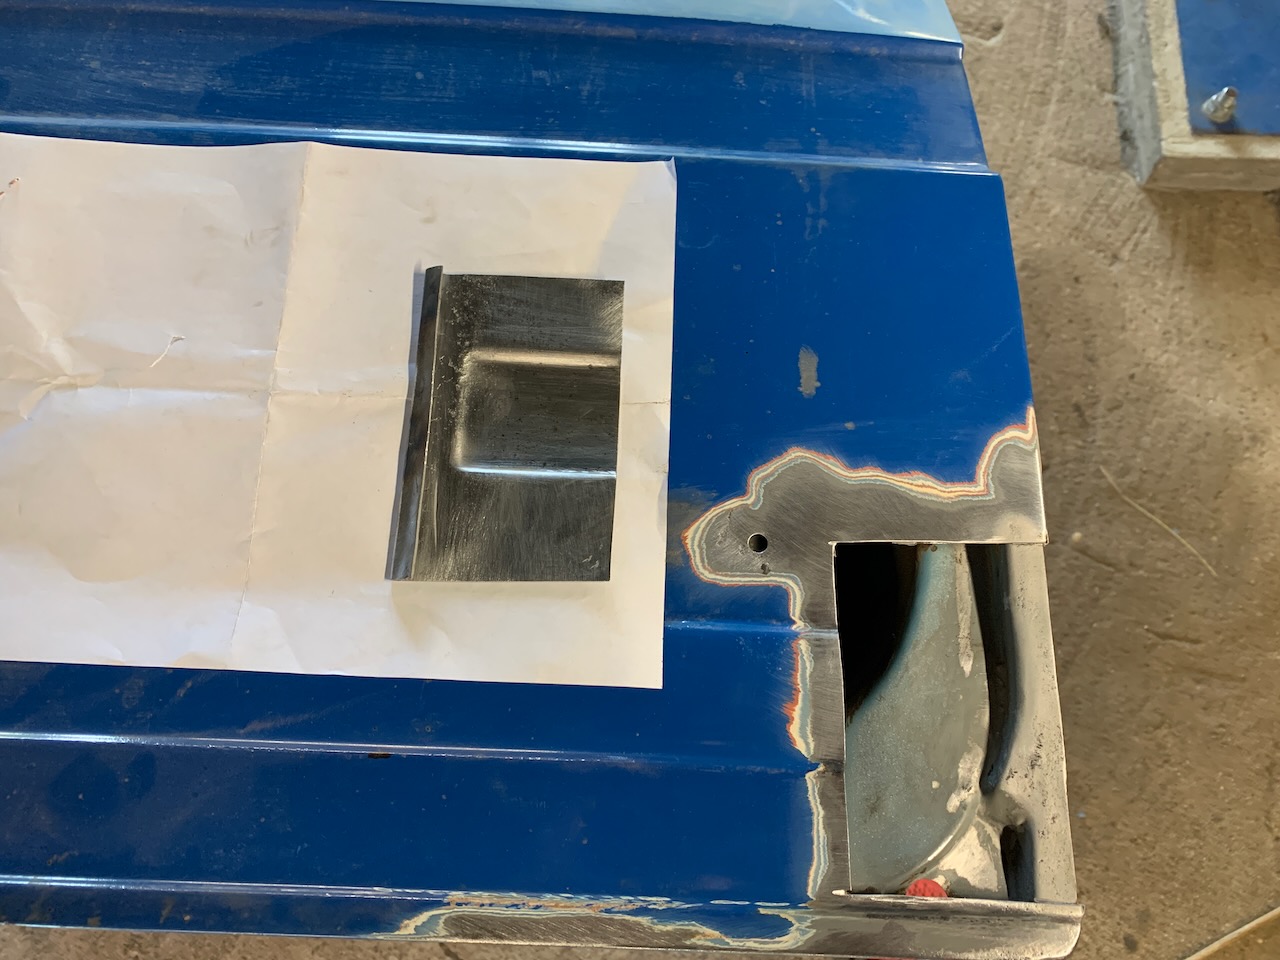
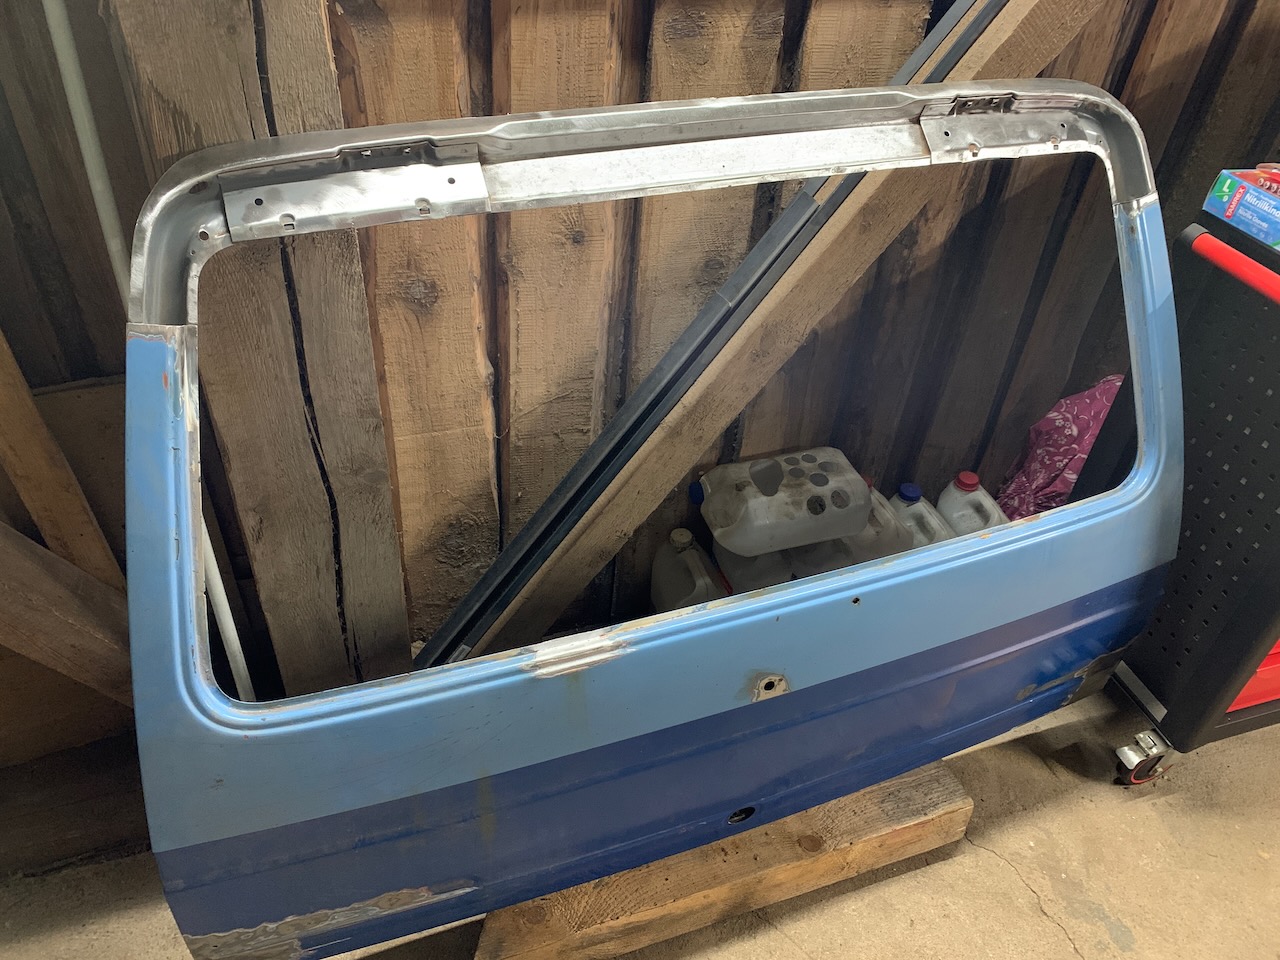
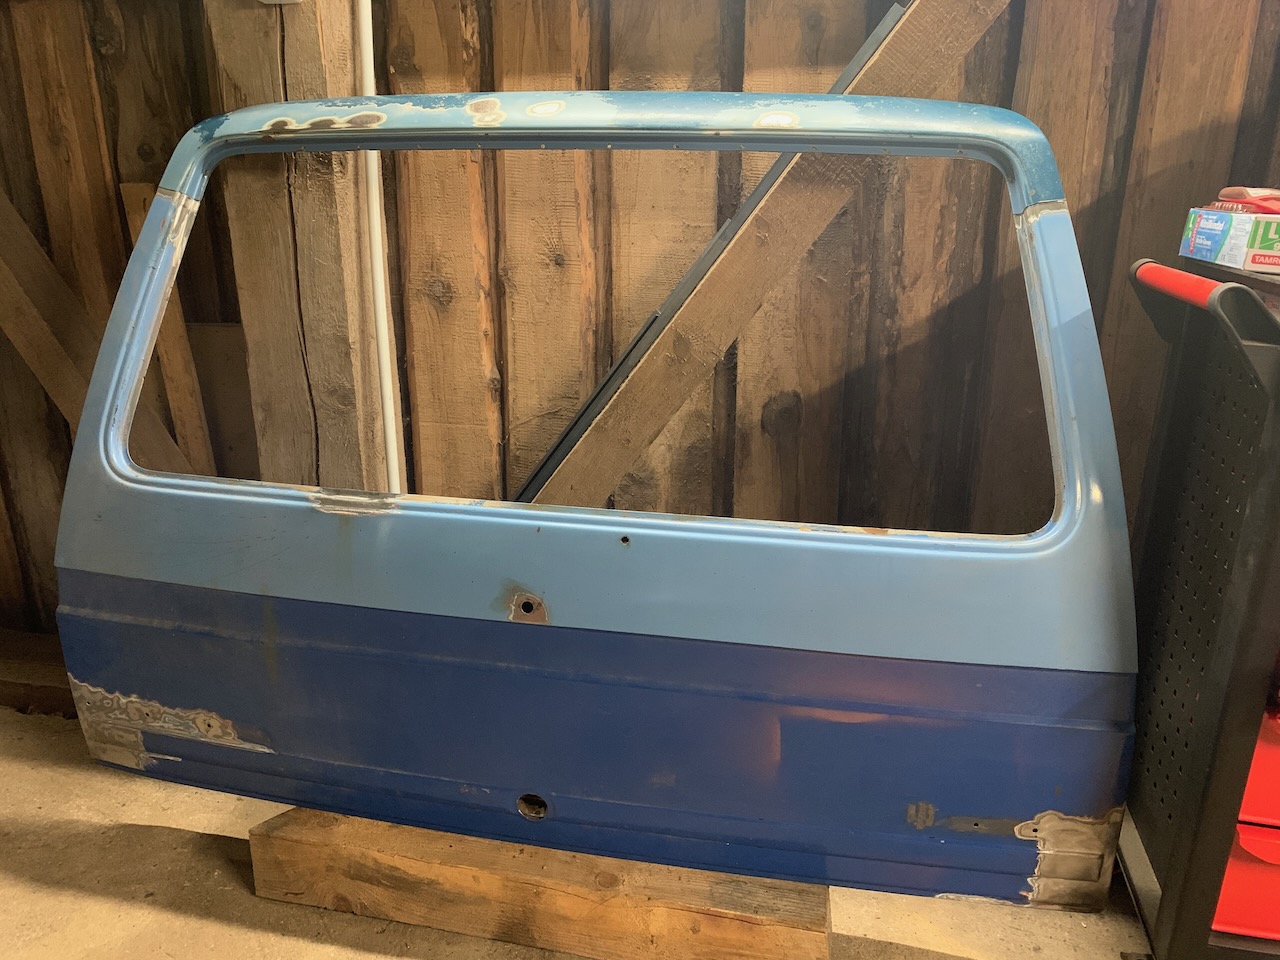
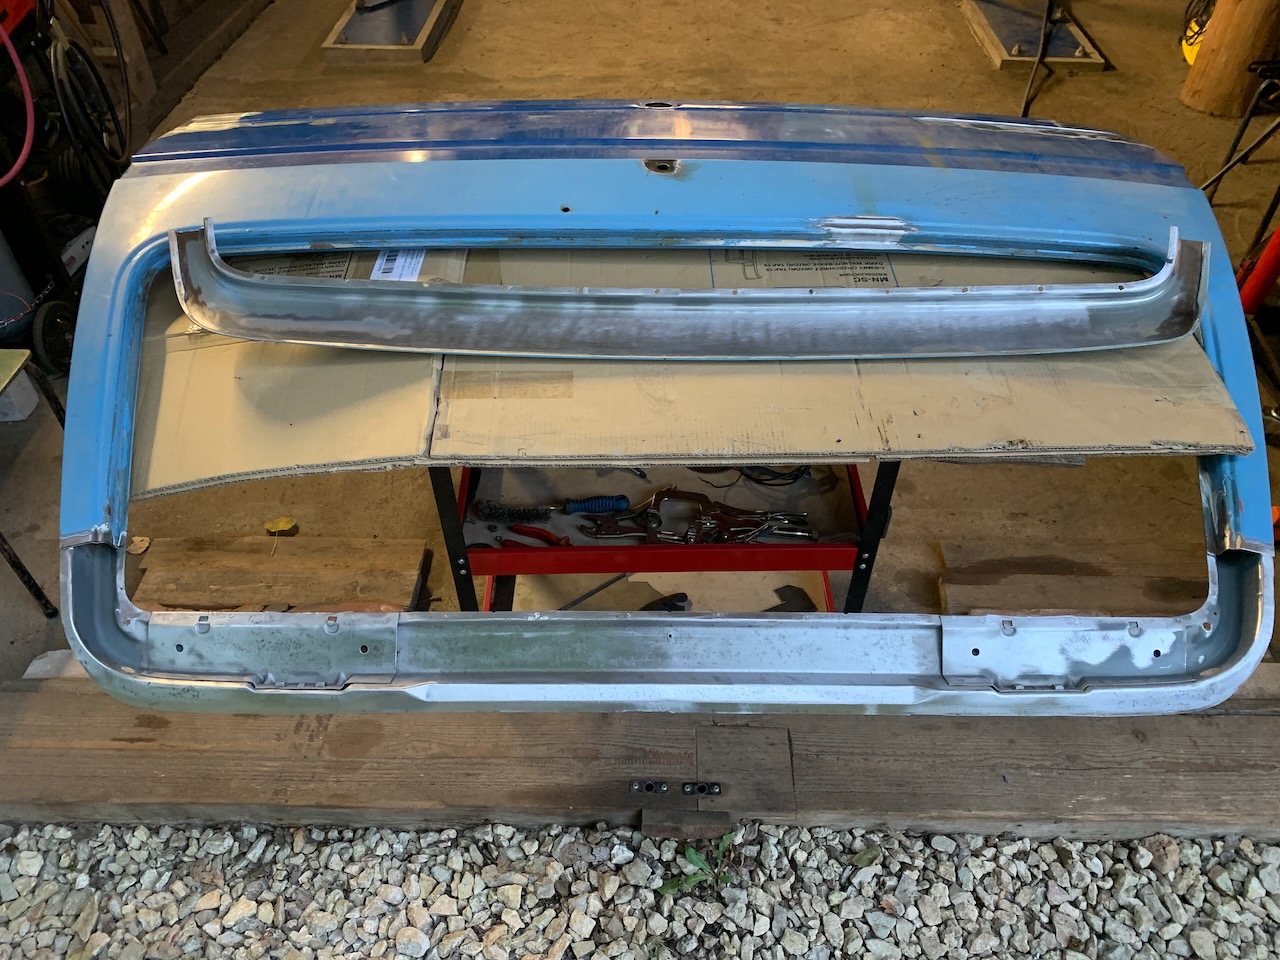
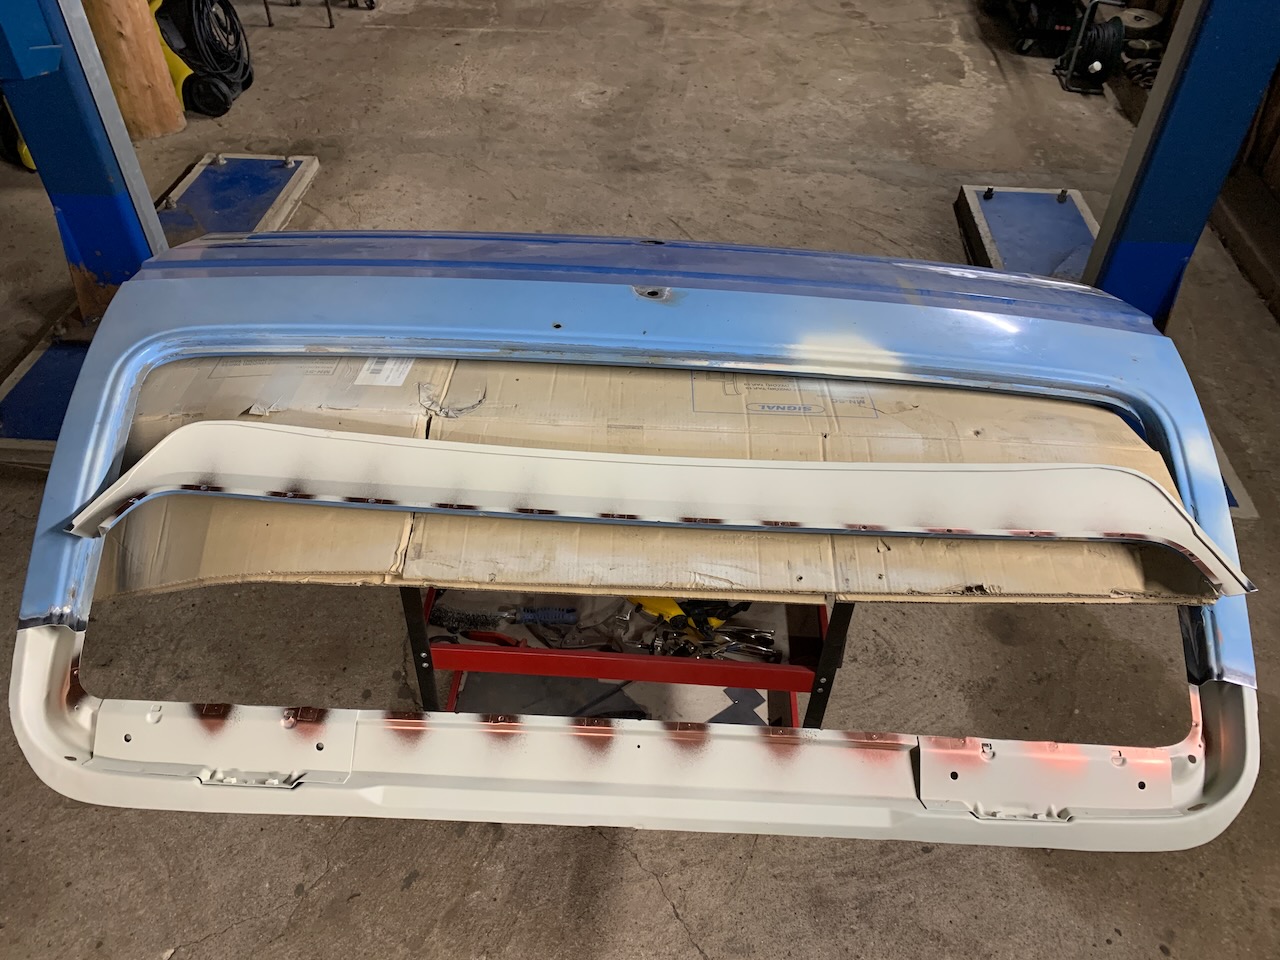
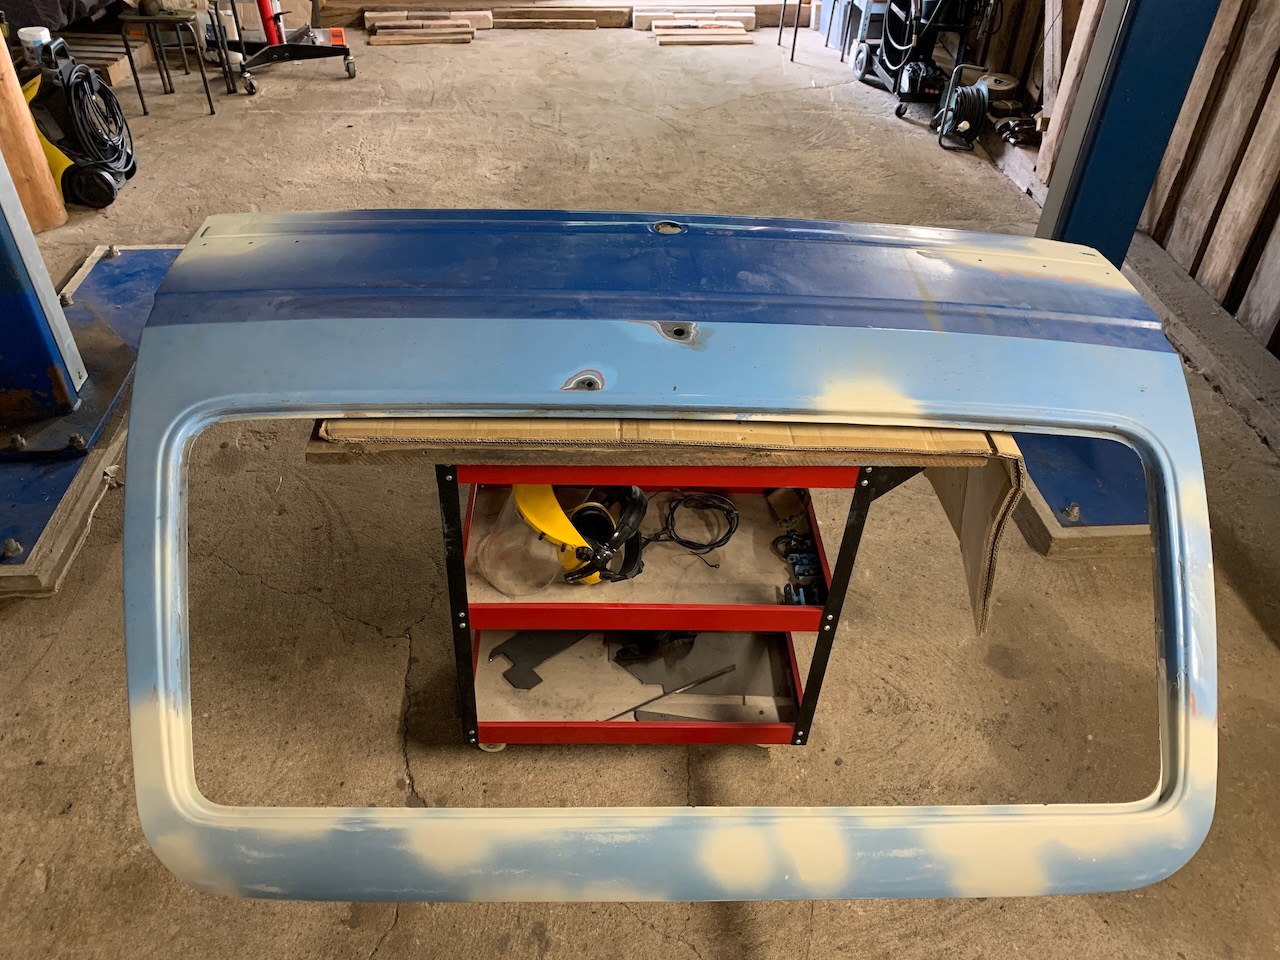
The Tailgate
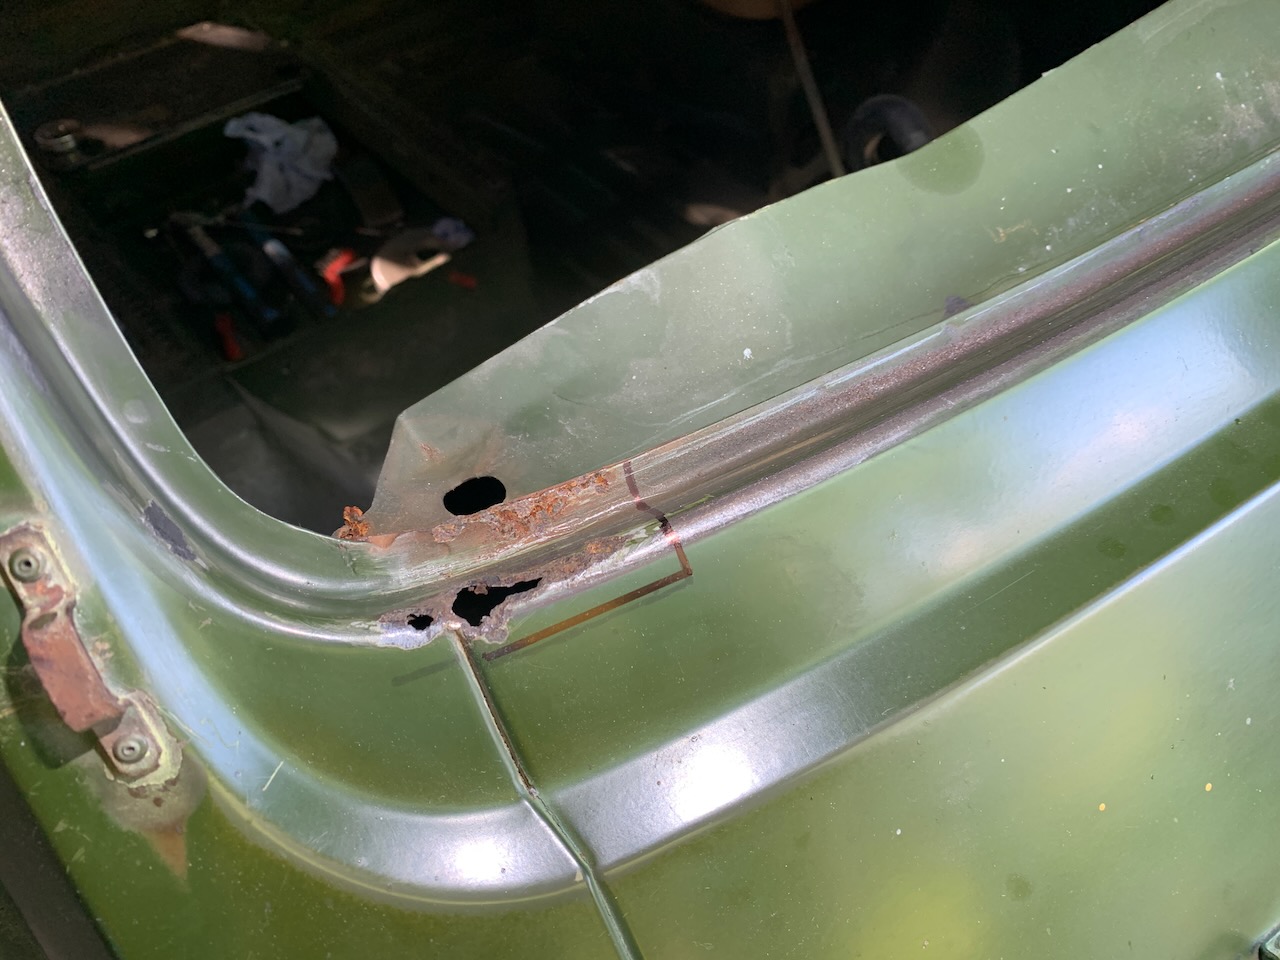
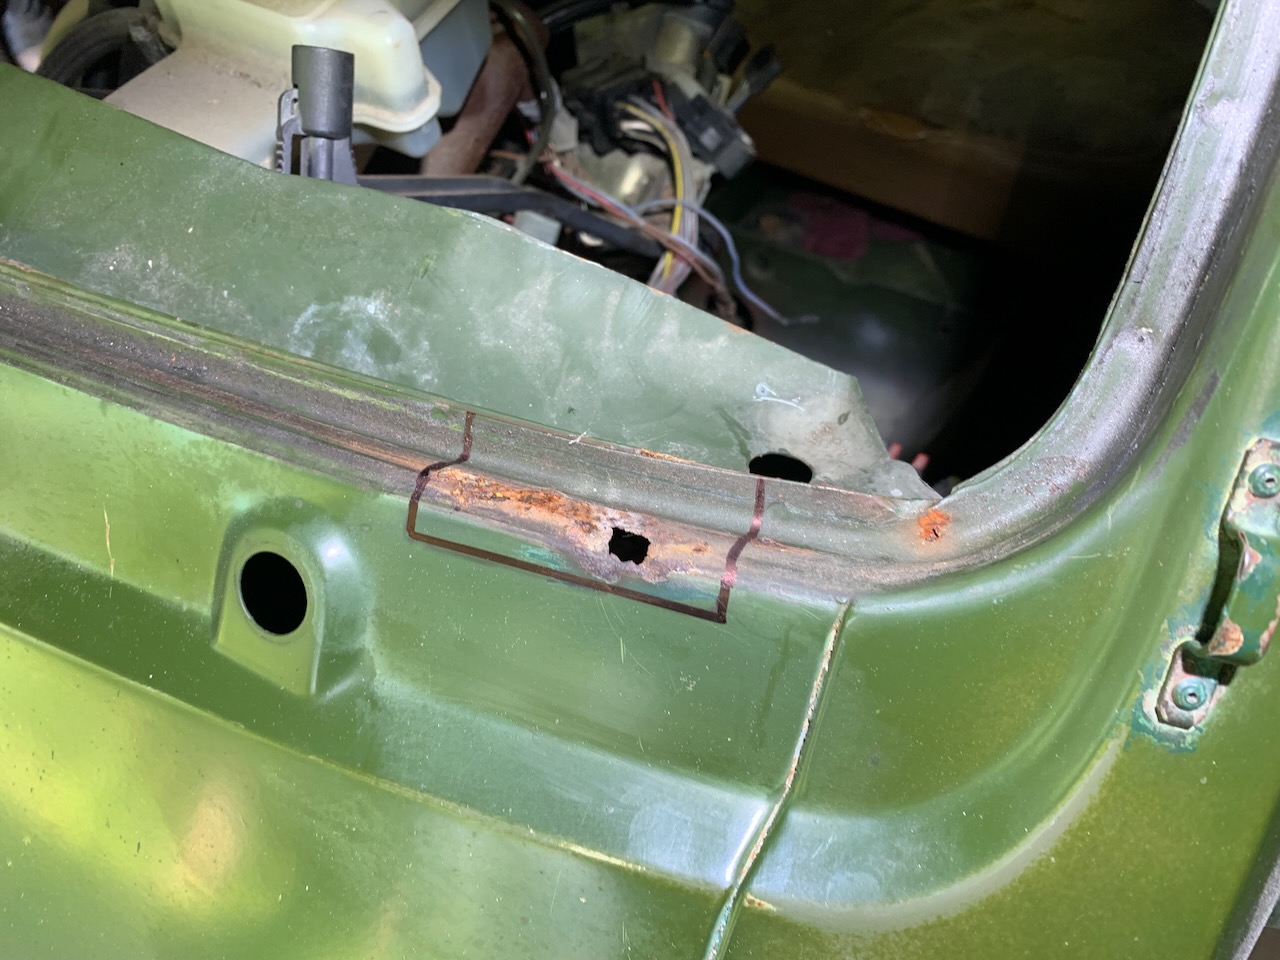
For replacement I found a Caravelle GL tailgate, which surprisingly had a very well preserved lower edge. However, the problem was that at some point in the past it had gotten a bit dented and for some reason the upper edge of the window frame was deeply rusted. In order to restore it, I was lucky enough to cut all the necessary metal from the tailgate of our blue donor bus.
Summary And Coming Up
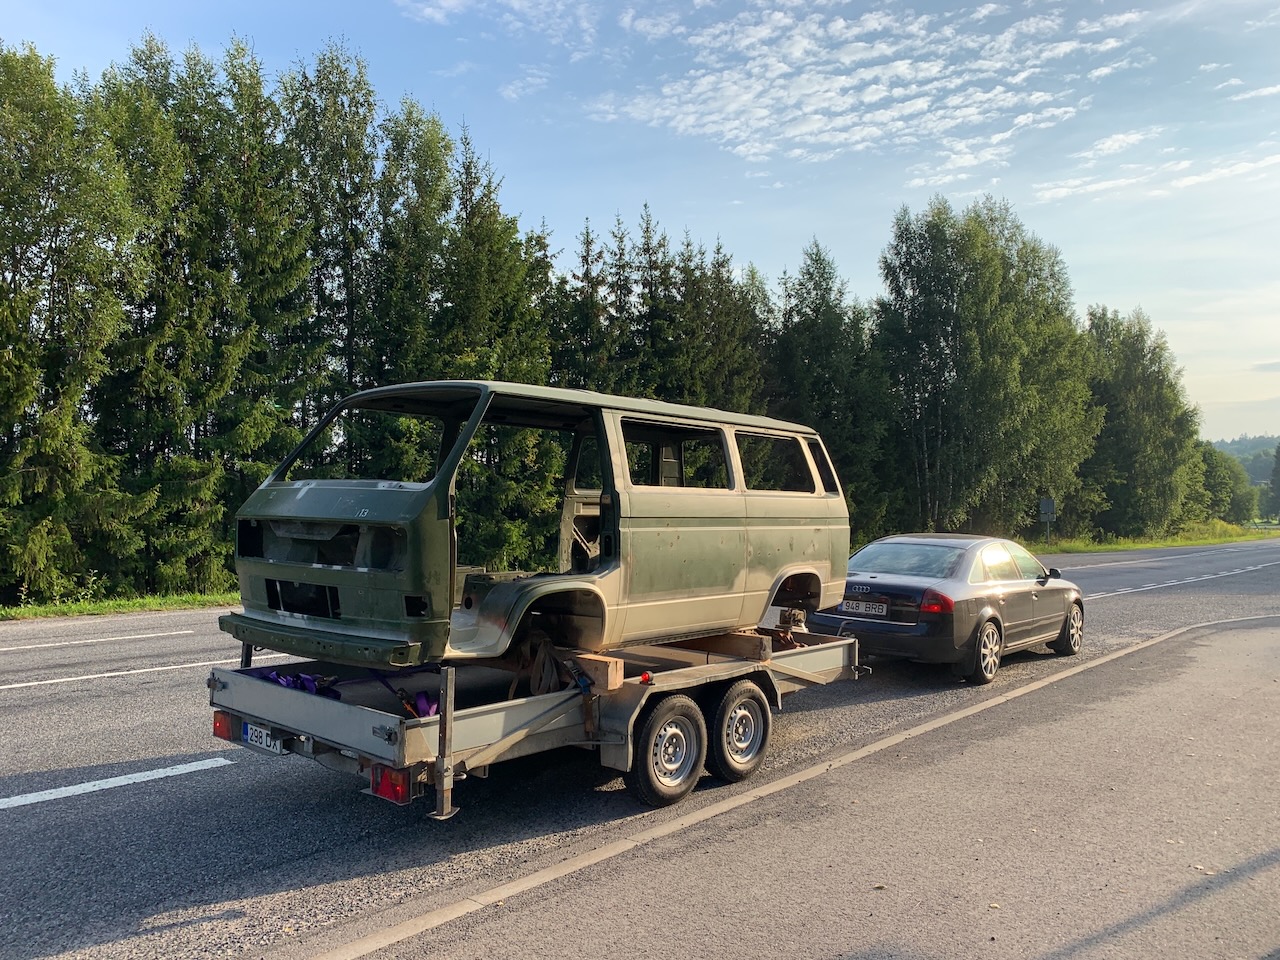
The works described in this post were done between July 2022 until August 2022 and it took 90 man-hours. Also these were the last weldings we had planned for the bus, which meant that at last it was time to remove everything that was bolted on the body.
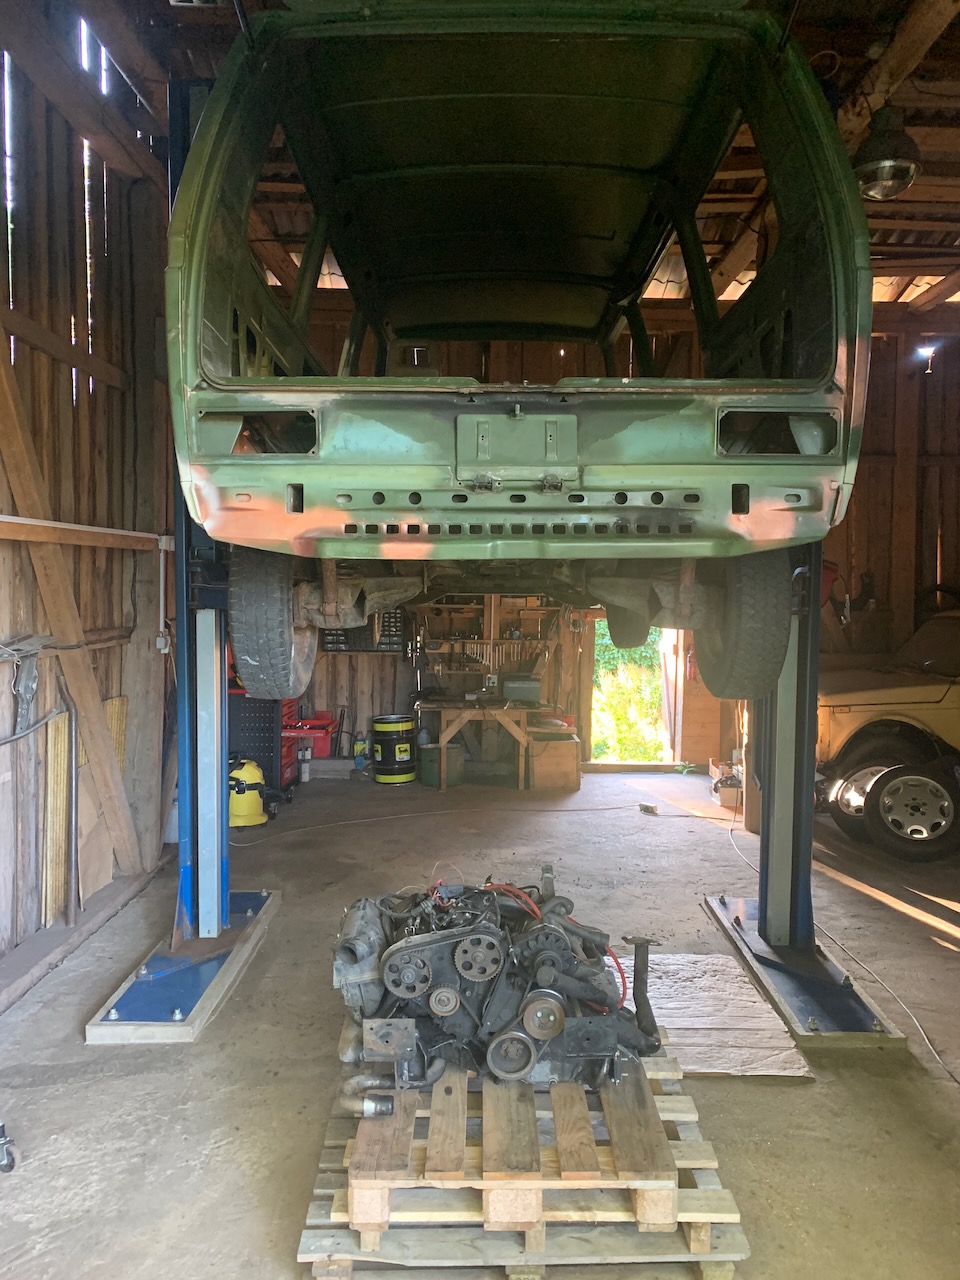
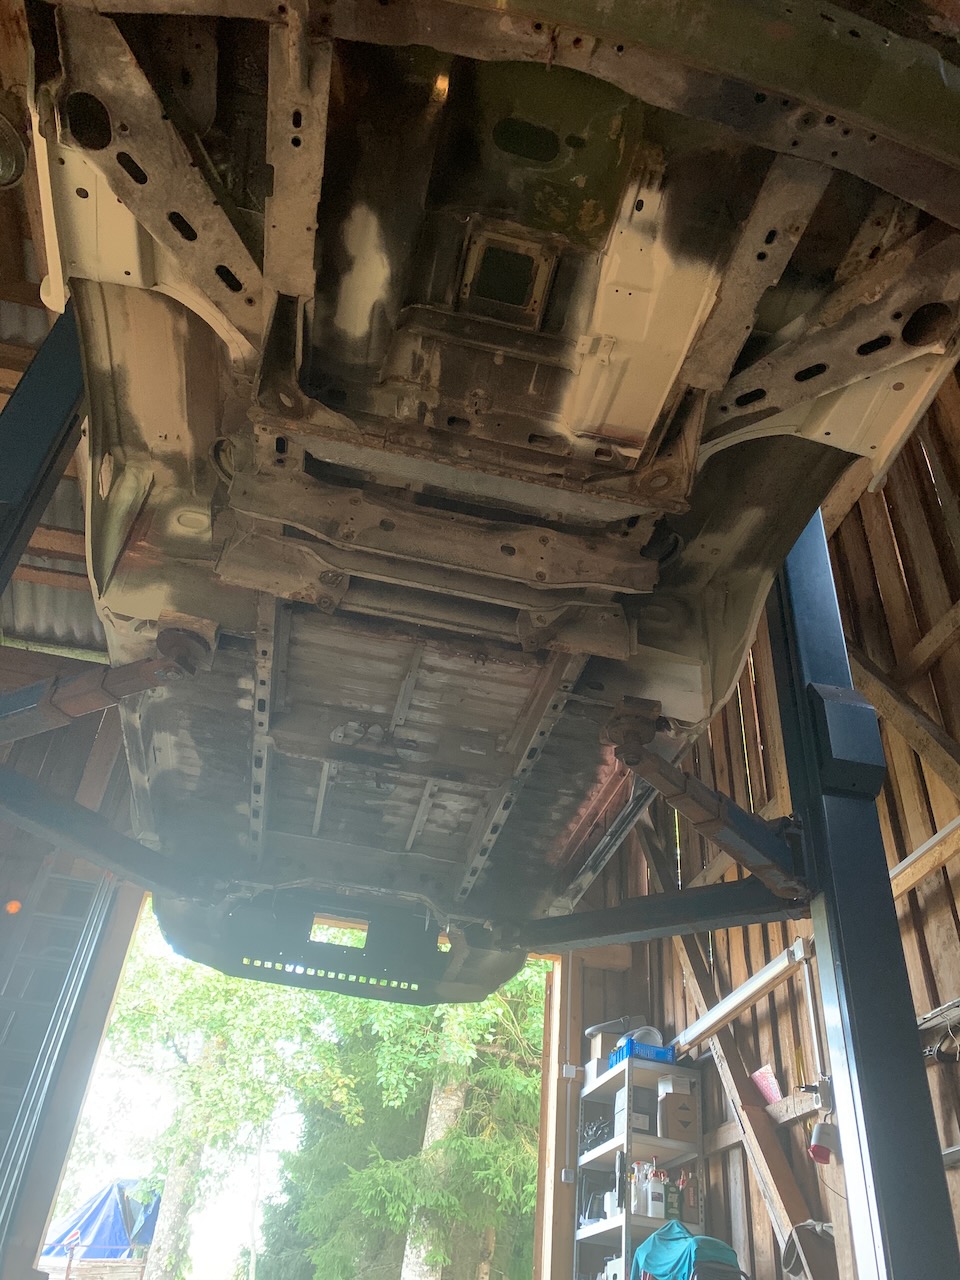
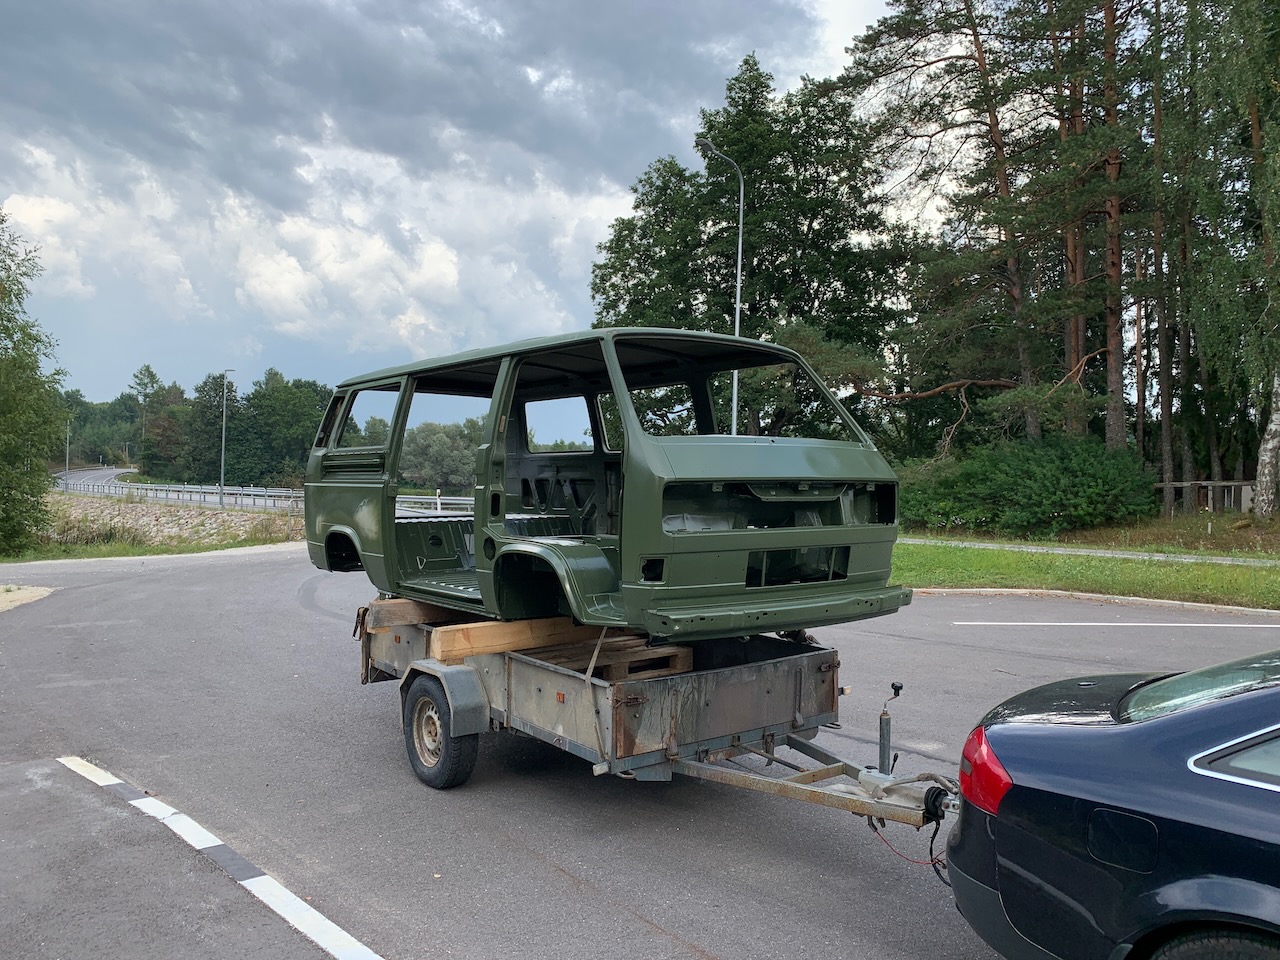
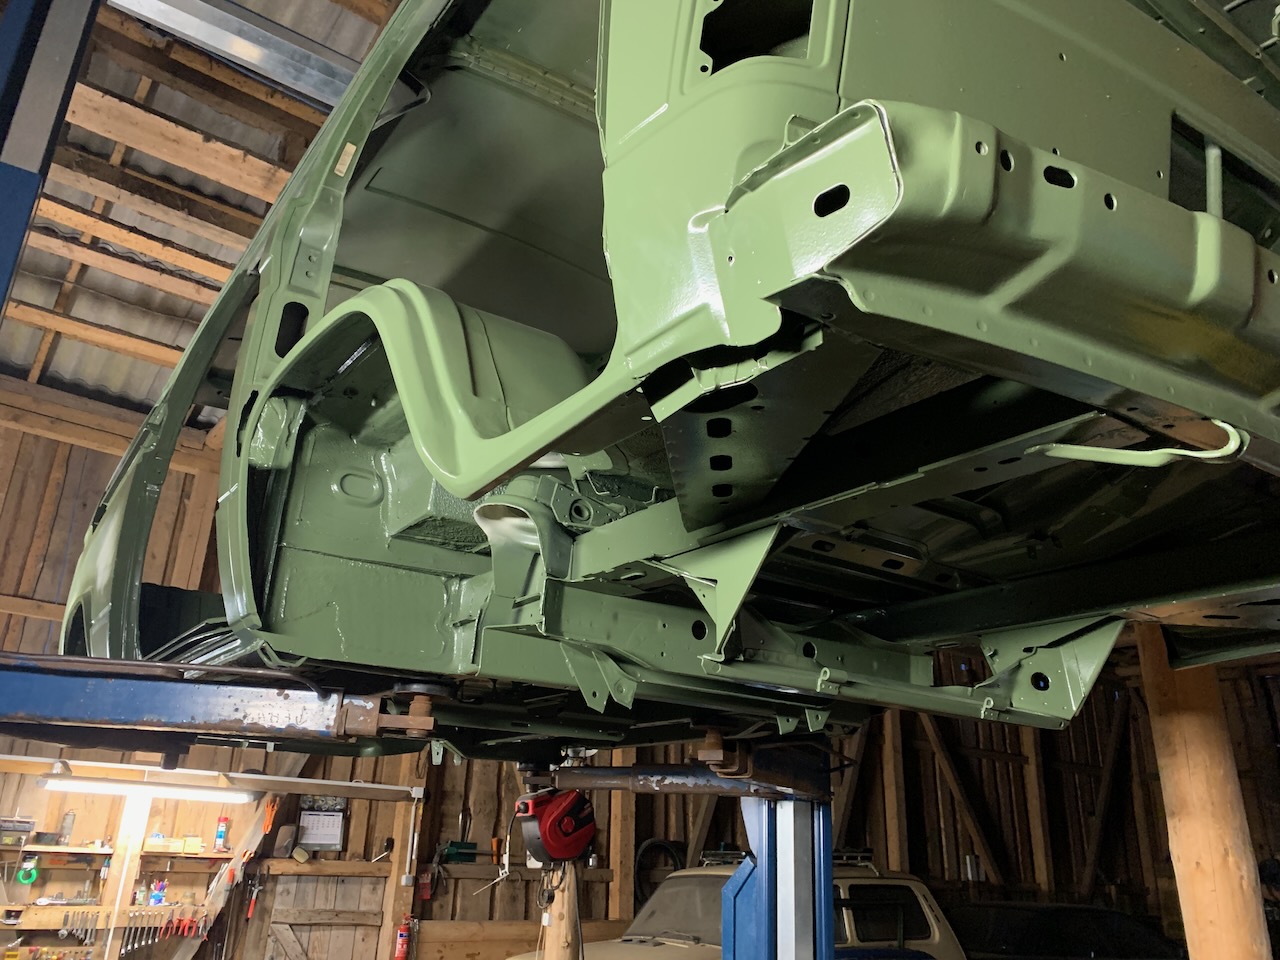
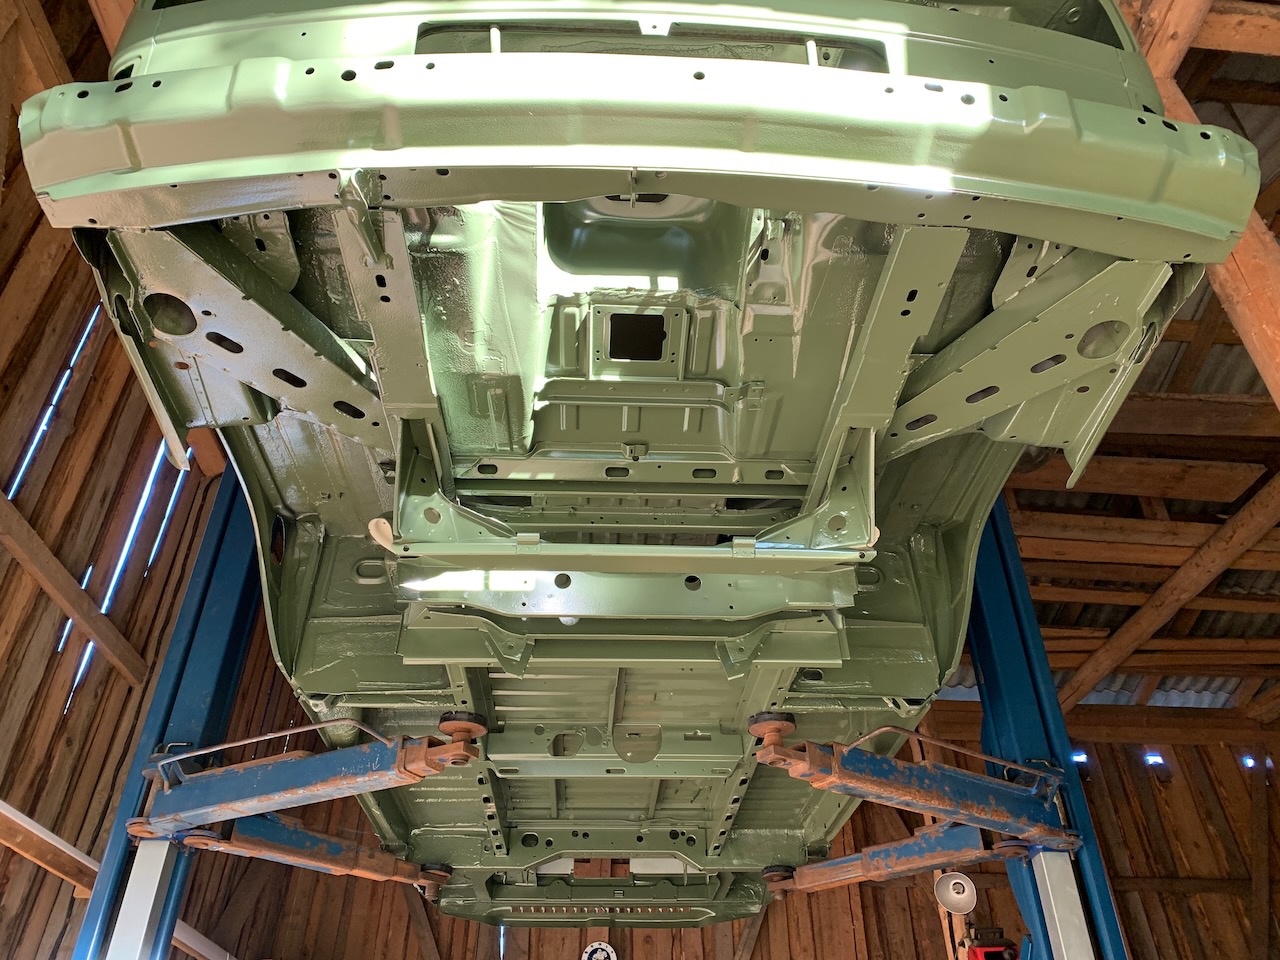
At the end of August we drove the bus to the workshop where sand blasting and painting of the bottom of the body were done. Meanwhile, I was able to start on the restoration of the front and rear axle parts that we had taken off from the body. The next post will be about assembling of the axle parts and painting the body in and out.