The Restoration of the Passenger Side B-pillar, Front Wings and Floor Panels
This post took a while, because for some reason we set ourselves the goal to finish the body works of this cabbage worm in 2022. This meant that the welding should have been done by the end of the summer so that we could take the bus to the painter by autumn the latest. Well, I’ll let you know, that in 2022 the bus got indeed painted to some extent, but so many other interesting things got done as well. We’ll take a closer look at these events in this and in the next post.
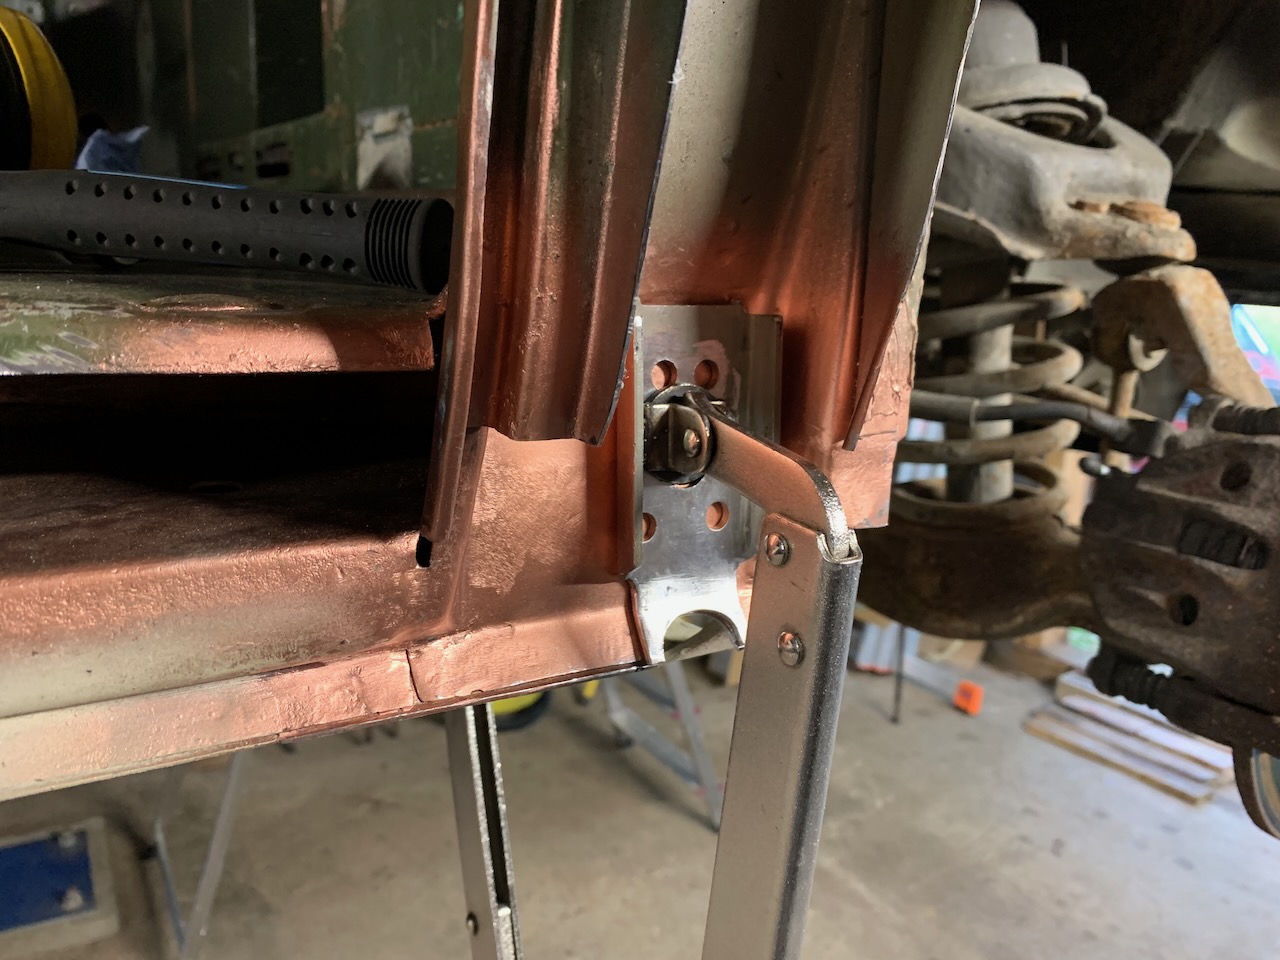
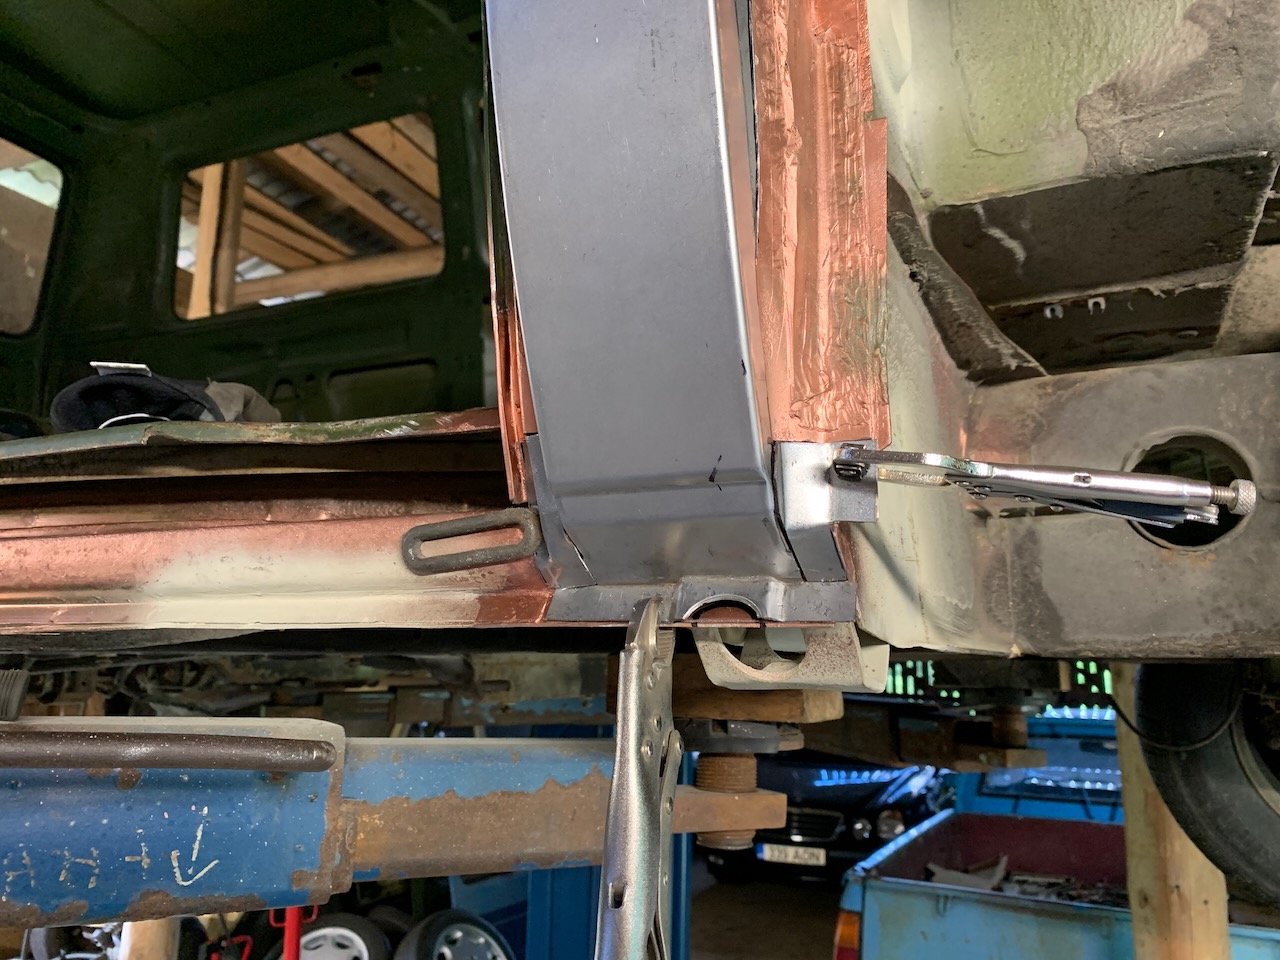
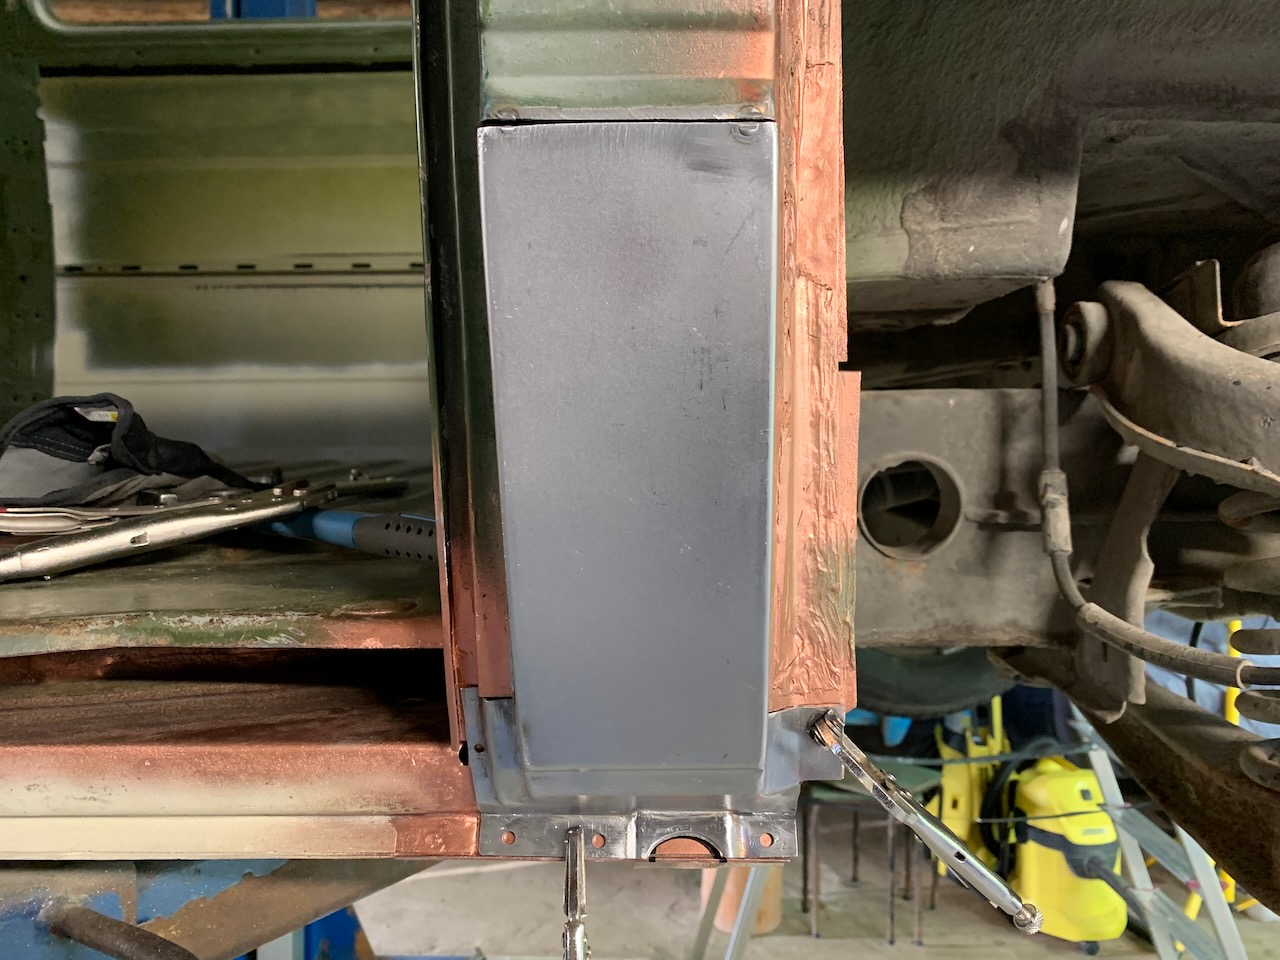
The Passenger Side B-pillar And the Inner Sill
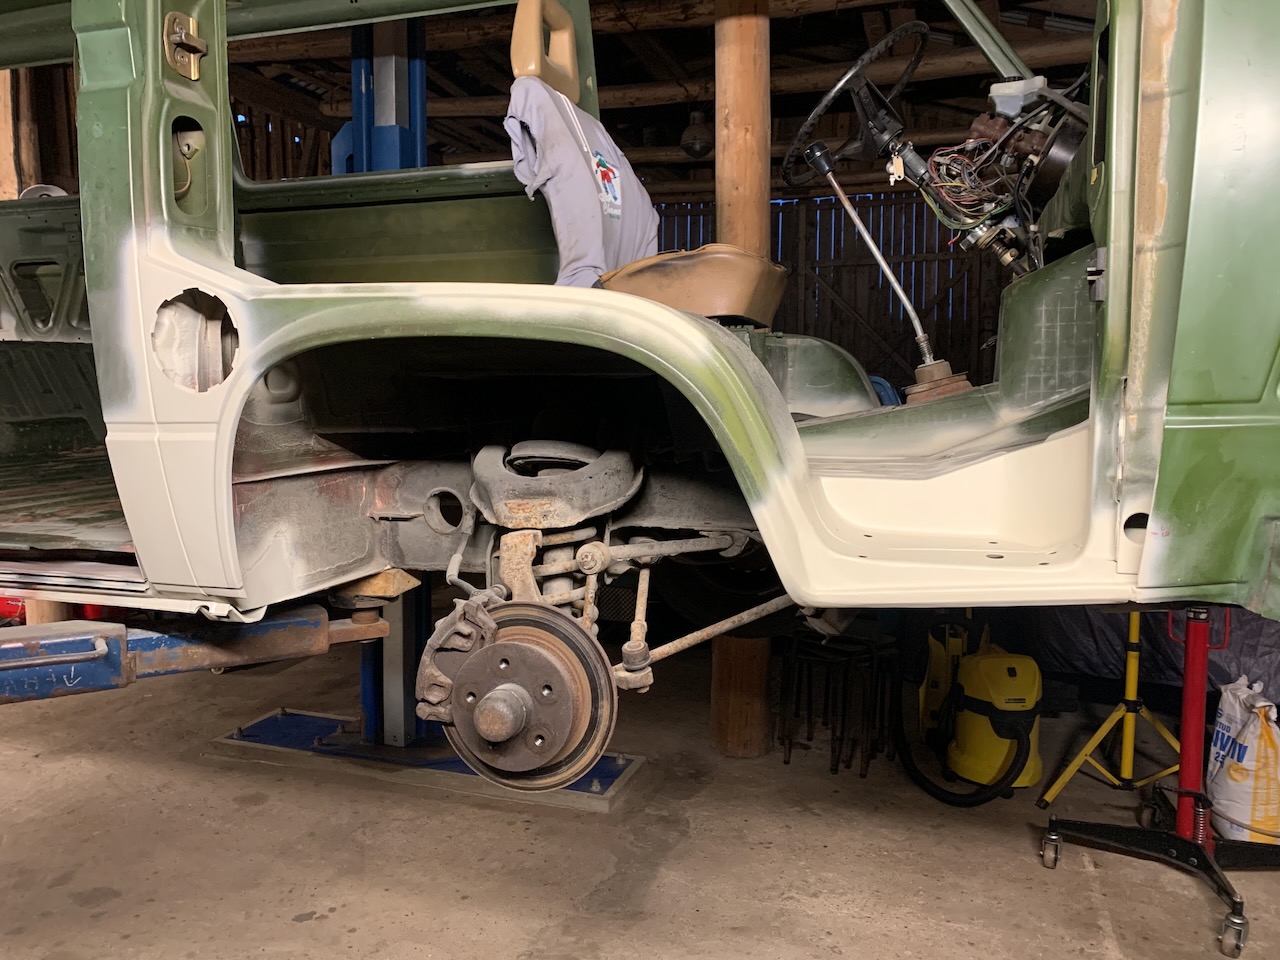
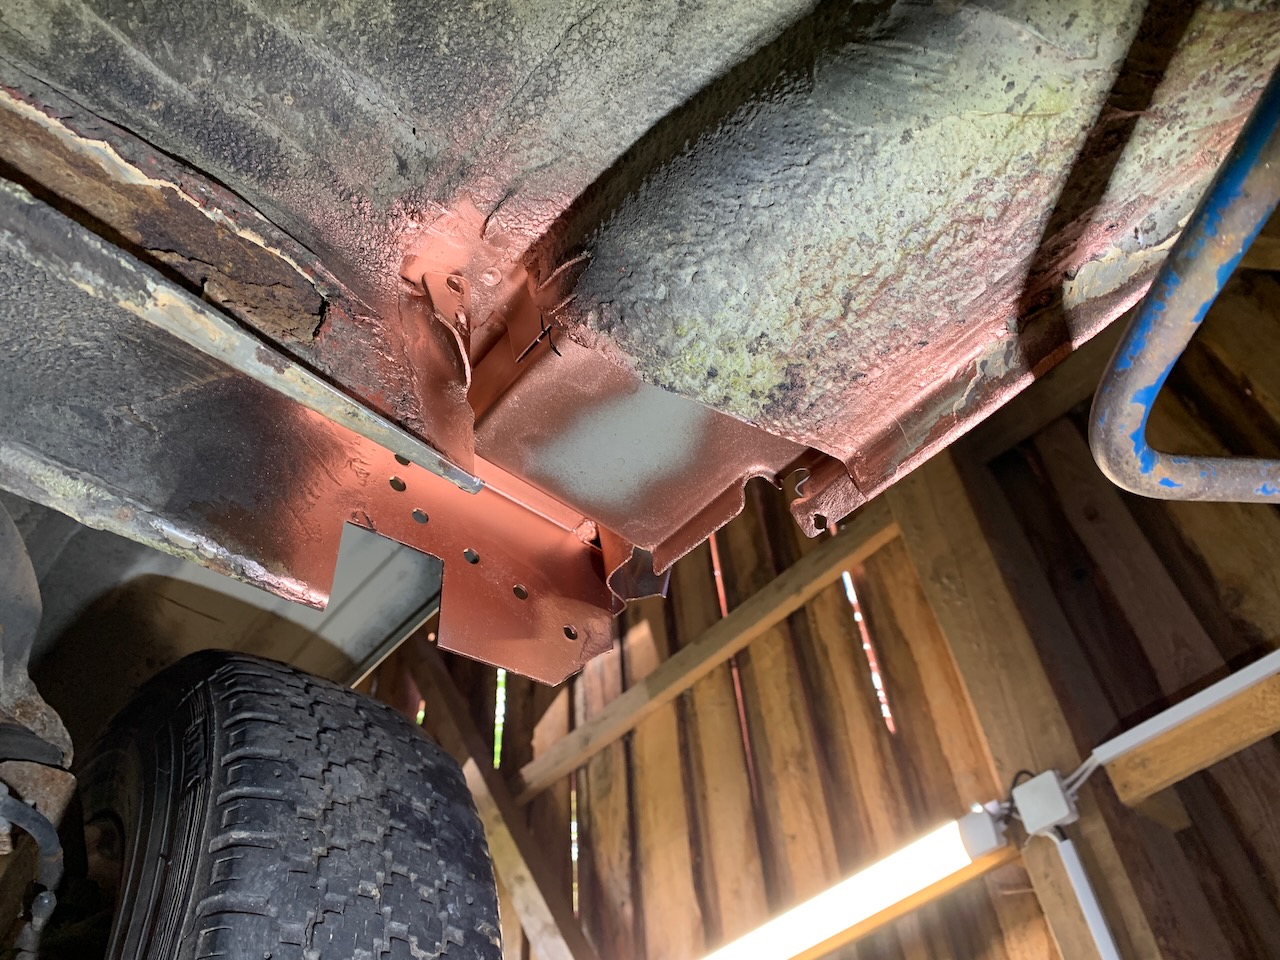
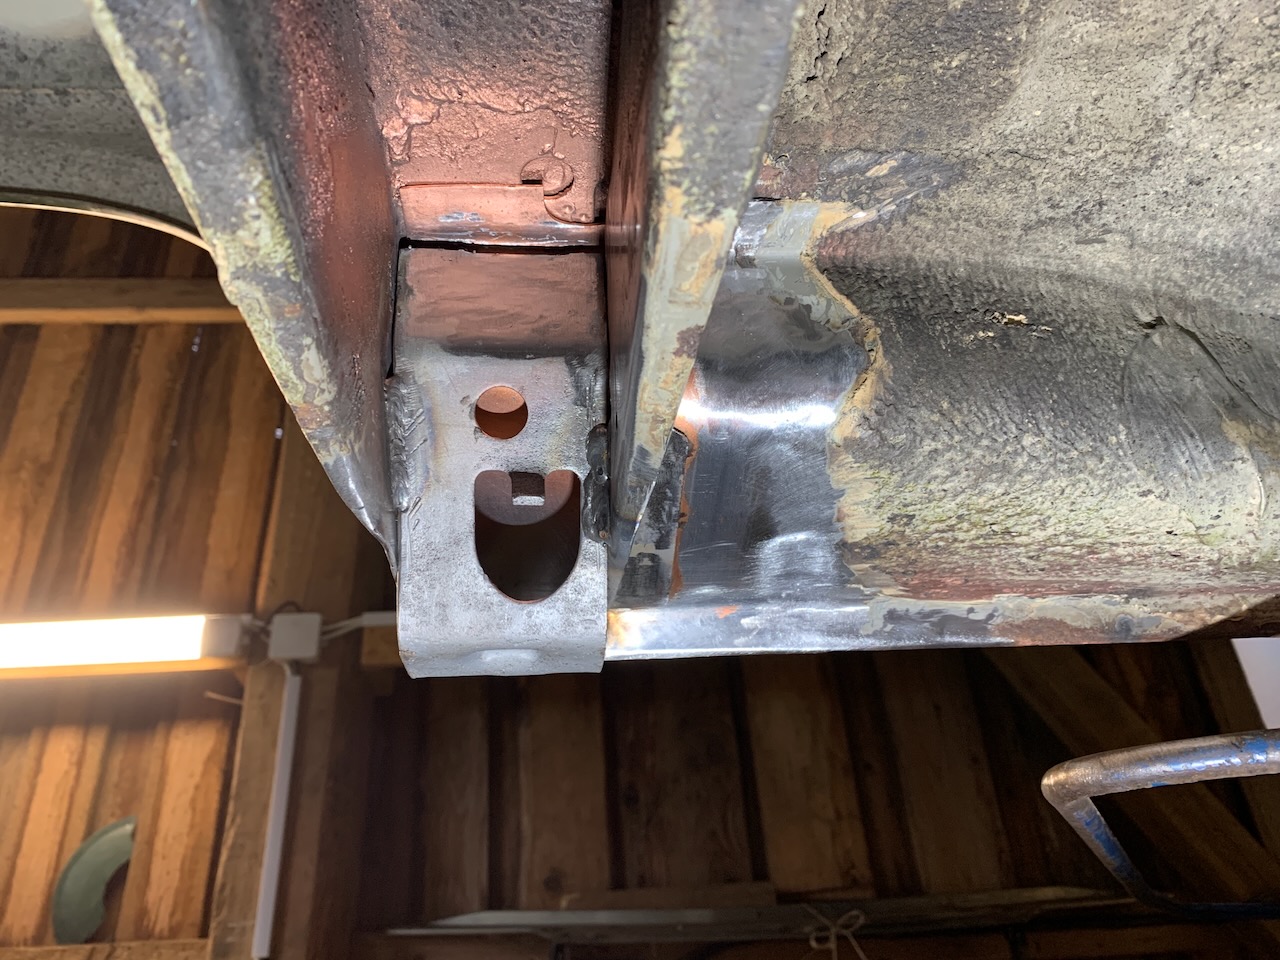
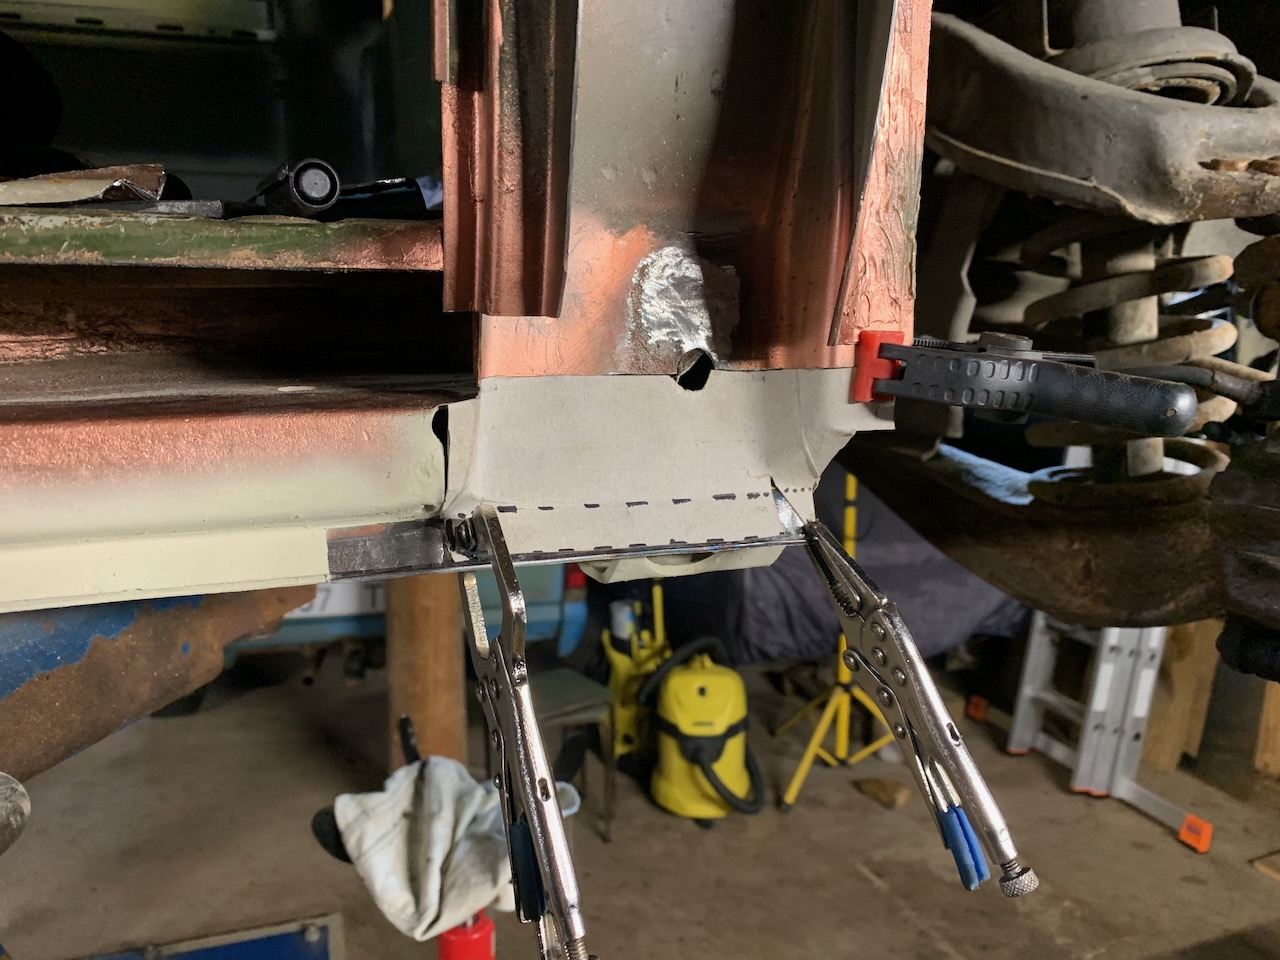
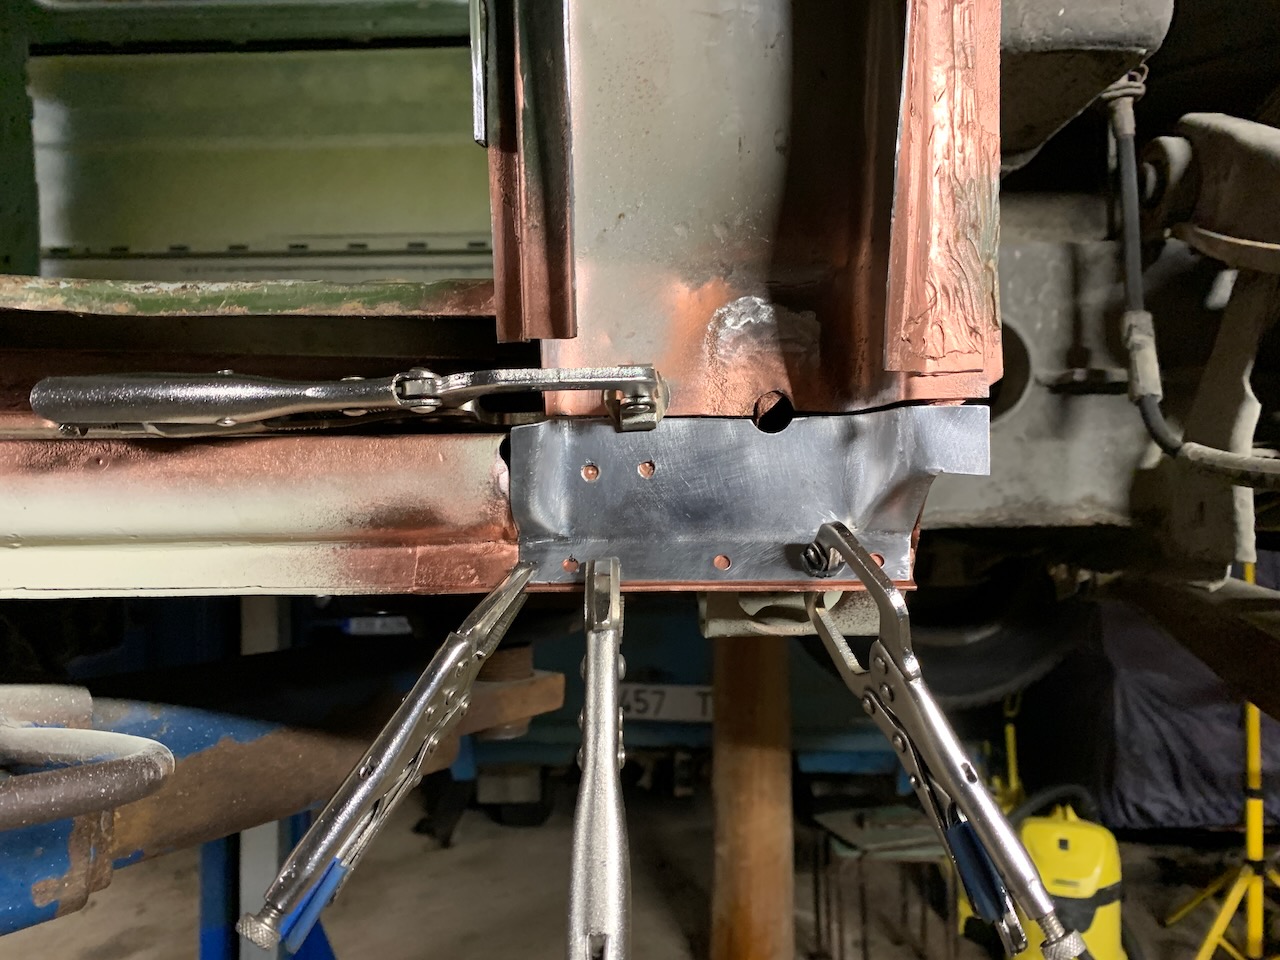
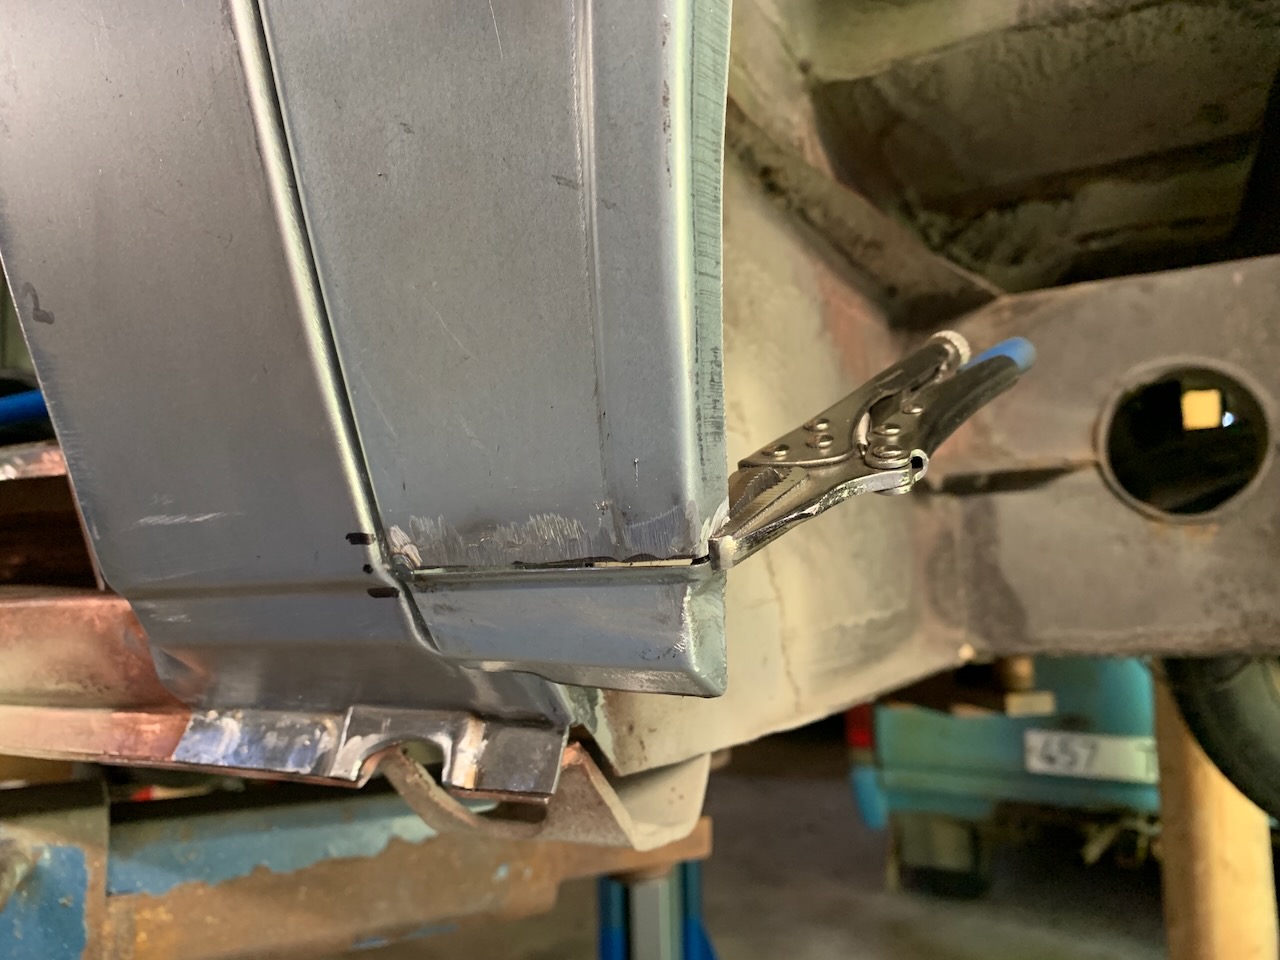
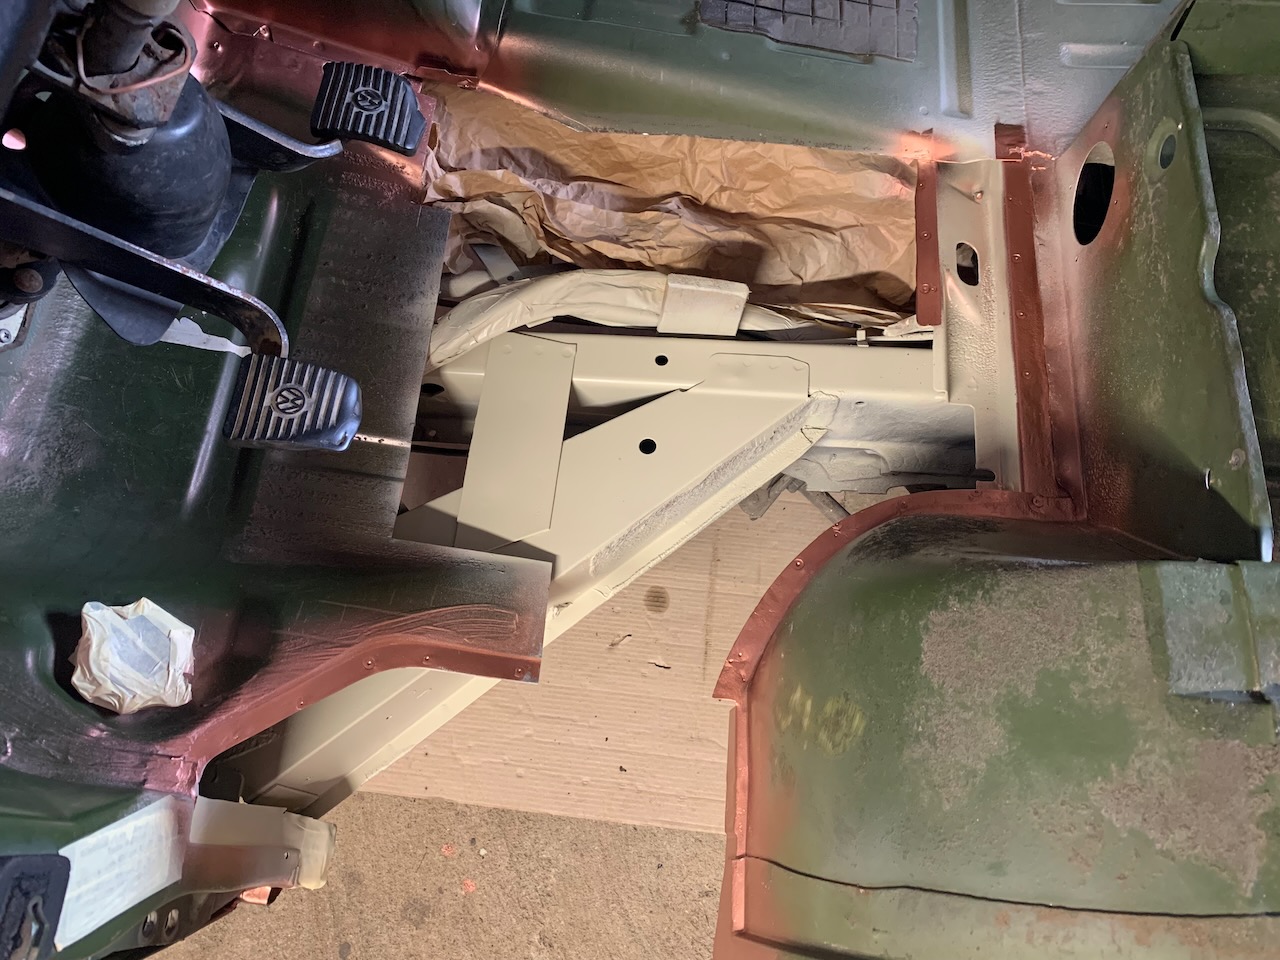
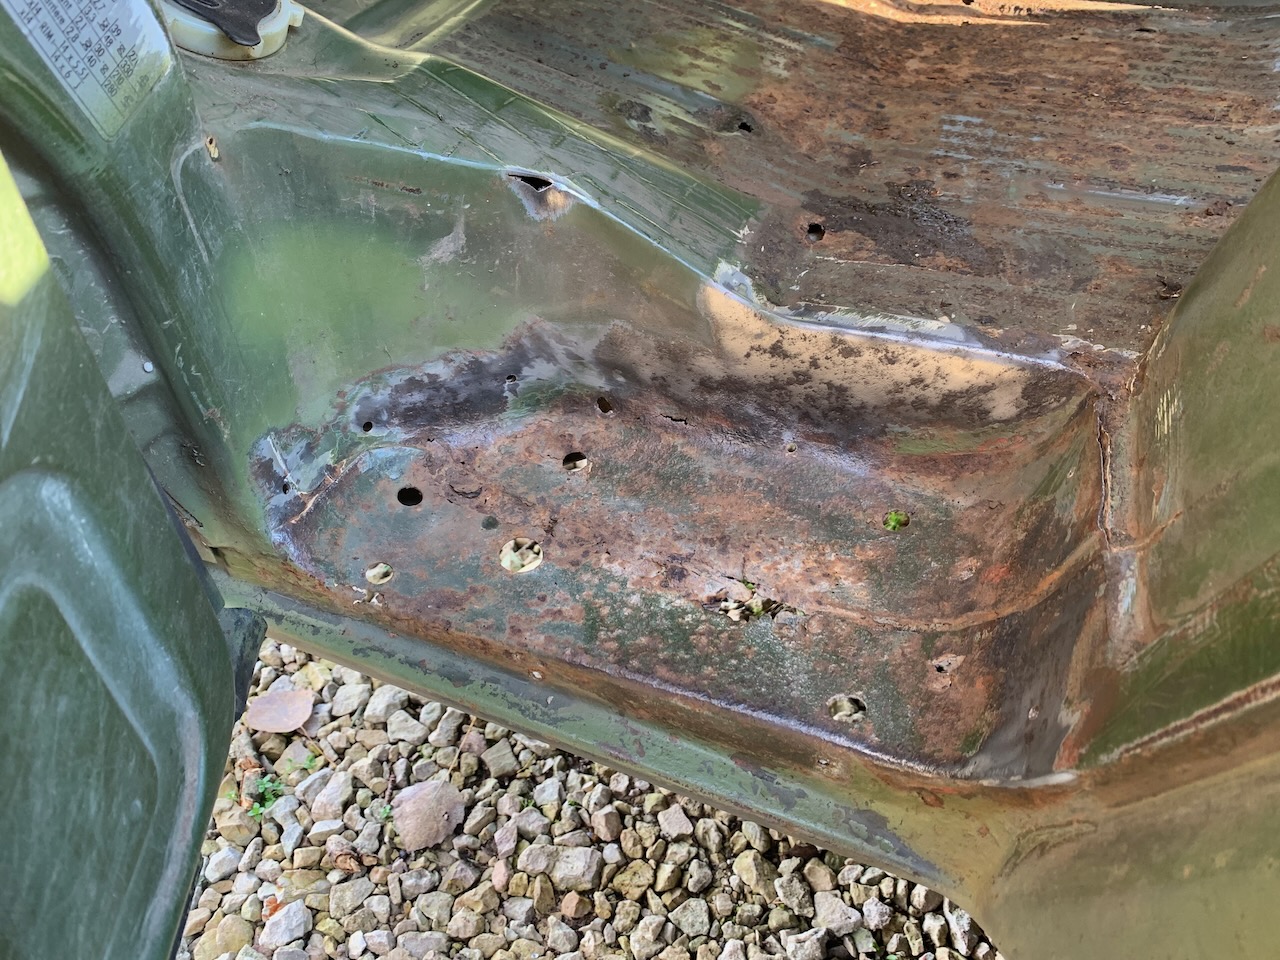
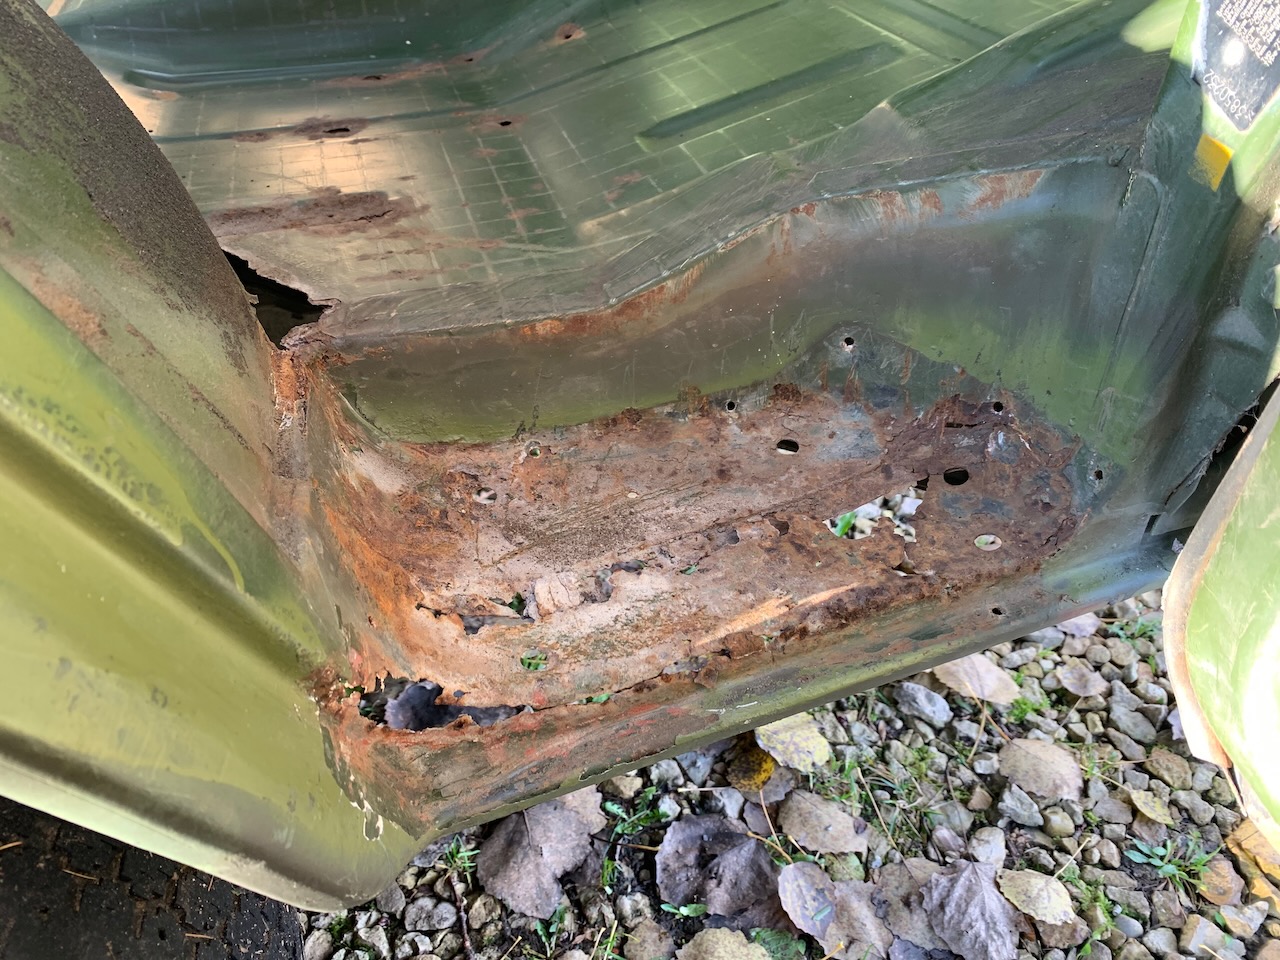
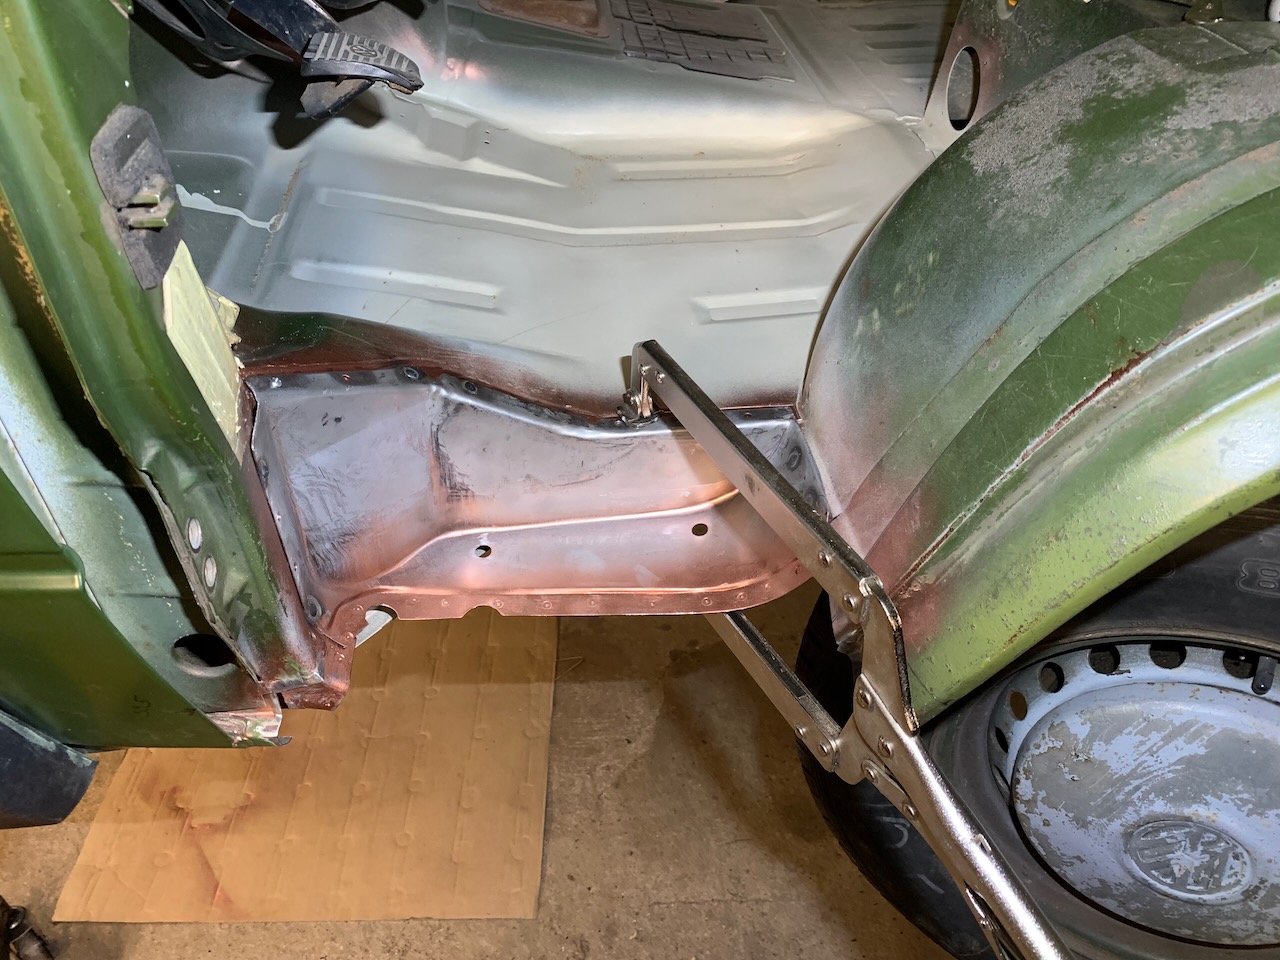
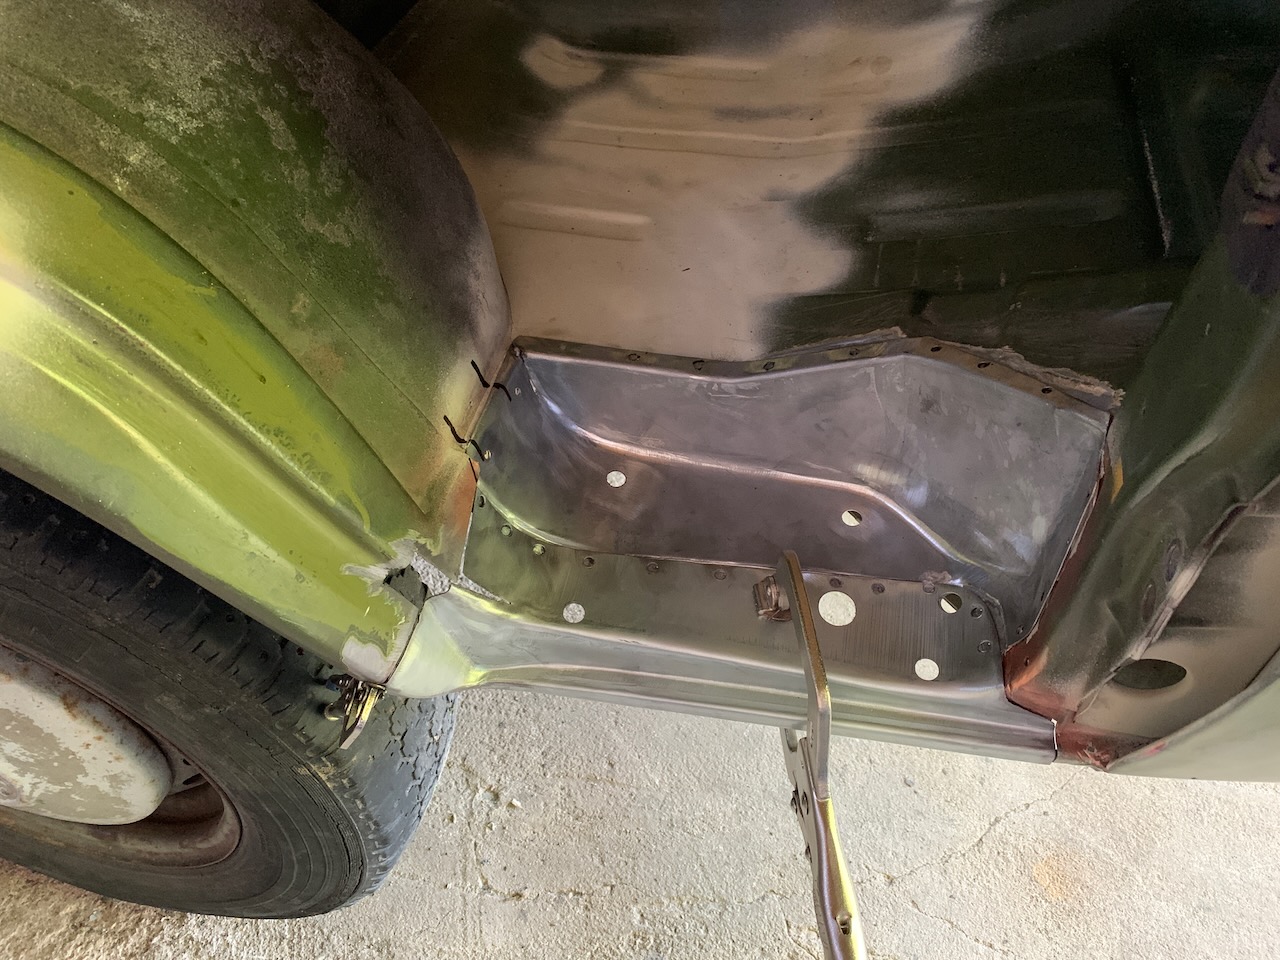
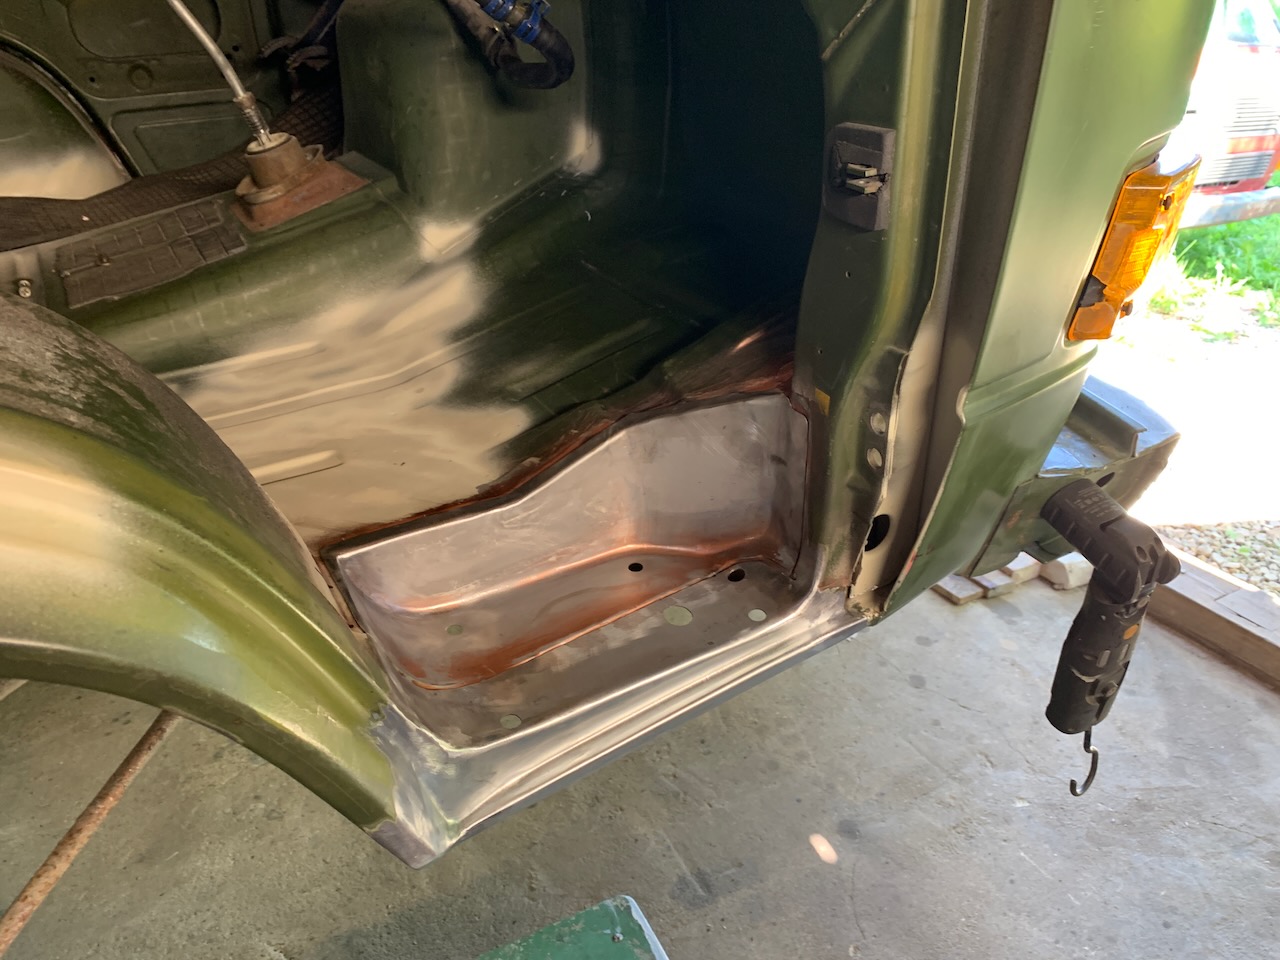
To be honest, the passenger side B-pillar looked pretty promising. It was clearly visible that there is some rust at the very bottom of the pillar, but there weren’t any huge holes in sight yet. Since I already had dealt with the B-pillar on the other side and had seen that it looks way worse on the inside, I decided to cut it more open here as well.
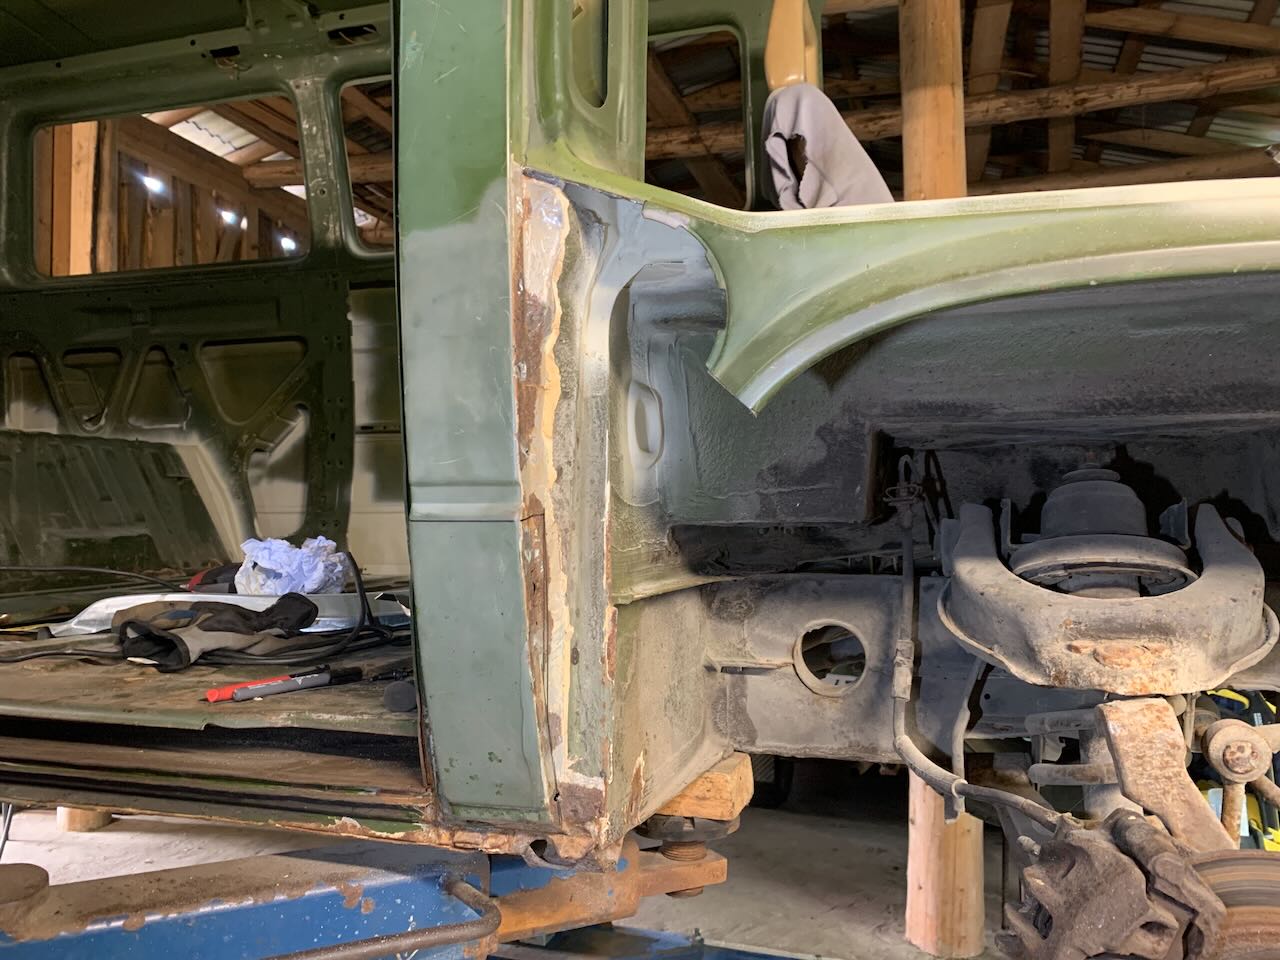
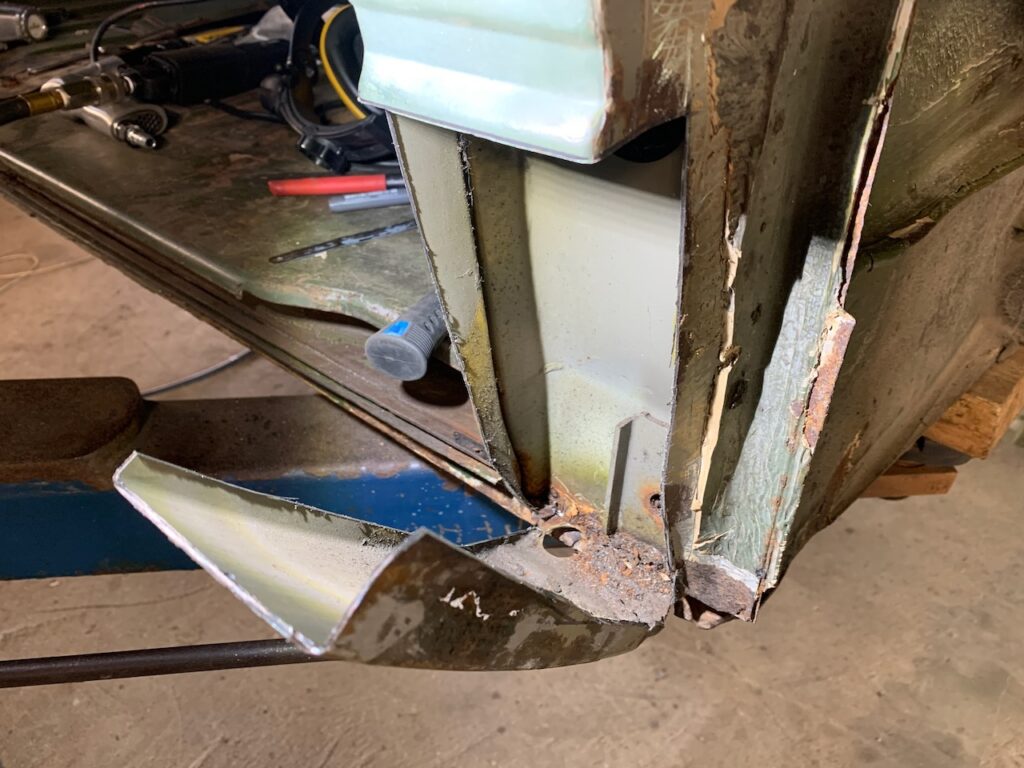
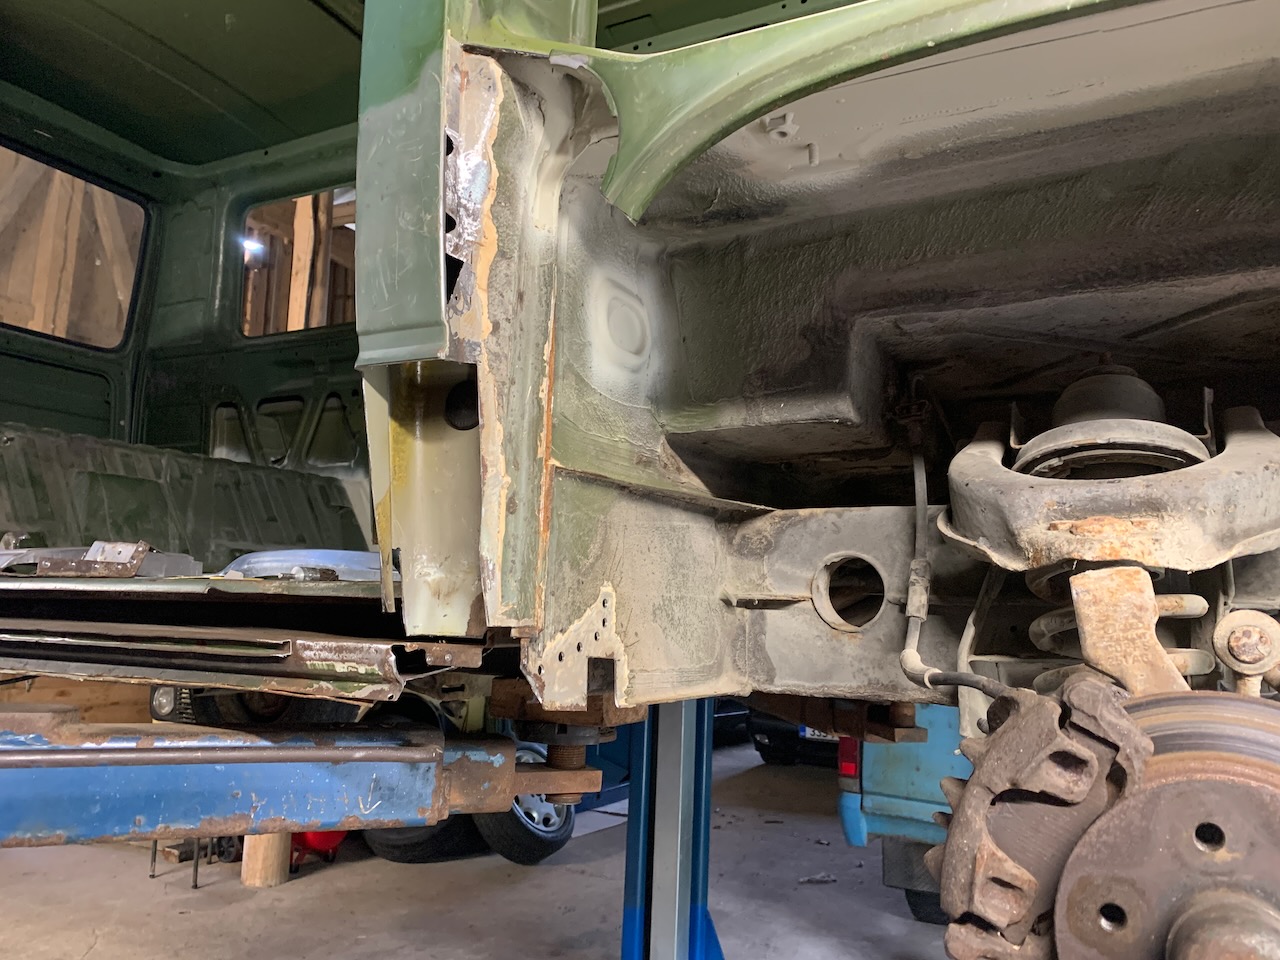
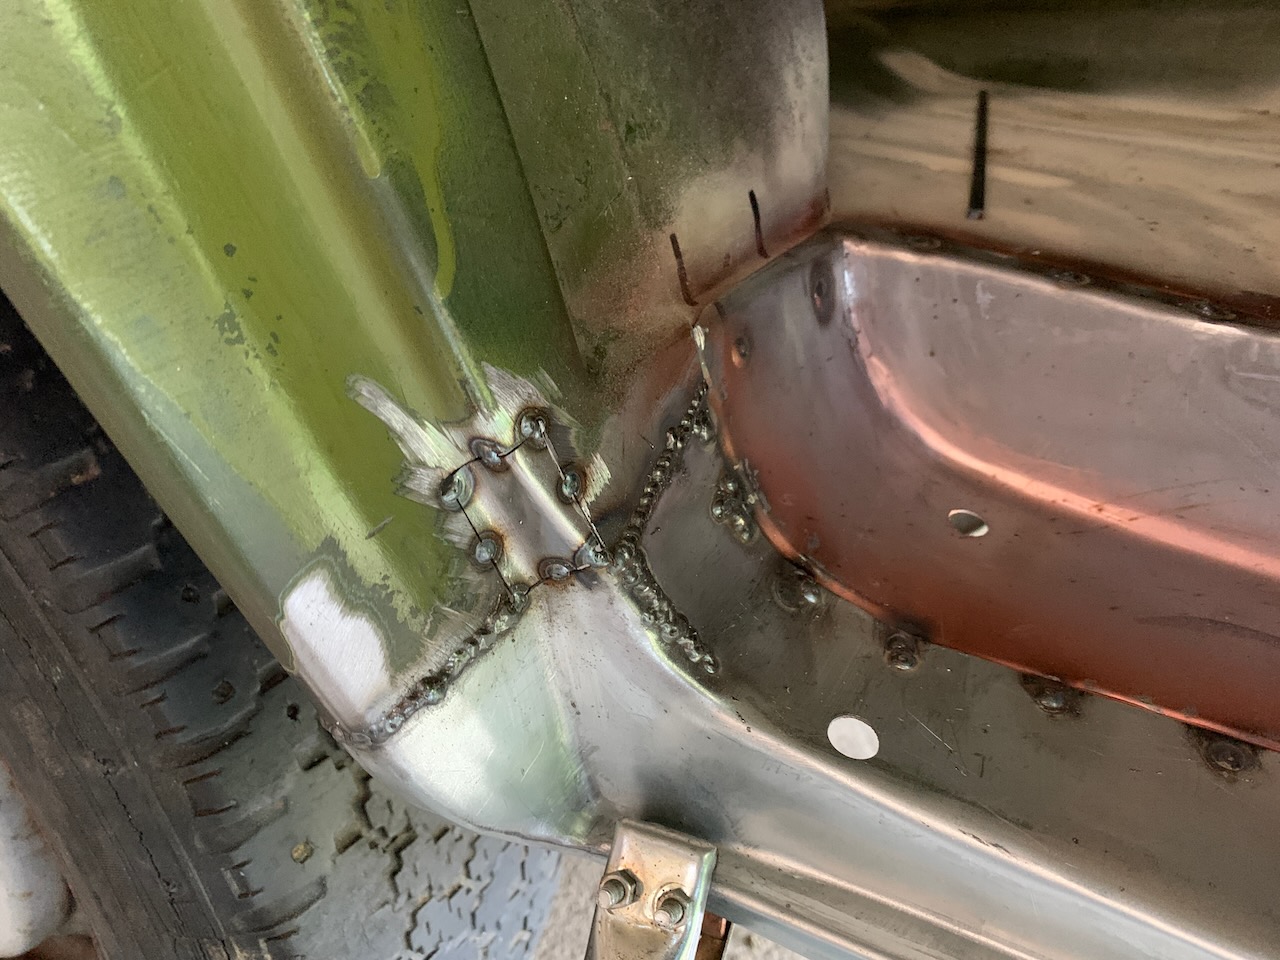
After the initial observation it was clear that the situation before me needed some more unraveling. I continued to cut until all the dodgy looking material got removed and it became obvious that the inner sill needed a new front end and the B-pillar needed new inner and outer lower ends.
The Inner Sill
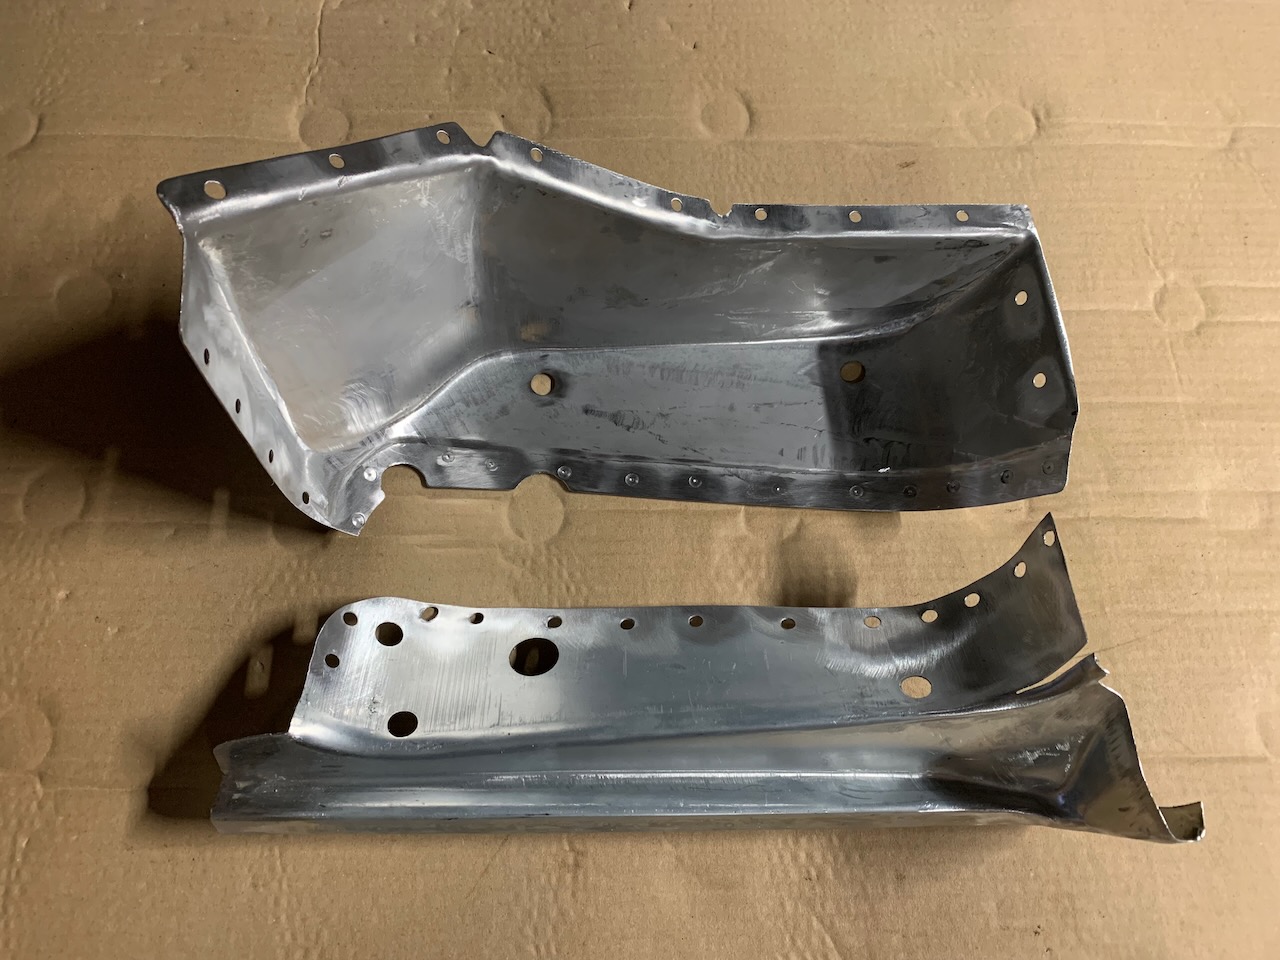
I decided not to buy a repair panel for the inner sill (VW part no 253 801 252), instead I figured I could try to make one myself. I did feel a bit insecure about having to make a bend with a changing radius, but with a perfect template and a steady hand I did not run into problems.
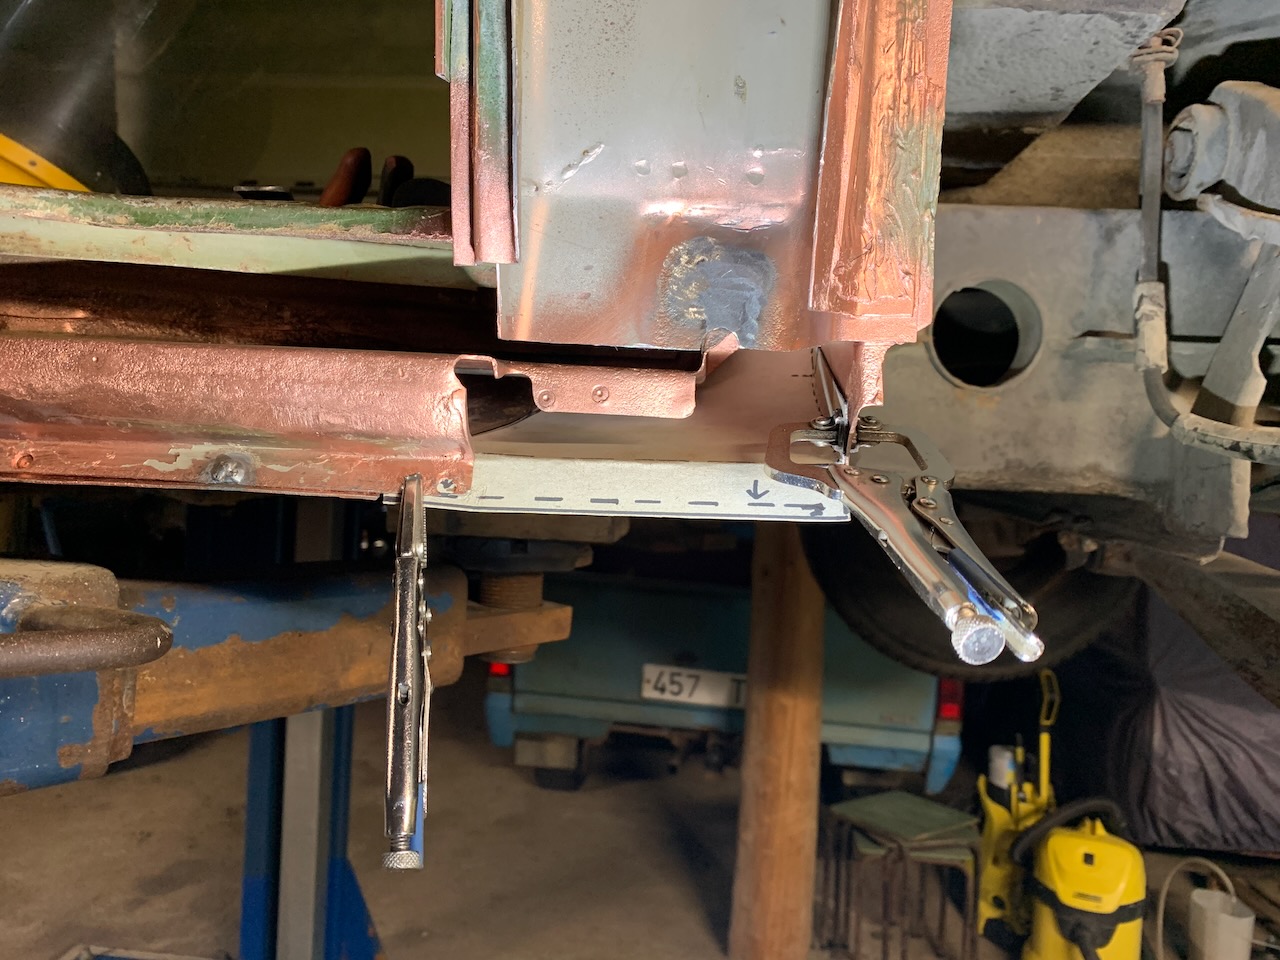

As I was already patching up the inner sill, I decided to repair some not so good looking spots in the middle of the inner sill too.
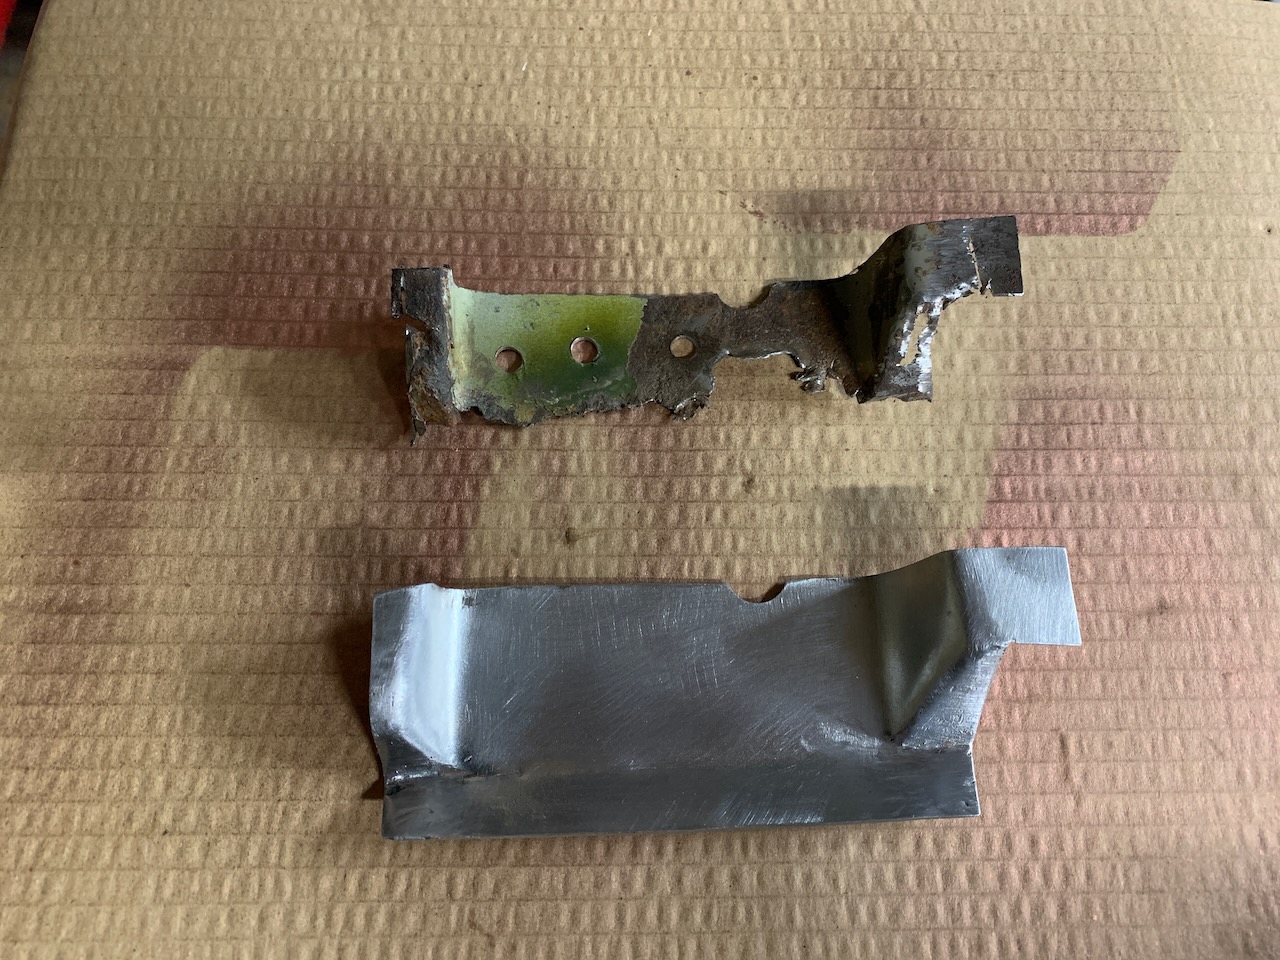
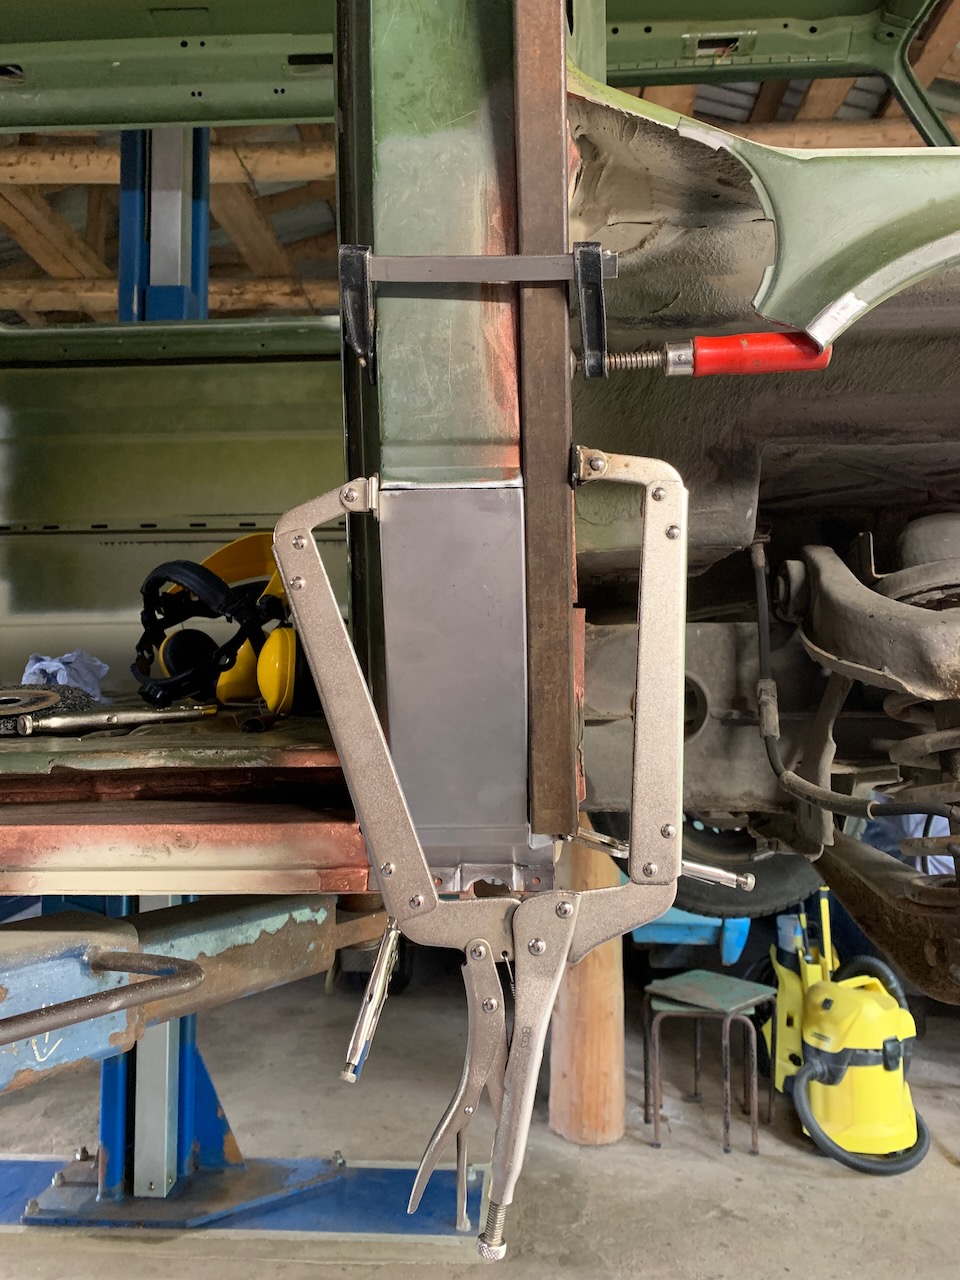
The B-pillar
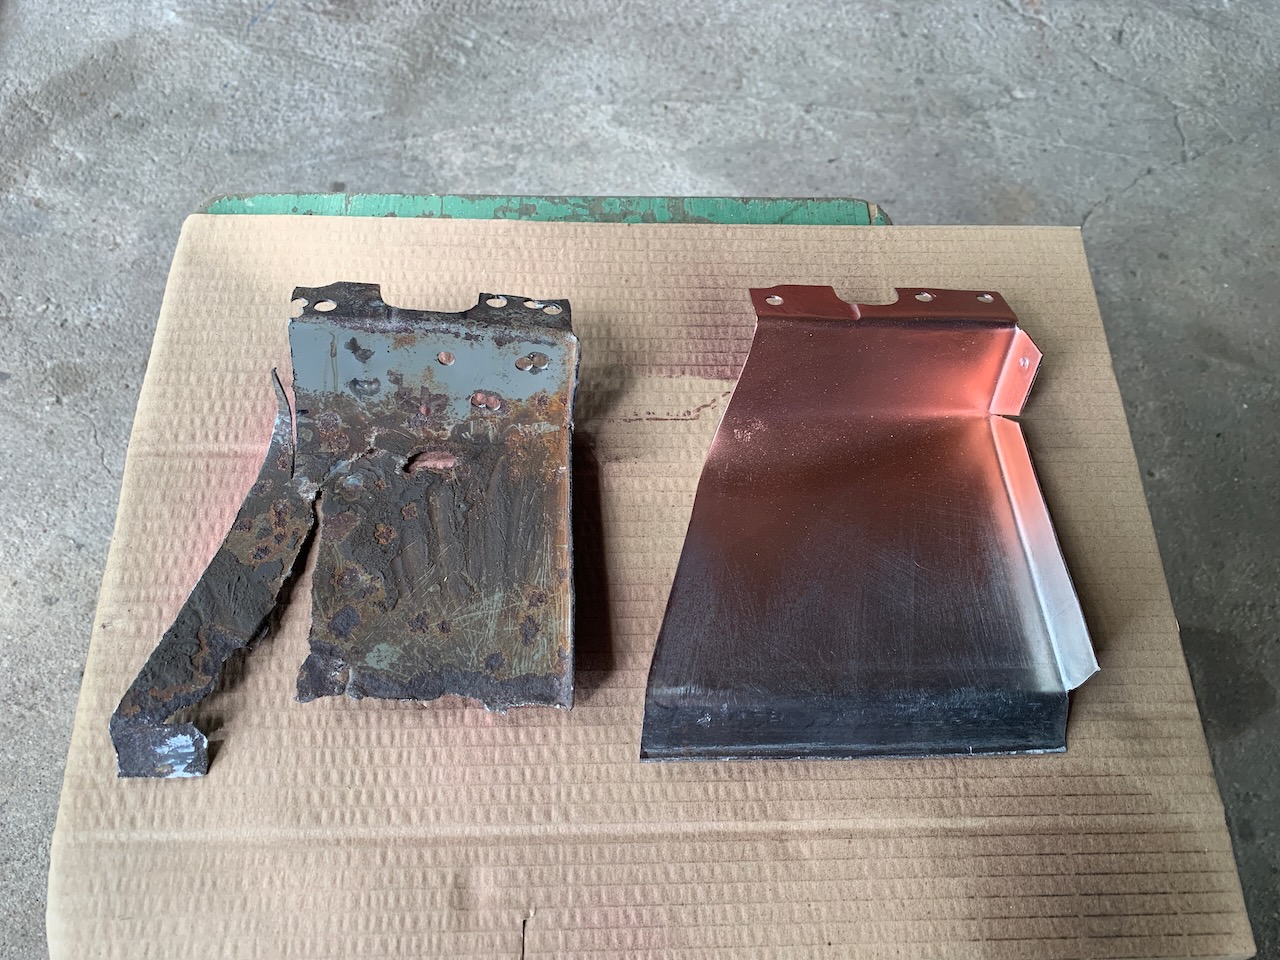
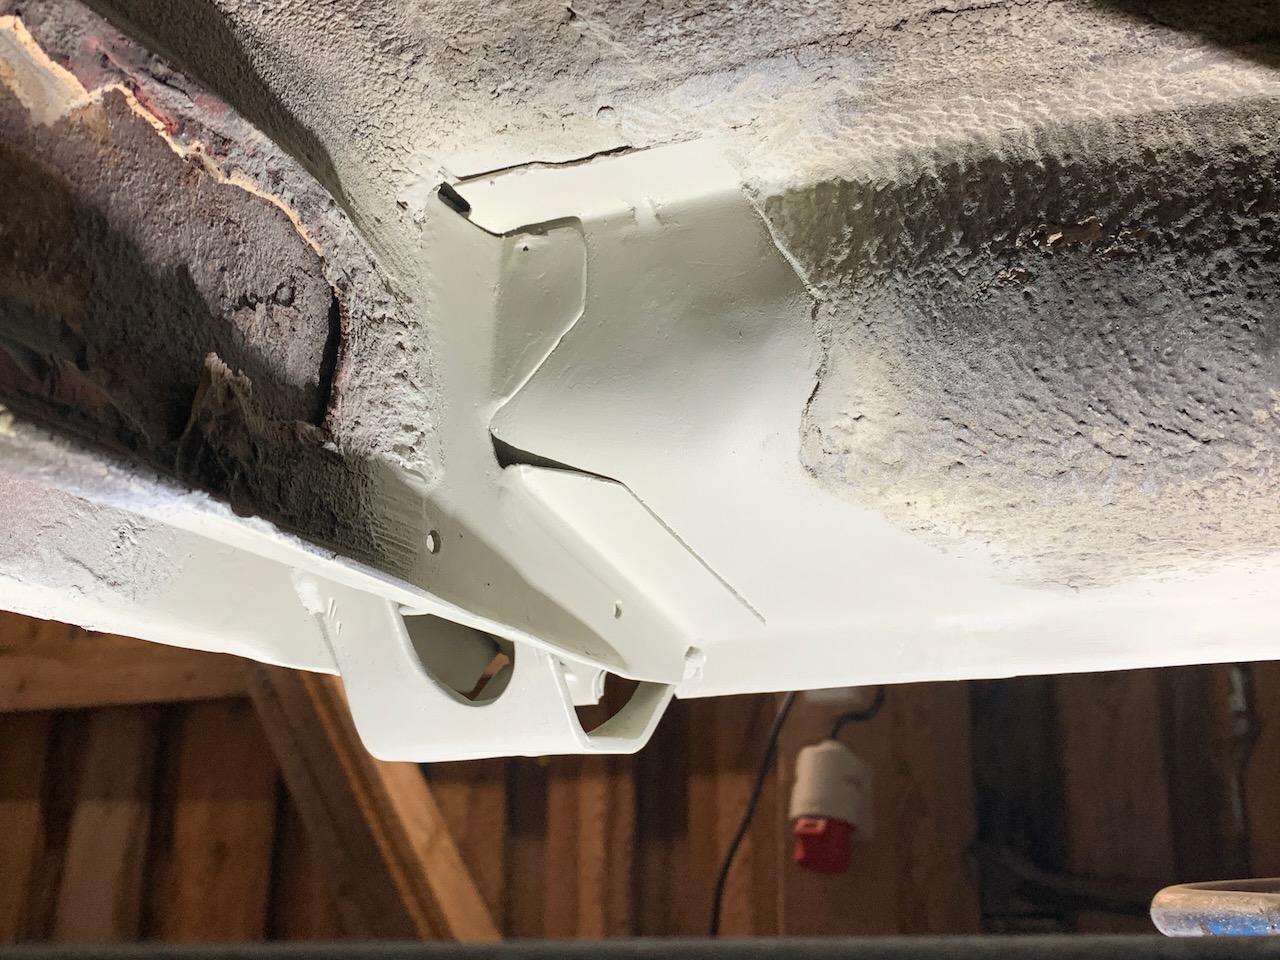
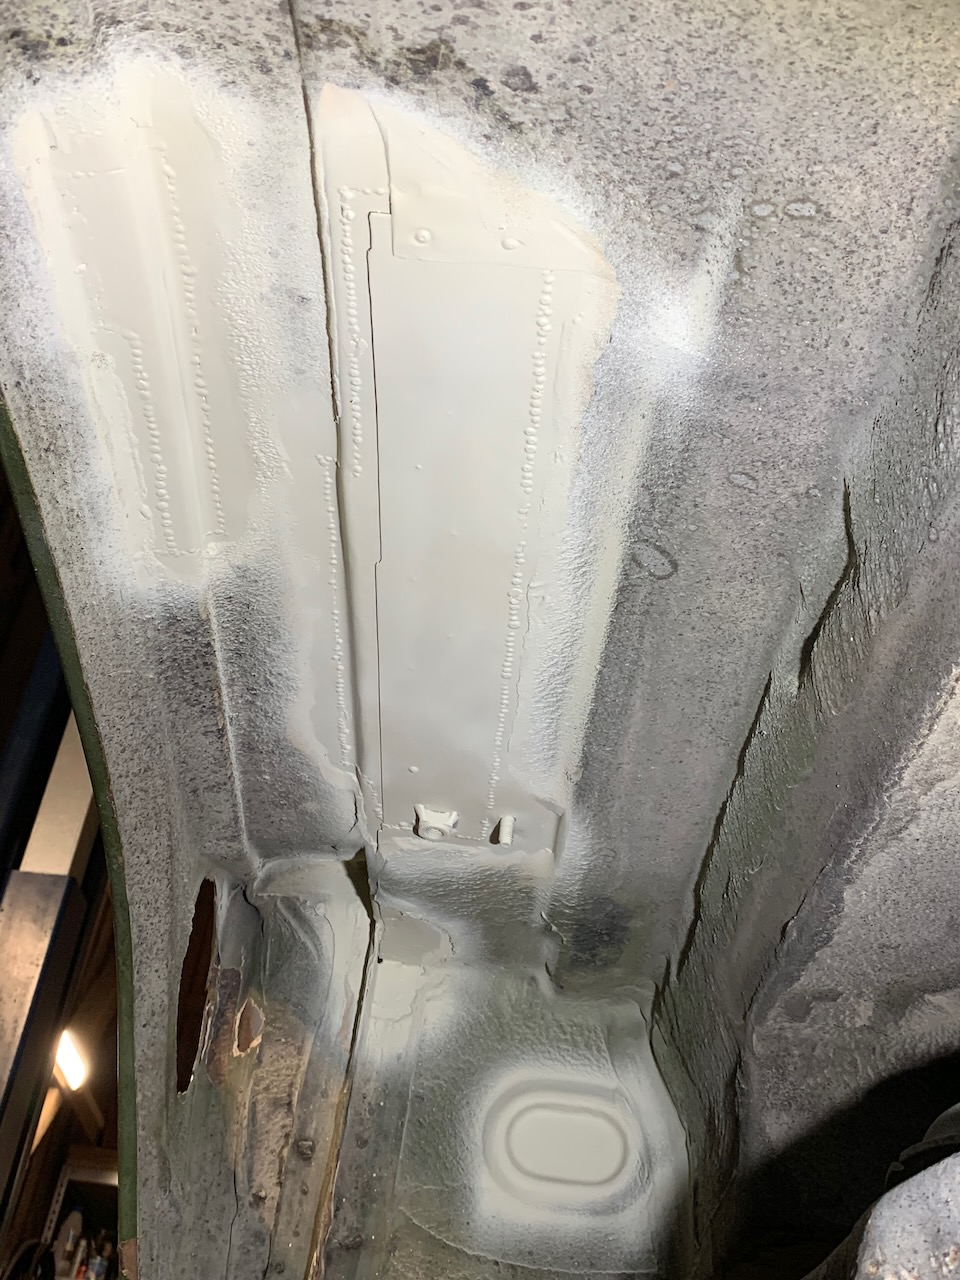
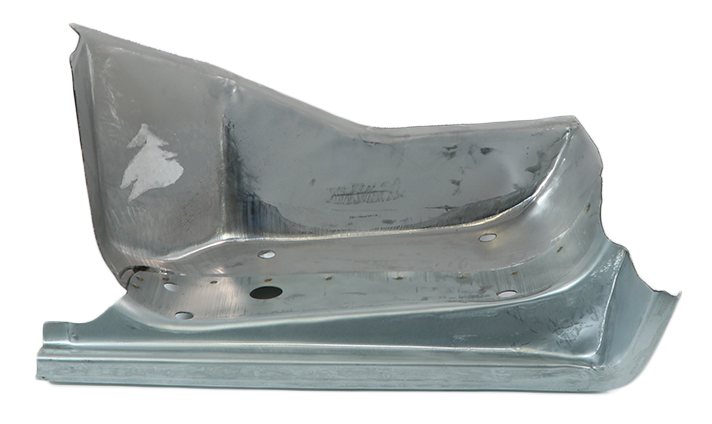
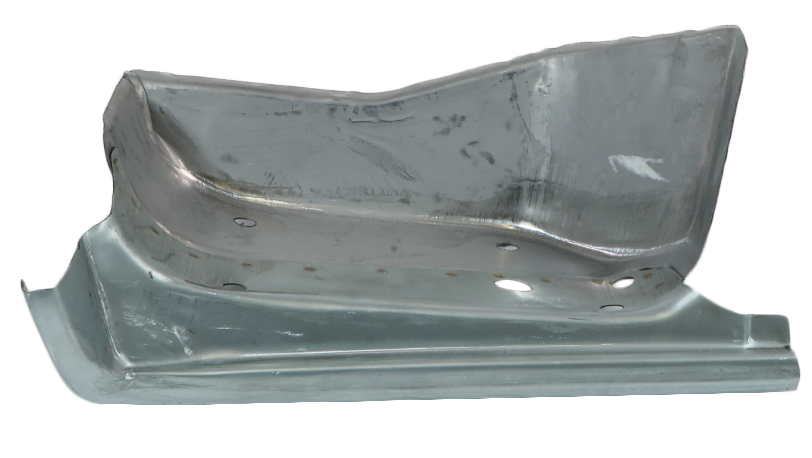
To restore the B-pillar, I decided to make the necessary detail for the inner lower end (VW part no 251 809 238 B) myself and to replace the outer lower end (VW part no 251 809 254) with a new AHSchofield panel, which I had used on the driver’s side B-pillar as well. As expected, I had to add some material to this new panel too.

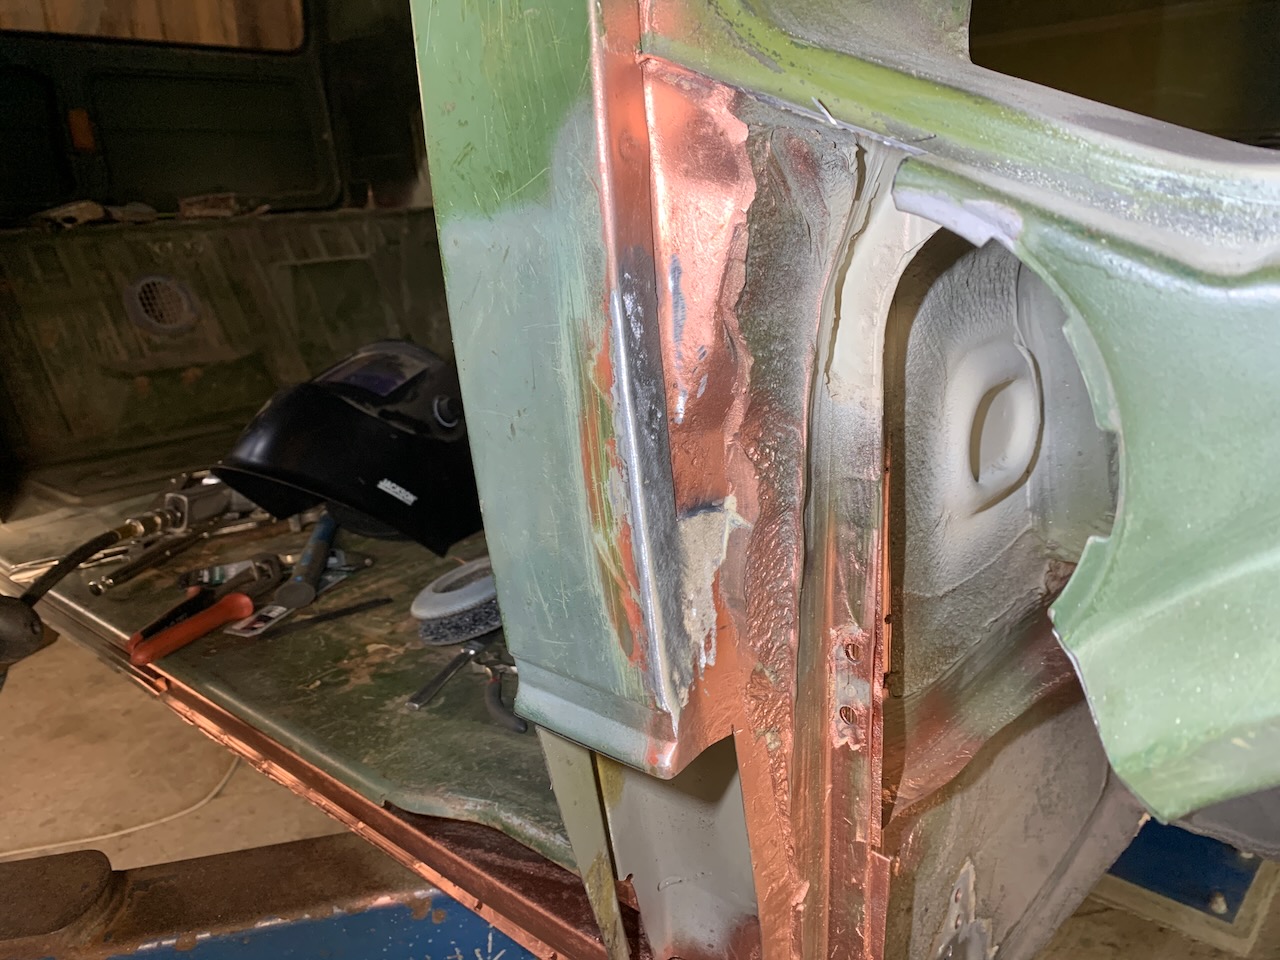
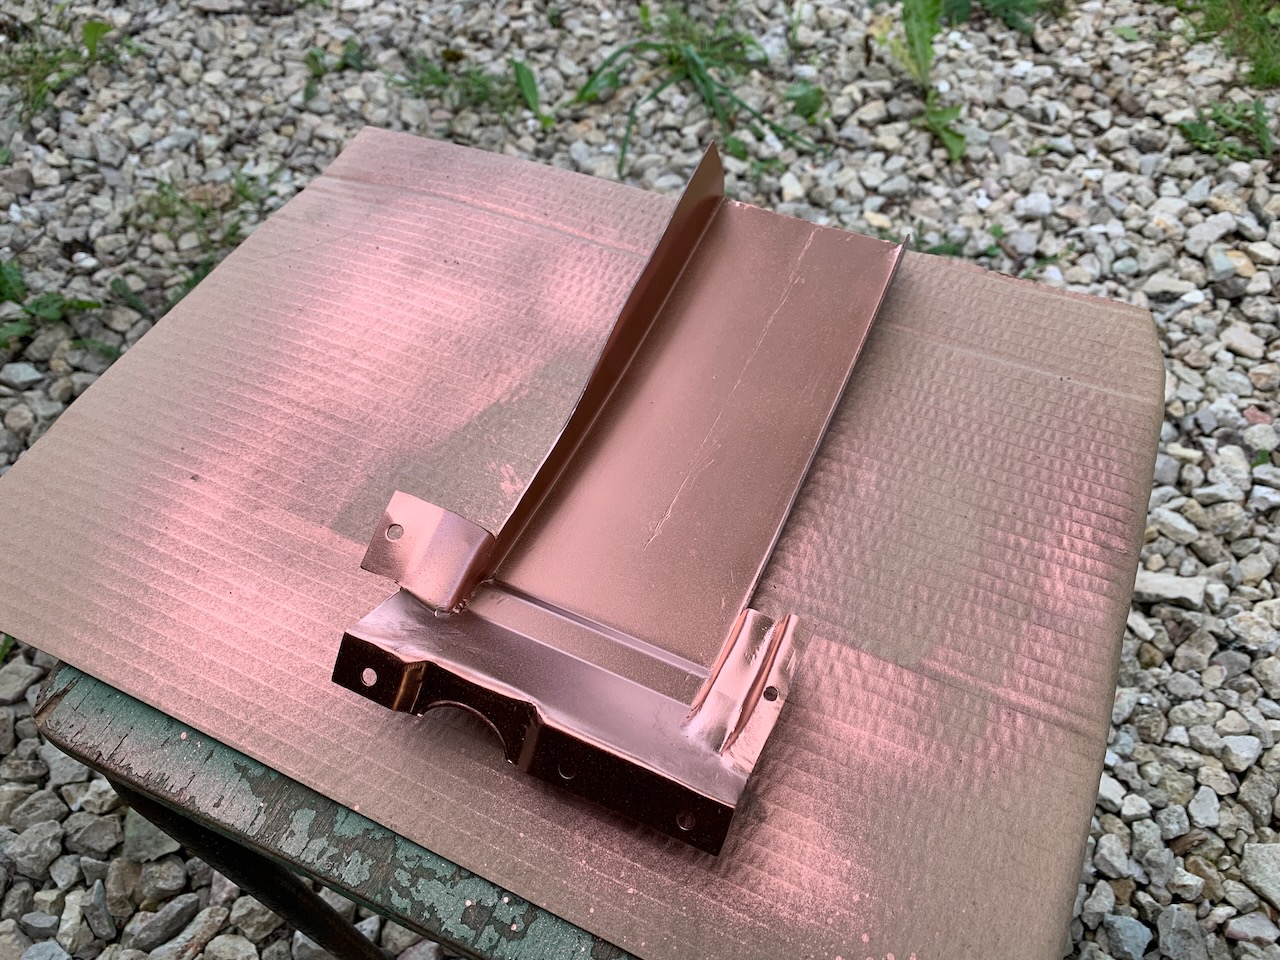
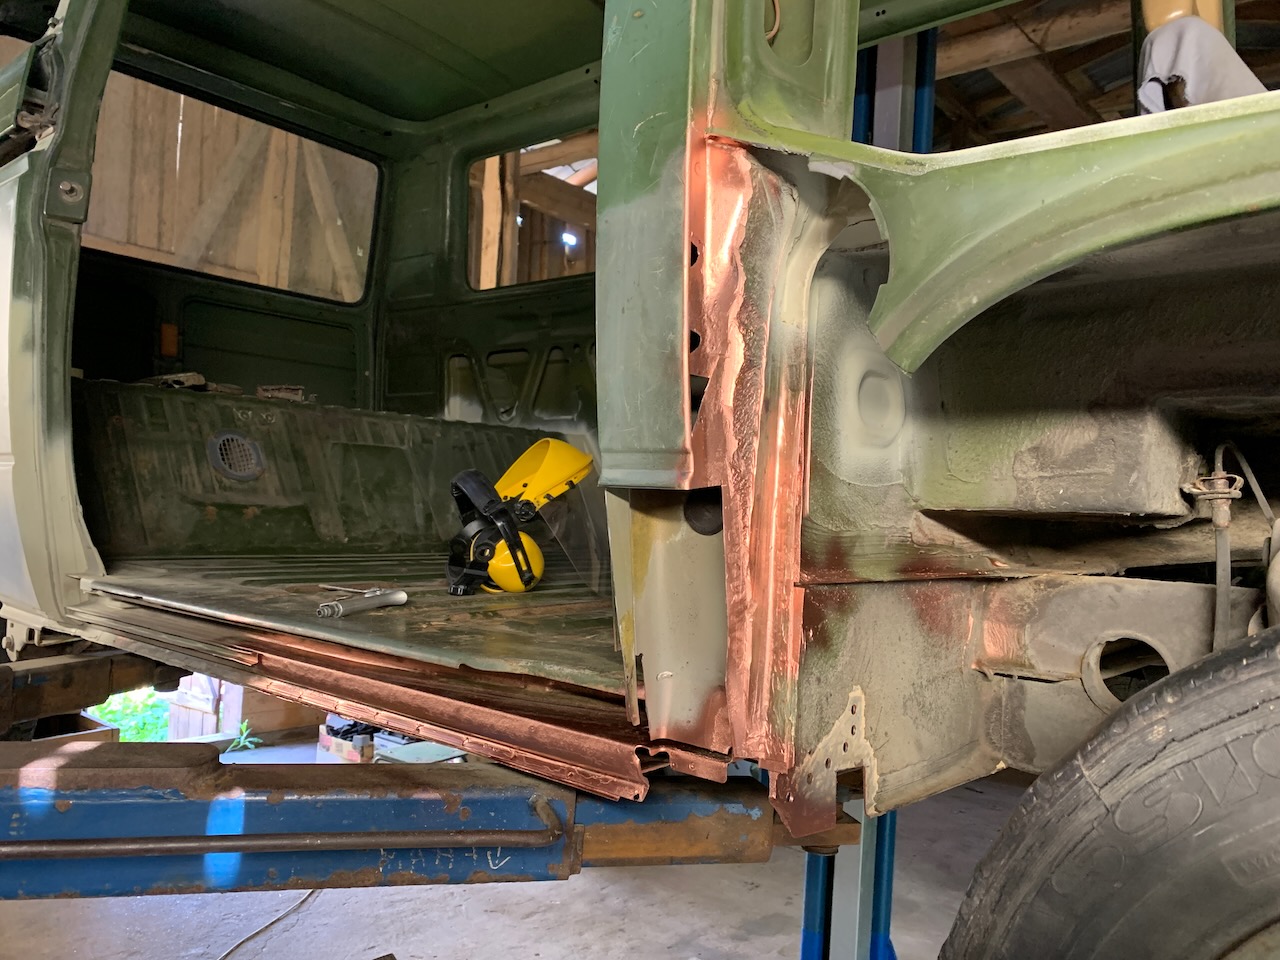
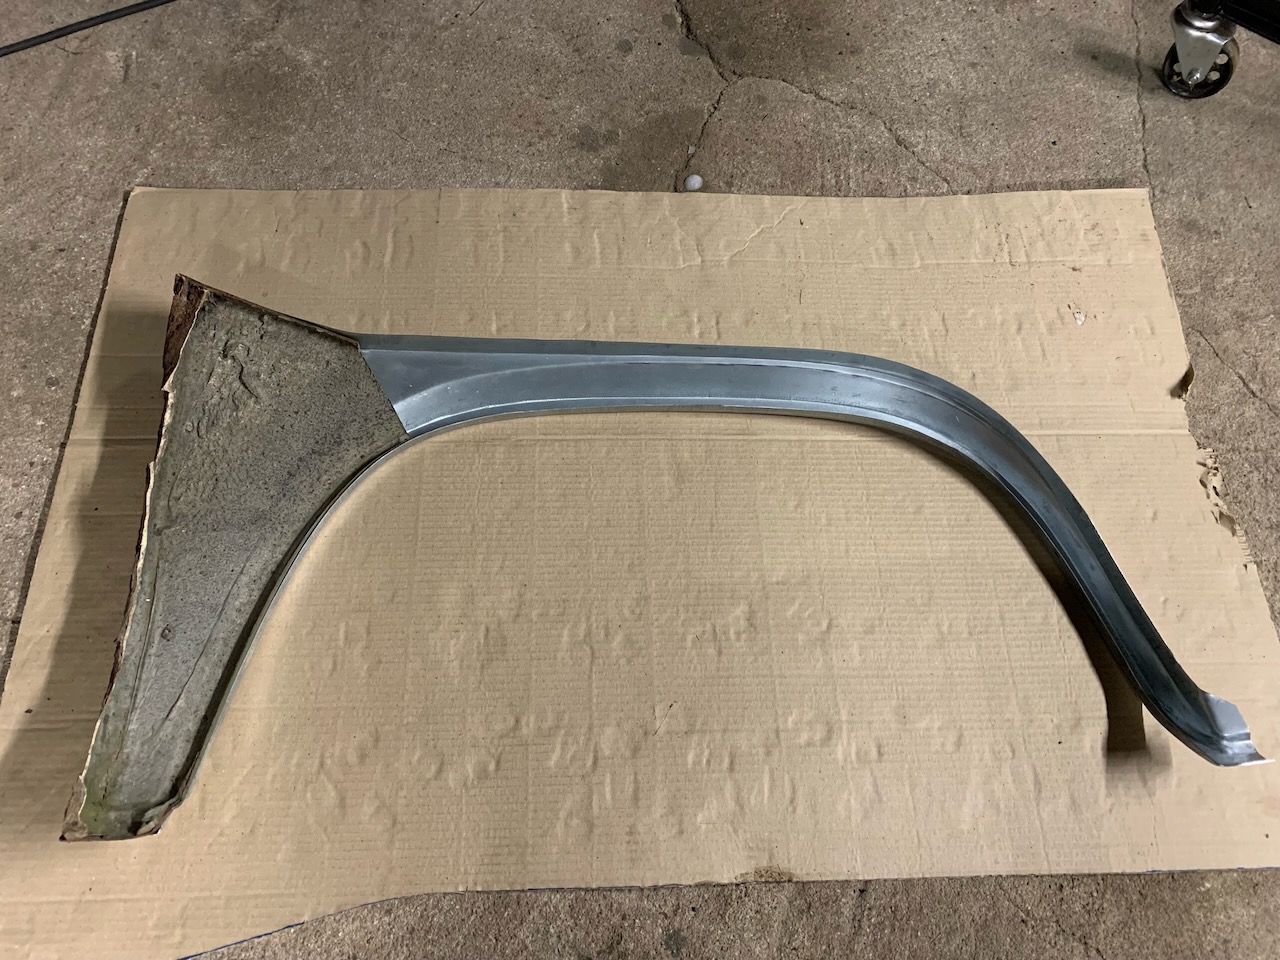
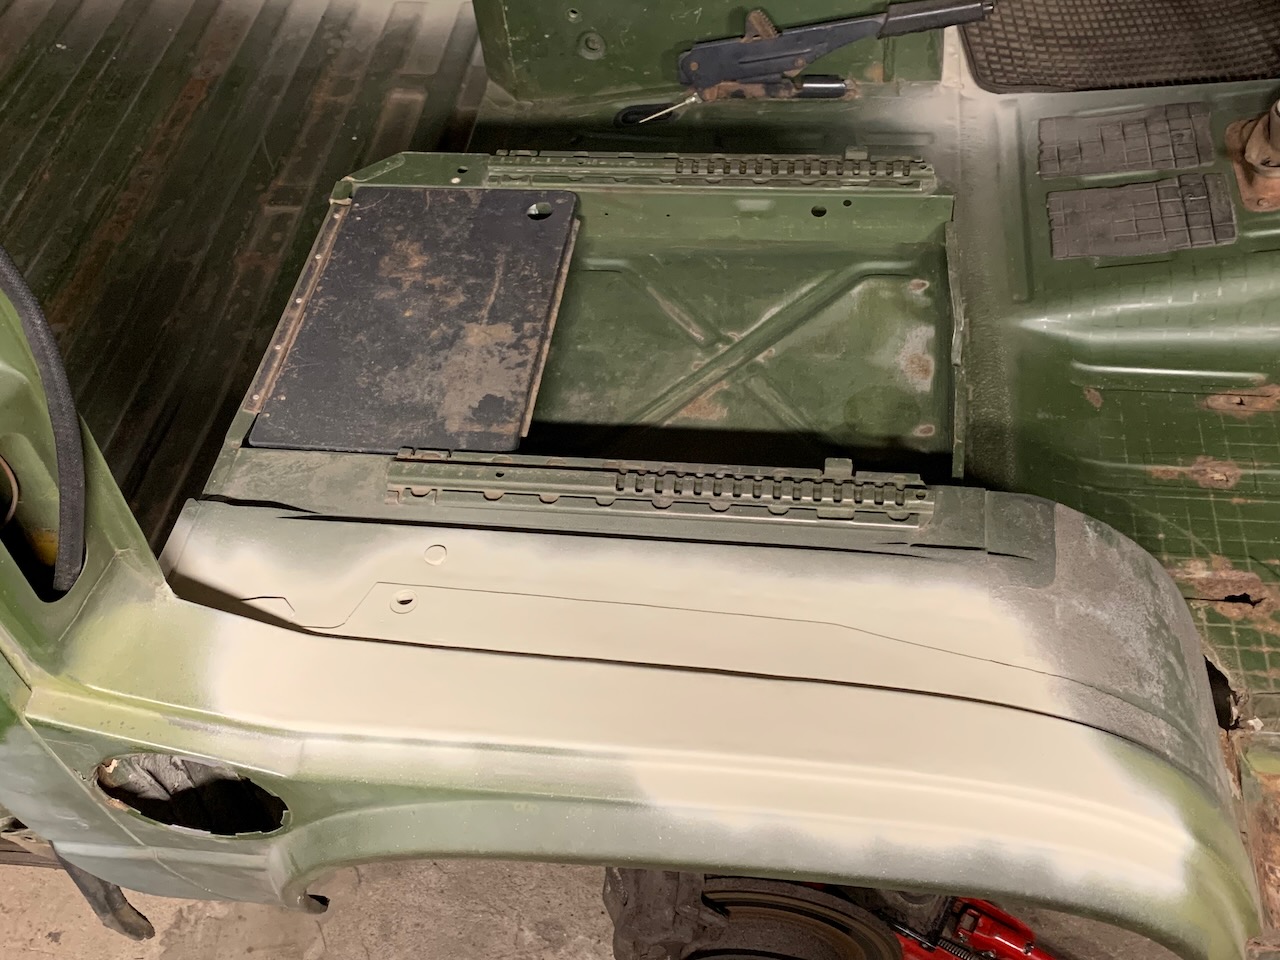
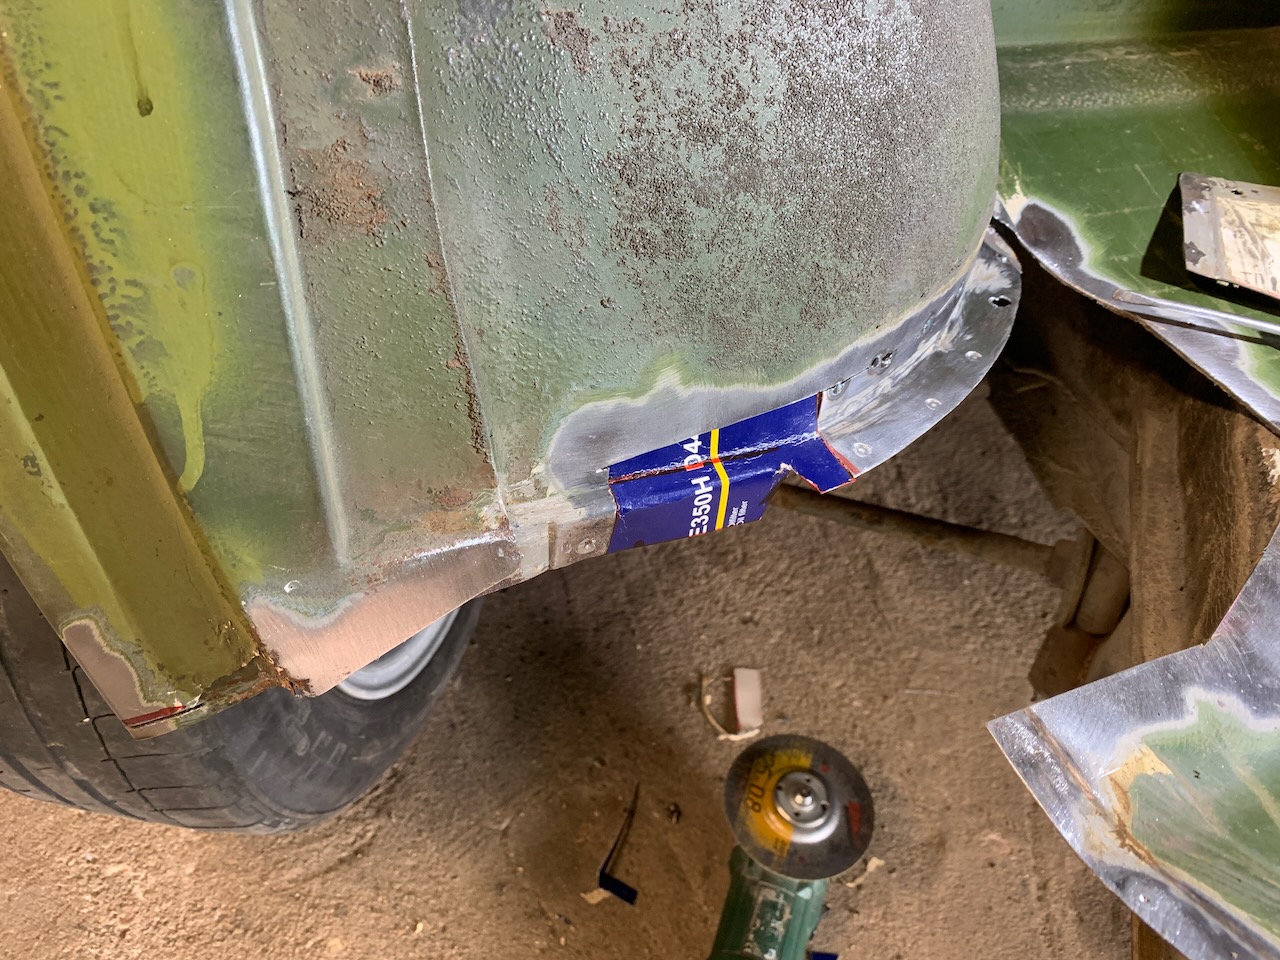
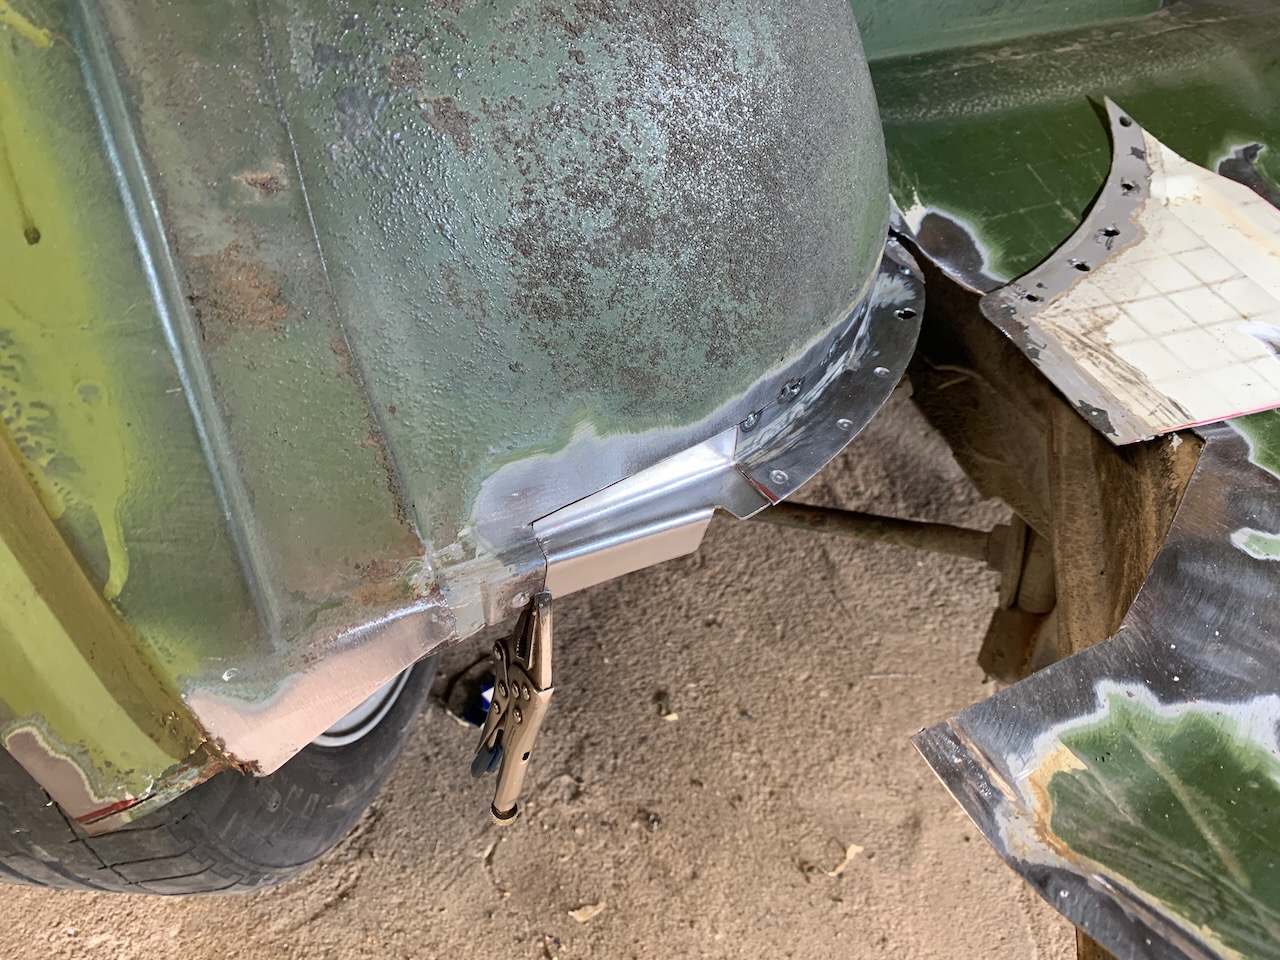
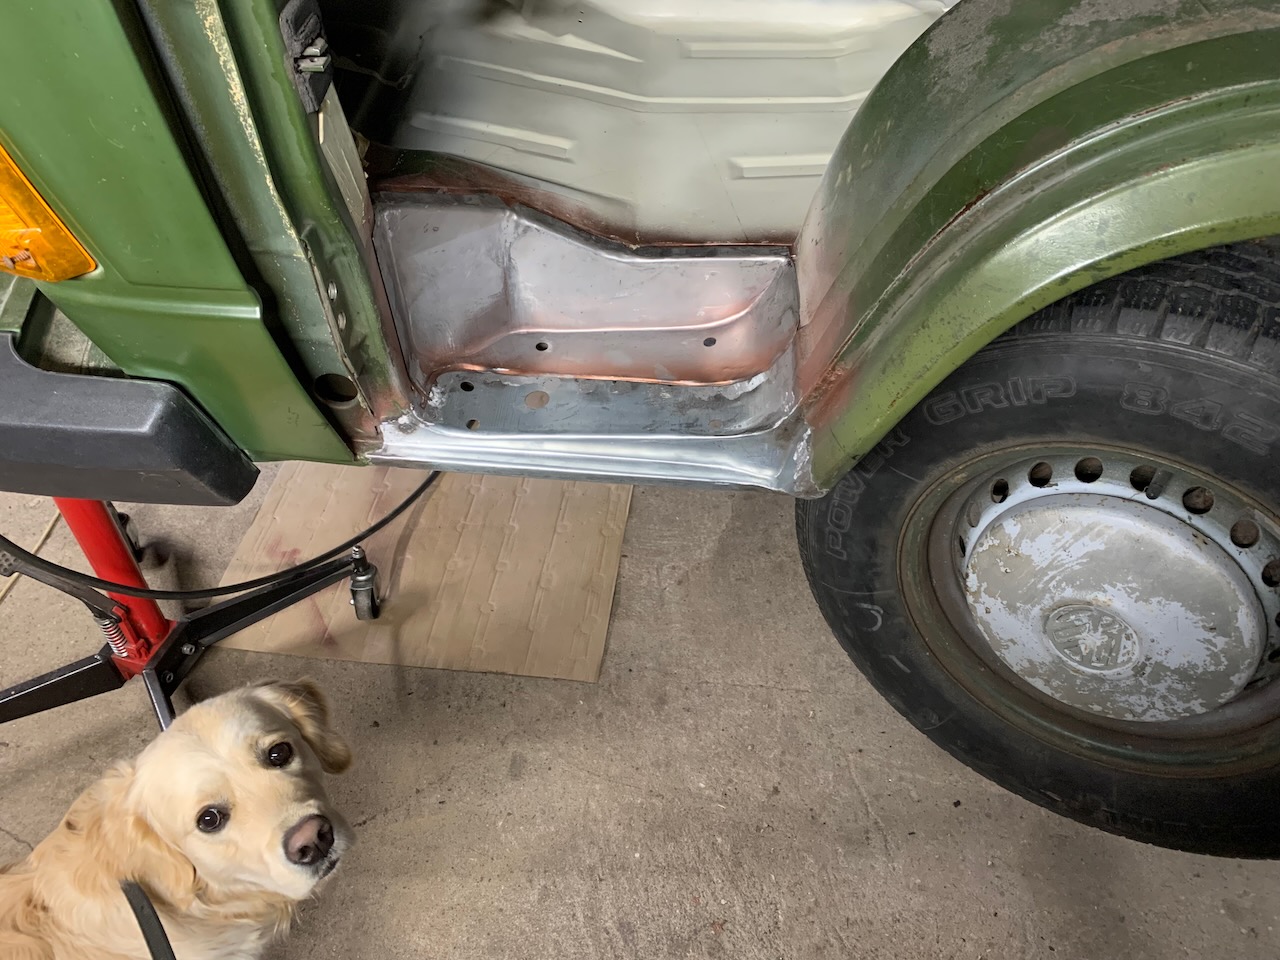
The Front Wings
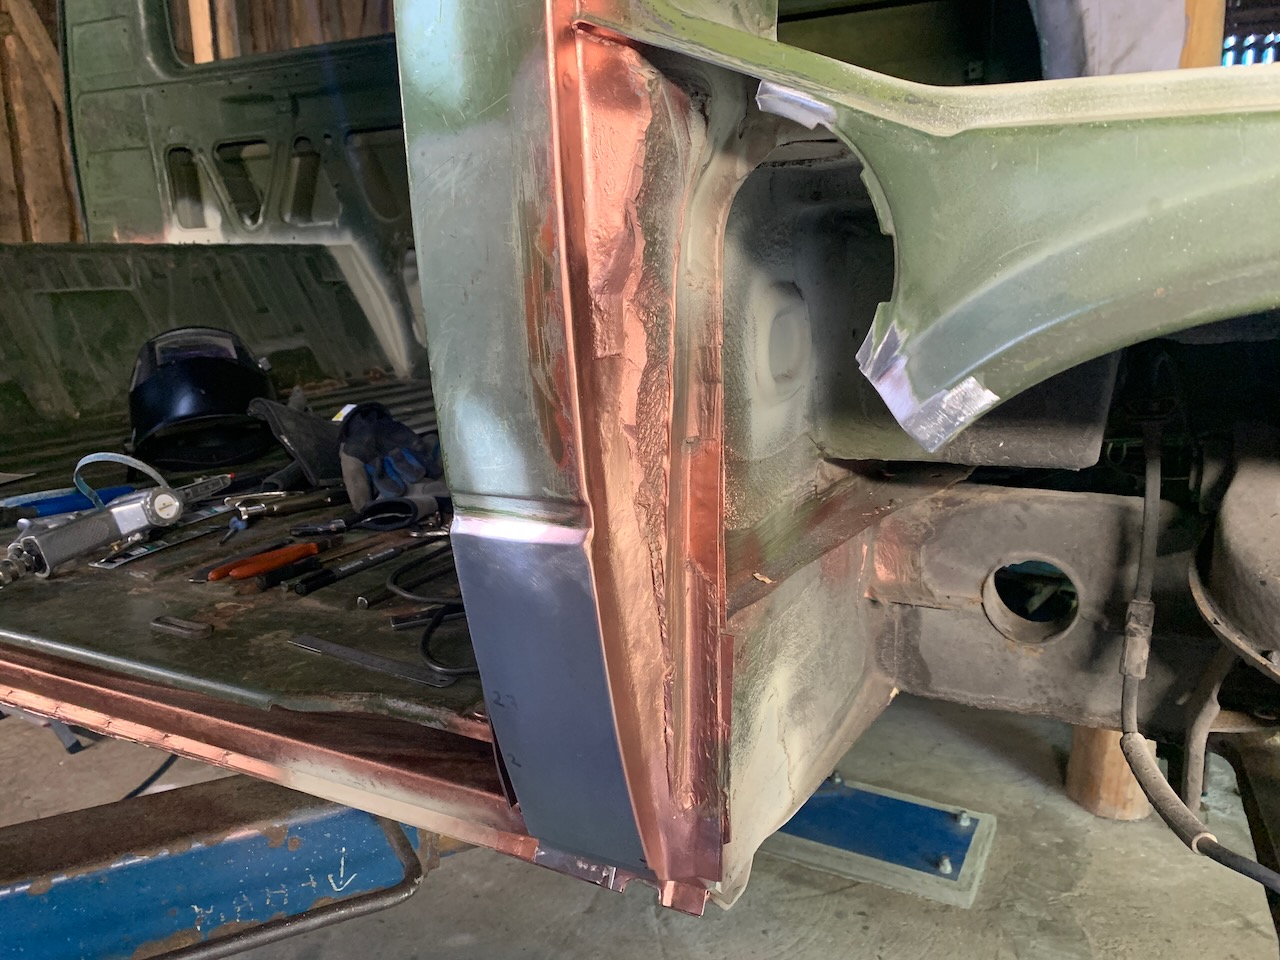
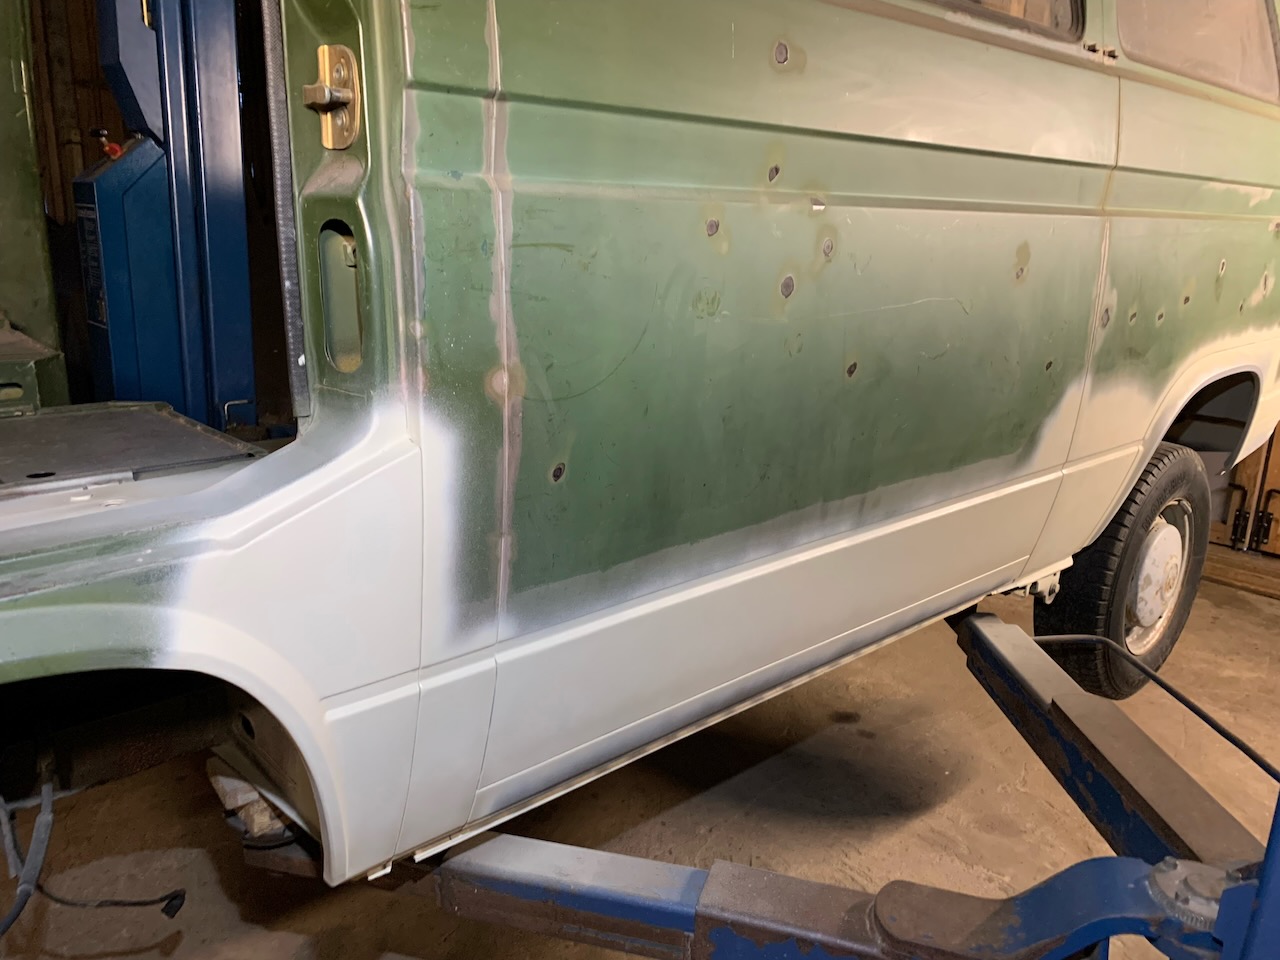
As for the front wings (VW part no 251 809 243 B and 251 809 244 B) the ends on both wings, which are next to the B-pillars, were in a bad condition. When I bought the bus, I decided that I would not replace the front wings as whole, instead I would get the replacement panels and try to restore the original wings. The replacement panels I bought are by Van Wezel (part no 5870155 and 5870156) and they were good enough for patcing up the original wings.
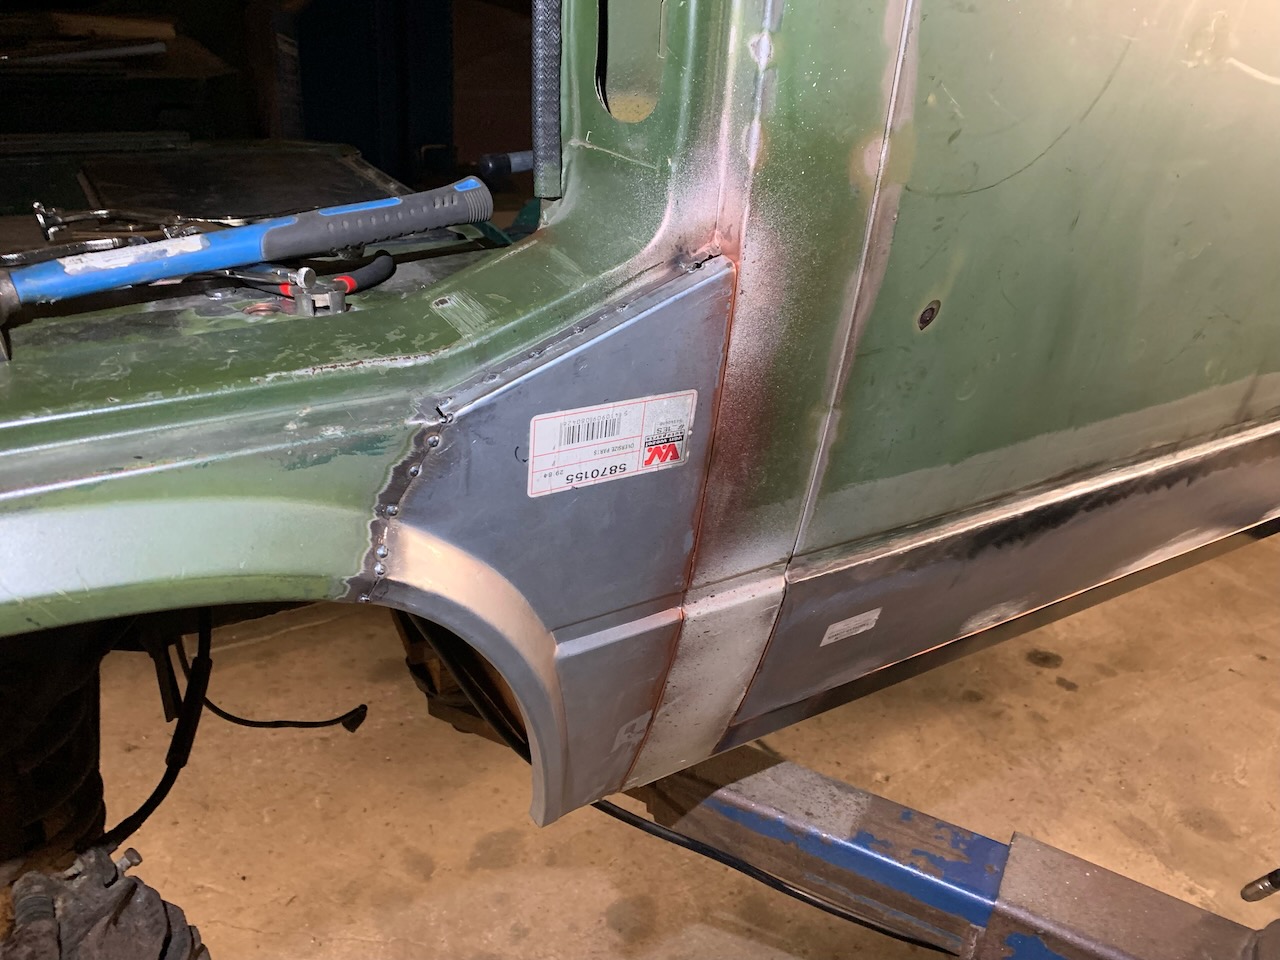
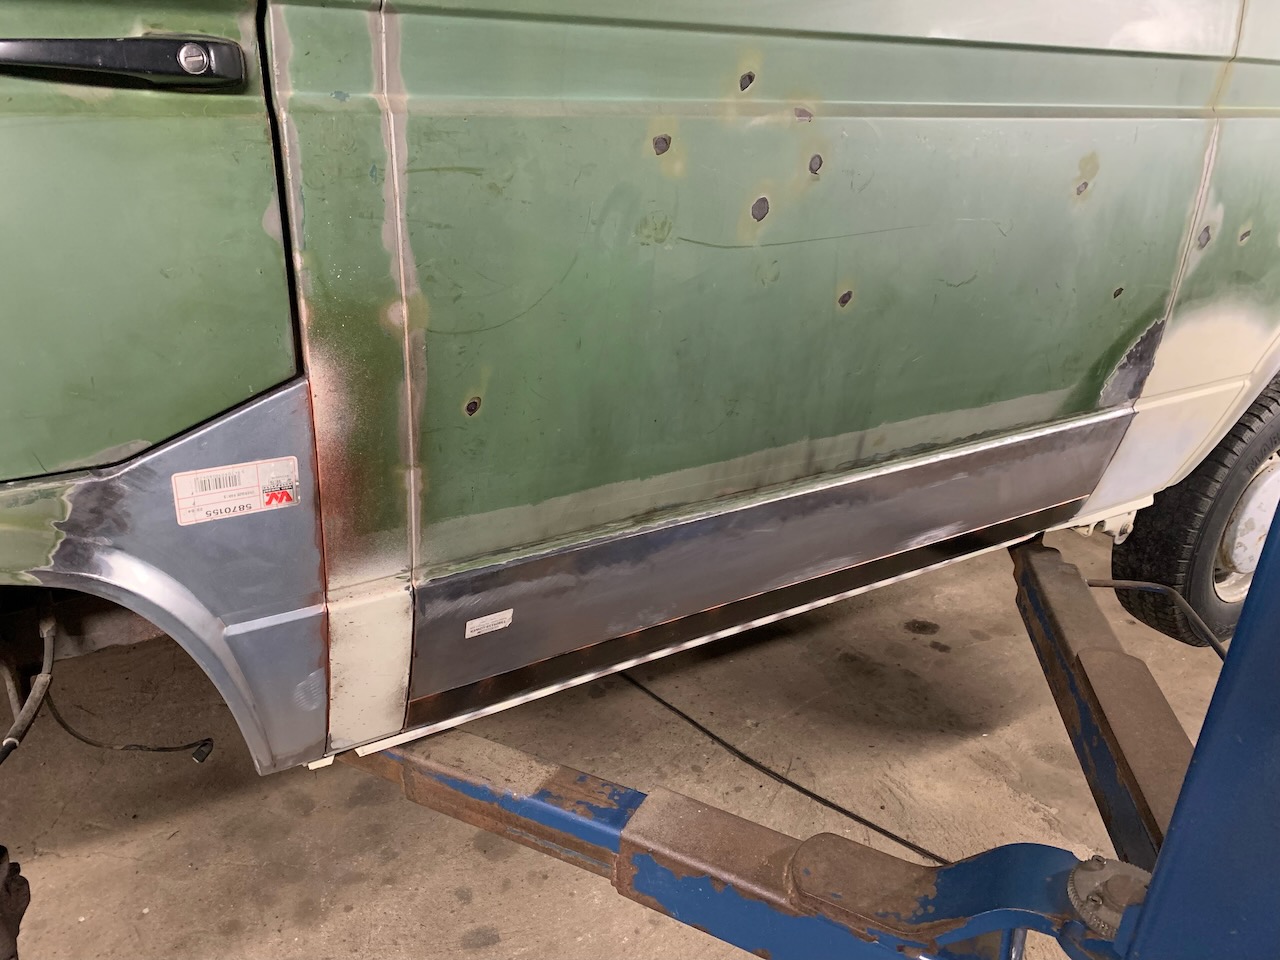
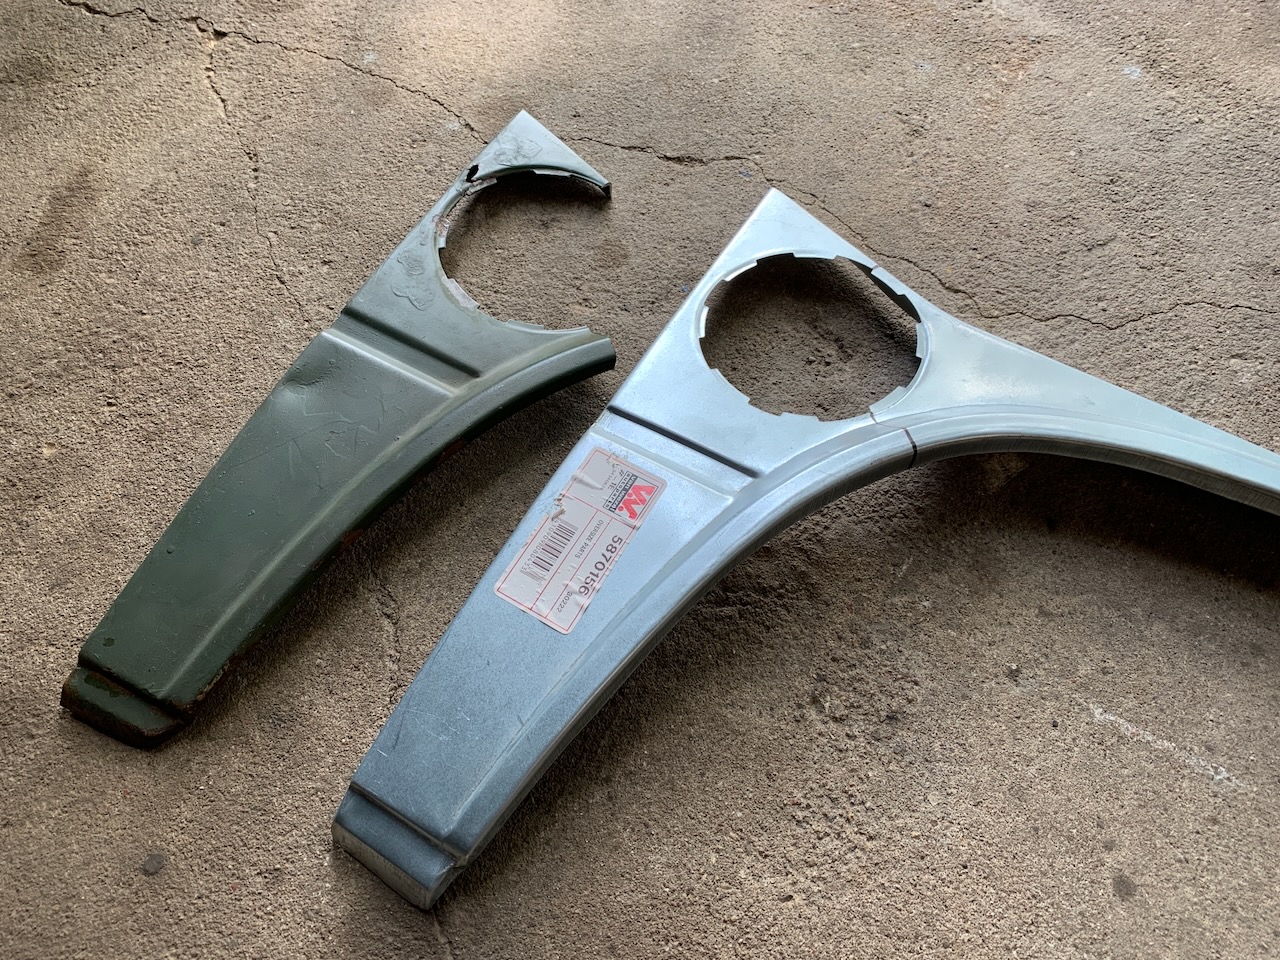
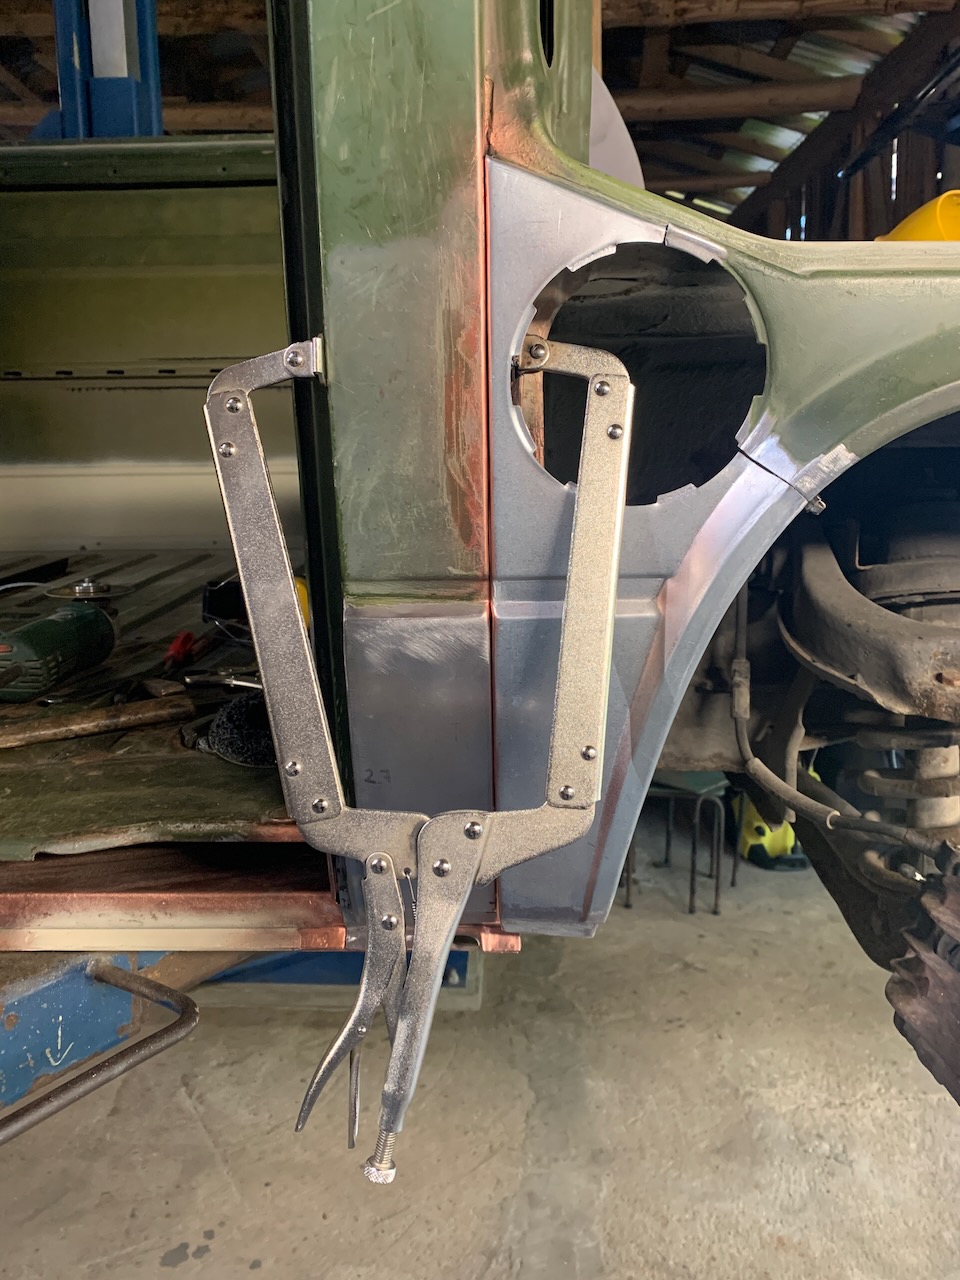
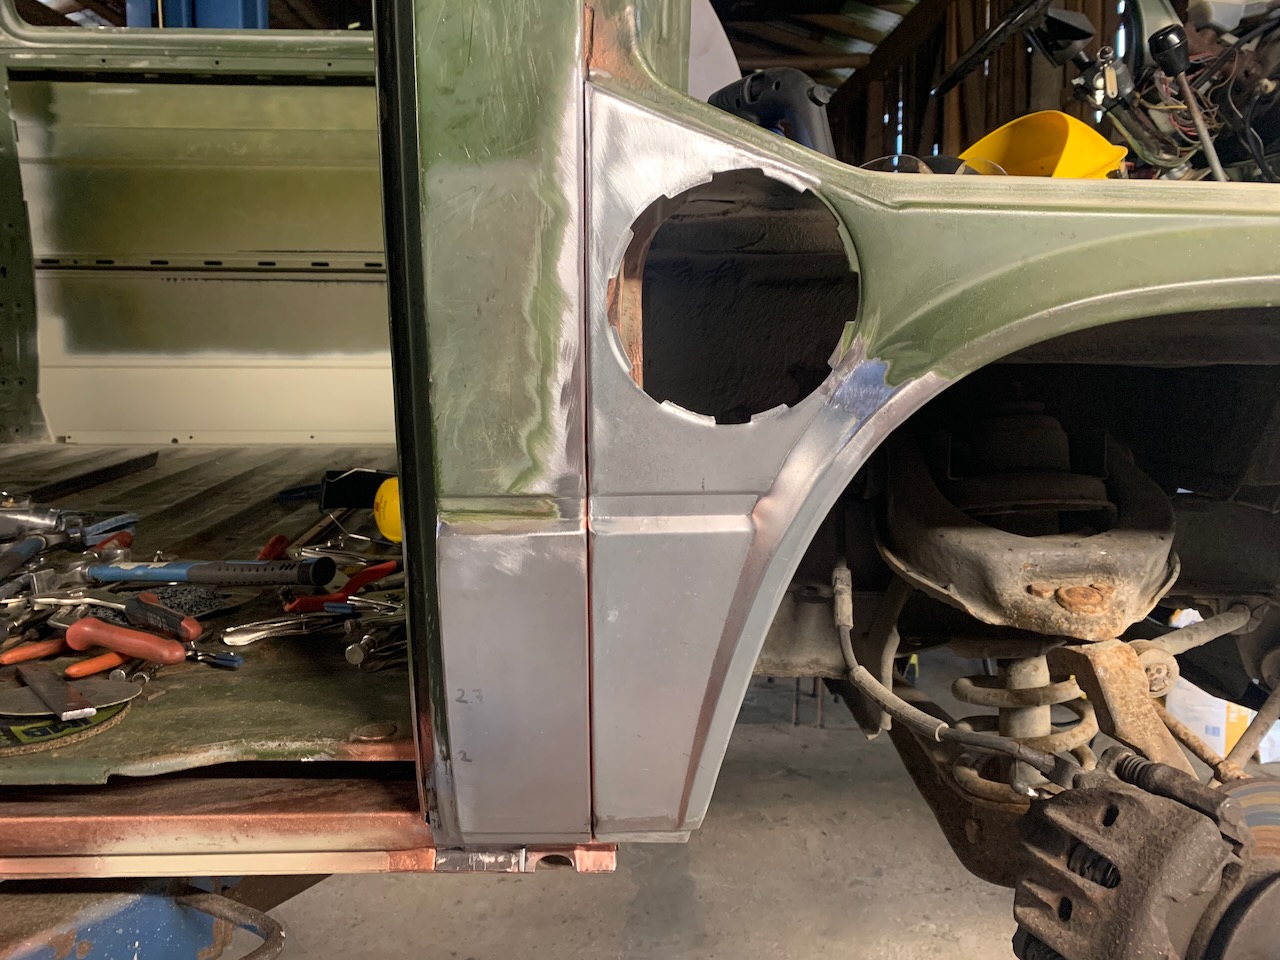
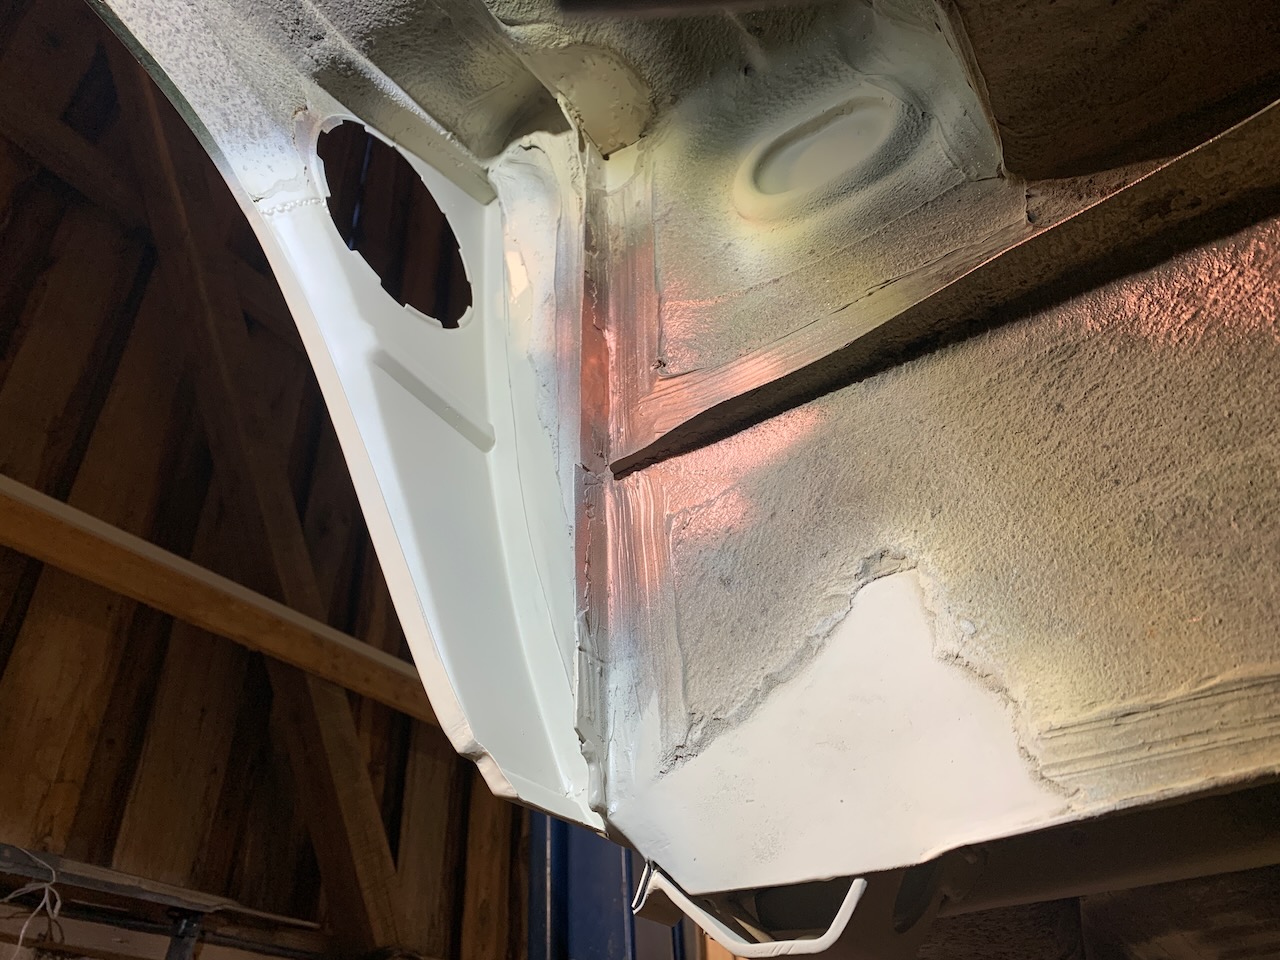
The problem with the Van Wezel panels was that the body lines of the panels didn’t quite line up with the body lines of the B-pillar. The solution was to lengthen the lower end of the wing about 2..3 mm.

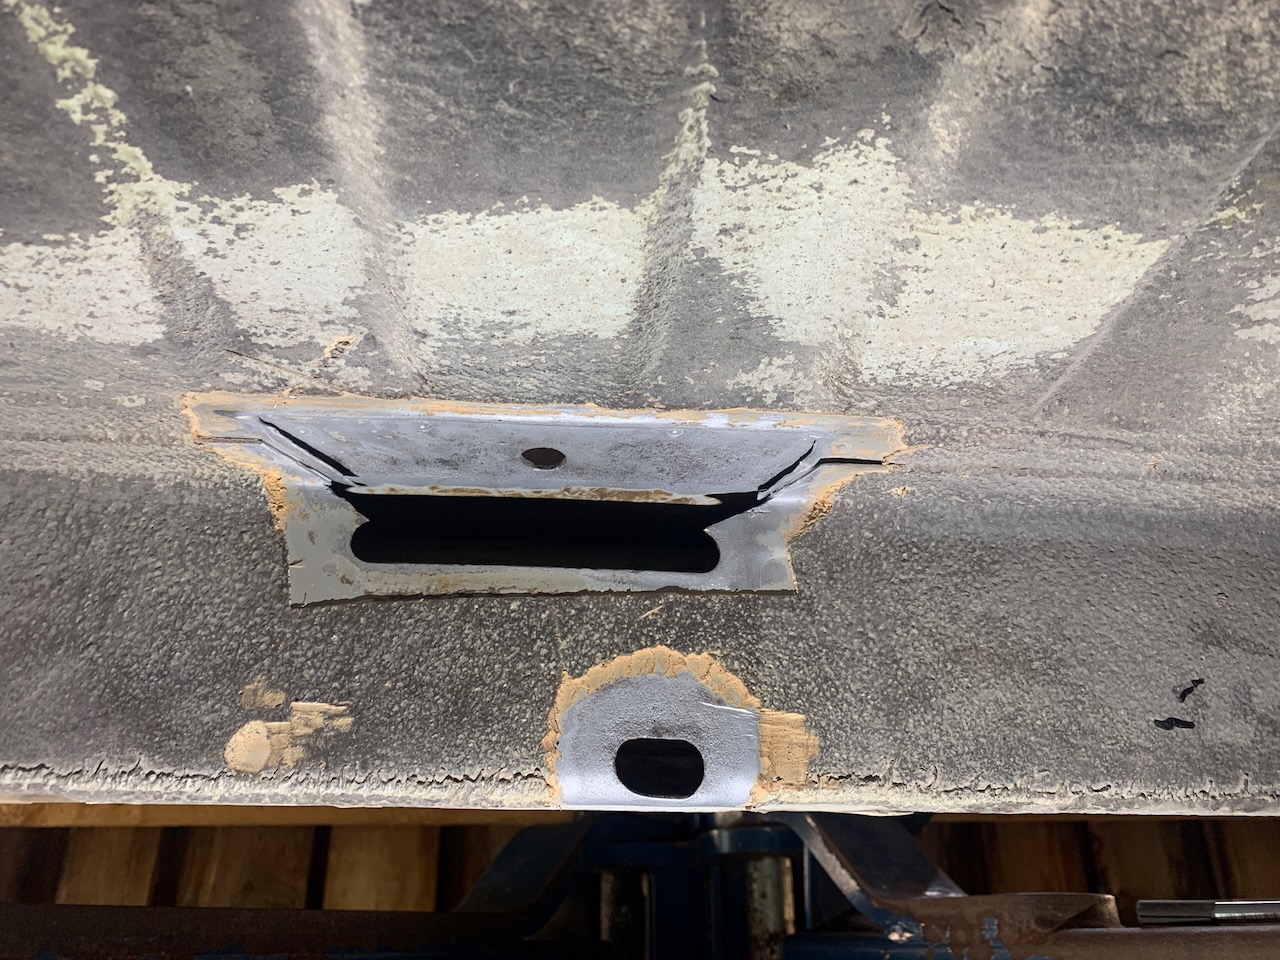
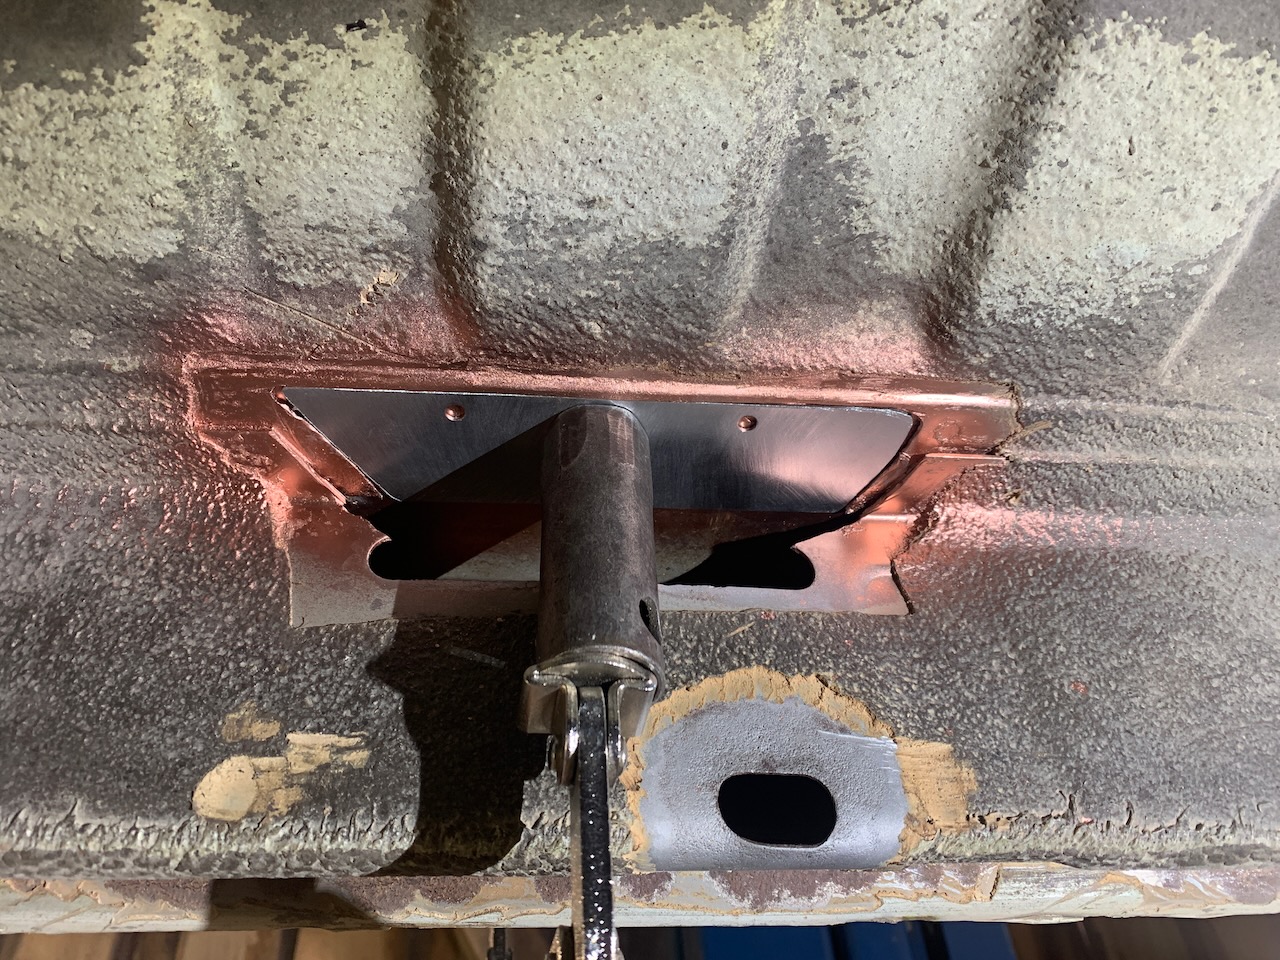
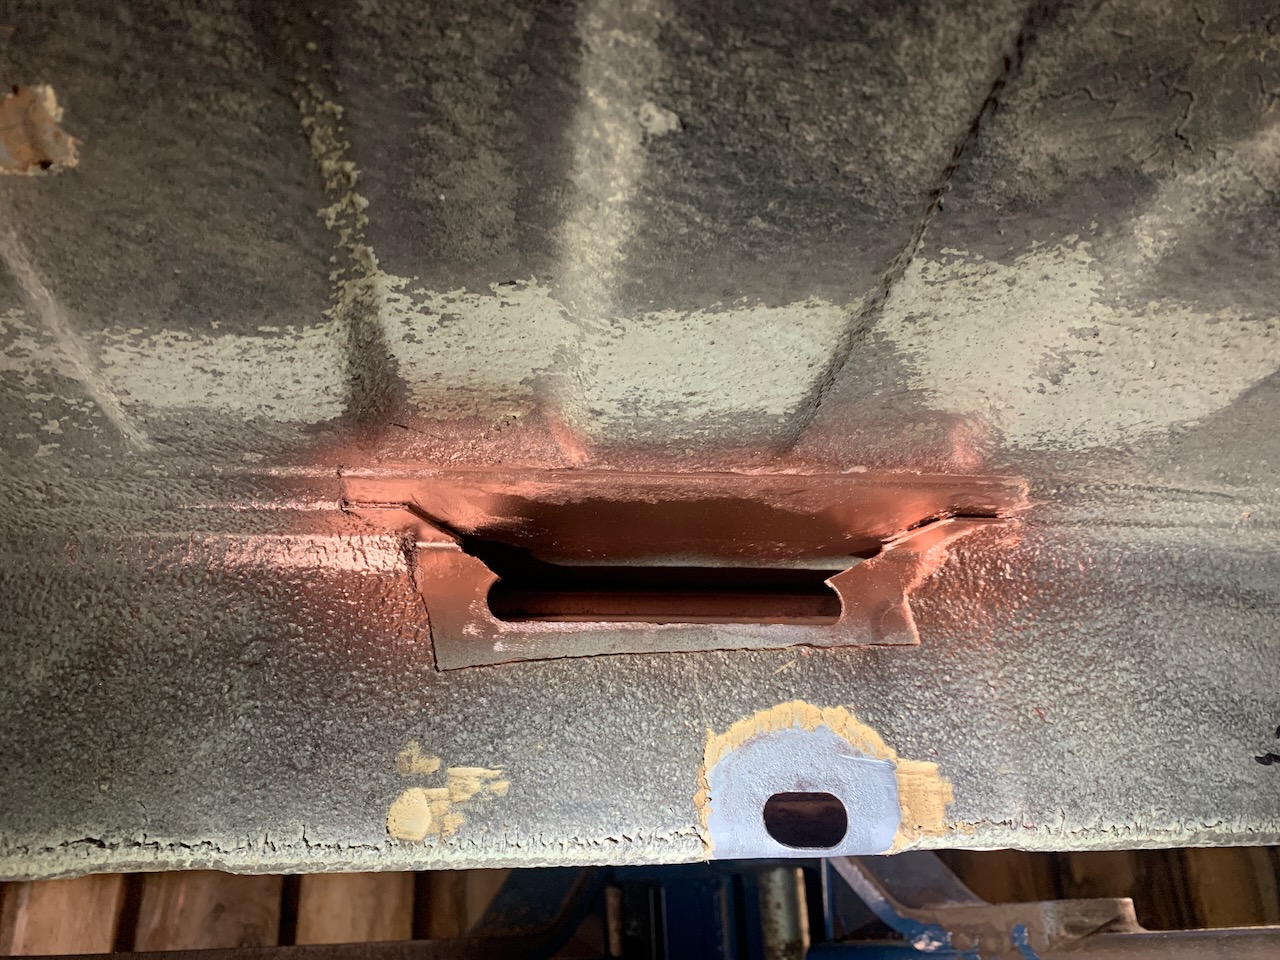
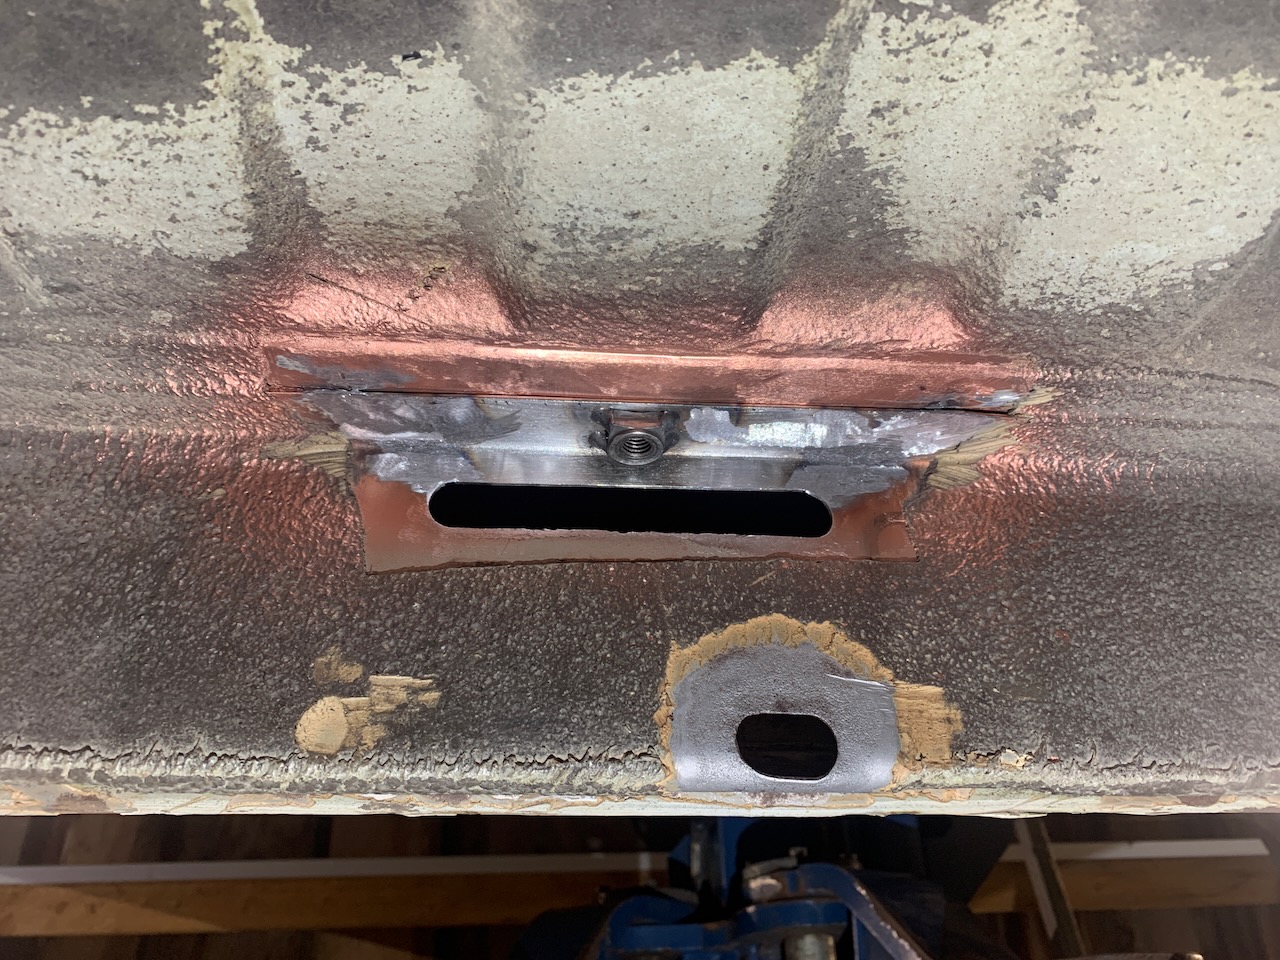
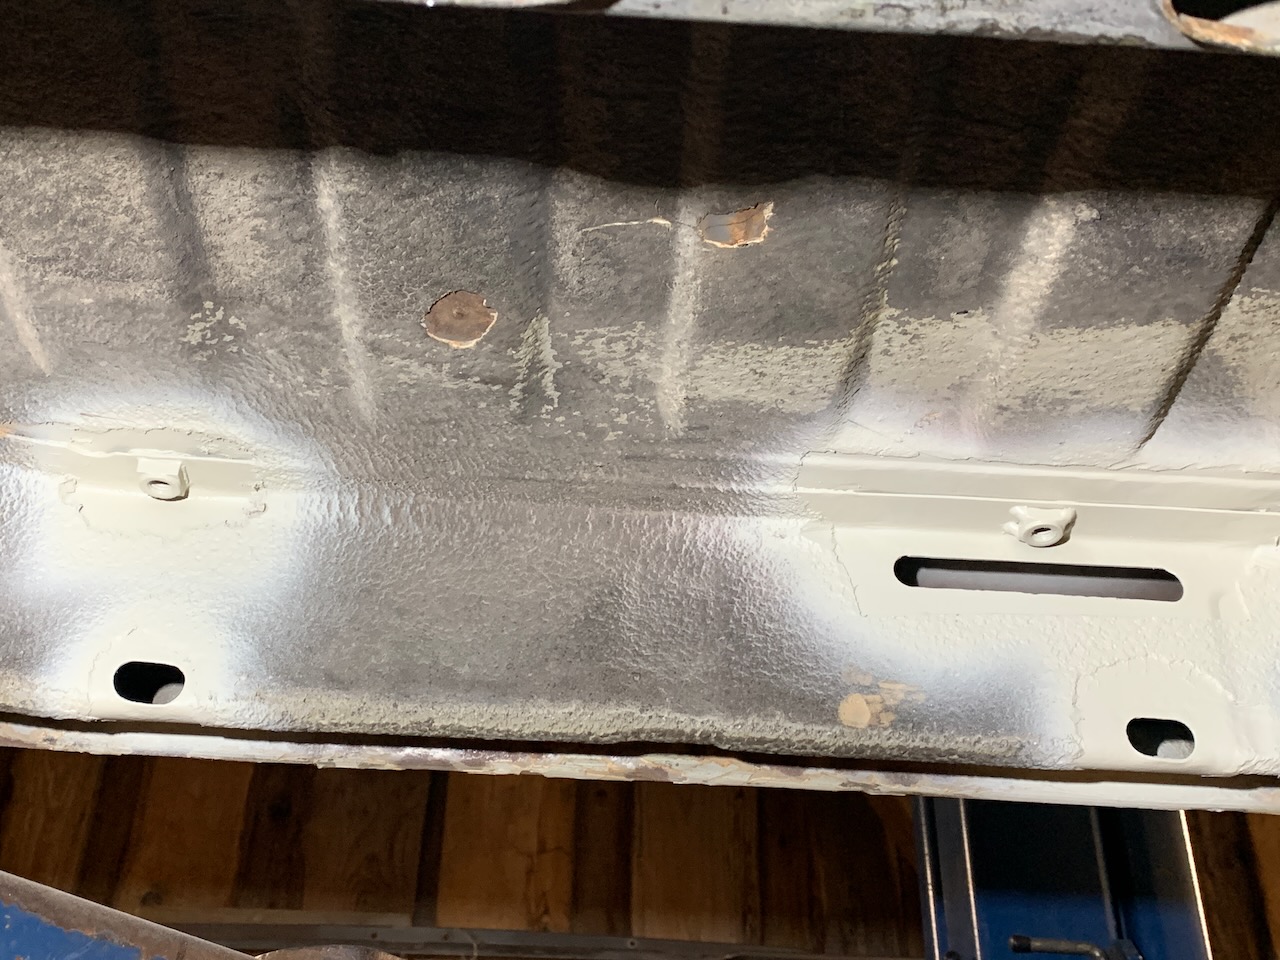
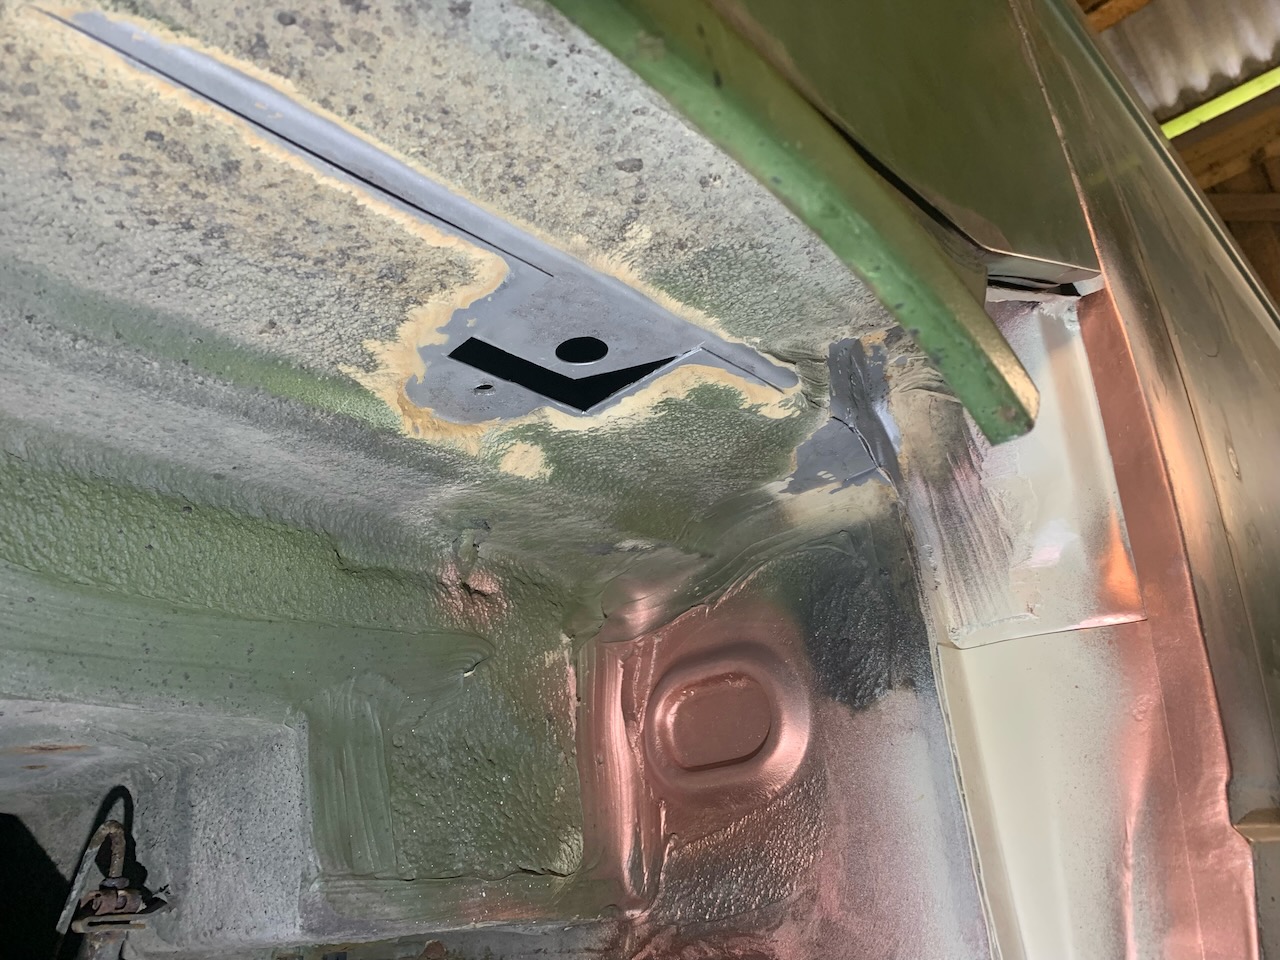
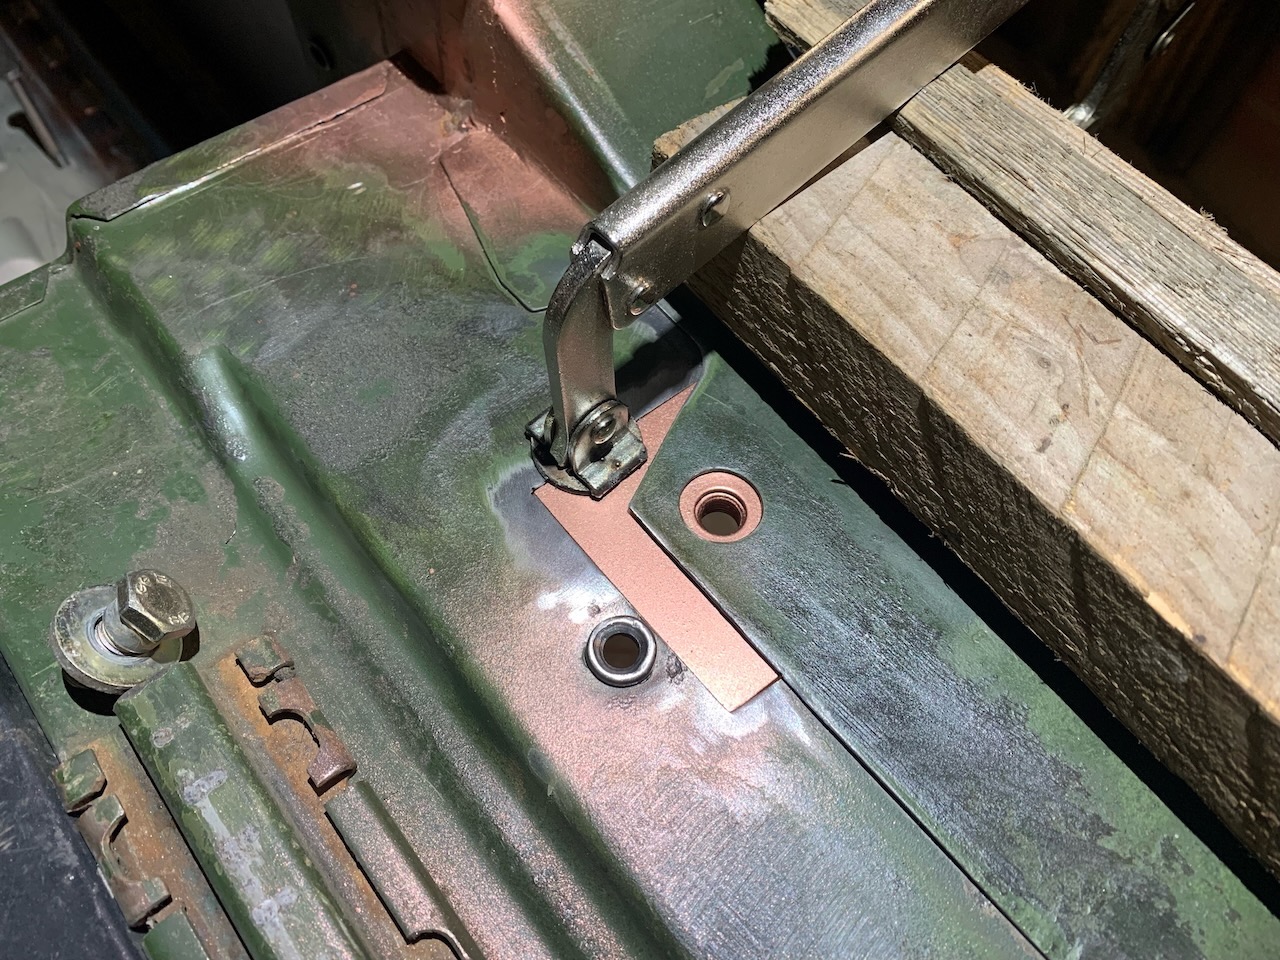
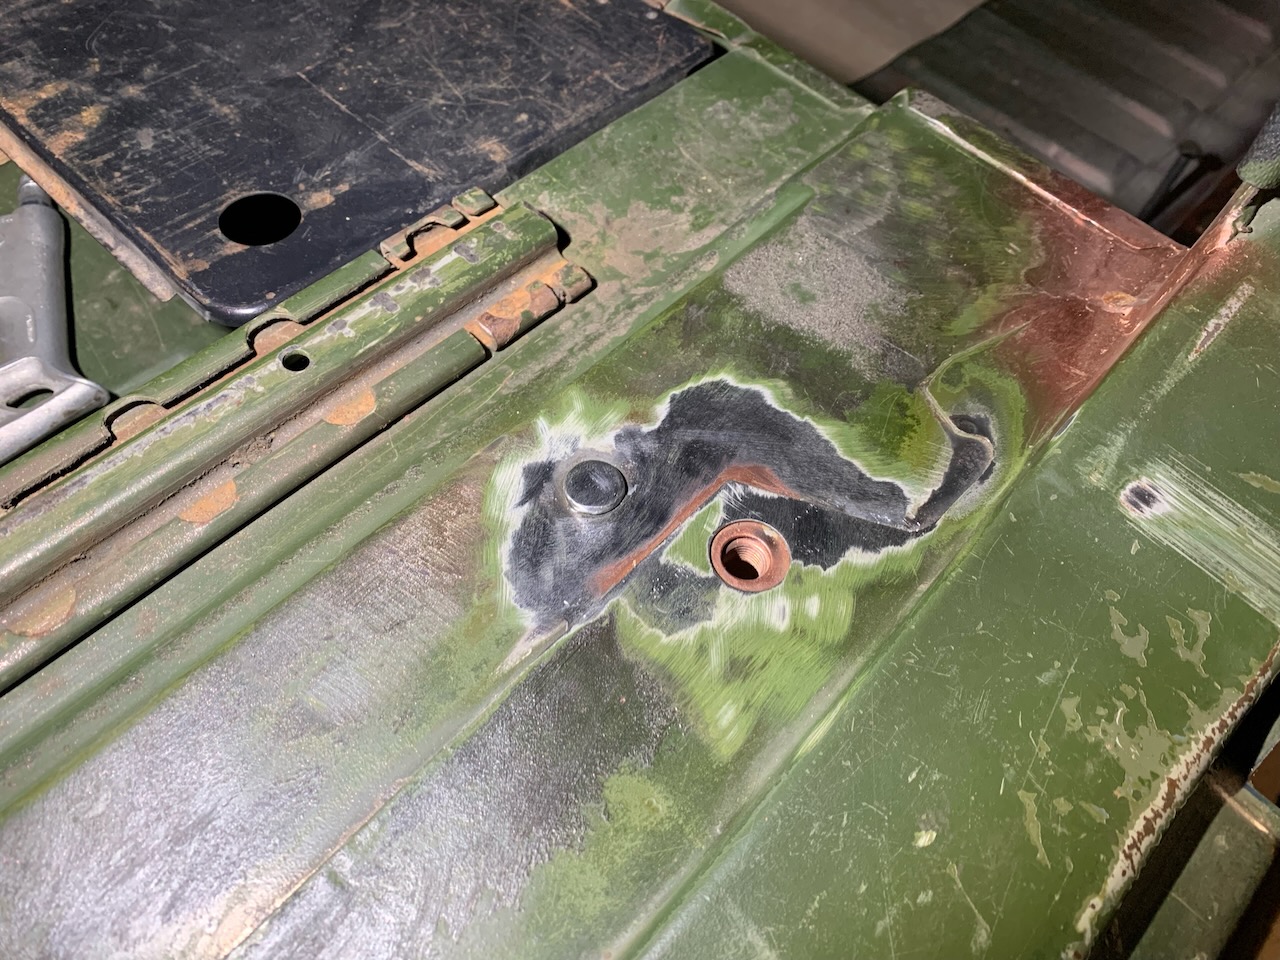
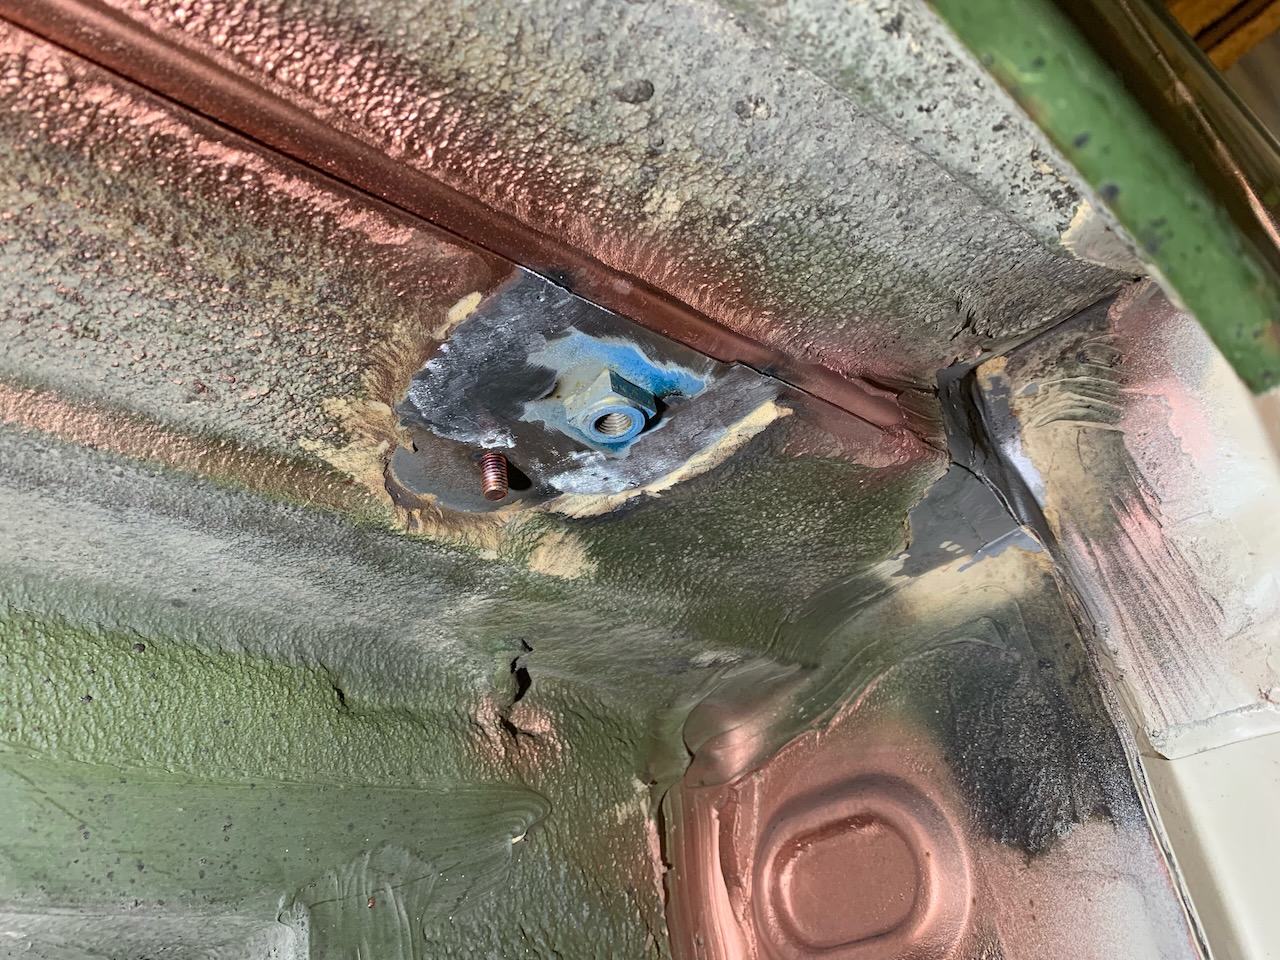
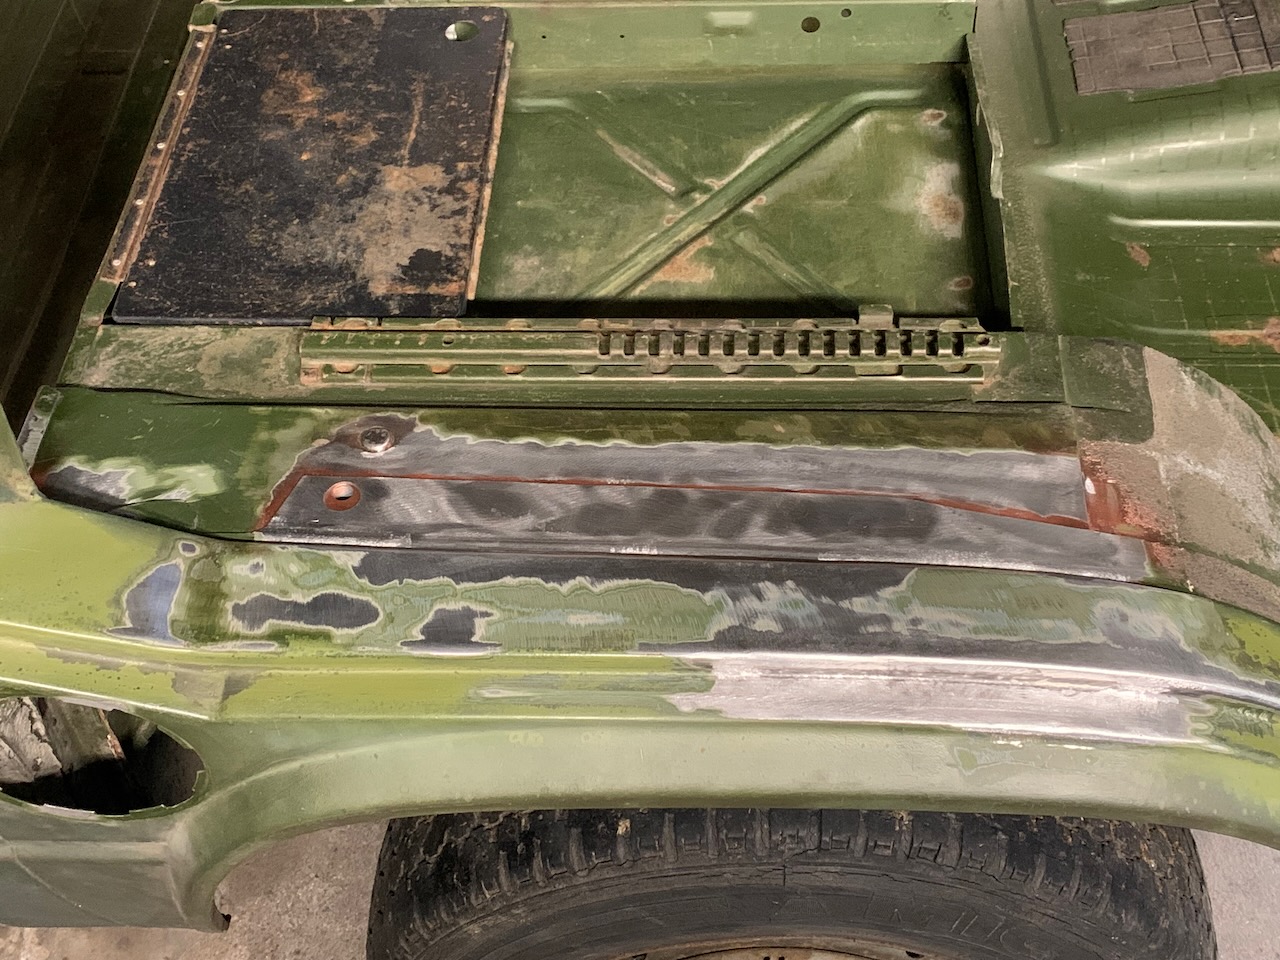
The Seatbelt Attachment Points
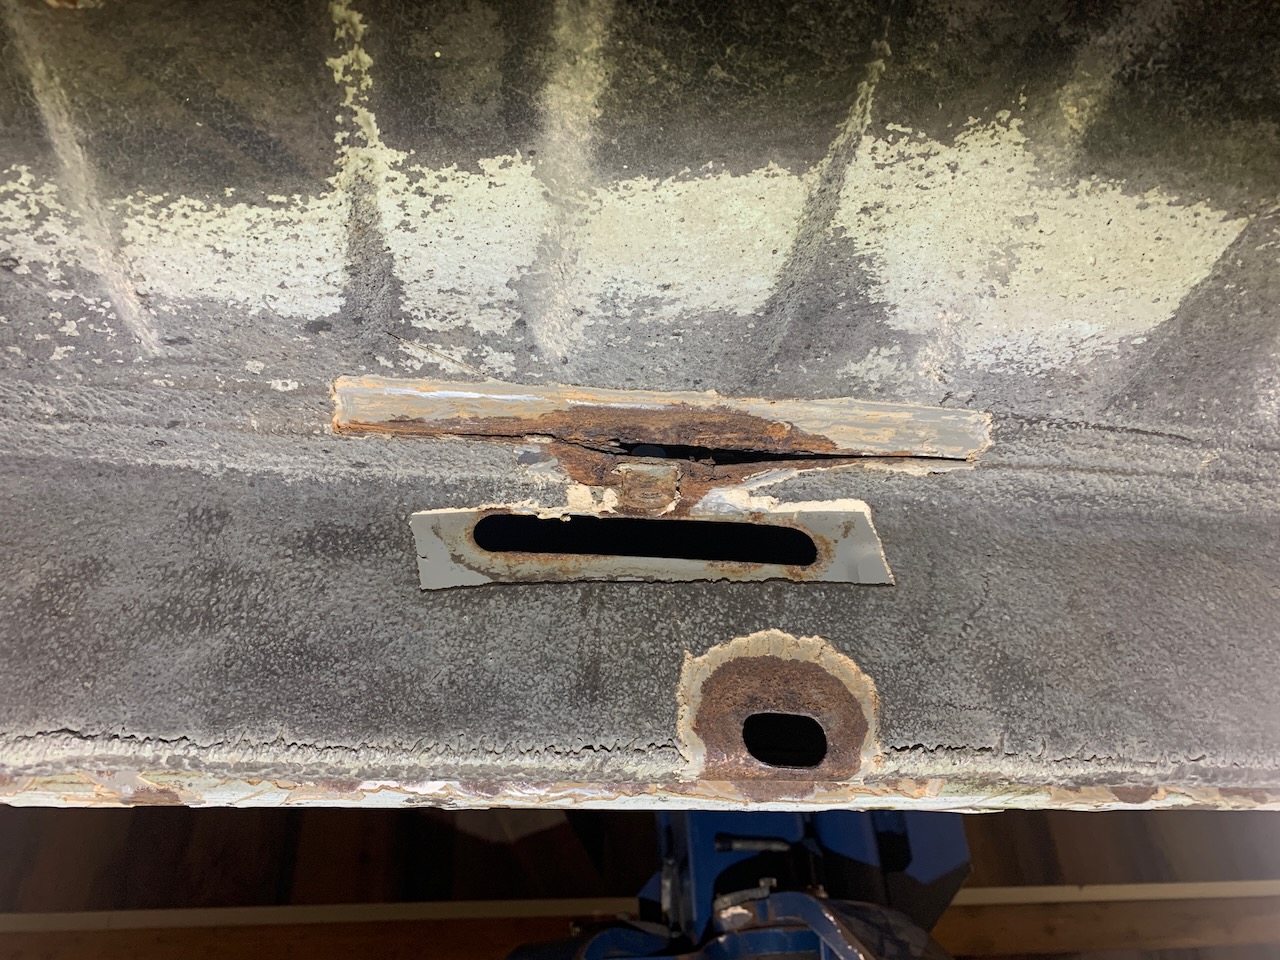
No surprises there, the seatbelt attachment points of this T3 were in such a condition that had the seatbelts been put into their purposeful use, there could’ve been tragic consequences.
It didn’t take much brainpower though to fix them. For the driver’s side I was able to cut the necessary piece from the blue donor bus. For the passenger side I needed a bit more material, however, since the T3 is so pleasantly square, then mostly it was just the matter of cutting and welding.

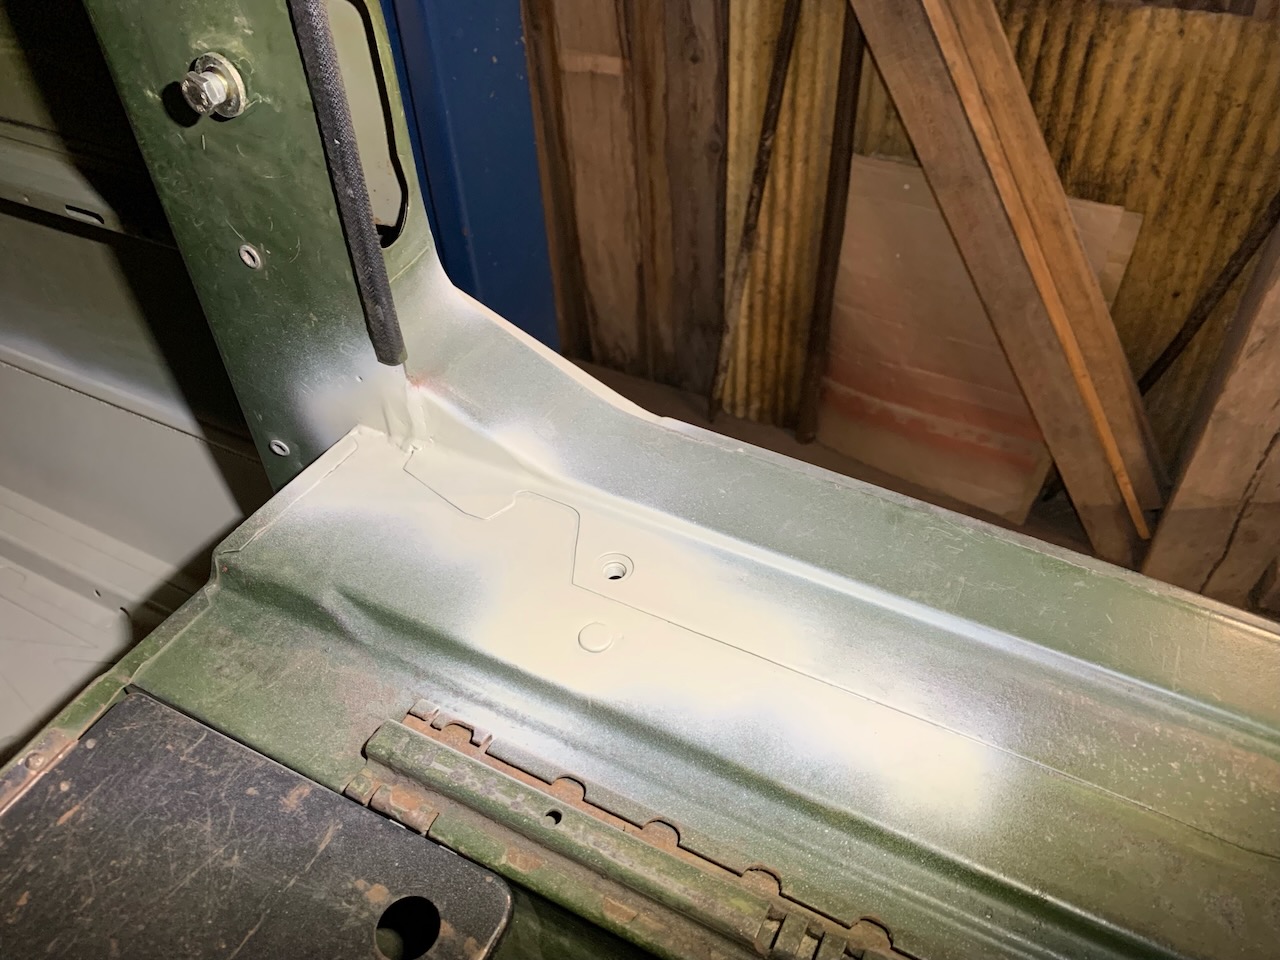
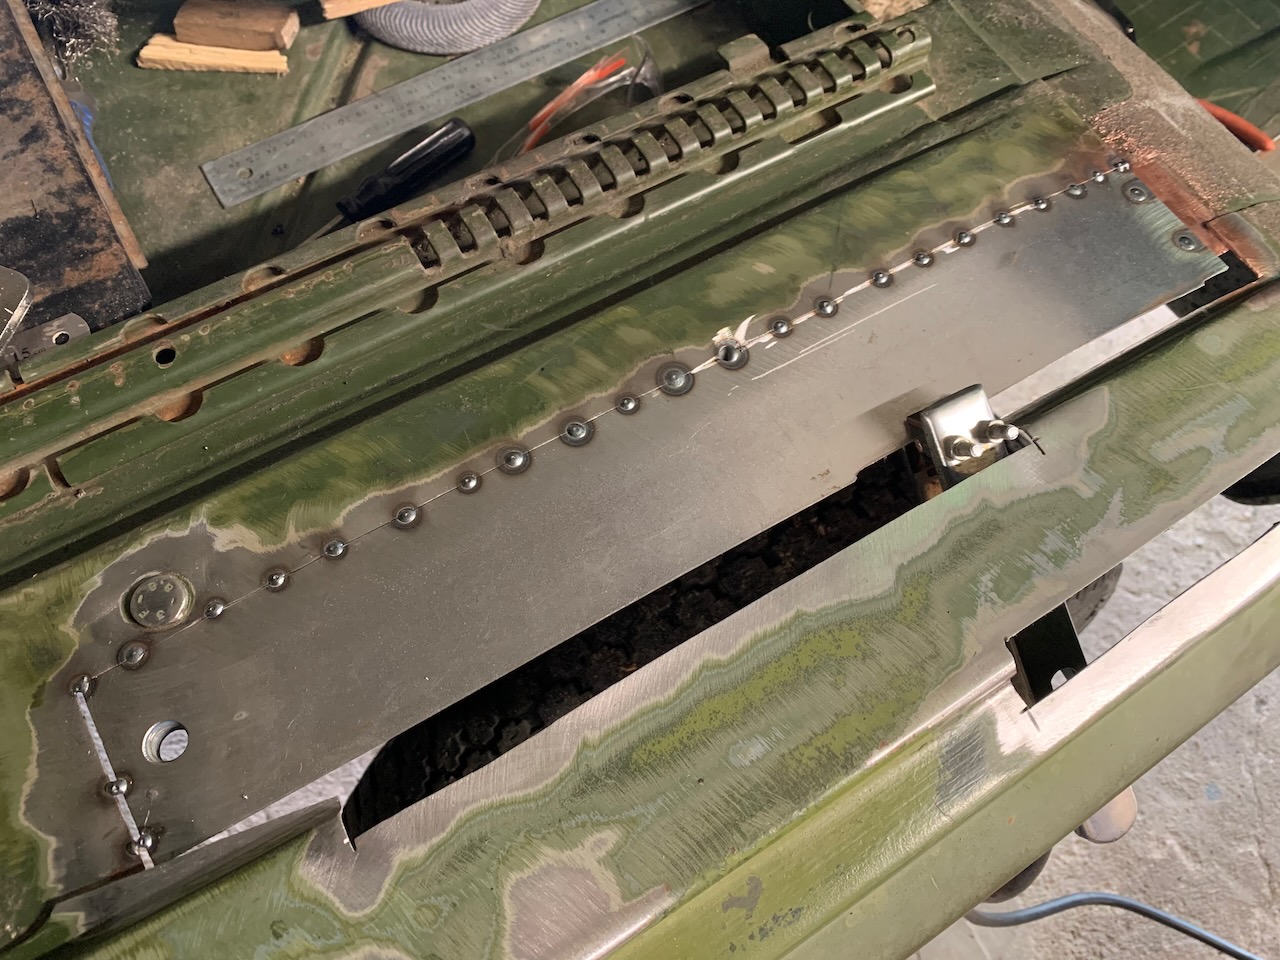
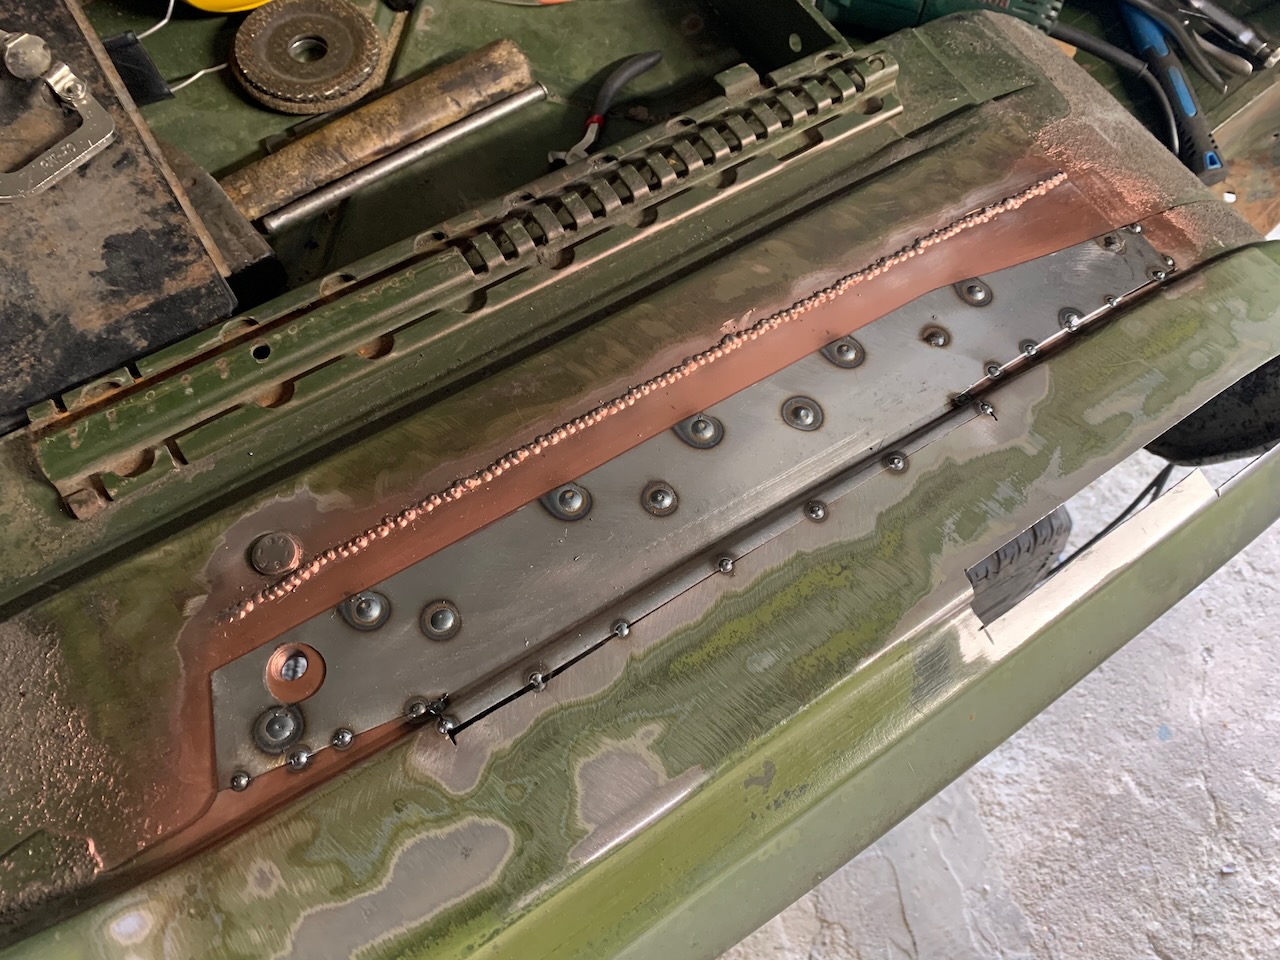
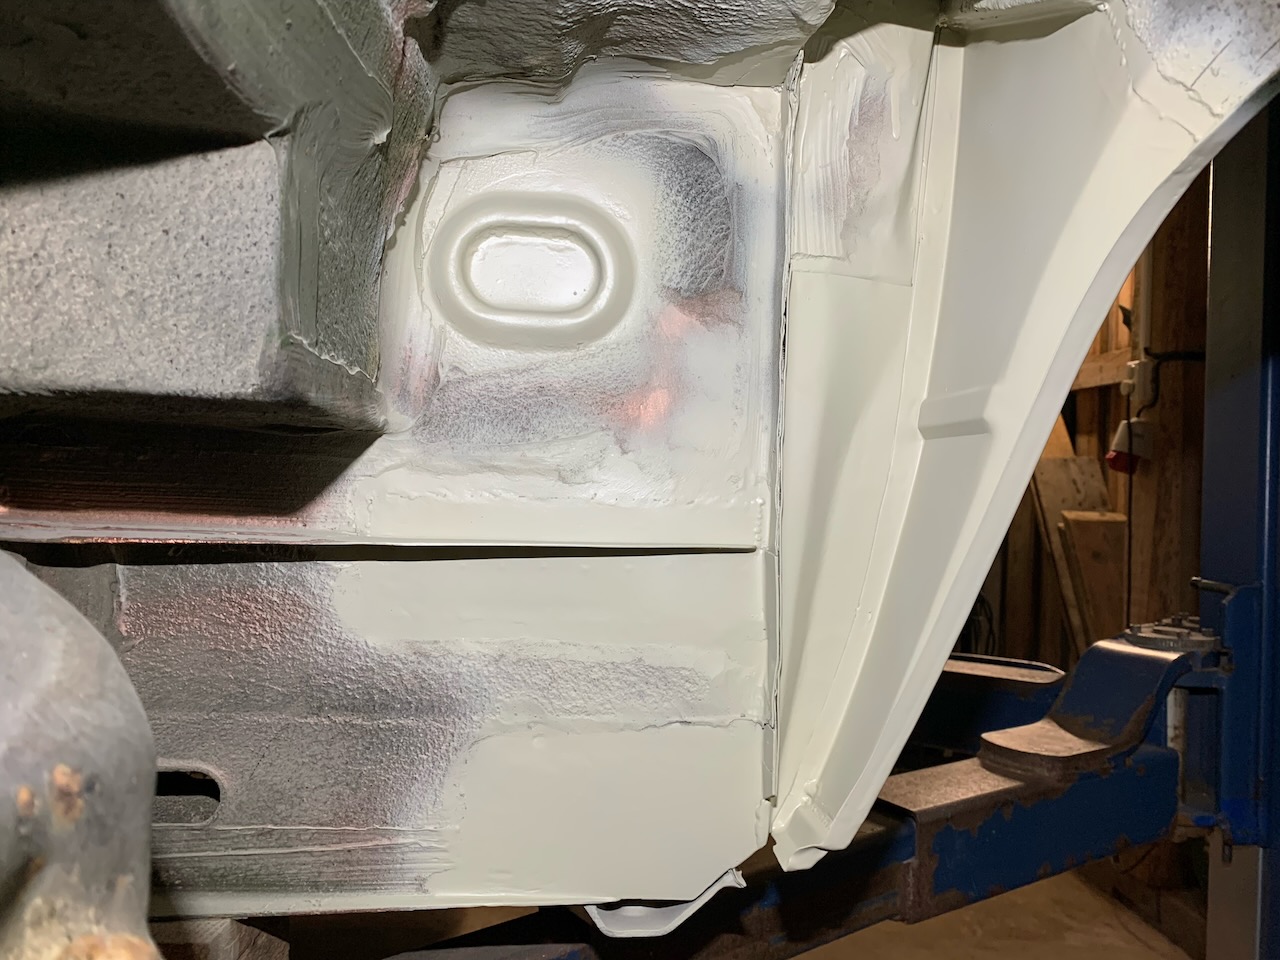
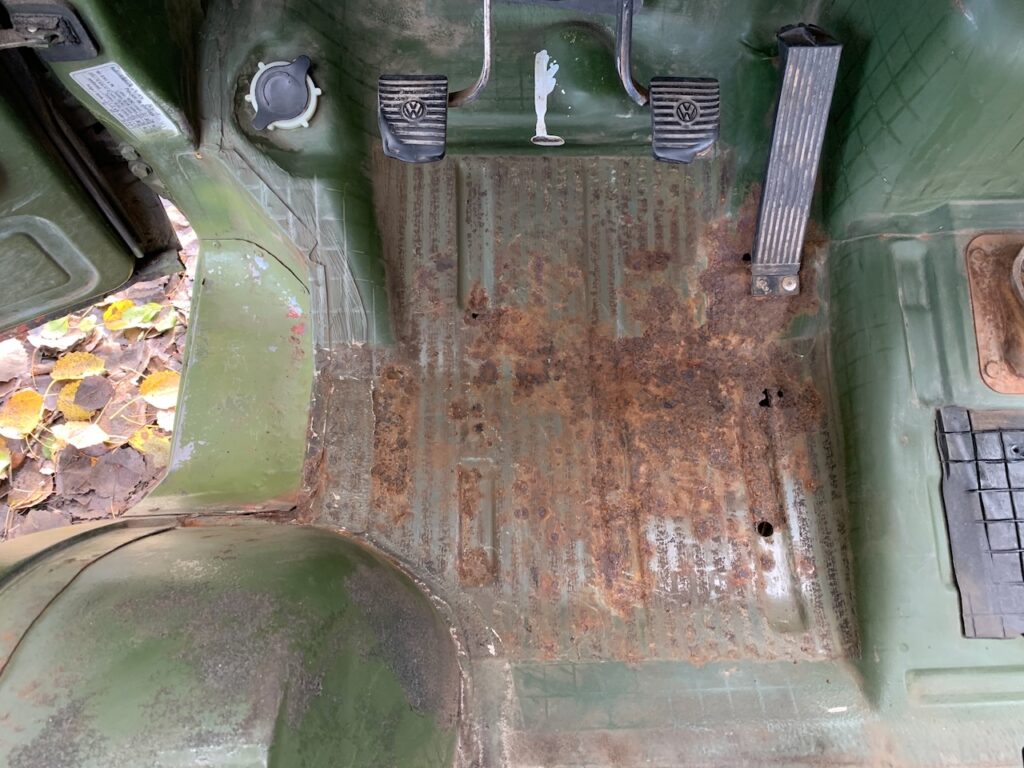
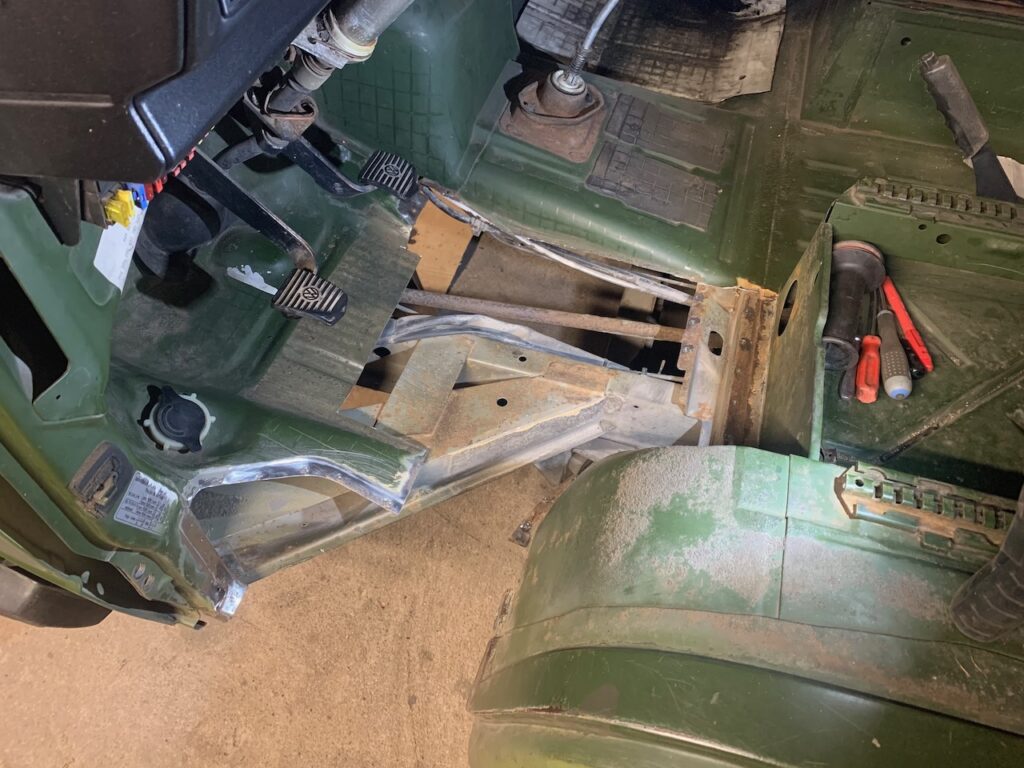
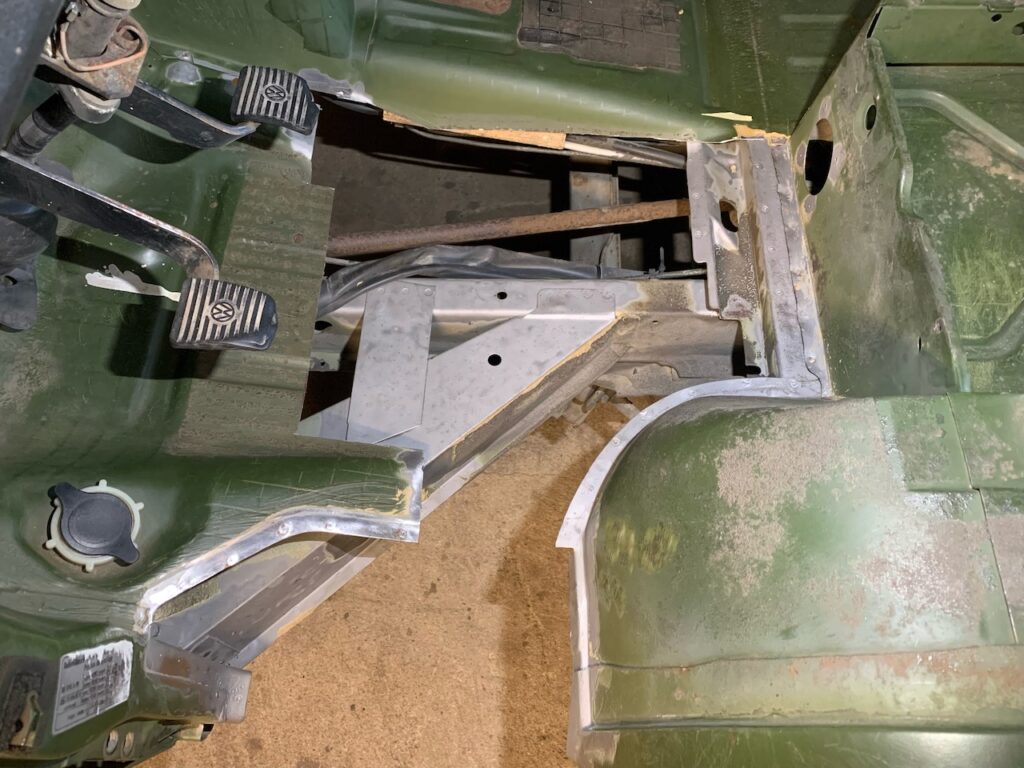
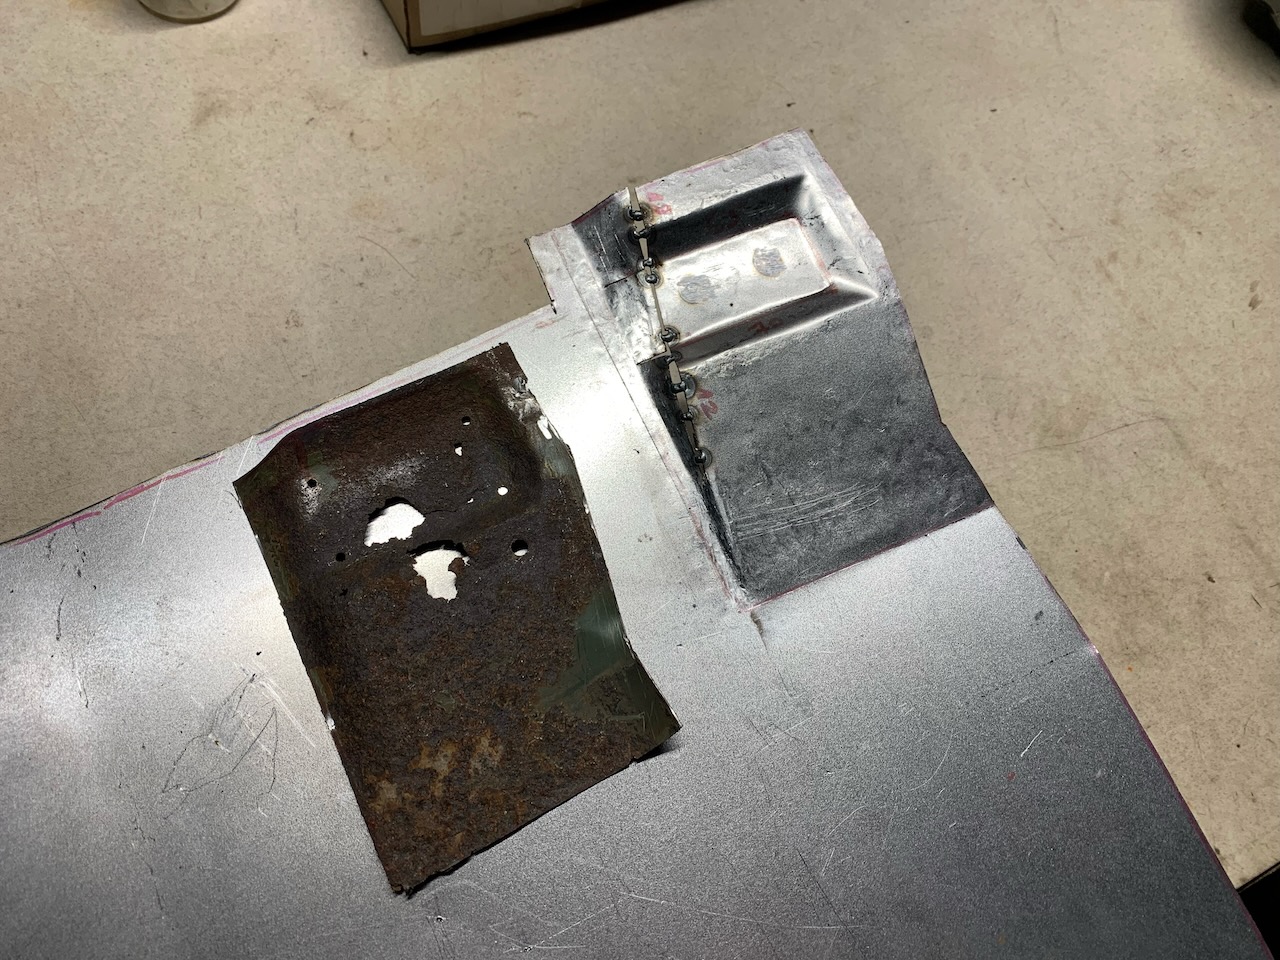
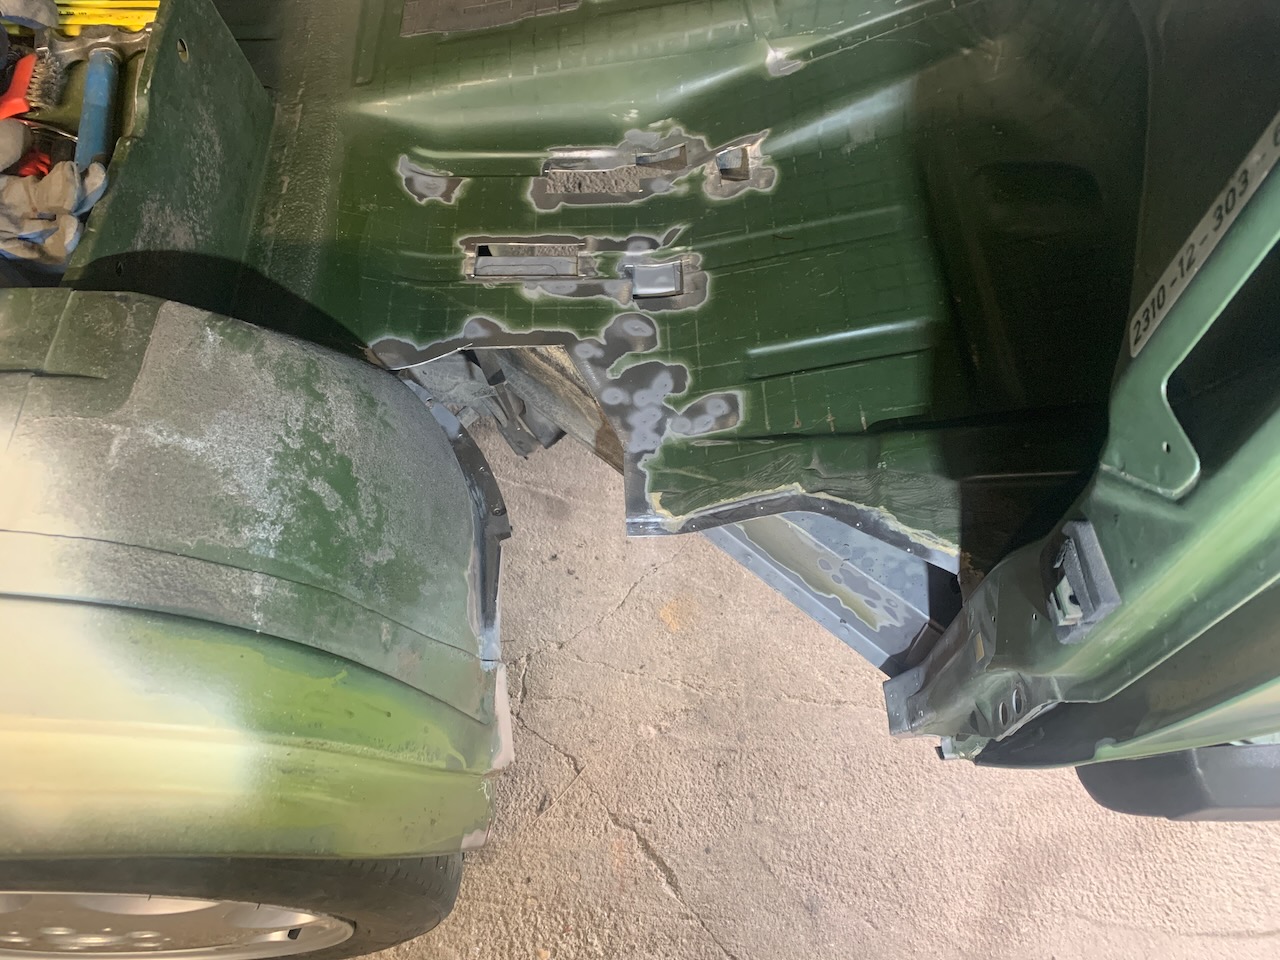
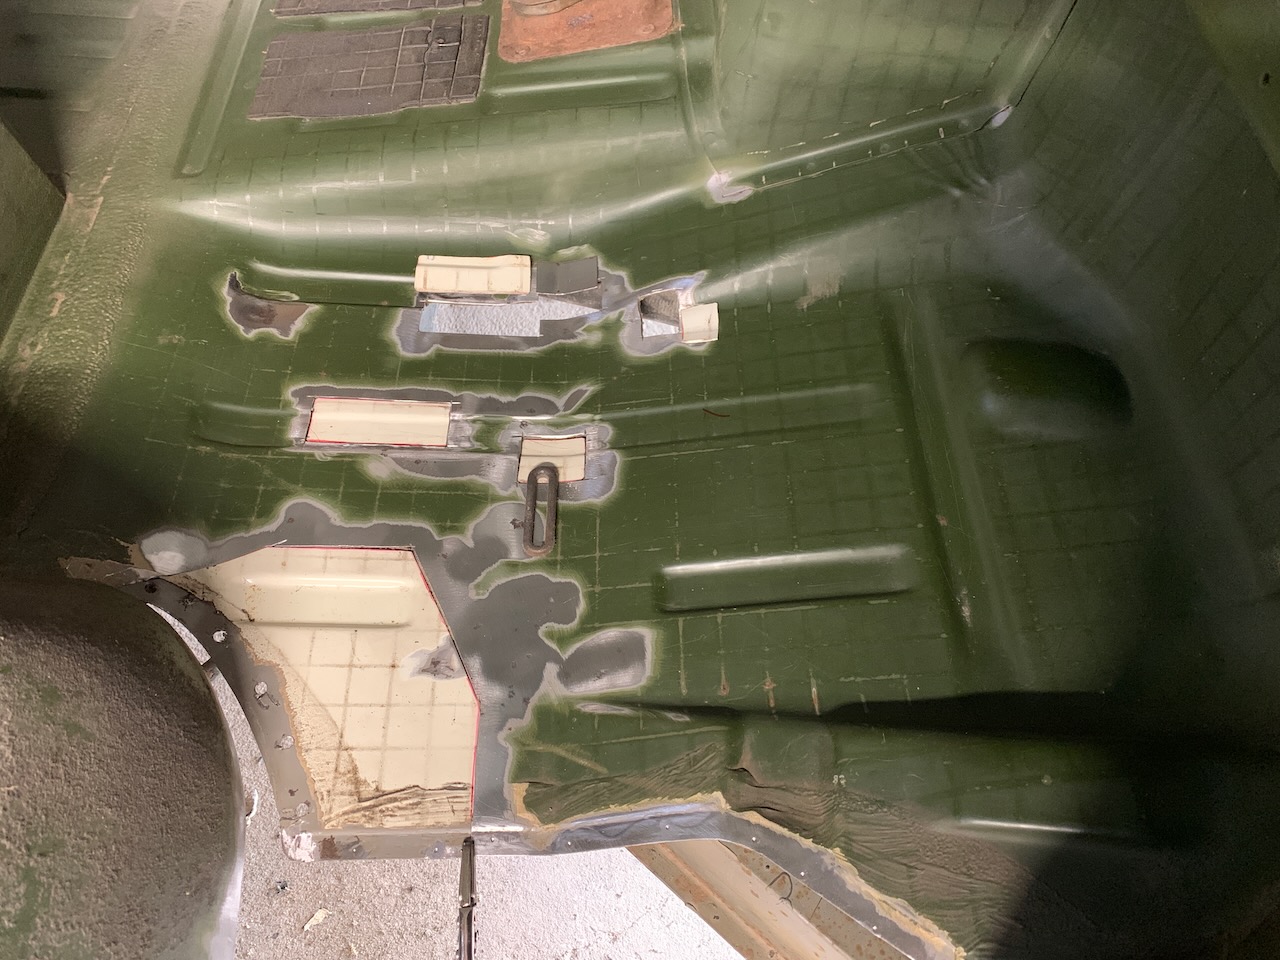
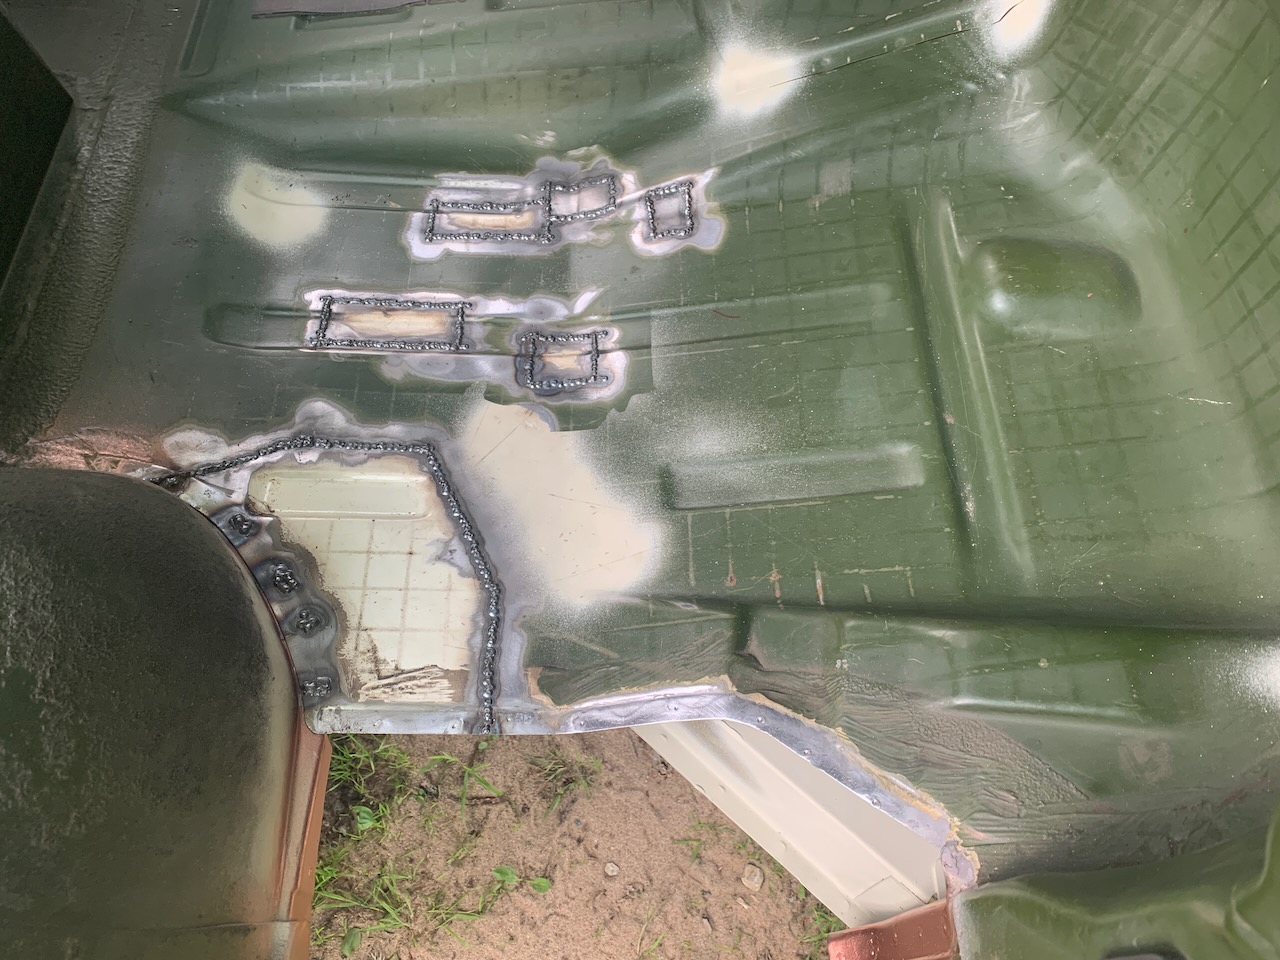
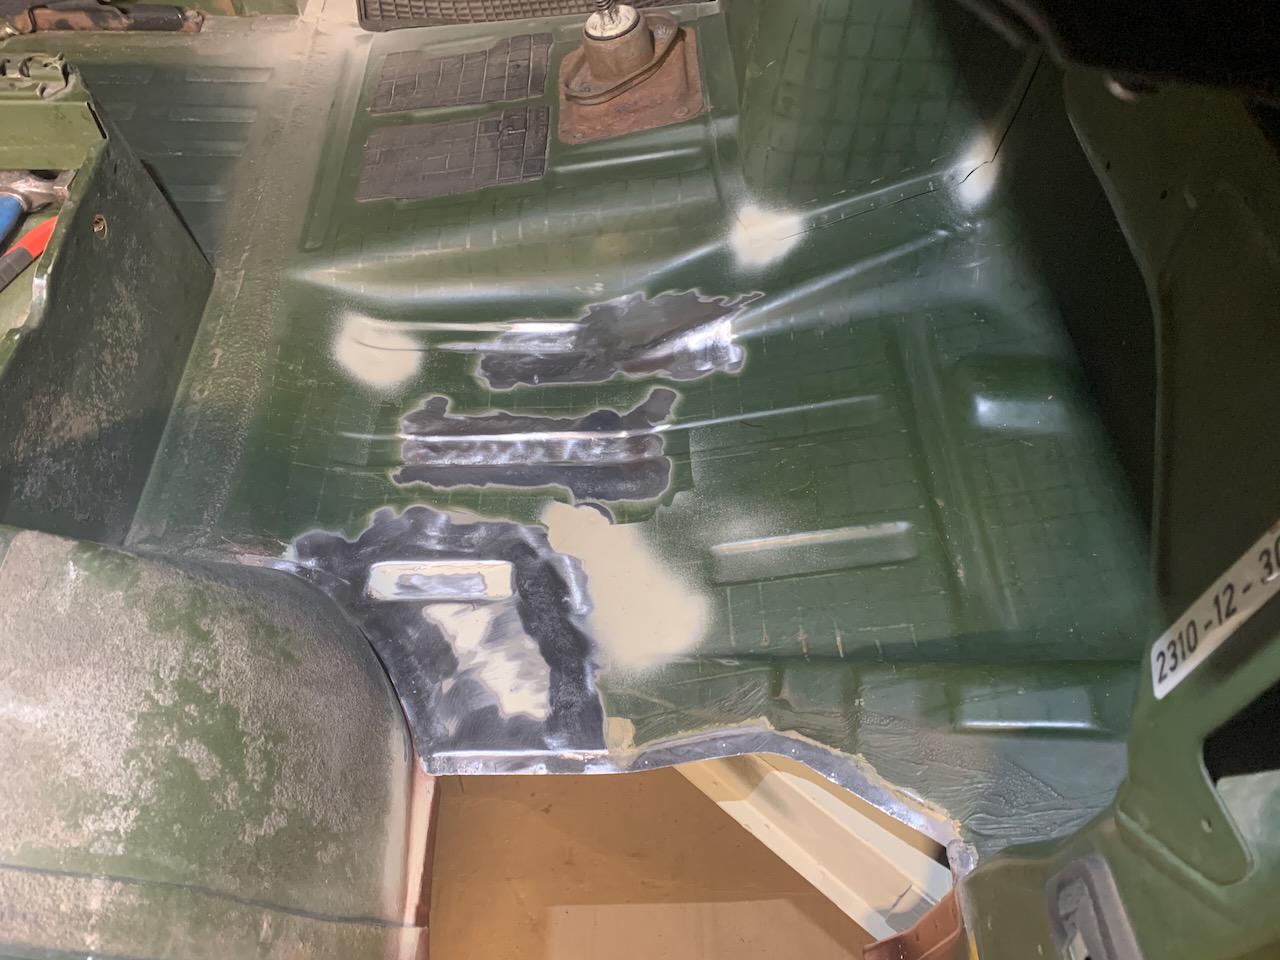
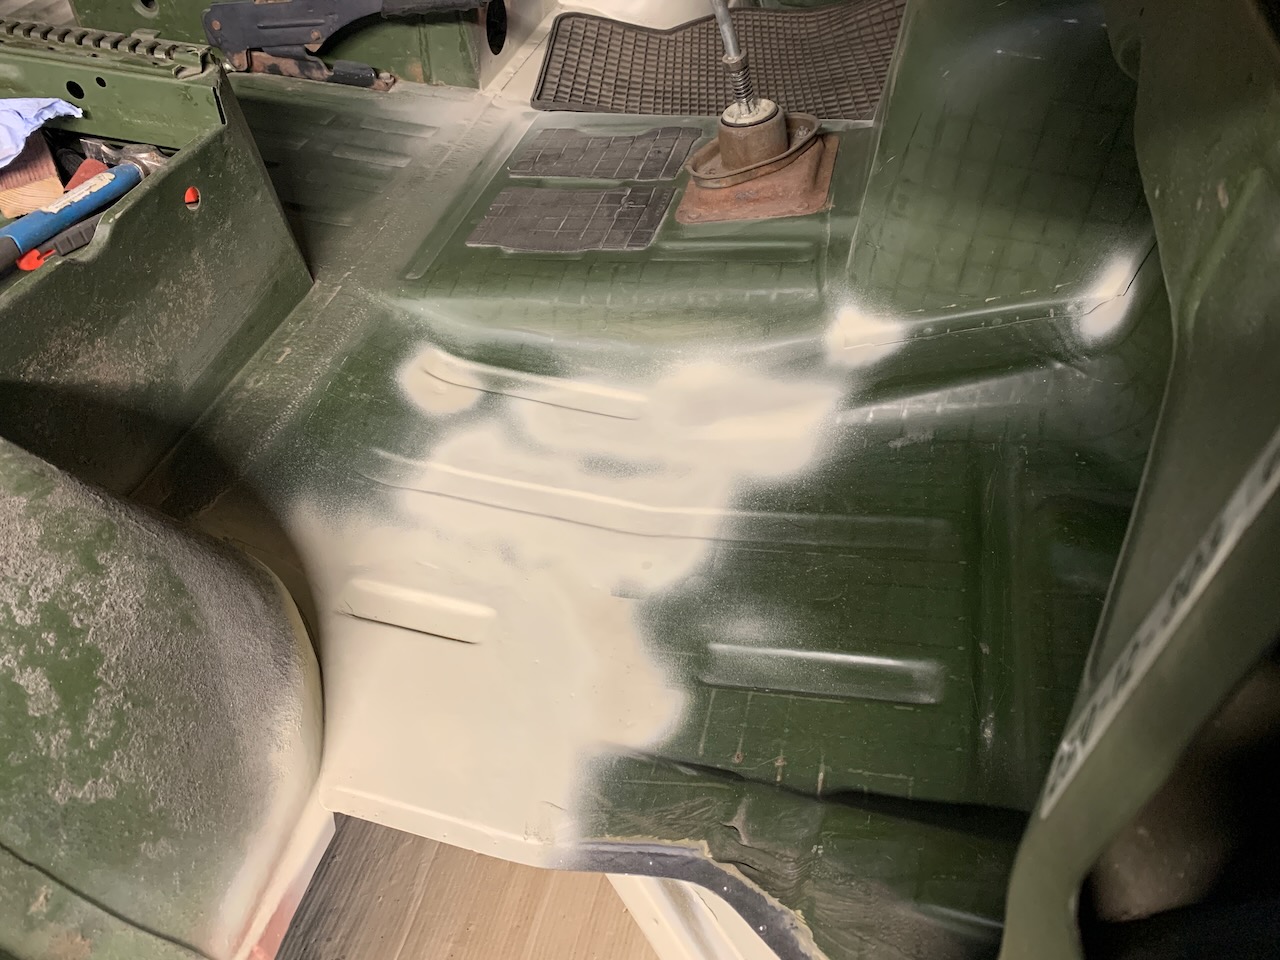
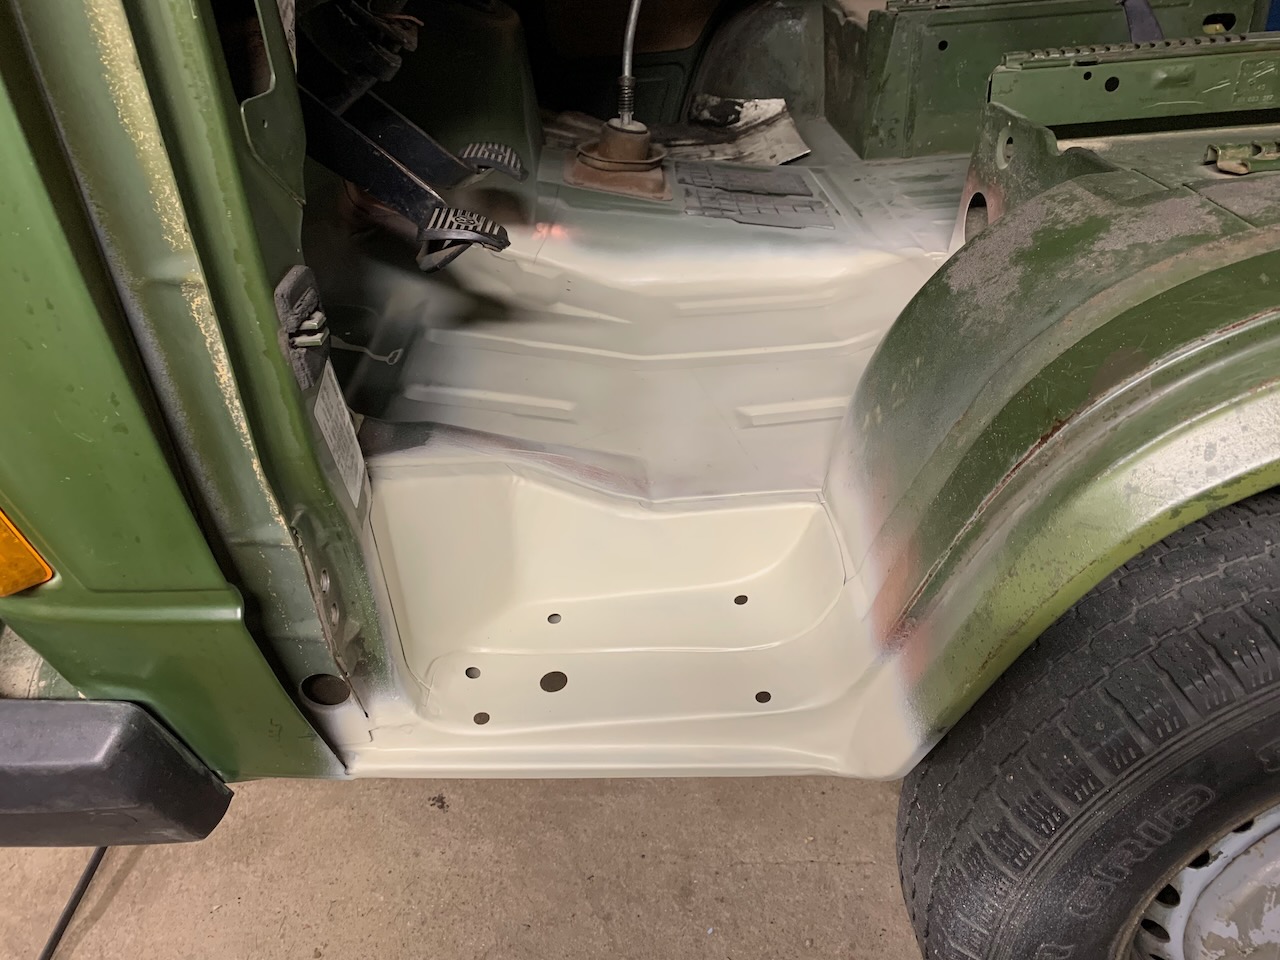
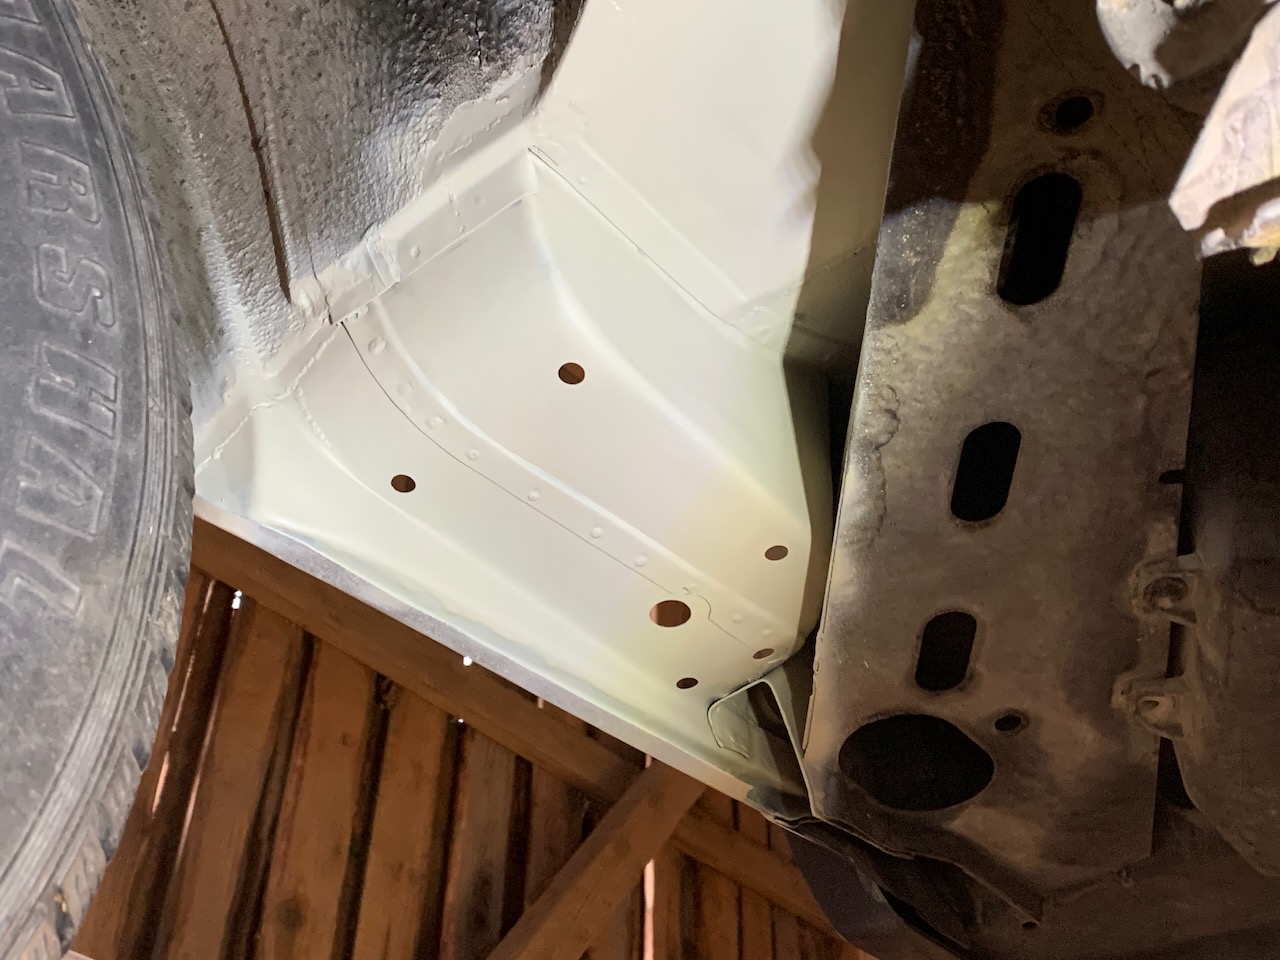
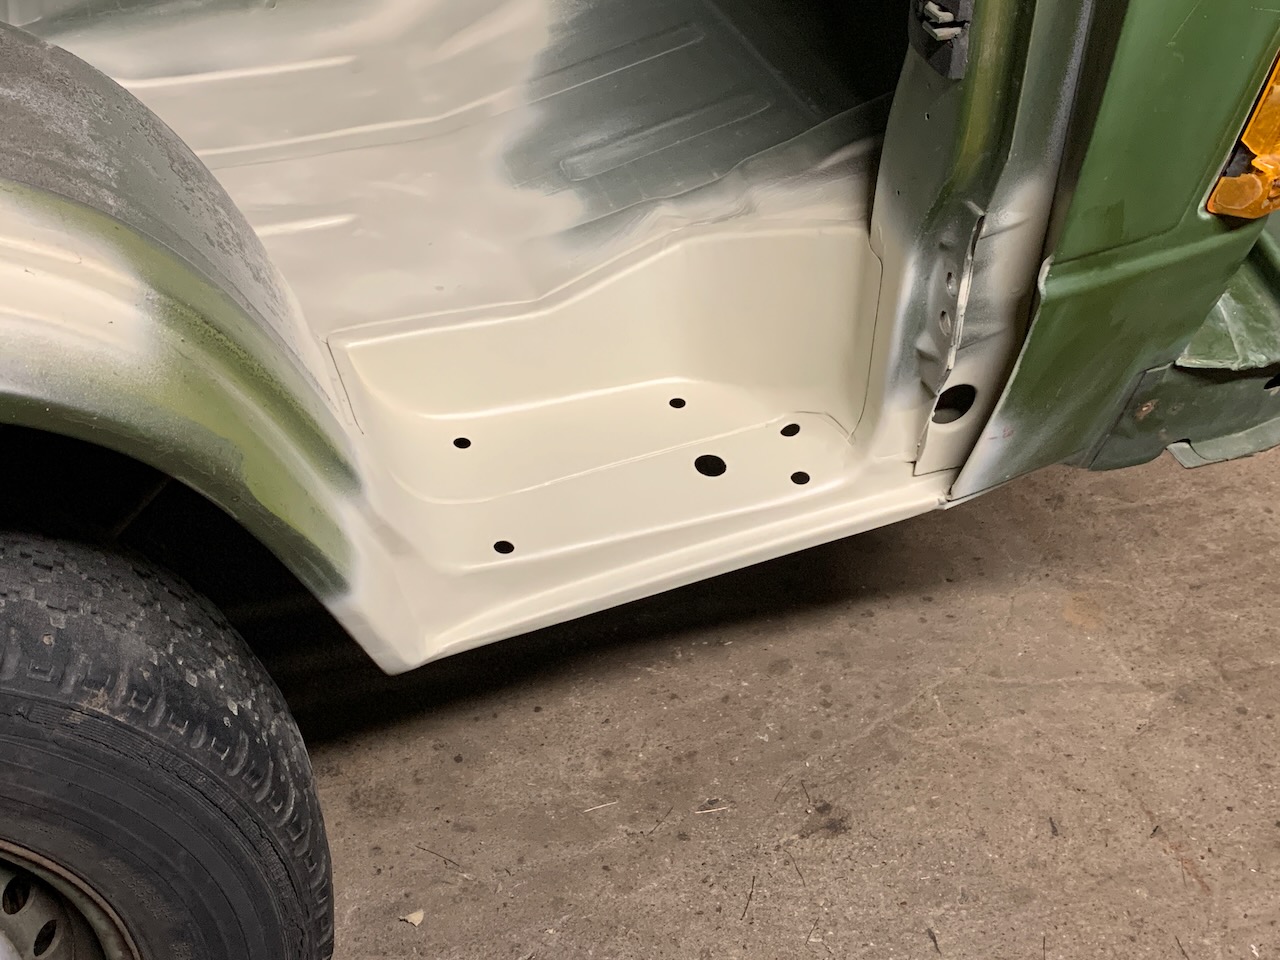
The Front Floor Panels
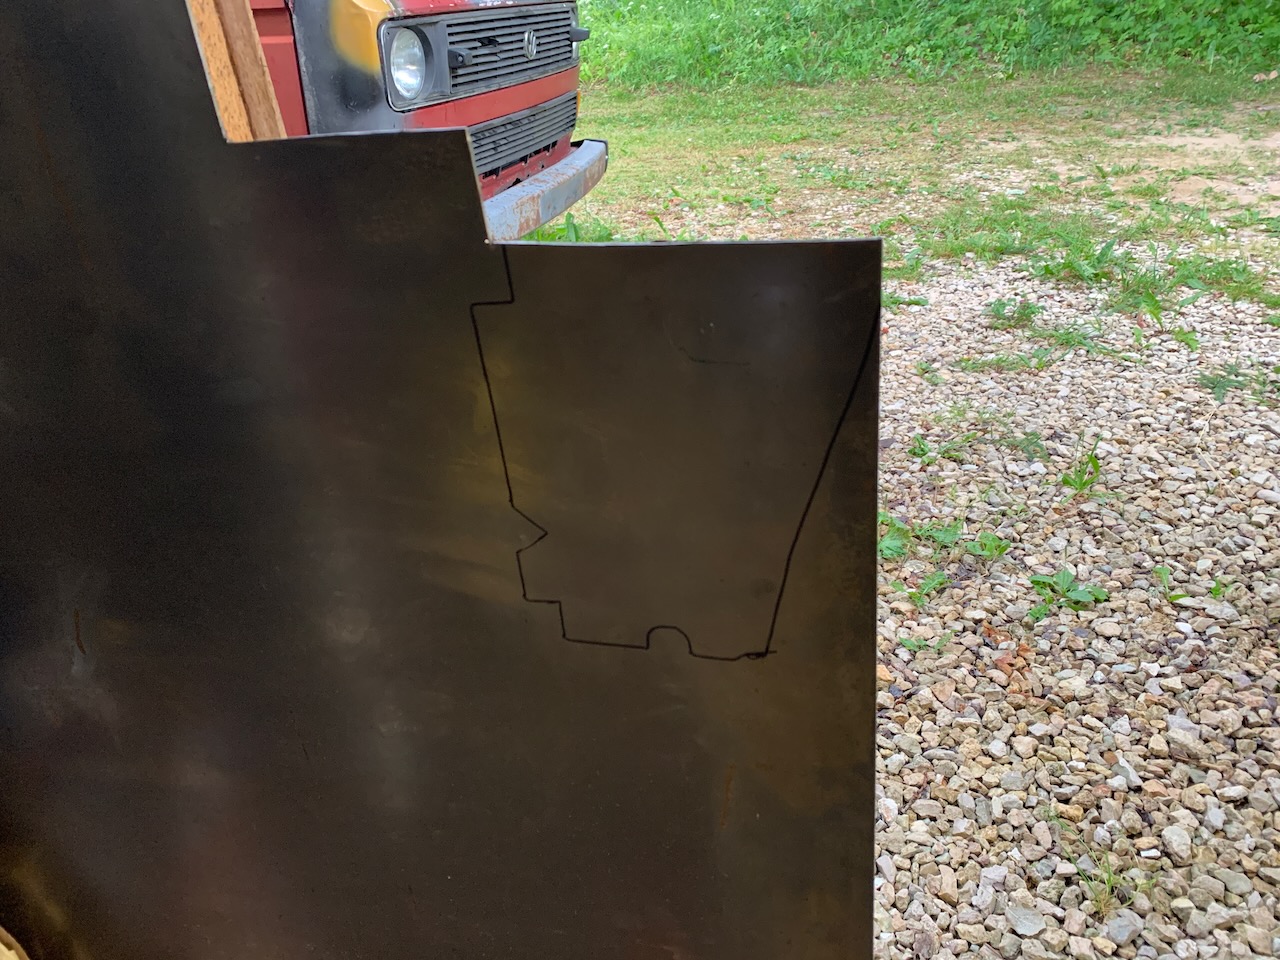
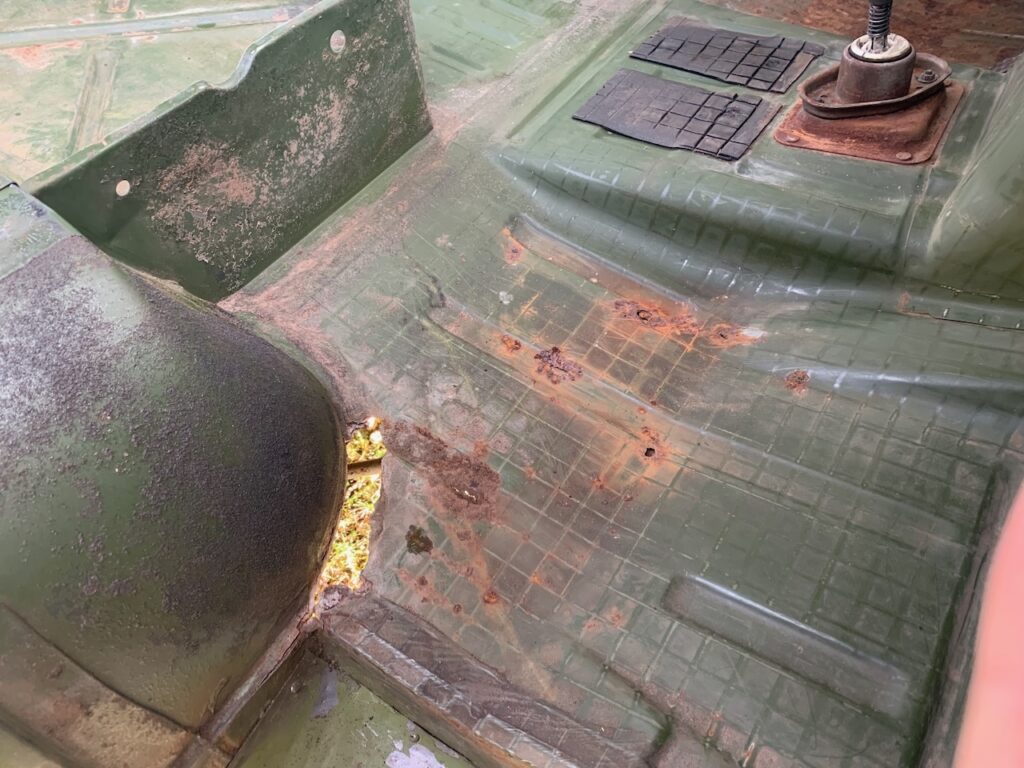
Even though the seatbelt attachment point on the driver’s side was in a considerably better shape compared to the other side, then the front floor panels were a different story. After I had removed all the vibration dampling mat from the driver’s side front floor panel (VW part no 251 801 051 B), it became evident that there is nothing left to restore. The rust was so deep in the metal that had I sand blasted it, there would’ve been nothing left of it. On the passenger side front floor panel (VW part no 251 801 052 B) I was faced with a gaping hole, however the damages were local and thus easily restorable.
The Restoration of the Driver’s Side Front Floor Panel
I stumbled upon a video online where a T3 was restored and they also dealt with restoring the driver’s side front floor panel. As it happens to be in videos, it all went smoothly. The craftsman cut out a good piece of sheet metal, took an anvil and a hammer which was followed by a few minutes of turbo speed hammering and the necessary replacement panel was done. I got the inspiration I needed and decided to give it a shot. The alternative would have been to order a replacement panel from JP Group (JP Group part no 1183100170) which cost around 200 € back then. Today there should be cheaper options available as well.
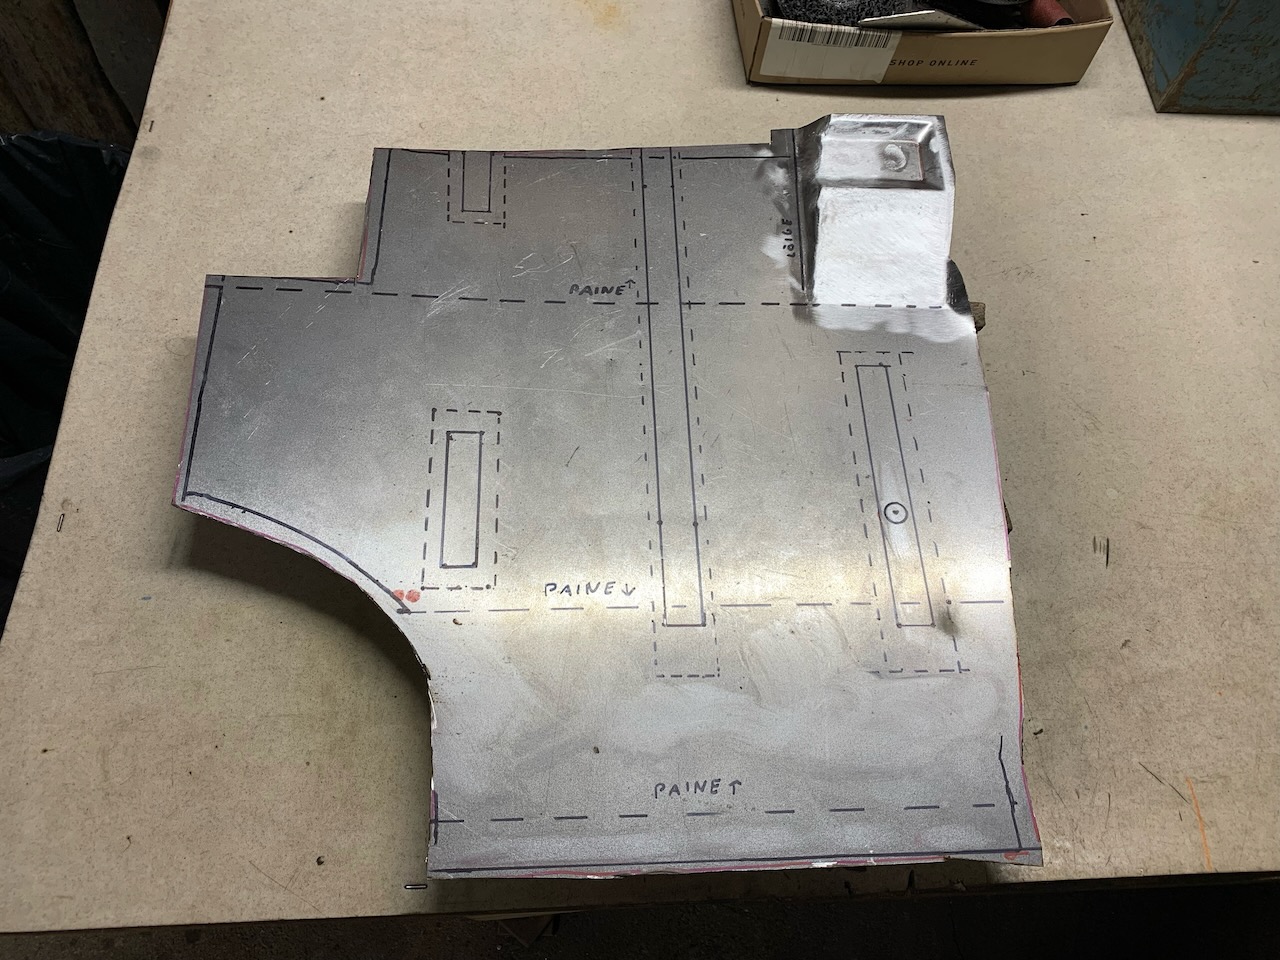
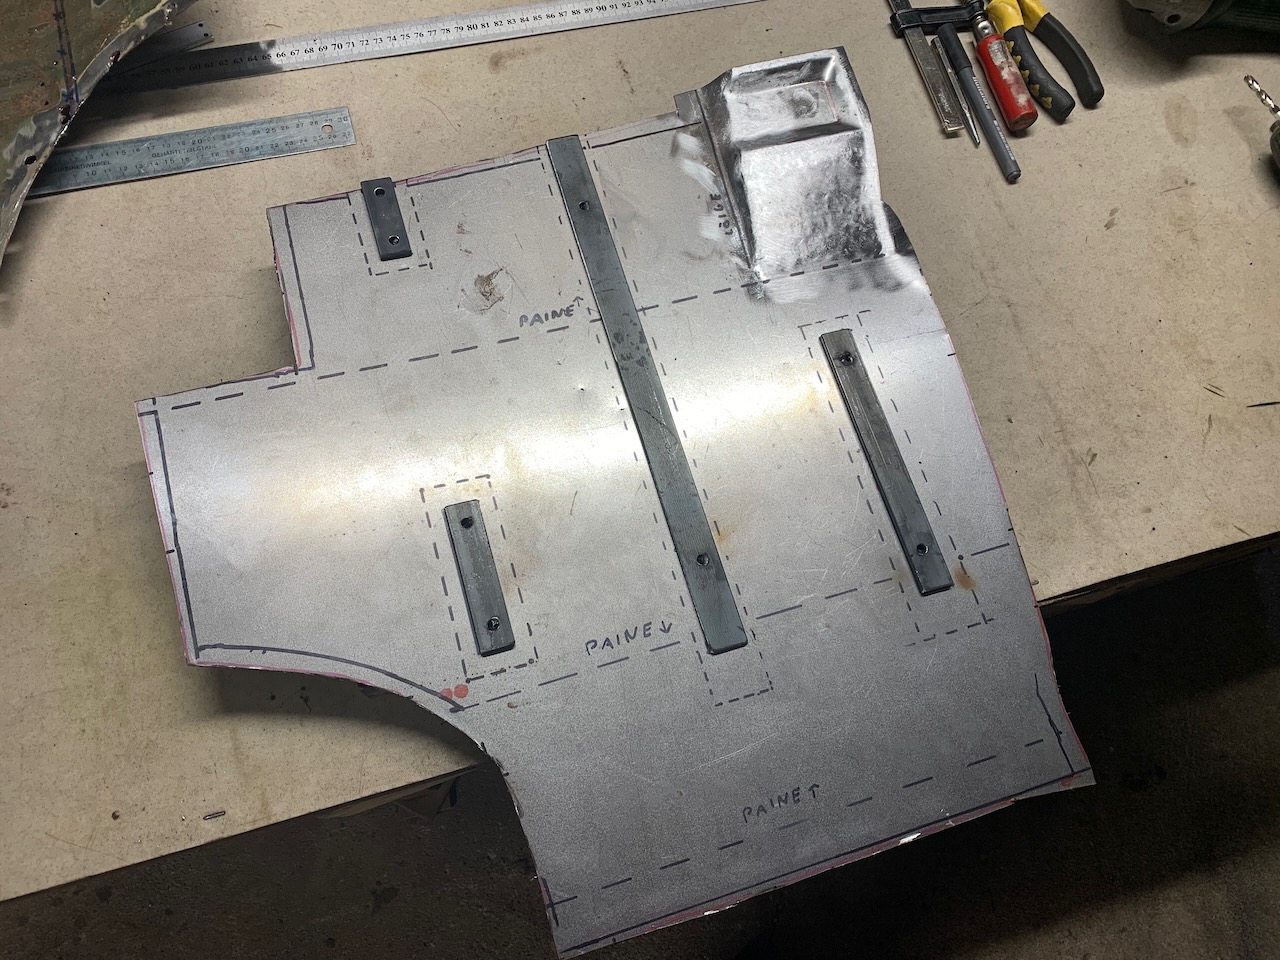

The making of the replacement panel took me 12 man-hours. In addition, it took 17 hours of extra work, such as sand blasting the surfaces, welding, giving the welds a finishing touch and priming. If I had to choose today, whether to save those 12 hours of making the panel or not, then it would probably be reasonable to save time.
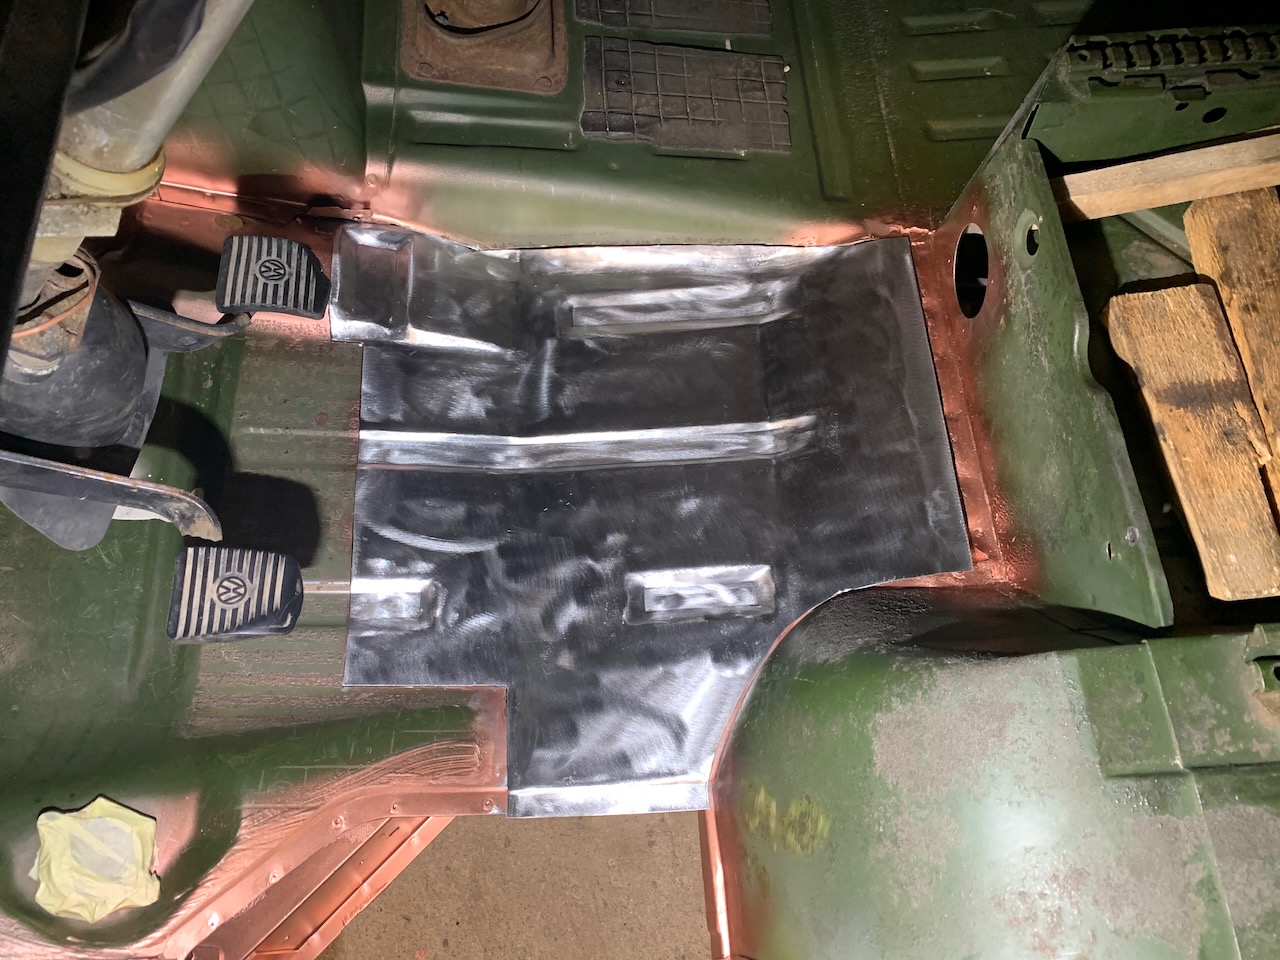
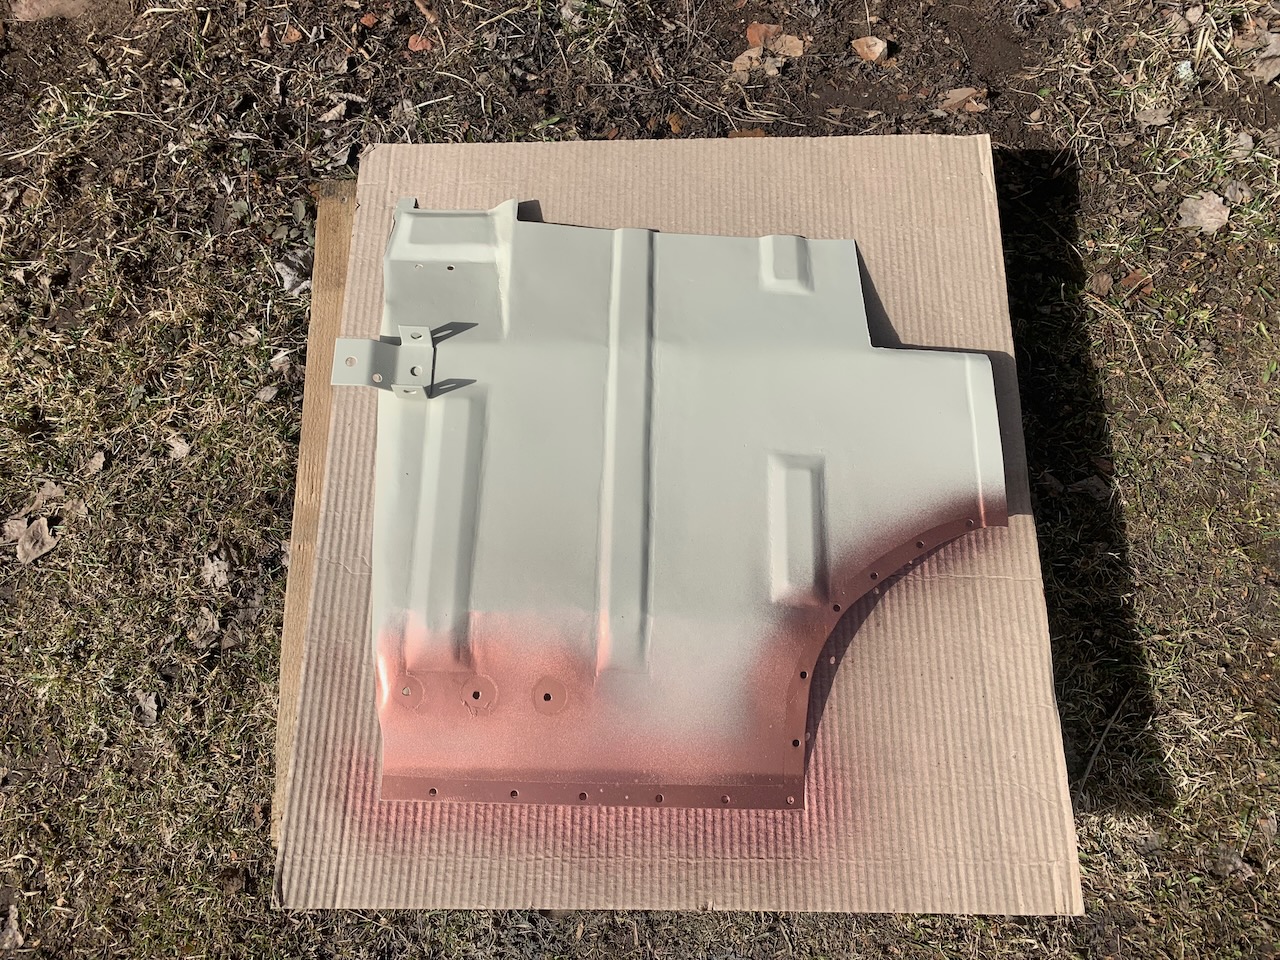
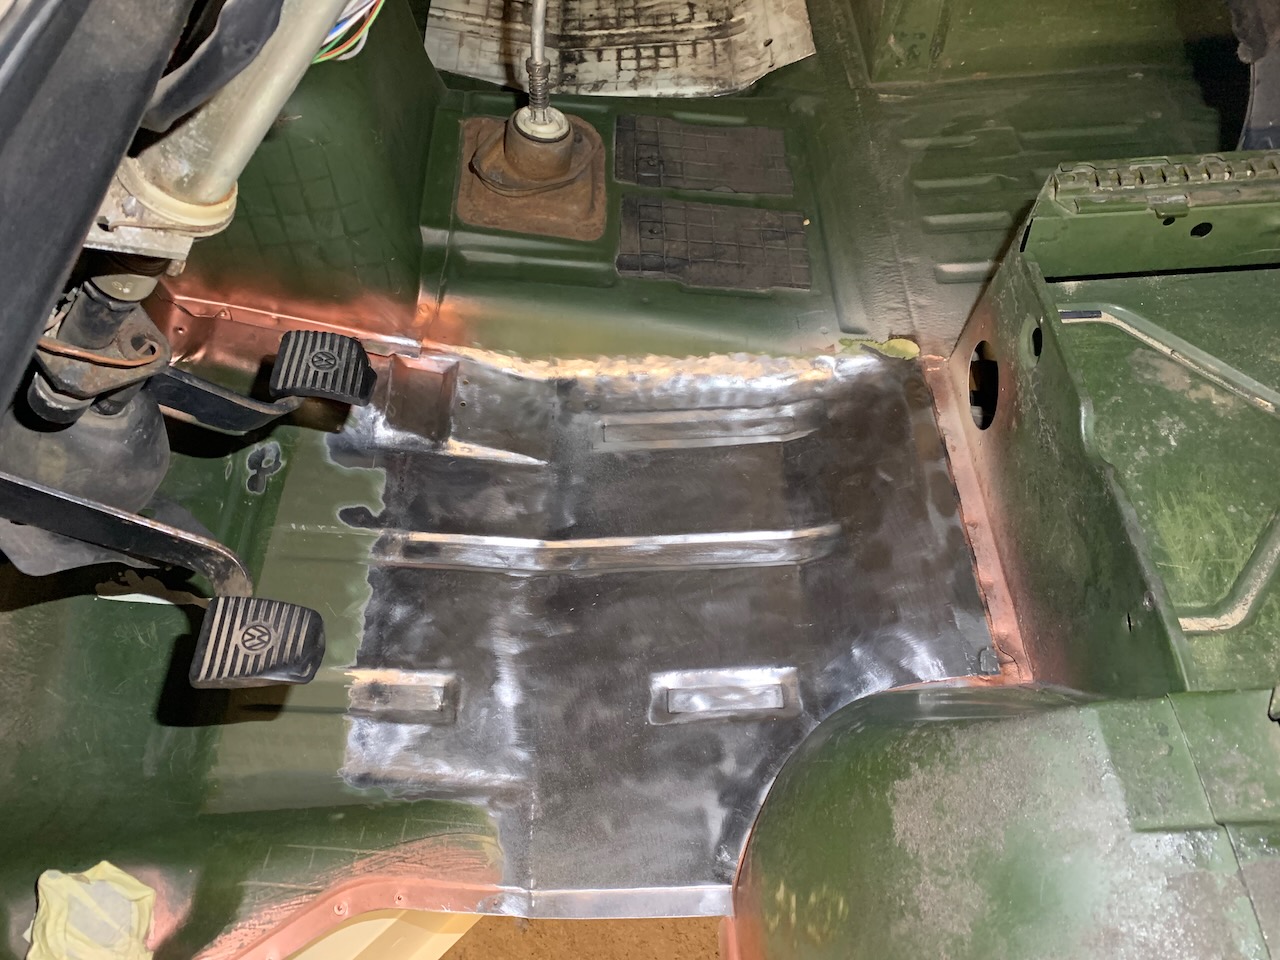
The Restoration of the Passenger Side Front Floor Panel
For the passenger side floor I had previously cut a replacement panel, which was in quite an alright shape, from another bus. It seemed that most of the patches I could cut out from that panel and I would need to craft less myself.
Steps
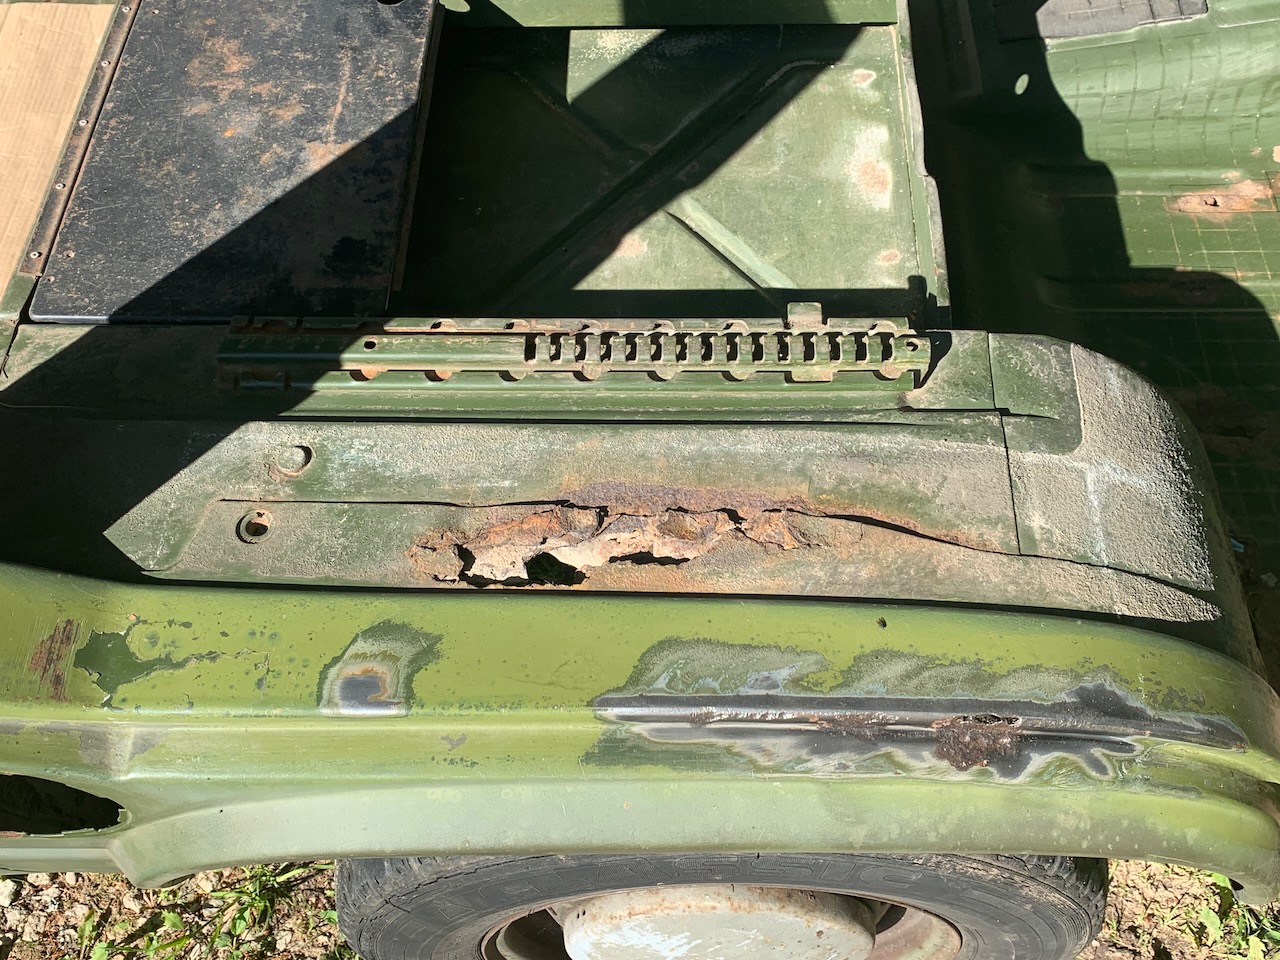
Apparently the steps (VW part no 251 801 173 and 251 801 174) of this bus have been in a horrible state for a while. Already the previous owner of the bus had felt the need to fix the situation with stainless steel and rivets. Basically this solution worked, but it looked hideous and it surely did not meet the standard we have set ourselves by which we try to restore this body.
To restore the steps, I bought replacement panels (Kolokkerholm part no 9557323 and 9557324), which were made in Serbia in Golas factory and which shape-wise would enable to restore the steps, so that they’ll end up looking close to the originals.
Originally the inner and outter part of the panel have been spot welded in the factory, but in order to get all the details to match with one another, I had to drill the spot welds through and later on weld them back together. Also, these replacement panels have the same issue as many other replacement panels. For some reason they are smaller in shape and size compared to VW originals. Regardless of some necessary modifications, the panels are fine for an alternative and can be fitted in place with a reasonable effort.

Used replacement panels
| Detail | VW panel | Replacement panel |
|---|---|---|
| Outter panel of B-pillar | 251 809 254 | AHSchofield replacement panel |
| Passenger side front wheel arch replacement panel | 251 809 244 B | Van Wezel 5870156 |
| Driver’s side front wheel arch replacement panel | 251 809 243 B | Van Wezel 5870155 |
| Passenger side step replacement panel | 251 801 174 | Klokkerholm 9557324 |
| Driver’s side step replacement panel | 251 801 173 | Klokkerholm 9557323 |
Summary And Coming Up
The works described in this post were done between February 2022 and July 2022, during which it took me 162 man-hours.
The next blog post will finish the series of posts about welding with descriptions about restoring the window frames, front doors, tailgate, cargo/passenger room floor and lower grill panel.